Studio Logic sledge User manual
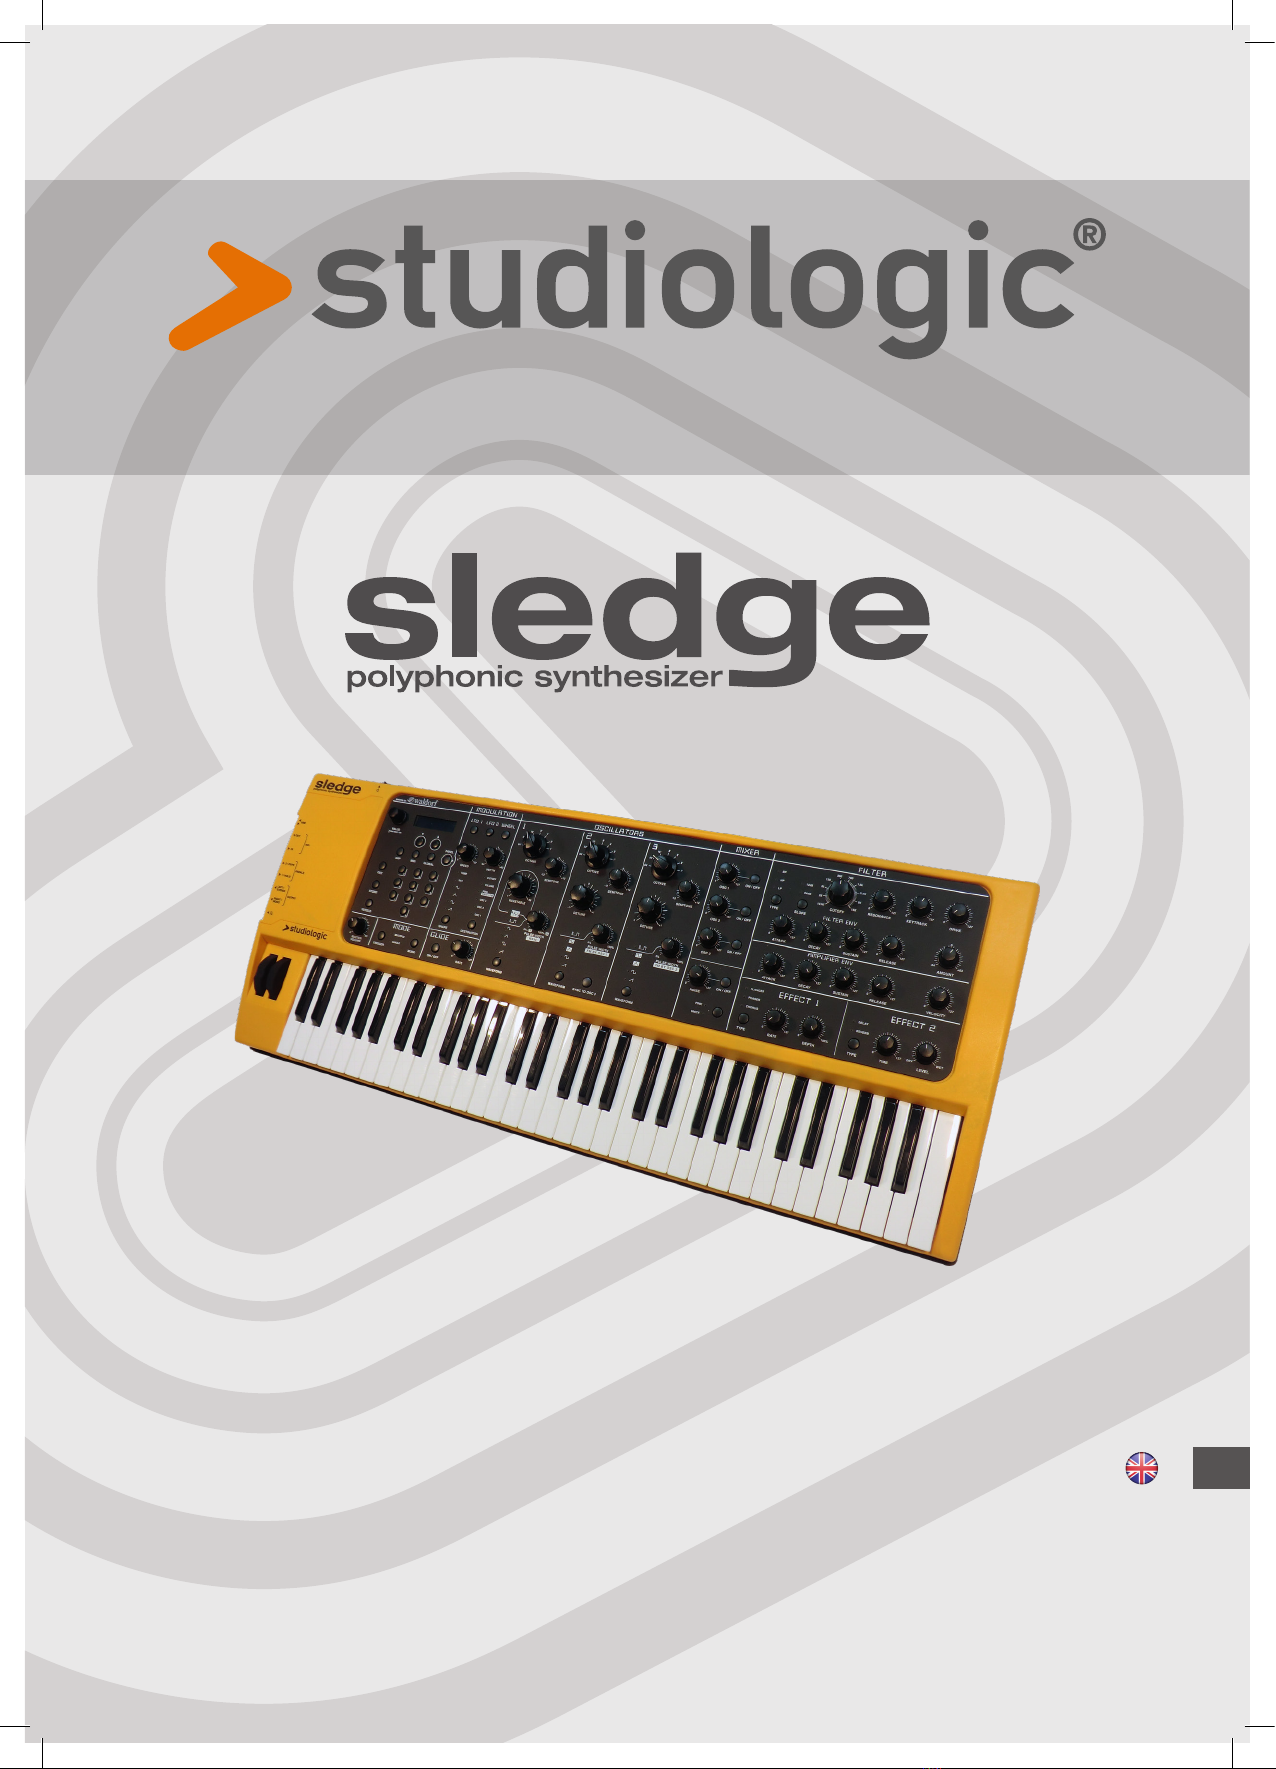
Operation Manual E
Version 1.1

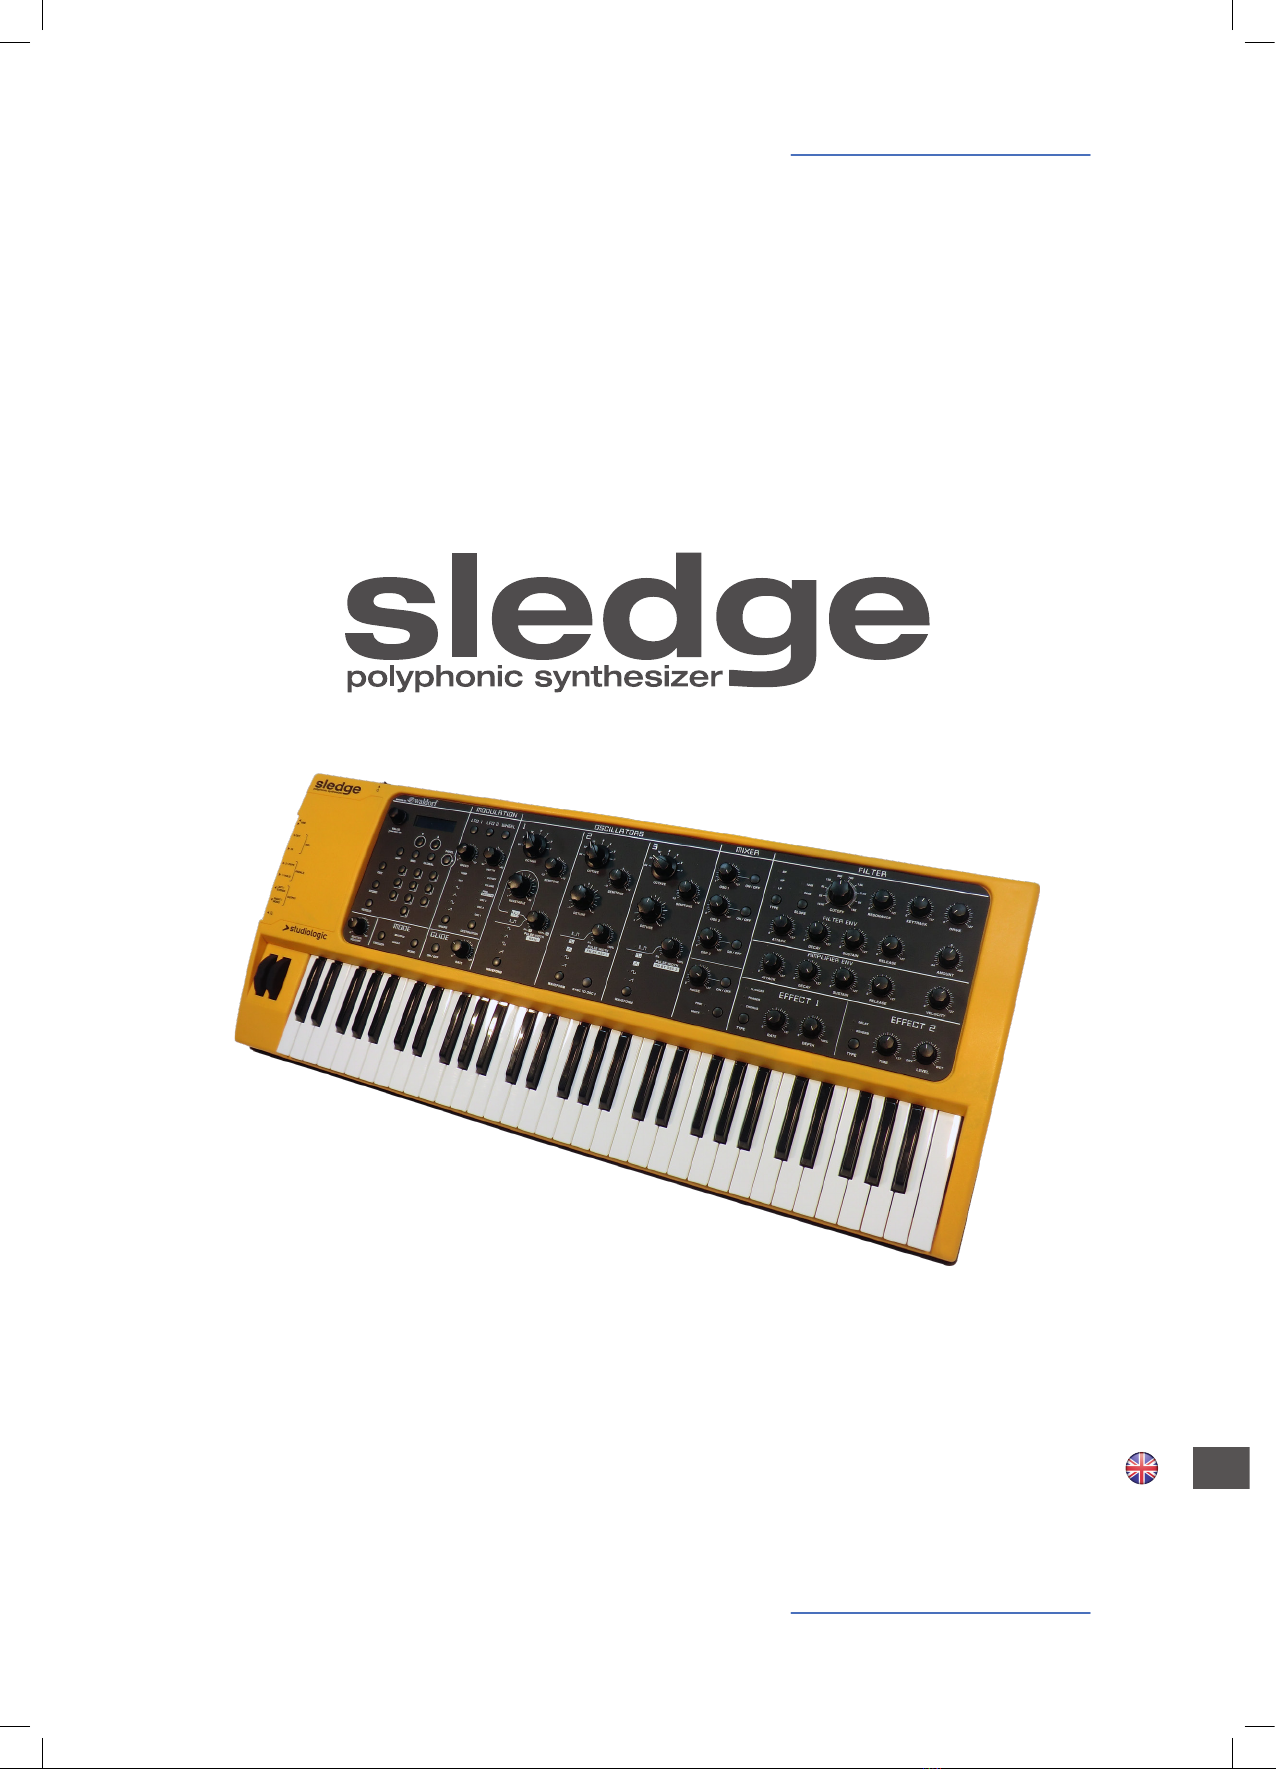
SLEDGE by Studiologic®
3
E
ENGLISH
Operation Manual

SLEDGE by Studiologic®
4
Safety Instructions
Important Safety Instructions
Please read the entire manual. It contains all the information
you need to use this unit.
Please follow the instructions in the manual. The warranty will
be void if unauthorized work is carried out on the instrument.
Only accessories that are specied by the manufacturer should
be used with this unit. Use the unit only as specied in this ma-
nual
DANGER!
Risk of electric shock. Do not open the chassis. There are no
user serviceable parts inside.
The unit should only be serviced by qualied service sta
Mains
Before connecting the unit to the main power, please check if
the it is suitable for the instrument. The unit can be powered
with 100 – 240VAC, using the included power cord.
Humidity
To reduce the risk of re or electric shock, do not expose the
unit to rain or moisture. Never place containers with liquid on
the unit. Do not use the unit near water, swimming pool, bath-
tub or wet basement. If the unit is moved from a cold place to a
warm room, condensation may occur inside. To avoid damage
please allow the unit to reach room temperature before swit-
ching on.
Installation
Always use a stable rack to place the keyboard on. Please be
aware of its size and weight.
Cleaning / Maintenance
Never use any abrasive detergent, which may damage the
surface. We recommend a slightly moist micro-bre cloth.
Packaging
Please keep all packaging and use it to protect the keyboard
when transporting, eg if servicing is required.

SLEDGE by Studiologic®
5
E
Index
4
6
7
7
8
9
10
10
10
10
11
11
11
11
12
13
14
15
16
17
17
18
19
19
19
19
20
21
22
23
23
25
27
Safety Instructions
Your new SLEDGE
How functions are shown in this manual
Control panel / Back View
Before using the SLEDGE
Connections
Sound Select / Variations
Functions
Modulation/Glide
Oscillators / Mixer / Noise
Filter
Eects
Declarations
Appendix
Wheels
Master Volume
Mode Trigger
Mode Mono
Sound Selection
10‘HOLD
Store
Exit
Category Search
Arpeggiator
MIDI
Global
Panel
LFO1/LFO2/WHEEL
Glide
Oscillator 1
Oscillator 2
Oscillator 3
Mixer
Noise
Filter
Filter Envelope
Amplier Envelope
Eect 1
Eect 2
MIDI Implementation Chart
Technical specications
Pedal specications
Dimensions
SLEDGE by Studiologic®
6
Your new SLEDGE
Thank you very much for choosing the SLEDGE. You have obtained a state-of-the-art keyboard
made by the renowned manufacturer Studiologic in cooperation with Waldorf. The SLEDGE is easy
to operate, thanks to the real-time complete control panel, and oers a perfect keyboard touch.
We recommend that you read the entire manual carefully to take full advantage of all the functions
of your SLEDGE. This manual is intended to be an easy, fast and quick guide that should help the
user to understand the instrument and all related controls, rather than a general description of
the synthesizer’s structure and related sound synthesis techniques. Additional information will be
made available on the Studiologic web sites, as well as any upgrade might be available.
An overview of the SLEDGE:
The SLEDGE concept has been devloped by the Studiologic
design team as a challenging goal to create the best solution
for all musicians and music lovers searching for a powerfull
sound heart in a unique design and vintage look. Thanks to
the cooperation with Axel Hartmann the dream become real.
The SLEDGE oers the touch technology by Fatar: the key-
board TP9S. The SLEDGE weighs just 8,3 kg and is therefore
very portable.
The sound engine has been developed, under STUDIOLOGIC
specications, in cooperation with the very well known Wal-
dorf design team, oering the state of the art in virtual ana-
log modelling.
A complete set of controls allows to access and modify any
parameter of the sound engine with the same direct ap-
proach you can nd in the best professional vintage analogue
synthesizer. In addition to this, all parameters can be sent and
recived via MIDI/USB for total remote control of the instru-
ment as well as to control external MIDI devices or VST apps.
All connections are placed in a very accessible position, on
the left side of the instrument, allowing the user to connect
the instrument in a fast, clear and reliable way. Connections
include Audio out and Headphones, as well as MIDI and USB
ports.
SLEDGE
Power Chord
Operation Manual (CD)
Concept and Design
Synth action
Sound engine
Real-time Control Panel
Connections
Delivery includes
SLEDGE by Studiologic®
7
E
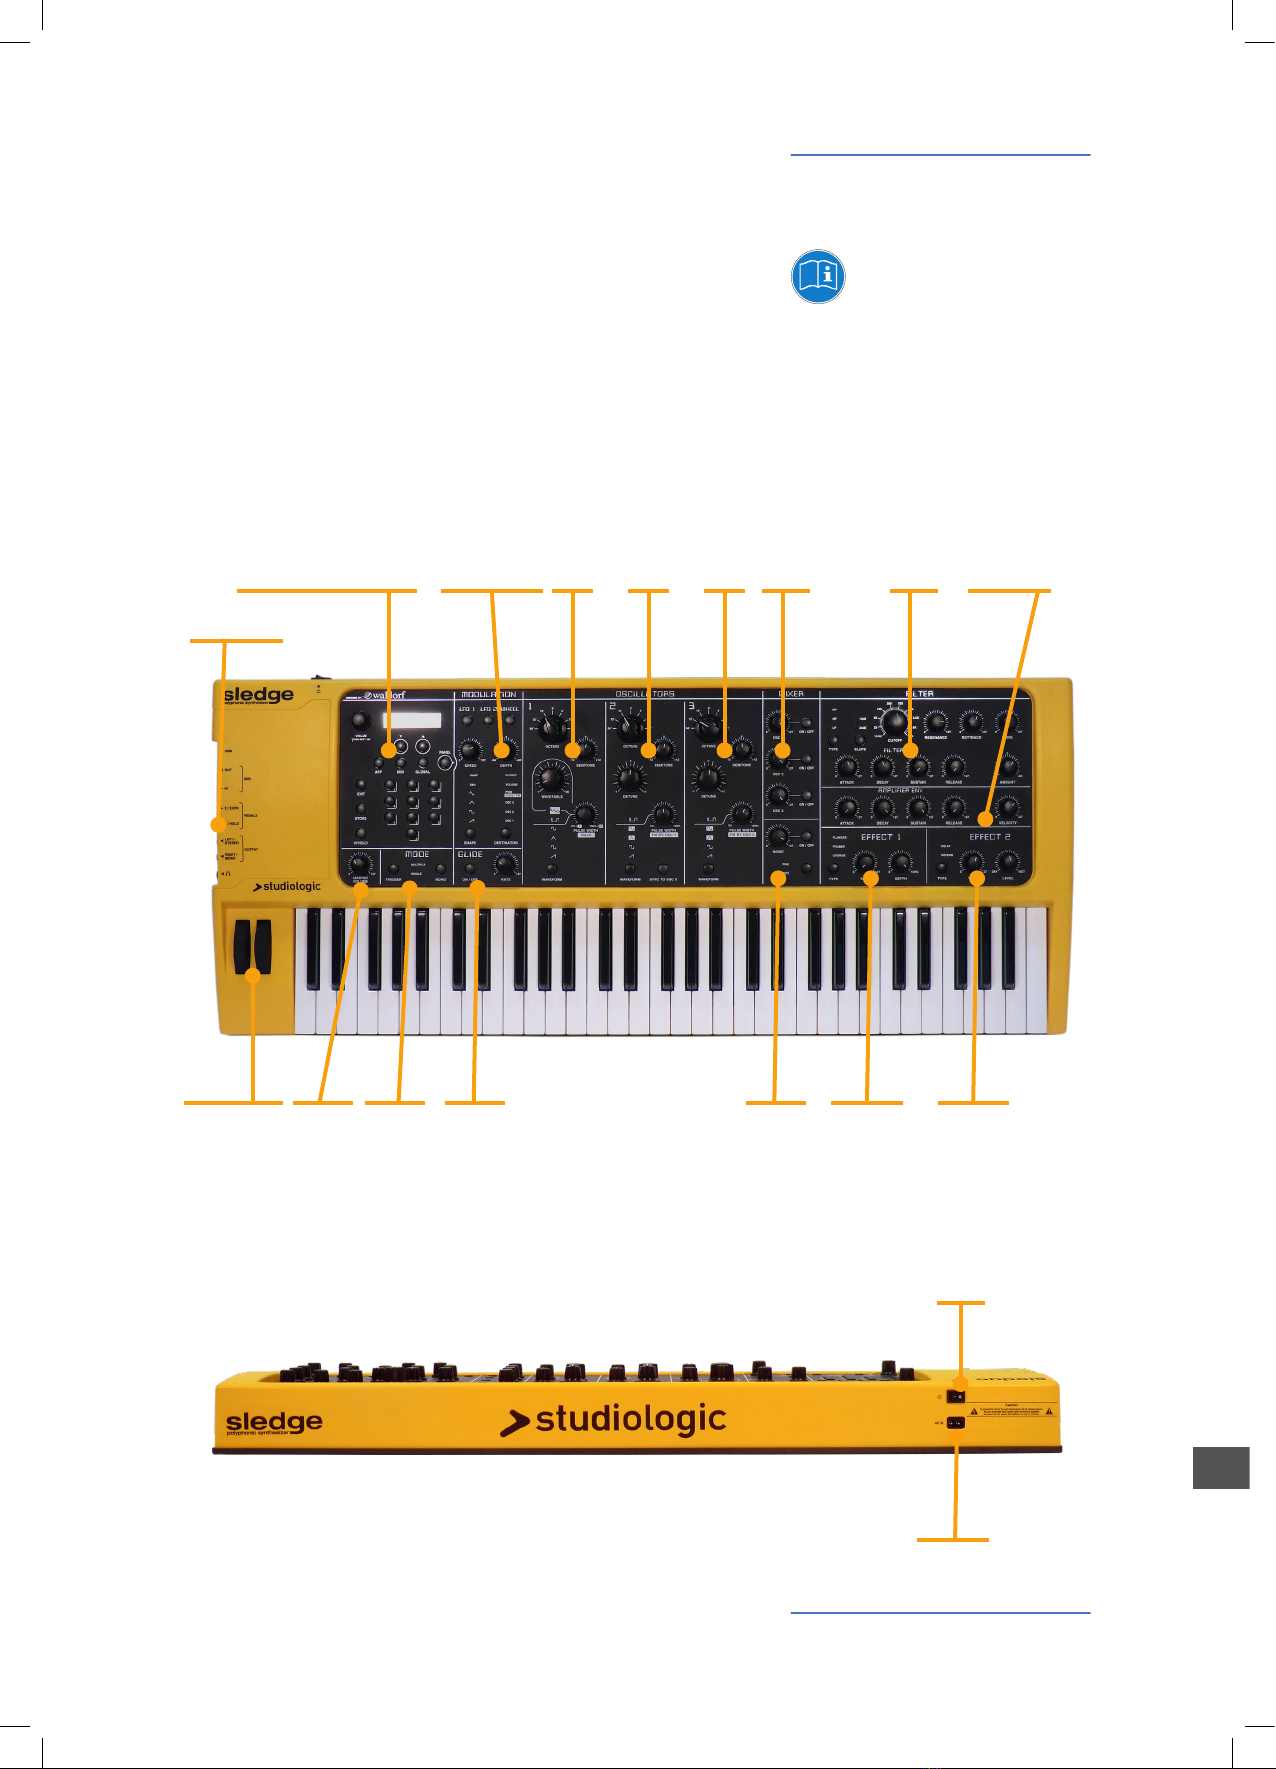
Control Panel / Connections
Connections
MODULATION OSC1 OSC2 OSC3 MIXER FILTER
On/O
AMPLIFIER
Pitch & Mod
Wheels
Master
Volume
MODE GLIDE NOISE EFFECT 1
AC IN
240-100V
EFFECT 2
Sound selection - STORE
ARP - MIDI - GLOBAL
PANEL Function
How functions are shown in
this manual
All operation buttons are marked in bold italic in this manual
(example: On/O).
TOP VIEW
BACK VIEW

SLEDGE by Studiologic®
8
Before using the SLEDGE
Power connection
Sustain / Expression pedal
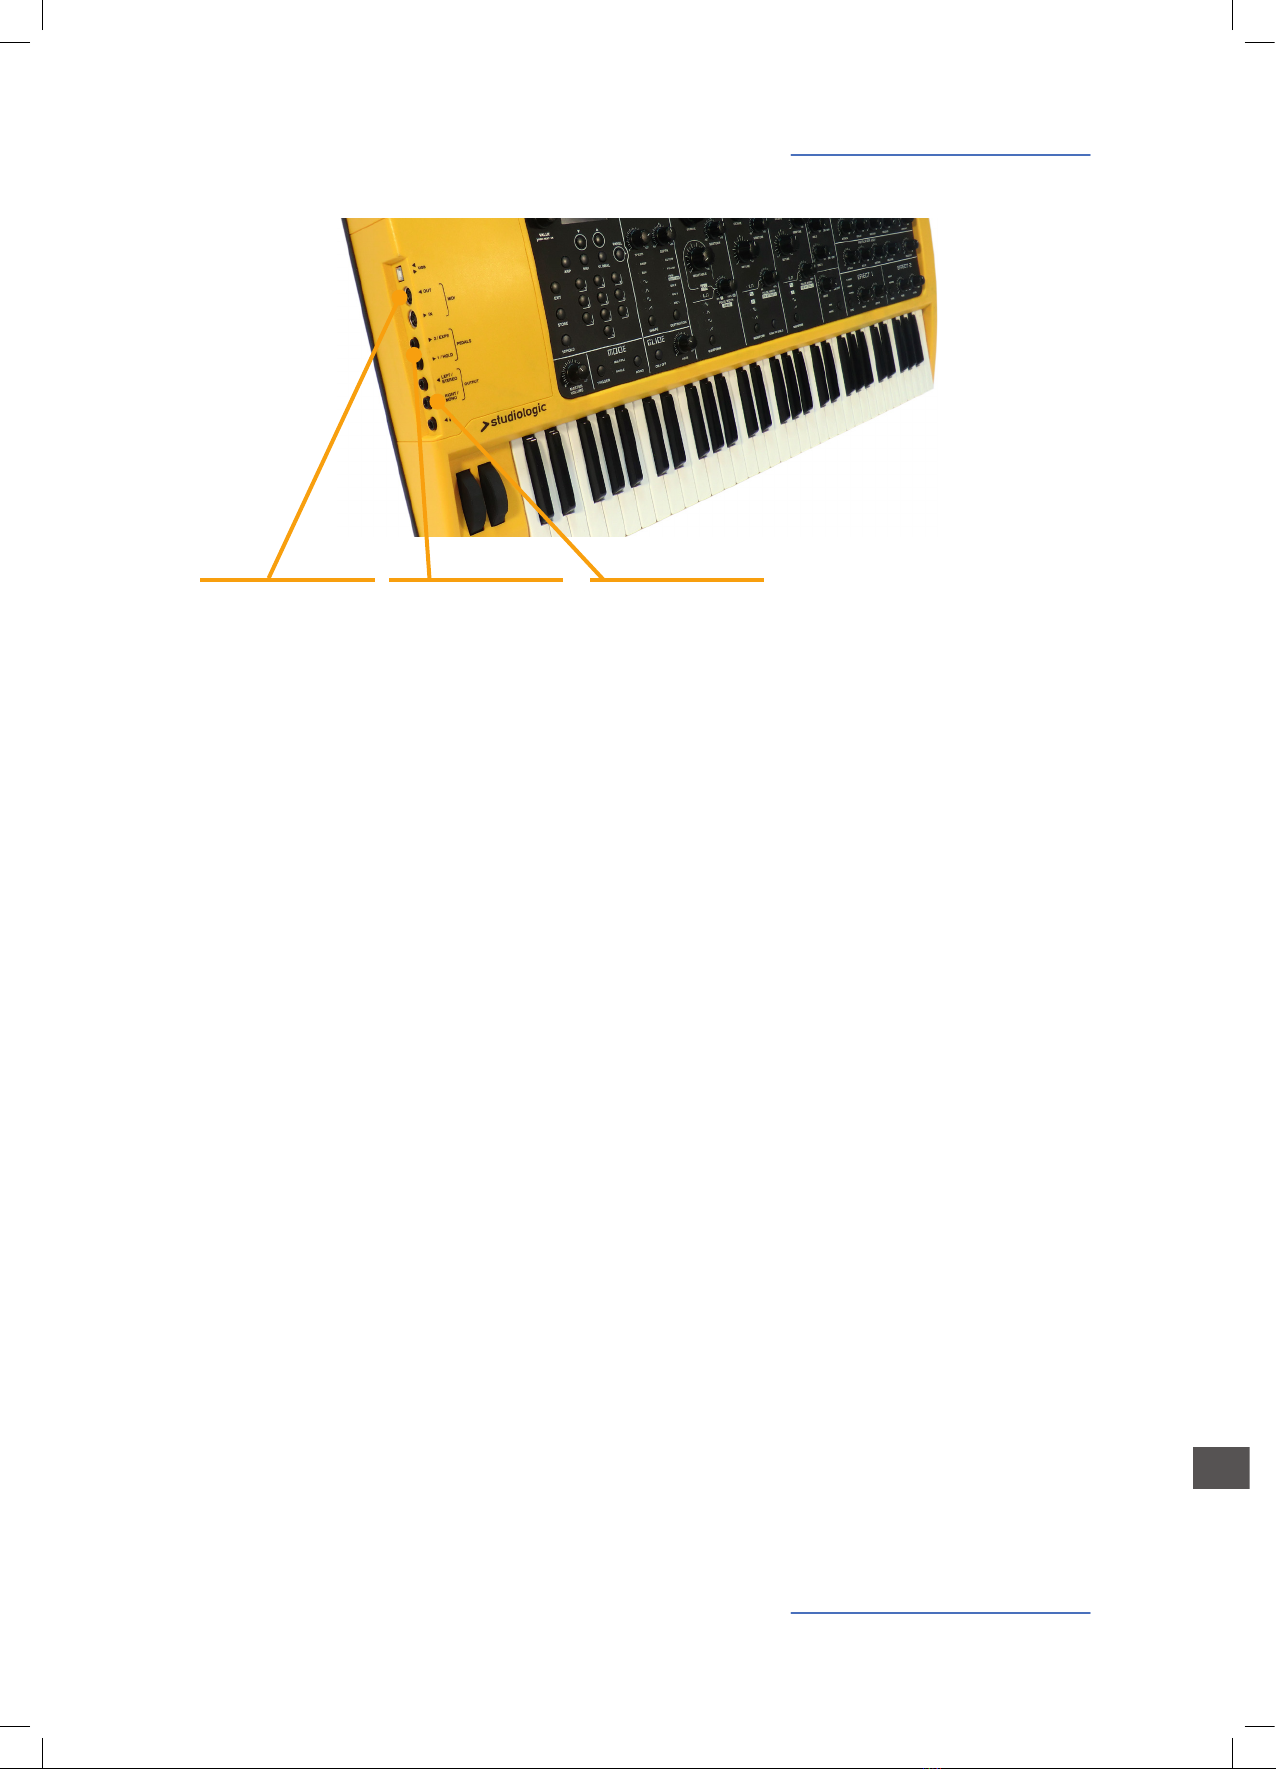
Audio output
Headphones
Volume
USB
Use the power chord to connect the instrument to the power
socket. Switch the unit on by using the power switch near to
the power plug on the back of the instrument.
Connect the (optional) sustain pedal PS-100 or VFP 1 at the
socket which is labelled Hold. At the socket labelled Expressi-
on, you can plug in the Studiologic pedal VP 27, which is also
available as an option.
Connect the audio outputs Left and Right with the inputs of
your mixing desk or amplier.
Plug in your stereo headphones in the dedicated output (if
needed).
When you use the instrument for the rst time, we recom-
mend you to turn the Volume knob on the Output section
to not more than half way between 0 and Full. While you are
playing you can adjust the volume as you choose. Adjusting
the Volume knob eects all audio out and headphone out-
puts at the same time.
CAUTION:
To prevent hearing damage you should – as with all audio
devices – avoid using the instrument at high volume for long
periods.
NOTE:
To prevent possible damages to the speaker system, we
strongly reccomand to keep the external mixer or amplier
volume and the SLEDGE Master Volume at ZERO/MIN when
turning the instrument ON or OFF.
For data transmission via USB, connect the instrument to your
computer with a USB cable. The rst time you switch the in-
strument on, it will be recognized by your computer automa-
tically and the appropriate driver will be installed by the OS
(class compliant).
SLEDGE by Studiologic®
9
E
Connections
You can either connect a good headphones set to the dedica-
ted output and insert one jack cable in the Output Right/Mono
(if you decide to have a Mono output mixing) or 2 separate jack
cables in both dedicated Output plugs, if you can use a Stereo
channel on your external mixer or audio equipment (a stereo
connection is always suggested). Note: please be sure that the
output volume (main) or the channel (track) volume of the
external mixer is set to 0, in order to avoid any possible audio
interference when the instrument is turned On or O; there is
an anti-audio noise circuit that is protecting the output when
the instrument is switched On or O, but under some condi-
tion this protection could not be sucient, so we suggest to
avoid any risk by keeping the external volumes down to zero.
You can connect a compatible Switch pedal to Pedal 1 / Hold
(PS-100 or VFP1) and/or a dedicated Volume / Expression Pe-
dal to the dedicated Pedal 2 /Expression (VP 27).
The Expression pedal can be assigned to control the follow-
ing functions: Volume, Filter Cuto or Modulation. See the
related Global Section at pag. 39
Audio Output / Headphones
Pedals
Hold/Expression
MIDI / USBThe MIDI connections allow to control any external Midi
Device and/or control the SLEDGE from any external MIDI
device, for all related data transmission (notes, program
changes etc.) The USB (Universal Serial Port) also allows the
connection to external devices (i.e. Computers) and updates
of the rmware are also accessible via USB. For all Midi data
details, please refer to the Midi Implementation Chart at the
end of the present manual.
Output / Headphones
• Left, Right
Pedals
• Expression, Hold
MIDI / USB
• MIDI In, MIDI Out
• USB
SLEDGE by Studiologic®
10
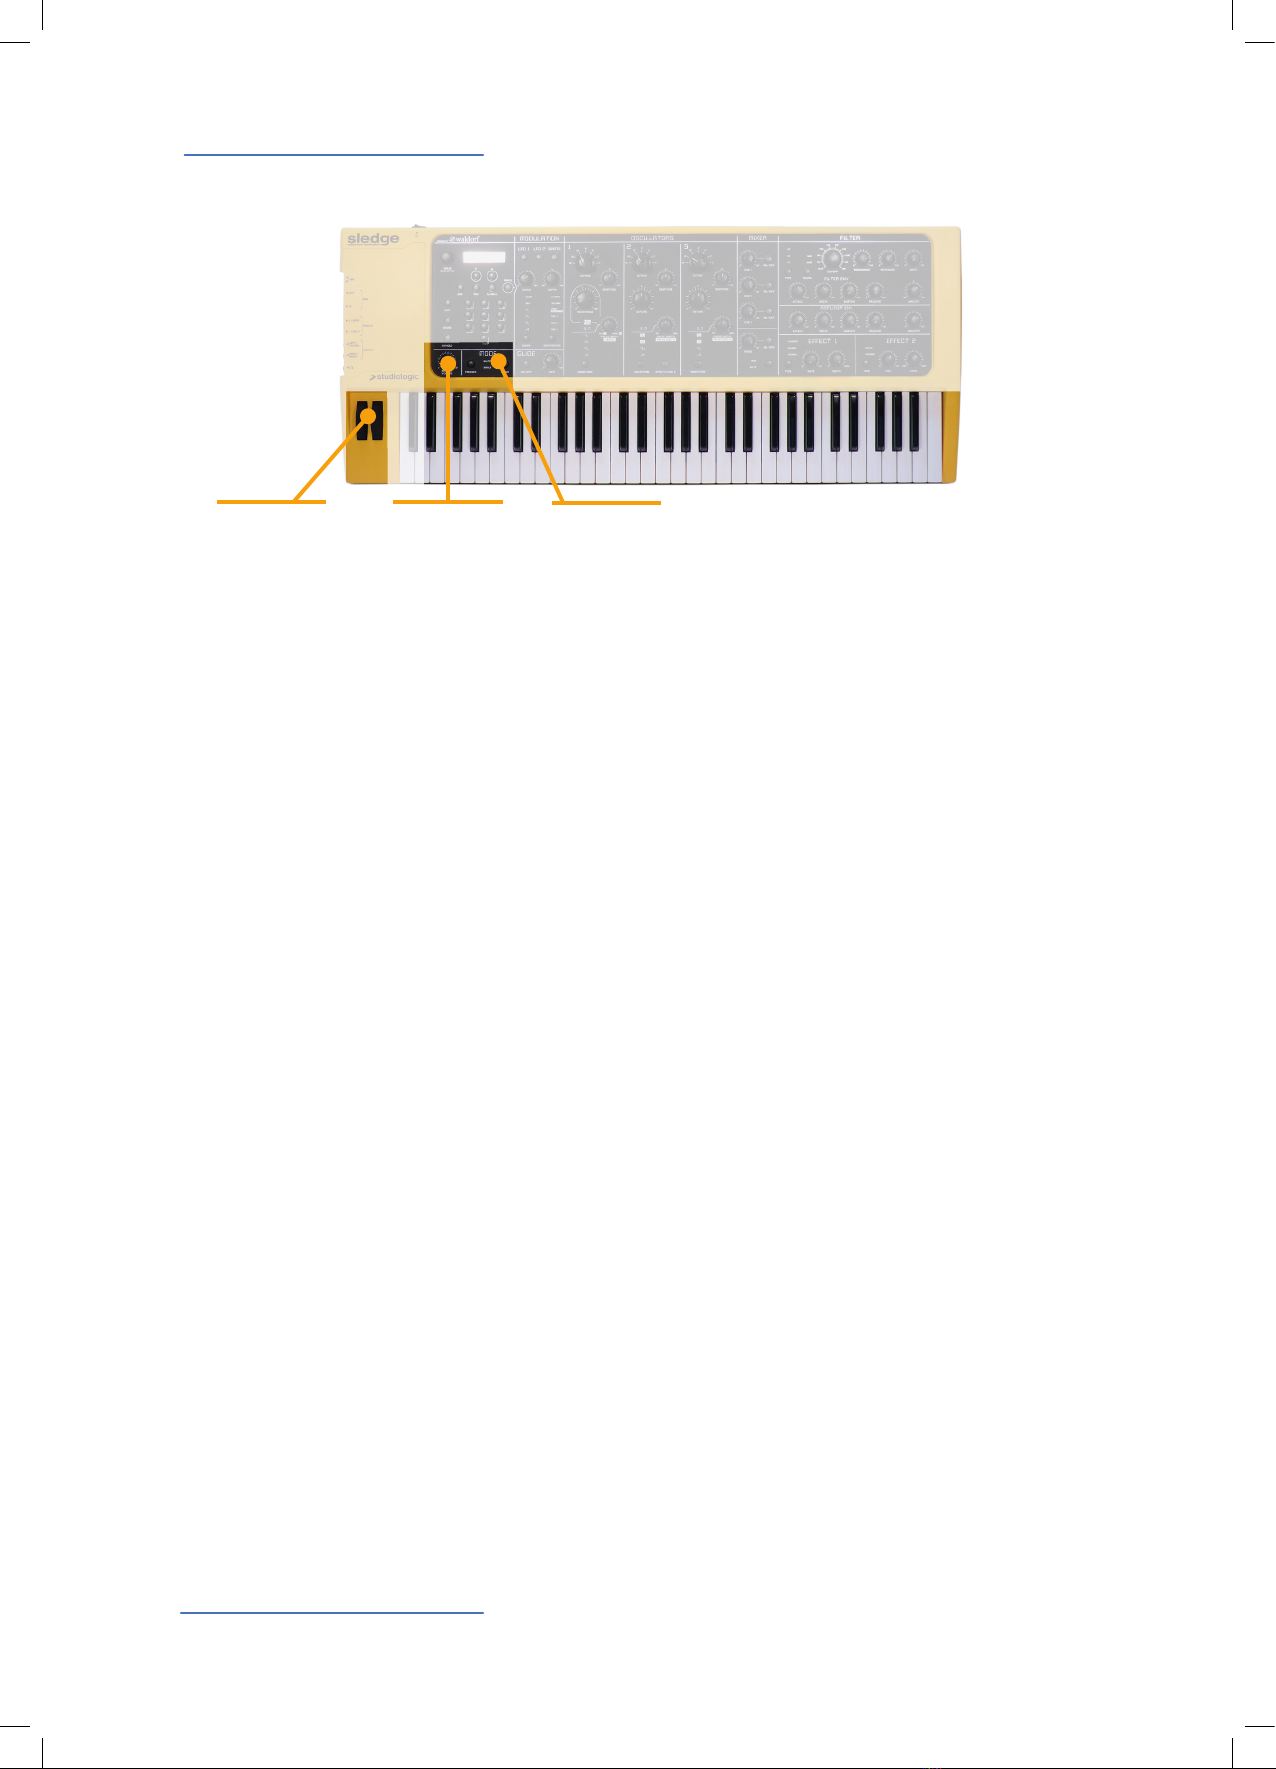
Wheels / Master Volume / Mode
The 2 wheels on the left side of the instruments are the most
popular real-time controls, used since the early Analogue
Synthesizer time; they allow to control both the Pitch Ben-
ding of the sound in a smooth way (left wheel) with an inter-
val that can be selected in the GLOBAL section (see related
chapter) while the second Mod (Modulation) wheel can con-
trol a number of dierent parameters that can be selected by
the related Destination control of the Modulation section, as
it is explained in the apposite paragraph.
This control is related to the Output level of the instrument
and also to the Headphones volume; we suggest to put the
Volume control at 0 before switching the instrument On or
O and to set the volume at a mid level (approx 64) in order to
leave some values for increasing the volume if/when needed.
This function allows to decide if all Filter and/or Envelope pa-
rameters are repeated at any new note or only when playing
“staccato” (releasing the ngers from the keys between a pla-
yed note/chord and the next one). This is a very useful feature
for maximum musical expression. In addition to this, if Single
Mode is selected and the Glide function is activated, the re-
lated Glide eect will be obtained only if playing “legato” (no
zero-notes during a scale or arpeggio) allowing a further mu-
sical real-time expression.
This function enables the “mono” playing mode for any se-
lected sound, that become a monophonic sound, conse-
quently no more than one (1) note at the time is played by
the internal sound module, despite the number of key actu-
ally played on the keyboard; the standard default function
plays the last note played on the keyboard, regardless its po-
sition (time priority)
Wheels
Master Volume
Mode Trigger
Mode Mono
WHEELS
• Modulation
• Pitch
Master Volume MODE
• Trigger
• Mono
Other manuals for sledge
1
Other Studio Logic Synthesizer manuals