Strong SRT 5001 ECO User manual

www.strong.tv
User manual
Picture similar
Digital Terrestrial Receiver
SRT 5001 ECO


PART 1 • English
1
English
per March 2010
* €0,14/Min. from German wired line
* €0.42/Min. max. from mobile network
* €0,12/Min. from Austrian wired line
* €0,14/Min. from French wired line
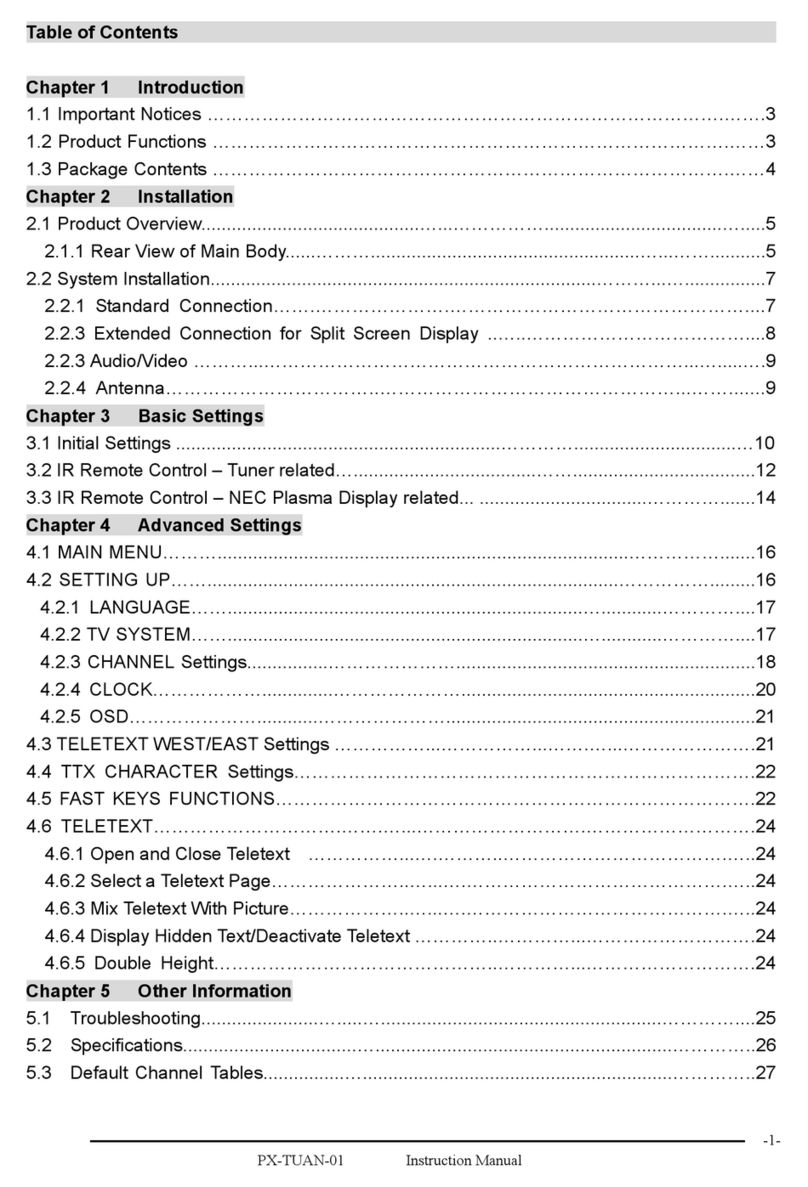
TABLE OF CONTENTS
1.0 INSTRUCTION 2
1.1 Safety Instructions 2
1.2 Storage 4
1.3 Equipment Set-up 4
1.4 Features & Accessories 4
2.0 CONNECTION 6
2.1 Connecting to TV and Terrestrial Antenna 6
2.2 Connecting to a Digital Audio Amplifier 6
3.0 YOUR RECEIVER 6
3.1 Front Panel 6
3.2 Rear Panel 6
3.3 Remote Control 6
3.4 Default password: 0000 7
4.0 FIRST TIME INSTALLATION 7
5.0 MAIN MENU 7
5.1 Channel 7
5.2 Installation 10
5.3 Setup 10
5.4 Tools 12
5.5 Media+ 14
6.0 OPERATION 15
6.1 Changing Channels 15
6.2 Accessing the Electronic Program Guide (EPG) 15
6.3 Accessing the favourite channels 15
A.1 TROUBLESHOOTING 16
A.2 SPECIFICATIONS 17

PART 1 • English
2
1.0 INSTRUCTION
1.1 Safety Instructions
The lightning flash with arrowhead symbol within an equilateral triangle is
intended to alert the user to the presence of not isolated dangerous voltage with
the inside of the product that may be of sufficient magnitude to constitute a risk of
electric shock to persons.
The exclamation point within an equilateral triangle is intended to alert the user
to the presence of important operating and servicing instructions in the literature
accompanying the appliance.
Read All Instructions - Before you use the product, read all operation instructions,
For more information on accessories such as the lithium ion battery, refer to the
manuals provided with those products.
Save These Instructions- Save all safety and operating instructions for future reference.
Heat Warnings - Read carefully and follow all warning labels on the product and
those described in the instructions.
Follow Instructions- Follow all instructions provided with this product.
Cleaning - Always unplug this product from the wall outlet before cleaning. Use
only a damp cloth for cleaning. Never use any type of liquid or aerosol cleaner, or
any type of organic solvent to clean this product.
Attachments - For your safety, and to avoid damaging the product, use only
accessories recommended by STRONG.
Water and Moisture - Never use this product around water (near a bathtub, kitchen
sink, laundry tub, wet basement. swimming pool or in the rain)
Location -To avoid damage to the product and prevent personal injury, never place
this product on an unstable stand, tripod, bracket, Follow the instructions that
describe how to safely mount the product, and use only the mounting devices
recommended by the manufacturer.
Power Sources - Connect this product only to the power source described on the
product label. If you are not sure about the type of power supply in your home,
consult your local power company.
Refer to instruction pages for information on using the product with a battery.
Grounding, Polarization - If this product is used with a specified AC adapter, the
adapter may be equipped with a polarized alternating current line plug (a plug with
one blade wider than the other). This safety feature allows the plug to fit into the
power outlet only one way, If you cannot insert the plug into the wall outlet, pull it
out, reverse it, and have the receptacle replaced.

PART 1 • English
3
English
Protecting the Power Cord - The power supply cord should be placed so it will not
be walked on. Never put a heavy object on the power cord or wrap it around the
leg of a table or chair. Keep the area around the power cord connection points, at
the power outlet, and at the product connection, free of all AC adapter or accessory
power cords.
GENERAL PRECAUTIONS - SAFETY PRECAUTIONS
Lightning - If a lightning storm occurs while using a specified AC adapter, remove it
from the wall outlet immediately. To avoid damage from unexpected power surges,
always unplug the AC adapter from the power outlet and disconnect it from the
receiver when the receiver is not in use.
Overloading - Never overload wall outlets, extension cords, power strips, or other
power connection points with too many plugs.
Foreign Objects, Liquid Spillage-To avoid personal injury caused by fire or electrical
shock from contact with internal high voltage points, never insert a metal object
into the product. Avoid using the product where there is a danger of spillage.
Heat - Never use or store this product near any heat source such as a radiator
heat register, stove, or any type of equipment or appliance that generates heat,
including stereo amplifiers.
Servicing - Refer all servicing to qualified personnel. Attempting to remove the covers
or disassemble the product, could expose you to dangerous high voltage points.
Damage Requiring Service - If you notice any of the conditions described below
while using a specified AC adapter. unplug it from the wall outlet and refer
servicing to qualified service personnel:
1. Liquid has been spilled onto the product or some other object has
fallen into the product.
2. The product has been exposed to water.
3. The product does not operate normally despite following operating
instructions. Adjust only the controls described in the operating
instructions ad improper adjustment of other controls could damage
the product and require extensive repair word by a qualified technician.
4. The product has been dropped or damaged in any way.
5. The product exhibits distinct change in performance.
Replacement Parts - When replacement parts are required, mare sure that the
authorized service centre uses only parts with the same characteristics as the
originals, as recommended by the manufacturer. Unauthorized substitution of
parts could result in fire, electrical shock, or create other hazards.
Safety Check - Upon completion of servicing or repairs, ask the service technician
to perform safety checks to determine that the product is in good working order.

PART 1 • English
4
Apparatus shall not be exposed to dripping or splashing and no objects filled with
liquids, such as vases, shall be placed on the apparatus.
Where the mains plug or all-pole mains switch is used as the disconnect device,
the disconnect device shall remain readily operable.
1.2 Storage
Your receiver and its accessories are stored and delivered in a packaging designed
to protect against electric shocks and moisture. When unpacking it, make sure that
all the parts are included and keep the packaging away from children.
When transporting the receiver from one place to another or if you are returning
it under warranty make sure to repack the receiver in its original packaging with
its accessories. Failing to comply with such packaging procedures could void your
warranty.
1.3 Equipment Set-up
We recommend you consult a professional installer to set up your equipment.
Otherwise, please follow these instructions carefully:
nRefer to the user manual of your TV and your antenna.
nMake sure that the SCART cable and outdoor components of the
antenna are in a good condition and the SCART connections are
well shielded.
This manual provides complete instructions for installing and using this receiver.
The following symbols will serve as below.
WARNING Indicates warning information.
Tips Indicates any other additional important or helpful information.
MENU Represents a button on the remote control or the receiver
(Bold Character)
Move to Represents a menu item within a window. (Italic Character)
1.4 Features & Accessories
nFor all* digital Free-To-Air TV and Radio programmes (with outdoor- or
indoor antenna)
nQuick and easy installation & user-friendly menu
nExcellent Audio- and Video quality
n1 000 channels memory capacity

PART 1 • English
5
English
nFast channel zapping: sorting by alphabet, free/encrypted channels
nElectronic TV Programme Guide (EPG) for on screen programme
information of present/following event information up to 7 days **
n8 wake-up Timers with 4 modes (once, daily, weekly, monthly)
nSleep Timer (10, 30, 60, 90, 120 min)
nBooking of events directly from EPG
nFull multi-lingual DVB subtitling and audio track support**
nSupport Teletext** via receiver and TV remote control
n8 Favourite lists for TV- and Radio programmes
nParental lock function for menu and rating control for channel
nMulti-lingual support on screen menu (OSD), such as English,
German, French, Italian, Spanish, Czech
nUSB port: for software update, playing video and music files and
viewing photos
nAutomatic and manual channel scan options
nMany channel handling options: locking, editing, moving, sorting,
skipping, deleting and searching
nPower on with last viewed channel
nUser-friendly Remote Control
nNTSC/PAL converting automatically and manually
n3 Games (Tetris, Snake, Othello)
nDigital sound through coaxial output (S/PDIF) by connecting to
digital amplifier
nDVB-T compliant, UHF/VHF Tuner with Loop-through function
nSupport of active antenna by 5 V output
nPower saving automatic standby function
nConnections: ANT IN, TO TV, TV SCART, S/PDIF Coaxial, USB port
* Depending on local signal conditions
** Availability depending on broadcaster
Accessories:
n1 User Manual
n1 Remote control unit
n2x Batteries (AAA type)
Note: The batteries should not be recharged, disassembled, electrically short-
circuited or be mixed or used with other types of batteries.
If rechargeable accumulators instead of batteries are going to be used, we
recommend using (e.g. NiMH) types with low self-discharge to ensure long time
operation of remote control.

PART 1 • English
6
2.0 CONNECTION
2.1 Connecting to TV and Terrestrial Antenna
To receive the broadcast signal, the terrestrial antenna cable should be connected
to the ANT IN connector at the back of the receiver. (Fig. 1)
2.2 Connecting to a Digital Audio Amplifier
Connect your Digital Audio Amplifier with the S/PDIF connector on the back of the
receiver (Fig. 2).
3.0 YOUR RECEIVER
3.1 Front Panel
Fig. 3
3.2 Rear Panel
Fig. 4
1. ANT IN To connect an antenna for reception of broadcasting signal.
2. TO TV To connect a TV set or to connect an extra receiver.
3. S/PDIF (Coax.) To connect your receiver to digital audio amplifier.
4. USB To connect an USB device.
5. TV SCART To connect your receiver with your TV set using a
SCART cable.
6. Power Cord Your receiver requires a voltage of 220 – 240 V AC (Auto-
selectable), 50/60 Hz ± 5 %. Make sure to check the power
specification before connecting your receiver to the
wall outlet.
3.3 Remote Control
Fig. 5
1. Turns the receiver On/Standby
2. INFO Shows the actual channel information
3. SUBTITLE Shows list of subtitle languages
4. Mutes audio output of the receiver
5. CH+/CH- Channel up/down
6. RECALL Back to previous shown channel
7. VOL+/VOL- Volume up/down
8. MENU Opens the main menu/In menu you will get one step back

PART 1 • English
7
English
9. EXIT Exits from the menu or sub-menu
10. pq Menu Off: Change channel to previous/next.
Menu On: Moves the cursor up/down.
11. tu Menu Off: Increases/decreases the volume level.
Menu On: Change settings n specific Menus
12. OK Menu On: Activates the highlighted menu item.
Menu Off: Displays the current channel list
13. EPG Shows the EPG (Electronic Program Guide) in TV mode
14. FAV Favourite group selection
15. PG+/PG- Page up/down
16. [0~9] Channel selection or value input
17. AUDIO Sets the current audio channel to left, right or stereo
18. PAUSE Freeze/Resume picture
19. TV/RADIO Toggles between TV or RADIO mode
20. TXT Shows Teletext on OSD (On Screen Display) if applicable
21. COLOURED BUTTONS for Teletext functions
3.4 Default password: 0000
4.0 FIRST TIME INSTALLATION
If you use the receiver for the first time, the “Easy Install” menu appears. Use the
tu buttons to change settings for setup of Region, OSD Language, Antenna Power
and Scan Mode and the pq to select. Then use the pq buttons to move focus to
Search and press OK to proceed with the automatic channel scan.
5.0 MAIN MENU
In viewing mode always press MENU to enter the Main Menu. It consists of
following submenus: Channel, Installation, Setup, Tools and Media+
5.1 Channel
1. Use the pq buttons to select Channel and press OK to enter.
2. Use the pq buttons to highlight the desired item and press OK to select.
3. Press EXIT to exit.
Note: You can also press OK in TV mode to enter channel list.
Table of contents
Other Strong TV Receiver manuals

Strong
Strong SRT 4935II User manual

Strong
Strong SRT 5020X User manual

Strong
Strong SRT 5392 User manual

Strong
Strong SRT 5024 User manual

Strong
Strong SRT 8201 User manual

Strong
Strong SRT 56 User manual

Strong
Strong SRT 5855 User manual

Strong
Strong SRT 5406 User manual

Strong
Strong SRT 4950E User manual

Strong
Strong SRT 8213 User manual

Strong
Strong PRIMA III User manual

Strong
Strong SRT 5800 User manual

Strong
Strong SRT 5011 User manual

Strong
Strong SRT 8105 ECO User manual

Strong
Strong SRT 5203 User manual

Strong
Strong SRT 55 User manual

Strong
Strong SRT 5005 User manual

Strong
Strong SRT 8205 User manual

Strong
Strong SRT 7004 User manual

Strong
Strong SRT 5400 User manual