9
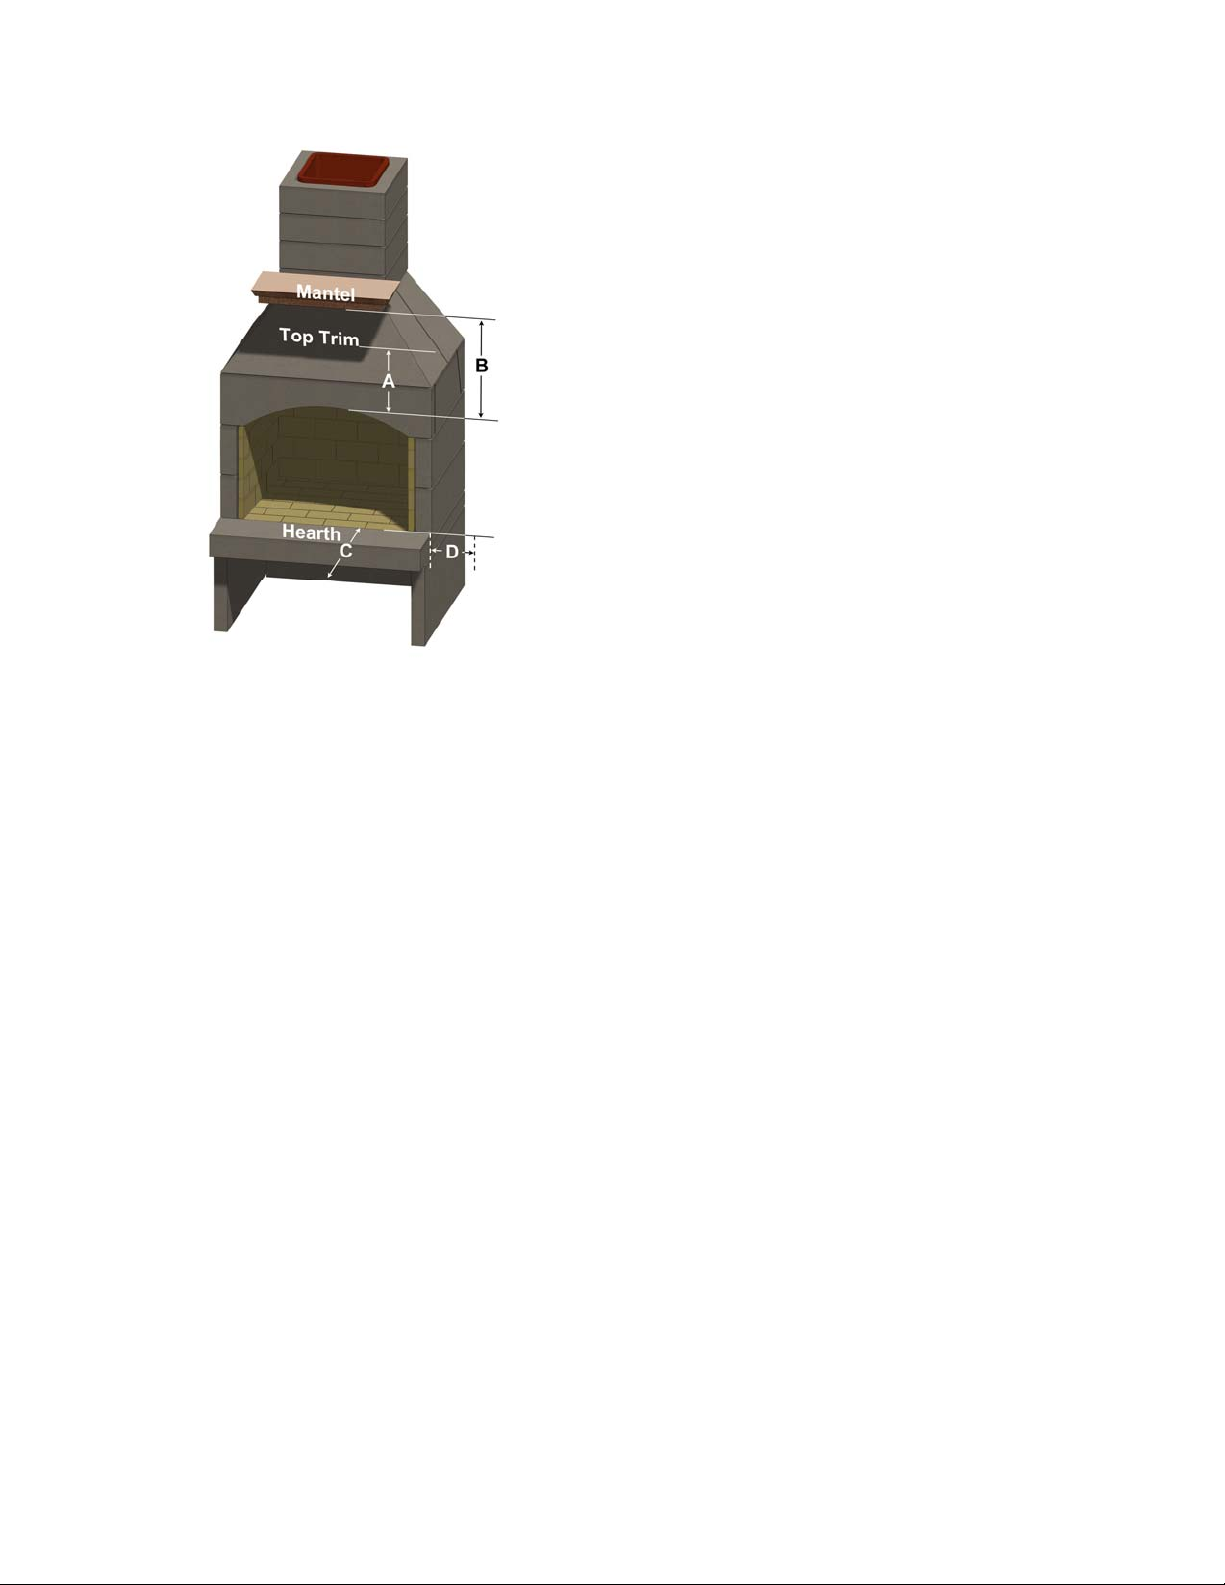
Q. Ensure the Table 2 and Figure 3 clearances and
distances are maintained. Ensure that the hearth and
flooring under and in front of the hearth are made of
fully non-combustible materials, not just a non-
combustible floor covering. When the hearth instal-
lation is complete, if the chimney complete and is not
continuing through a roof or structure, you are ready
to install the exterior finish. If the chimney will be
continuing through a roof or structure proceed to
Paragraphs 4.0 and 4.1 before beginning the finish
application.
If installing a mantel and side trim, particularly if it
is wood or other combustible materials, ensure the
minimum distances shown in Table 2 and Figure 3
are met.
3.3 Exterior finishing
The exterior of the fireplace may be finished in any
masonry-compatible material. Mantle and exterior
veneers may be fabricated stone, thin veneer or full
bed depth natural stone, tile, brick or stucco.
If the exterior finish will be stucco, stain, tile or manu-
factured thin stone, wrap the outside of the firebox
with metal lathe. Attach metal lathe to the firebox us-
ing concrete nails, tapcons, masonry or concrete an-
chors. Natural stone veneers (whether full bed depth
or thin veneer), full size brick, concrete pavers, CMU
block, etc., do not require metal lathe.
Ensure the same refractory mortar used to build the kit
is used to install these materials.
4.0 Installation of Chimney Through a
Roof or Structure
A. The chimney is completed by stacking as many
flue sections as necessary to reach the desired chim-
ney height. Chimney plumbing can either be straight
through the ceiling and through the roof, or if the fire-
place is installed on an outside wall, the chimney can
be external to the house. When needed, offset blocks
can be used for the chimney and should be engineered
to structurally support the offset with CMU or custom
fabricated steel posts and/or angle iron capable of
supporting the weight and height of the chimney.
Never exceed more than a 30 degree angle when off-
setting a chimney.
B. If chimney exit opening does not already exist
locate the point where the chimney will exit the roof
by plumbing down to the center of the fireplace
chimney. Drive a nail into the roof to mark the cen-
ter.
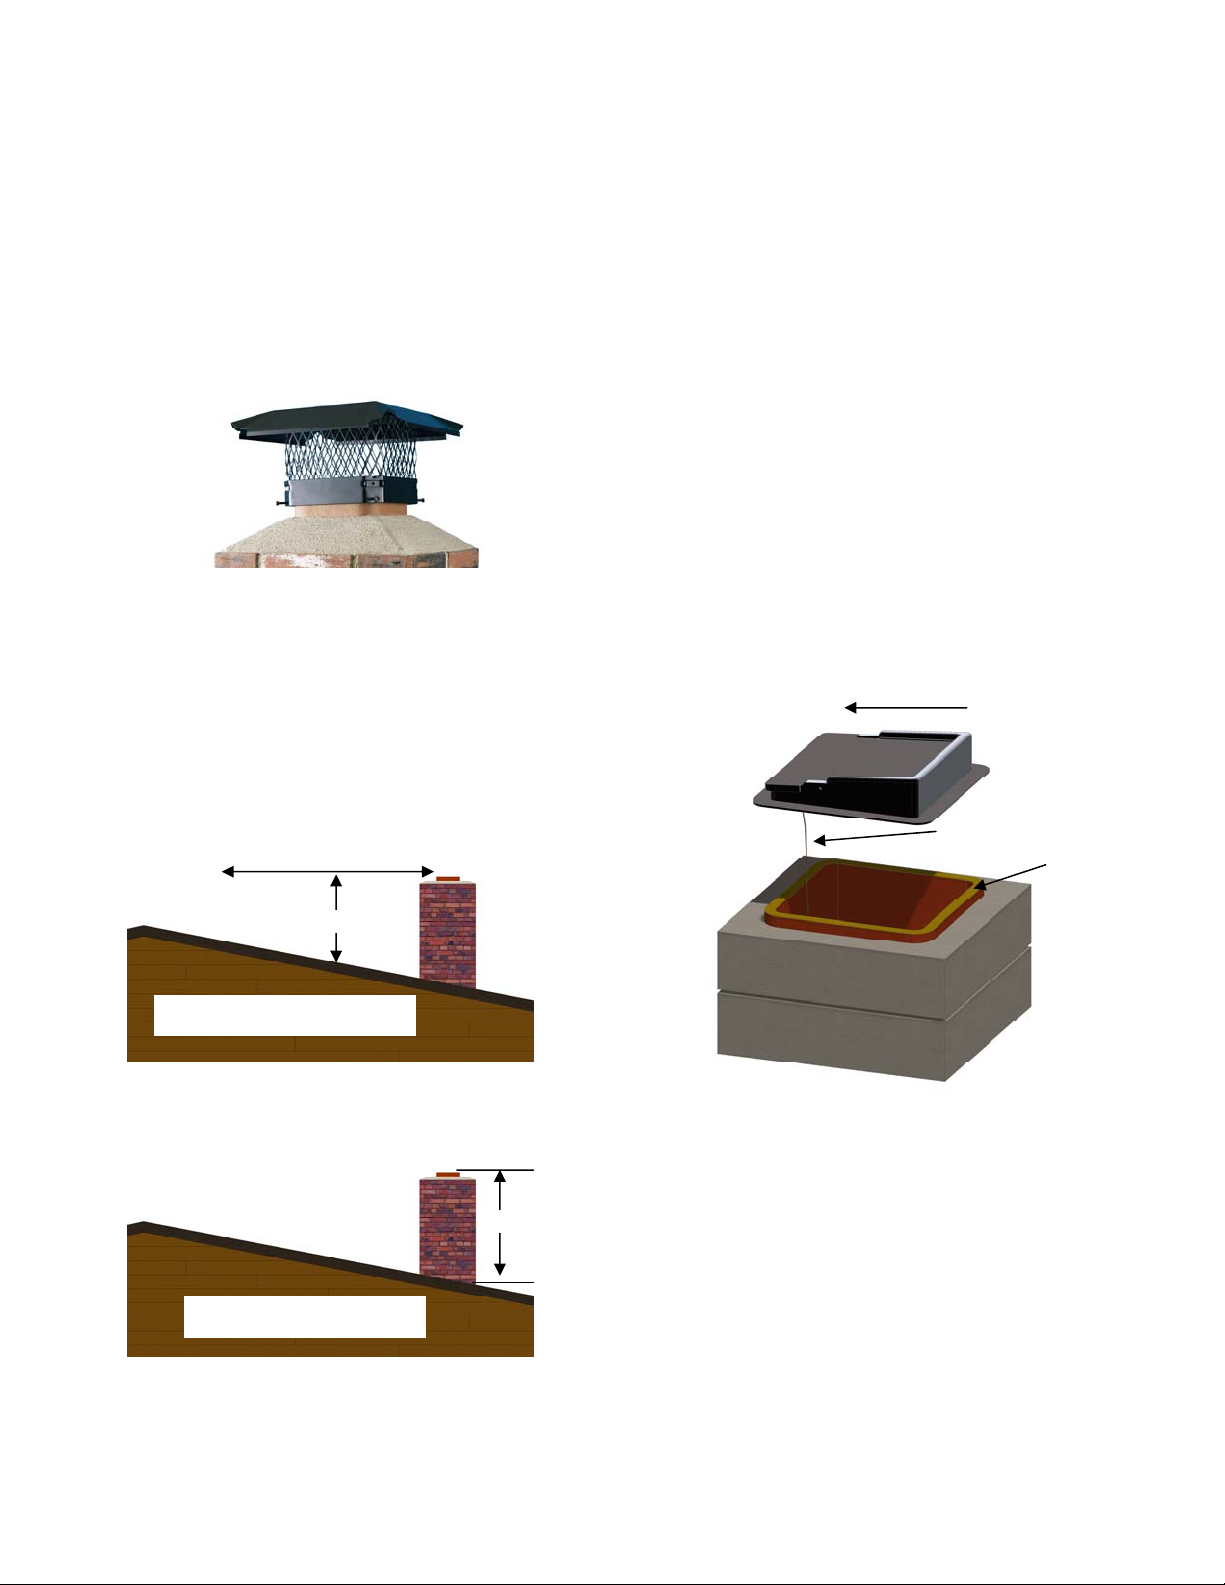
C. Measure to all sides of the nail and mark the re-
quired opening, and then cut a hole in the roof. Re-
member that the hole is measured on the horizontal,
and then projected to the roof. The hole may then be
larger, depending on the pitch of the roof. See Fig-
ure 25.
D. Frame the opening in the roof, maintaining the
required minimum 2” clearances to combustibles
around the chimney. See Table 2. When the chim-
ney passes through a ceiling to an upper floor, make
sure the 2-inch clearance is maintained with framing
where it passes through the ceiling. Exterior veneer
attached directly to the chimney measuring 2” or
more is acceptable for needed clearance.
WARNING: DO NOT PACK REQUIRED AIR
SPACES WITH INSULATION OR
OTHER MATERIALS.
E. Continue to add flue sections, extending the
chimney through the roof.
F. As the chimney extends through the attic to the
Figure 25. Roof Penetration