SMK-Link RemotePoint VP4550 User manual

VP4550

Page 1
Regulatory Compliance
This device complies with Part 15 of the FCC Rules. Operation
is subject to the following two conditions:
(1) This device may not cause harmful interference, and (2) This device must accept
any interference received, including interference that may cause undesired operation.
FCC Certication
This equipment has been tested and found to comply with the limits for a Class B
digital device, pursuant to Part 15 of the FCC rules. These limits are designed to
provide reasonable protection against harmful interference when the equipment
is operated in a residential installation. This equipment generates uses and can
radiate radio frequency energy and, if not installed and used in accordance with the
instructions, may cause harmful interference to radio communications. However,
there is no guarantee that interference will not occur in a particular installation. If this
equipment does cause harmful interference to radio or television reception, which
can be determined by turning the equipment off and on, the user is encouraged
to try to correct the interference by one or more of the following measures:
Reorient or relocate the receiving antenna.
Increase the separation between the equipment and receiver.
Consult the dealer or an experienced radio/TV technician for help.
•
•
•

Page 2
Notice: Any changes or modications not expressly approved by the
party responsible for compliance could void the user’s authority to
operate the equipment. Extension cables are not recommended, if used,
they must be shielded in order to comply with the emission limits.
IC Certication
The term “IC” before the certication/registration number only signies
that the Industry Canada technical specications were met.
Declaration of conformity
Hereby, SMK-Link Electronics Corporation declares that this product is in
compliance with the essential requirements and other relevant provisions
of Directive 1999/5/EC. All trademarks and registered trademarks
mentioned in this document are the property of their respective owners.
Features and specications are subject to change without notice.
© 2012 SMK-Link Electronics, Inc.

Page 3
System Requirements
Hardware:
1 available USB port
Operating System:
Windows 2000, XP or Vista
Macintosh OS X or above (F5 Slideshow and Alt-
Tab Application Switch not supported)
Package Contents
Wireless 2.4 GHz stopwatch presenter
Micro USB receiver dongle (stored inside presenter)
2 x AAA batteries
User’s manual
Carrying case
•
•
•
•
•
•
•
•
Page 4
Installing the Rechargeable
Batteries (Supplied)
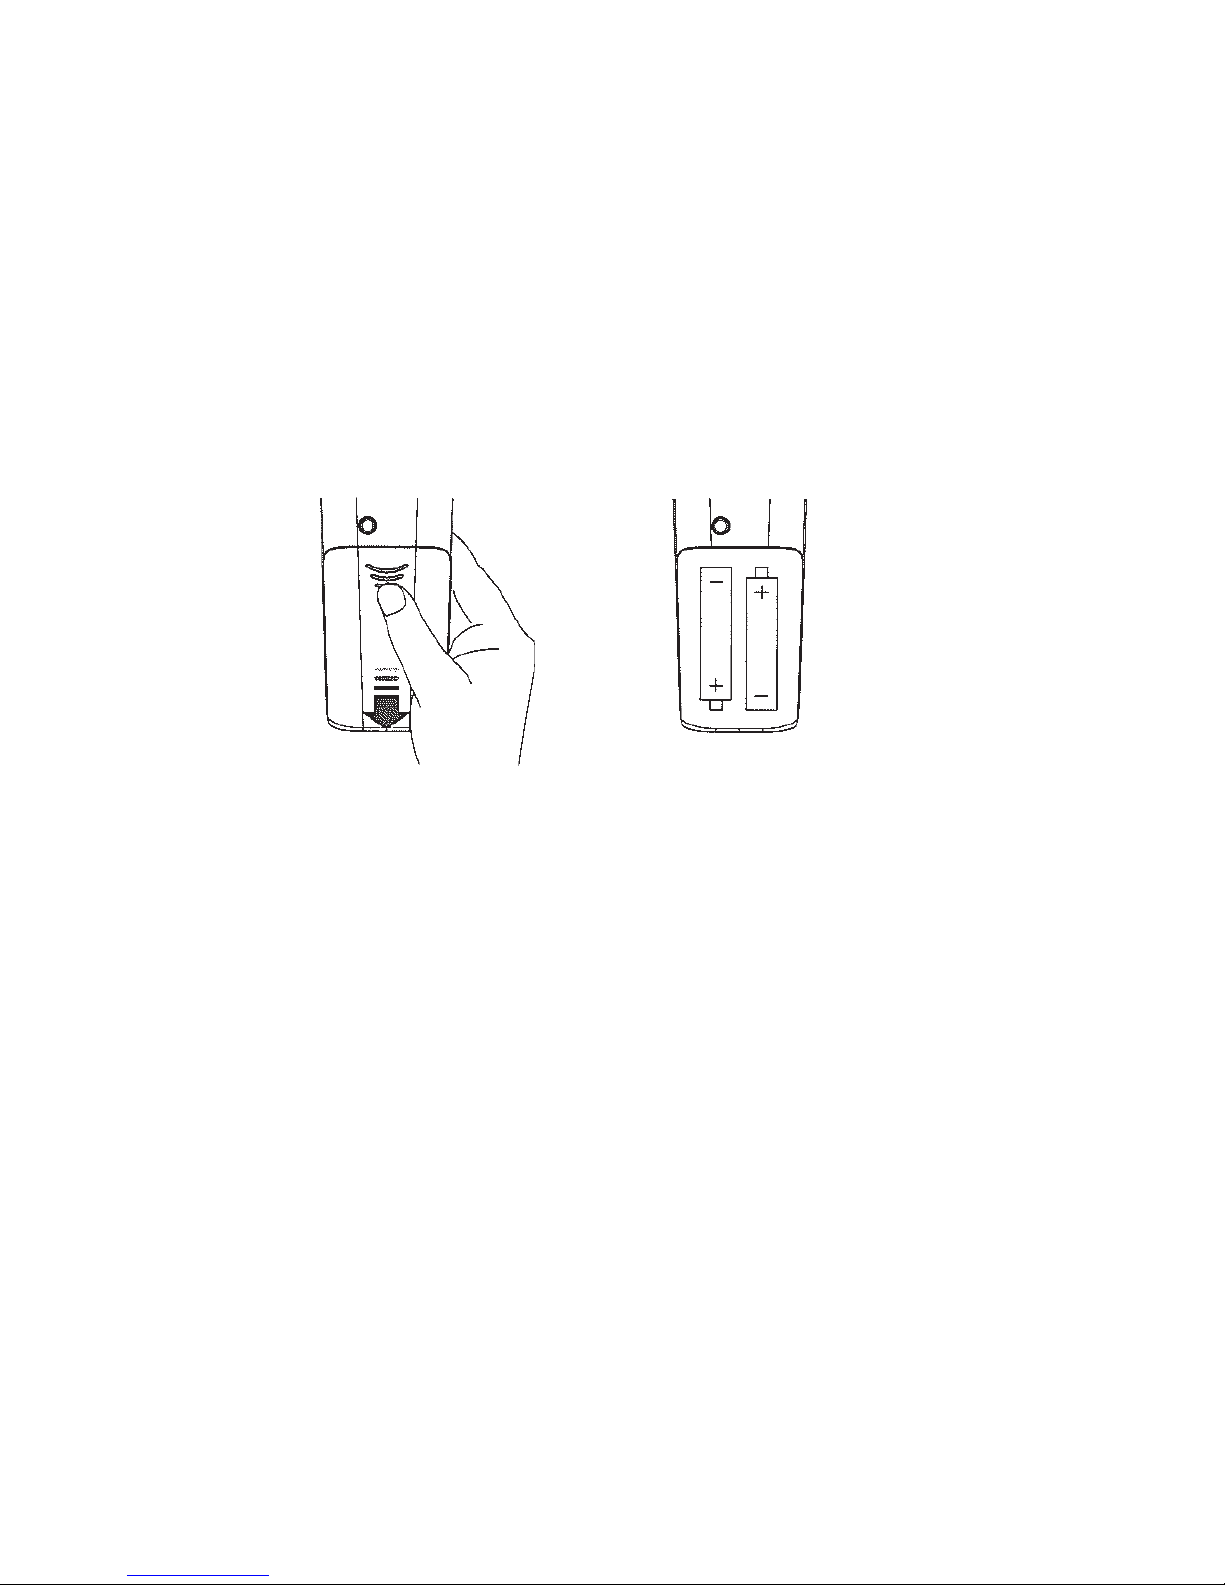
Sliding the battery cover off
Insert batteries to the correct polarities
Open the battery compartment by pressing down the
cover latch and sliding the door off the presenter.
•
•
•
Sliding the battery
cover off
Insert batteries to the
correct polarities
Page 5
Insert the two supplied AAA batteries (included
in the package) to the battery slots.
Make sure the positive (+) and negative (-) ends of the batteries
match the polarity markings inside the battery compartment.
Close the battery cover back into position.
Connecting the Presenter
to the Computer
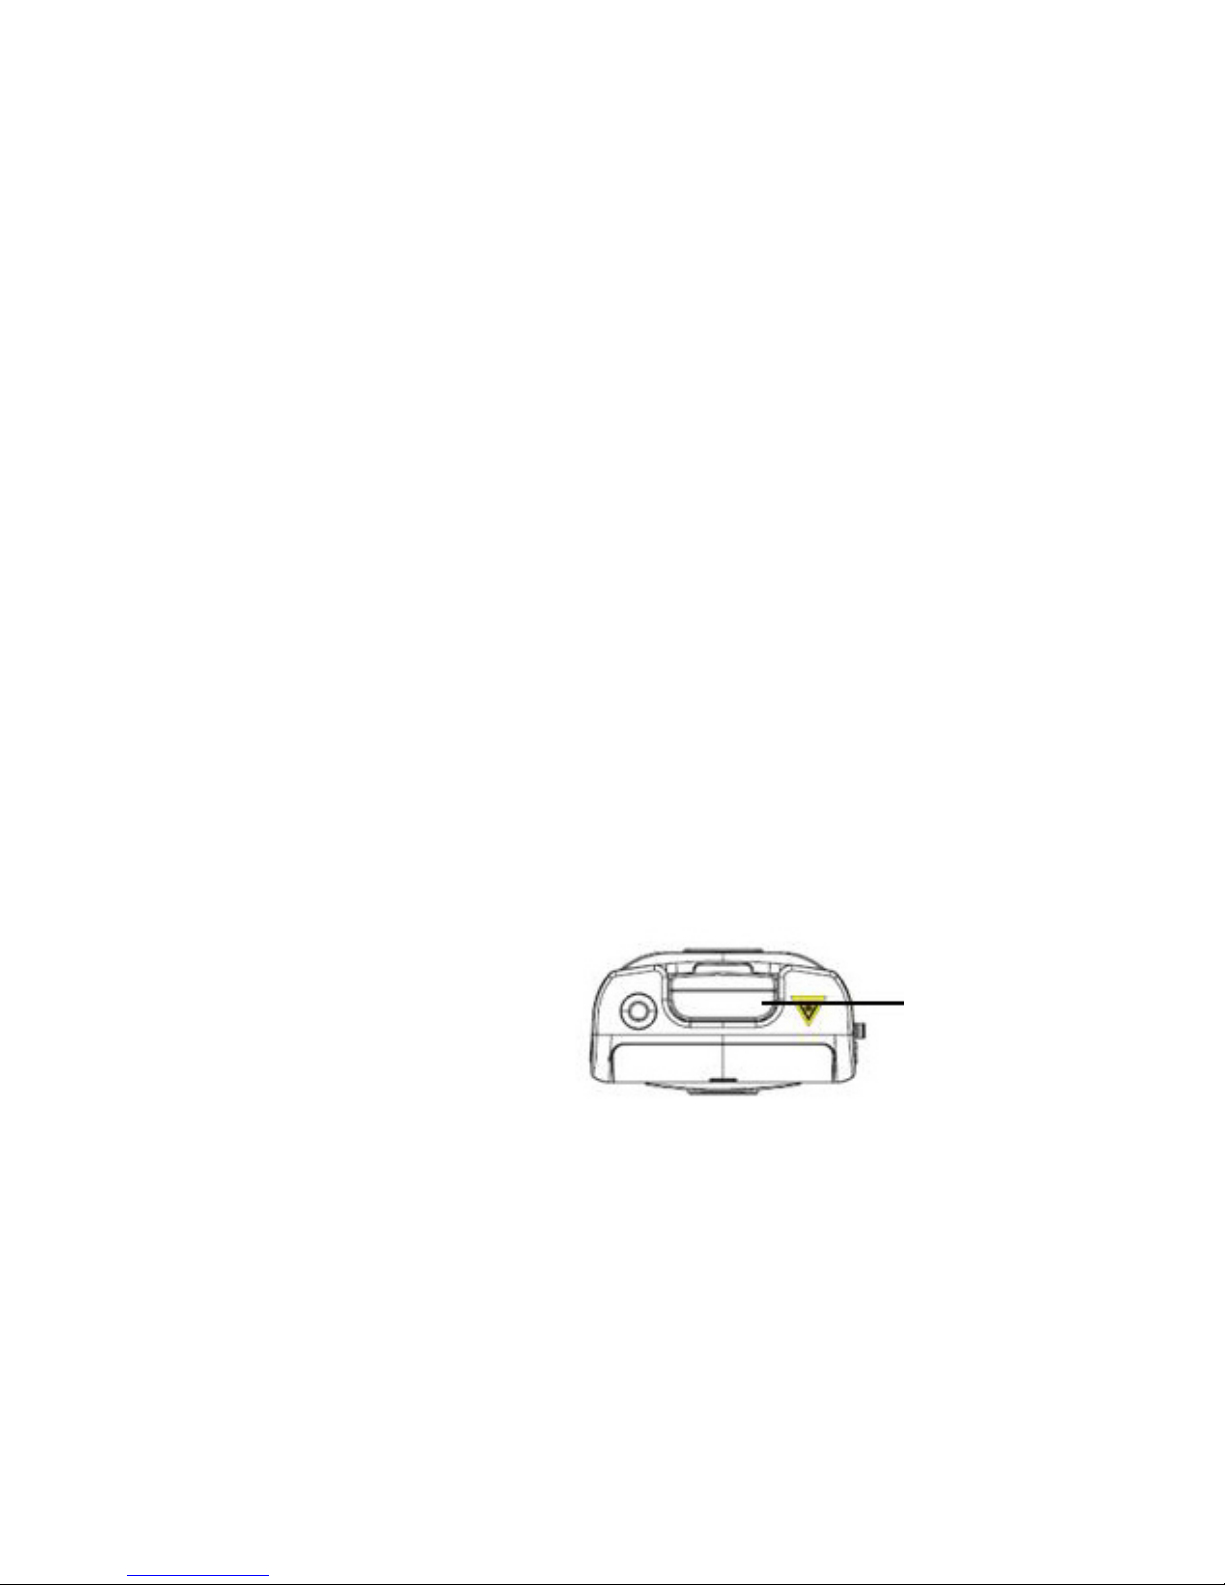
Retrieve the micro USB receiver dongle from the built-
in storage located at the top end of the presenter.
Connect the micro USB
receiver dongle to an
available USB port on
your computer. Wait
for the computer to go
through its default process
of recognizing the new
hardware and installing
•
•
•
•
•
USB Receiver
Top view of
the Presenter
Page 6
the built-in native driver. You don’t need to do anything while
your computer is going through the installation of a new device.
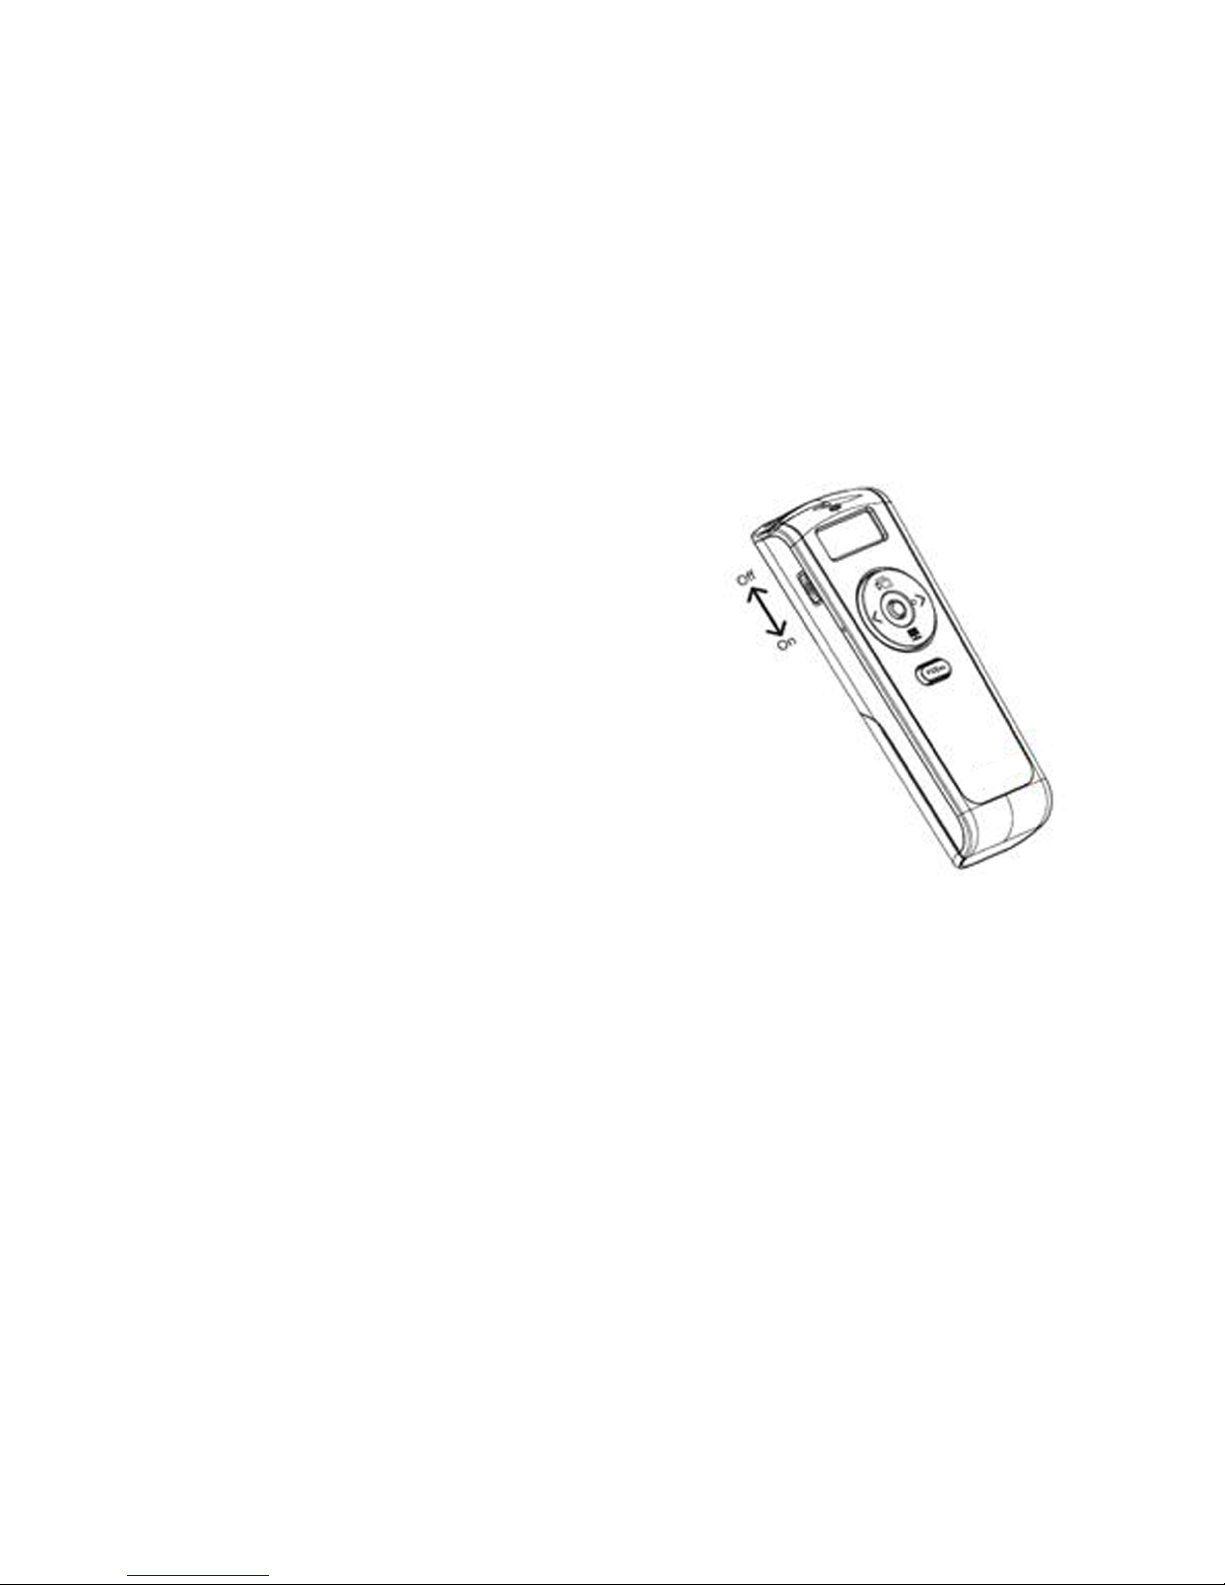
Power on the presenter by sliding the on/off switch
to ON position.
The radio frequency (RF) codes
are factory preset for your
convenience; the presenter should
be functional at this point.
If for any reason the presenter
does not function correctly, i.e.
the presentation slides do not
advance to the next page, there
may be other wireless devices in
the vicinity operating in the same
radio frequency channel. The
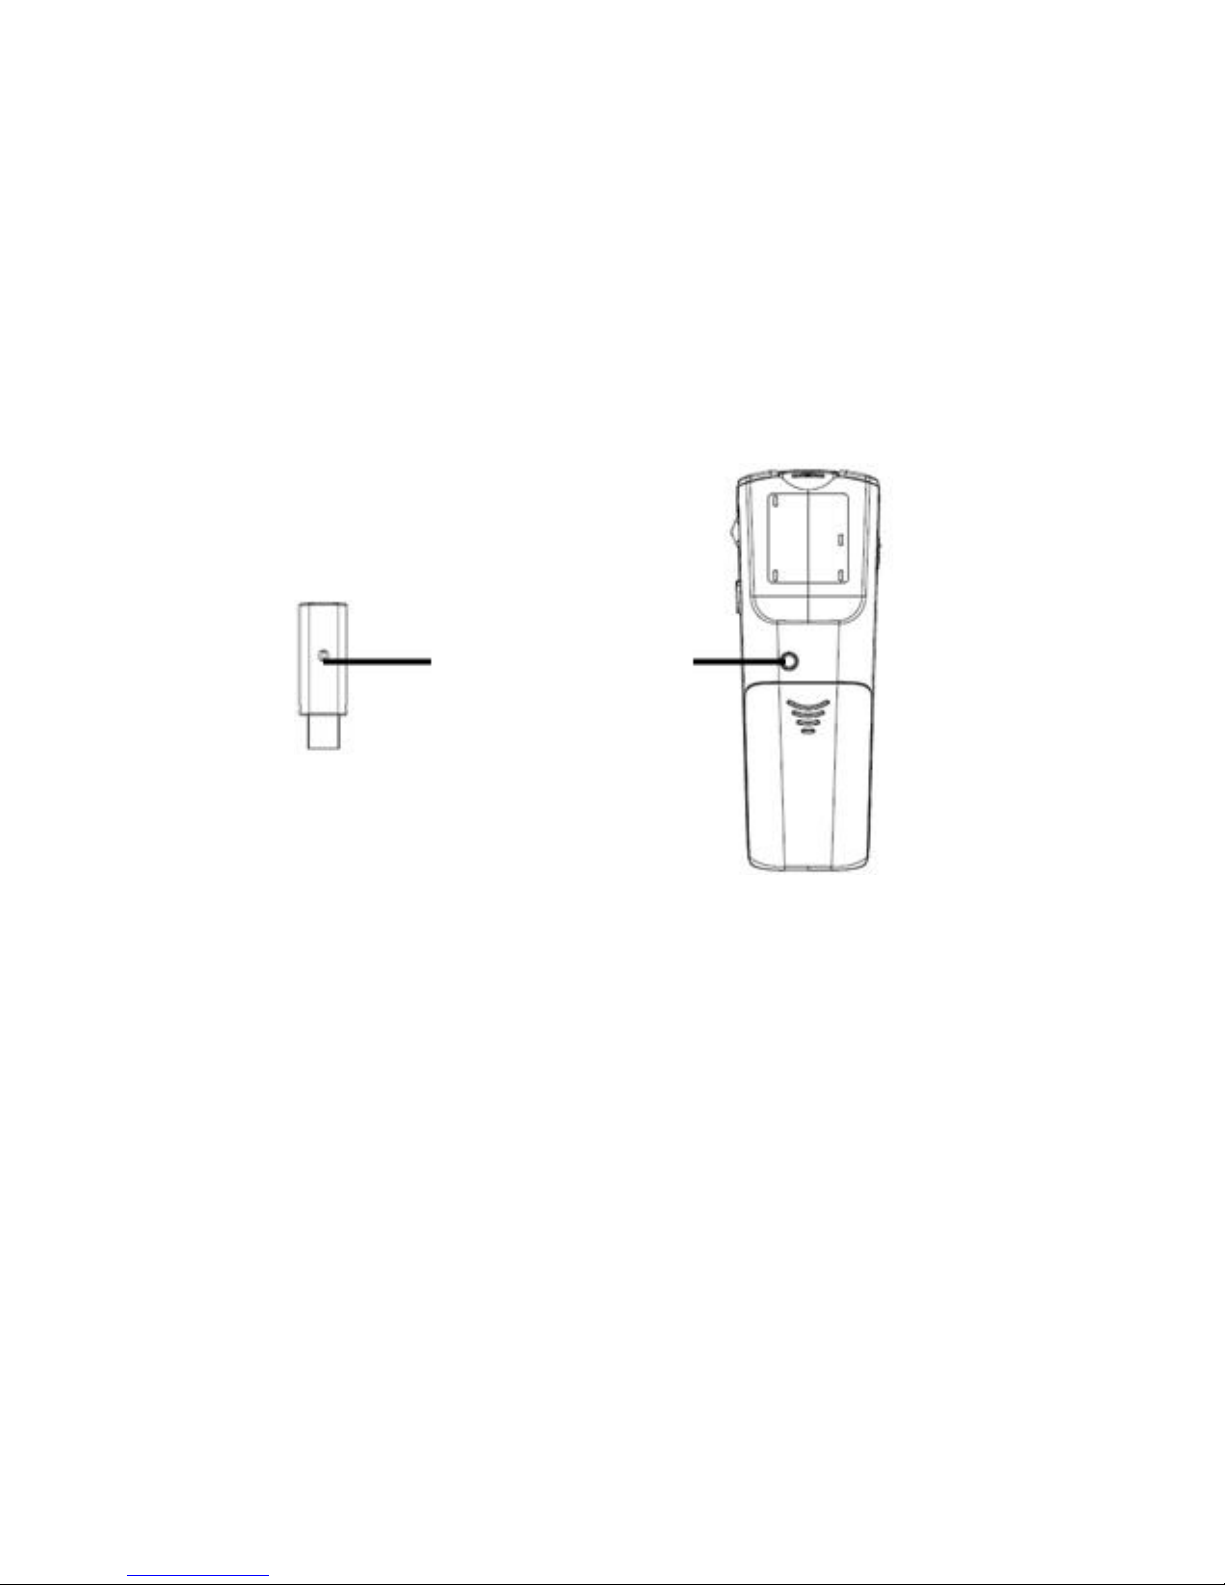
presenter can easily be reset to another channel by pressing once
on the USB receiver dongle’s connect button while it’s plugged
in to the computer’s USB port, followed by pressing once on
•
•
•
Power switch on
the presenter
Page 7
the connect button located at the bottom of the presenter. This
will switch the presenter and the receiver to a different channel
to avoid interference. This step can be repeated when needed.
1) Press the connect button on the receiver
2) Press the connect button on the Presenter
Connect Button
Page 8
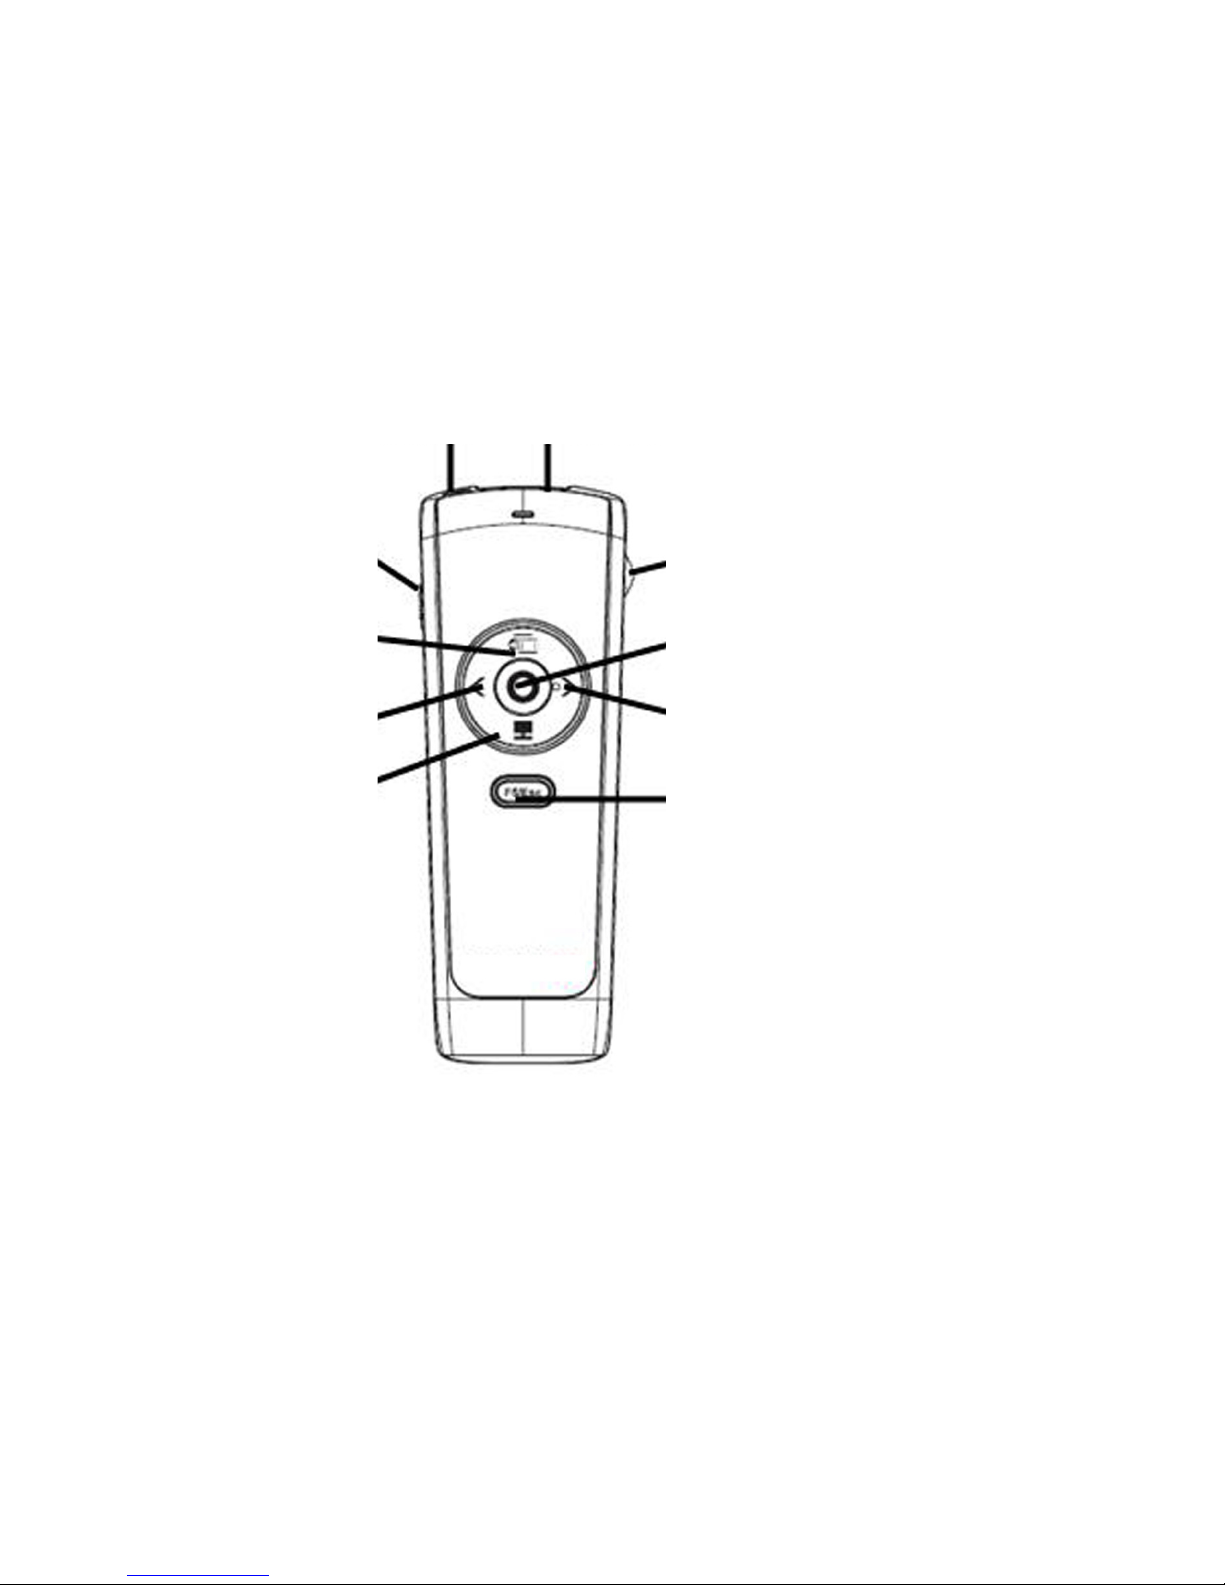
Using the Presenter
Slideshow toggle key starts a slideshow (F5) and exits from a
slideshow (Esc). Note: in PowerPoint slideshow starts with
page 1 when resumed in the middle of a presentation.
•
On/off
Application Switch
Previous Page
Dark Screen
Laser
Beam
Dongle
Storage
Scroller
Next Page
Laser Pointer
Slideshow/Esc

Page 9
Next Page key to advance to the next slide.
Previous Page key to return to the previous slide.
Application Switch (Alt-Tab) key displays all the open
windows and switches to the desired window by pausing
over the selected window icon for 3 seconds.
Dark Screen toggle key blackens the screen
and resumes the presentation.
Laser Pointer key triggers the laser beam. The laser
beam emits for the duration that you press the key.
Scroller on the side allows the presentation of a long
document such as an Excel le. Scrolling one notch up
or down advances one line at a time. To advance in rapid
mode press up or down on the scroller for more than 1
second at a time. In PowerPoint, the scroller serves as
an alternative key for Next Page and Previous Page.
•
•
•
•
•
•
This manual suits for next models
1
Table of contents
Other SMK-Link Digital Presenter manuals

Popular Digital Presenter manuals by other brands


Samsung
Samsung SDP-850 user manual

Dukane
Dukane DV-P303A Specifications

RemotePoint
RemotePoint Presenter Global user manual

Kensington
Kensington Wireless Presenter with Laser Pointer Operating instruction guide

NEC
NEC DS1-MP10RX2 Important information

Logitech
Logitech R800 - Professional Presenter Presentation Remote... quick start guide