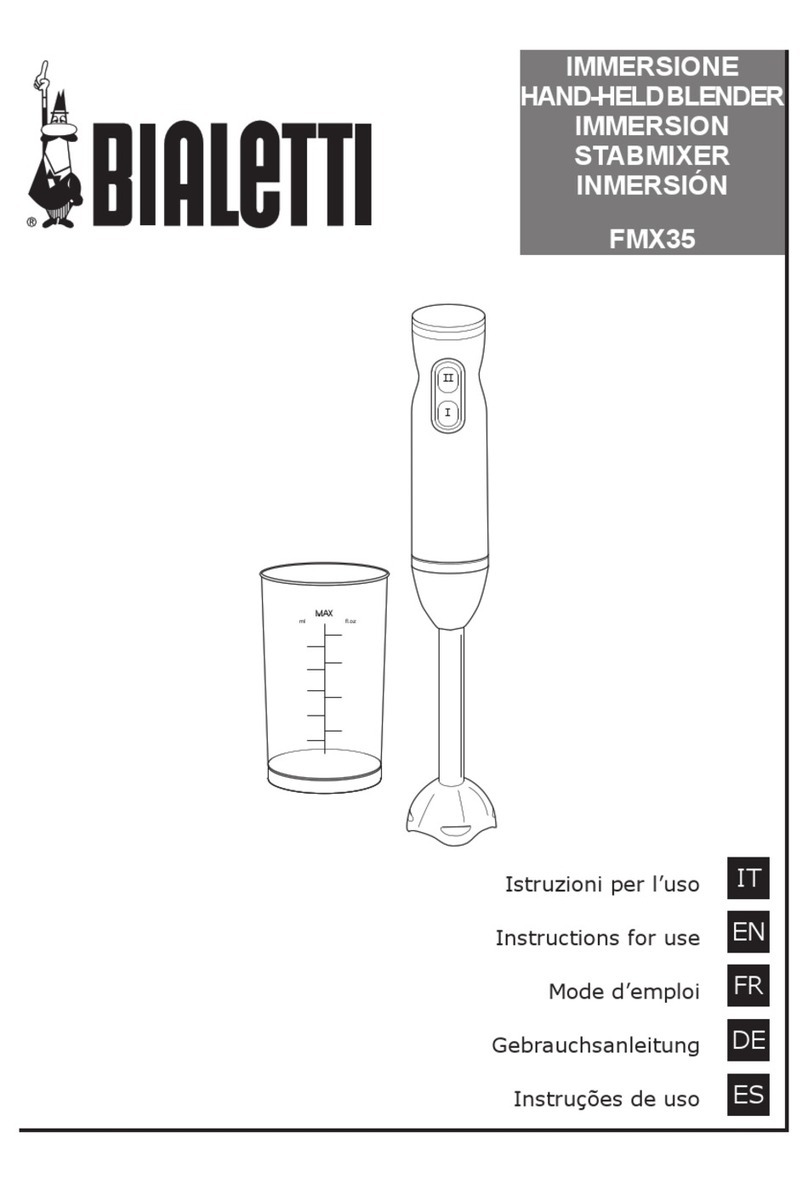
SMART SBL101R User manual

USER MANUAL
Blender & Mill
SBL101R
ISO 9001
CERTIFIED
I
S
O
G
U
A
R
A
N
T
E
E
Q
U
A
L
I
T
Y
A
S
S
U
R
E
D
ﺔ
ﻴ
ﺑ
ﺎ
ﺒ
ﻀ
ﻠ
ﻟ
م
و
ﺎ
ﻘ
ﻣ
ق
ر
و
د
B
l
u
r
r
y
R
e
s
i
s
t
a
n
t
J
a
r

1

2
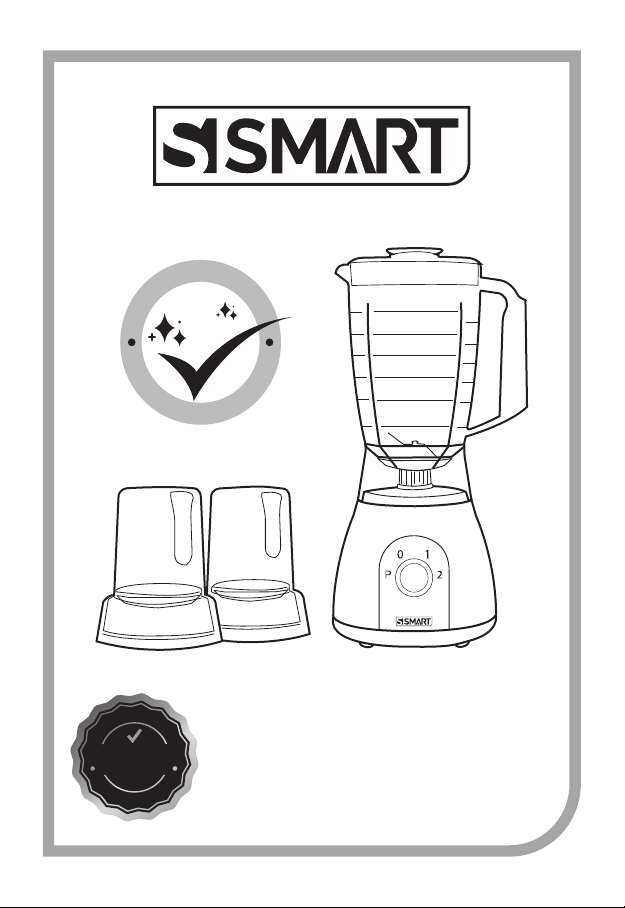
Key
Blender
1.
2. lid
3. Goblet
4. power unit
5. Speed + pulse control
Mill (if supplied)
6. Mill jar
7. sealing ring
8. mill blade unit
To use your blender
1. Put your ingredients into the
goblet.
2.
3. Fit the lid by pushing down until
secure.
4. Place the blender onto the power
unit. The appliance won’t work if
5. Plug in and select a speed (re-
fer to the recommended speed
chart).
6. Select a speed by turning the
speed control, at the end of
blending return the speed con-
trol to “0” before removing the
blender. (P) Pulse - operates the
motor in a start/stop action. The
pulse will operate for as long as
it is held in position.
Use your blender for soups, drinks,
pâtés, mayonnaise, breadcrumbs,
biscuit crumbs, and chopping nuts.
Use your mill (if supplied) for mill-
ing herbs, nuts, coffee beans and
purées.
Before using your appliance
Read these instructions carefully
and retain for future reference.
Remove all packaging and any la-
bels. Wash the parts: see ‘care and
cleaning’.
Safety
IMPORTANT: HOT BLENDING INSTRUCTIONS
To minimize the possibility of scalding when blending hot ingredients
keep hands and other exposed skin away from the lid to prevent possi-
ble burns. The following precautions must be observed:
• CAUTION: Blending very hot liquids may result in hot liquid and
• We recommend that hot liquids are allowed to cool before blending.
• NEVER exceed 1500ml / 6 cups capacity if processing hot liquids,
such as soups (refer to the markings on the goblet).
• ALWAYS commence blending at a low speed and gradually increase
the speed. NEVER blend hot liquids by using the Pulse setting.
• Liquids which tend to foam such as milk, should be limited to a
maximum capacity of 1000ml/4 cups. Take care when handling the
blender as the goblet and its contents will be very hot.
• Take particular care when removing the lid. The lid is designed to be
cloth or oven gloves when handling.
• Ensure the goblet is securely attached to the base and when re-
moving from the appliance, guide the base and ensure it is removed
together with the goblet.
•
clear before every blending operation.
• -
let rim are clean and dry to ensure a good seal and prevent spillage

Hints
To blend dry ingredients - cut into
with the machine running, drop the
pieces down one by one. Keep your
hand over the opening. For best re-
sults empty regularly.
The processing of spices is not rec-
ommended as they may damage the
plastic parts.
When making mayonnaise, put all
the ingredients, except the oil, into
Then, with the appliance running,
add the oil slowly through the hole
in the lid.
Thick mixtures, e.g. pâtés and dips,
may need scraping down. If the mix-
liquid.
To use your mill (if supplied)
1. Put your ingredients into the jar.
Fill it no more than half full.
2. Fit the sealing ring into the blade
unit ensuring the seal is located
correctly in the grooved area.
Leaking will occur if the seal is
3. Turn the mill blade assembly up-
side down. Lower it into the jar,
blades down. Turn in a clock-
wise direction to lock.
4. Place the mill onto the power
unit.
5. Select a speed or use the pulse
control (refer to the recommend-
ed speed chart).
Care and cleaning
Always switch off, unplug and dis-
mantle before cleaning.
Empty the goblet before unscrewing
it from the blade unit.
Don’t immerse the blade unit in wa-
ter. The goblet can be washed in
your dishwasher.
Power unit
Wipe with a damp cloth, then dry.
Don’t immerse the power unit in wa-
ter.
3
Blade assembly
1. Unscrew the blender or mill
base from the goblet/jar. Then
remove the blade unit by push-
ing up from underneath. Care
should be taken when removing
the blade unit from the base.
2. Remove and wash the sealing
ring.
3. Don’t touch the sharp blades
- brush them clean using hot
soapy water, then rinse thor-
oughly under the tap. Don’t im-
merse the blade unit in water.
4. Leave to dry upside down.
Service and customer care
If the cord is damaged it must, for
safety reasons, be replaced by an
authorized repairer.
Other parts Wash by hand, then dry.
IMPORTANT INFORMATION FOR
CORRECT DISPOSAL OF THE
PRODUCT IN ACCORDANCE WITH
EC DIRECTIVE 2002/96/EC.
At the end of its working life, the
product must not be disposed of as
urban waste.
It must be taken to a special local
authority differentiated waste col-
lection center or to a dealer provid-
ing this service.
Disposing of a household appliance
separately avoids possible negative
consequences for the environment
and health deriving from inappro-
priate disposal and enables the con-
stituent materials to be recovered to
and resources. As a reminder of the
need to dispose of household ap-
pliances separately, the product is
marked with a crossed-out wheeled
dustbin.
The life time is two years (the period of the company’s
commitment to provide spare parts after the expiry of the
original warranty period, with the customer bearing its cost)

•
•
•
•
3
رﺎﯿﻐﻟا ﻊﻄﻗ ﺮﯿﻓﻮﺘﺑ ﺔﻛﺮﺸﻟا ماﺰﺘﻟا ةﺪﻣ) نﺎﻣﺎﻋ ﻰﺿاﺮﺘﻓﻹا ﺮﻤﻌﻟا
(ﺎﮭﺘﻔﻠﻜﺘﻟ ﻞﯿﻤﻌﻟا ﻞﻤﺤﺗ ﻊﻣ ﺔﯿﻠﺻﻷا نﺎﻤﻀﻟا ةﺪﻣ ءﺎﮭﺘﻧا ﺪﻌﺑ

2
220
1.
2.
3.
4.
5.
6.0
7.P
P
1.
2.7
3.
4.
5.

1
8
6 1500
4 1000
1.
2.
3.
4.
5.
6.
7.
8.

SBL101R
ISO 9001
CERTIFIED
I
S
O
G
U
A
R
A
N
T
E
E
Q
U
A
L
I
T
Y
A
S
S
U
R
E
D
ﺔ
ﻴ
ﺑ
ﺎ
ﺒ
ﻀ
ﻠ
ﻟ
م
و
ﺎ
ﻘ
ﻣ
ق
ر
و
د
B
l
u
r
r
y
R
e
s
i
s
t
a
n
t
J
a
r
Table of contents
Other SMART Blender manuals