
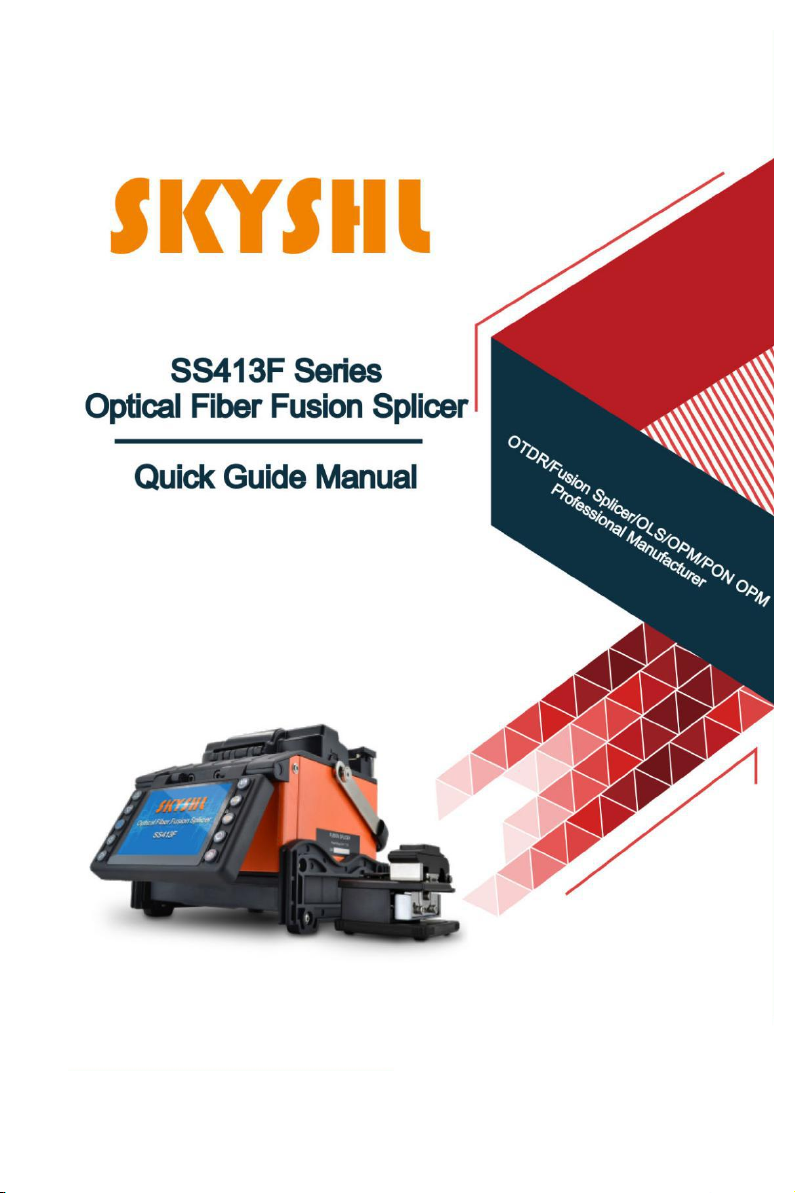
SKYSHL SS413F Series User manual
Shenzhen SKYSHL Technology Co.,Ltd.
Version:V2020.08

CATALOGUE
1.
Overview
……………………………………………… 1
2.Product specifications ………………………………… 1
3.Main components of fusion splicer……………………… 3
4.Common Operating Interface Description ……………… 5
5.Power supply ………………………………………… 6
6.Cleaning operation before splicing ……………………… 8
7.Regular maintenance…………………………………… 9
8.Basic Splicing Procedures …………………………… 11
9.
ARC Calibration
…………………………………… 14
10.
Manually adjust the fiber position
……………………15
11.Cutting Length of Optical Fiber……………………… 18
12.
Common troubleshooting
…………………………… 18
Appendix A:Warranty period and conditions ……………20

Overview
1.
Thank you for choosing our products. This operation outline mainly
introduces the product performance, basic operation steps and maintenance of
optical fiber fusion machine, which is newly produced by our company.
The machine adopts a high-speed image processing technology and special
precision positioning technology. The whole processes of fiber fusion splicing
can be automatically completed within 9 seconds. Provided with TFT color
LCD display, the screen is protected by high strength protective
panel. User-friendly graphical interface is convenient for efficient and
quick operation by the user. High performance battery can realize online
charging continuously in the work, to get a longer battery life. No manual arc
calibration operation is needed.
The machine has real time splice arc control and correction functions. In
extreme environment, the machine can also effectively ensure the splice
quality of optical fiber. The machine is featured with fast splice speed, less
splice loss, light weight, portable, applicable to backbone network,
metropolitan network and FTTH project. In order to complete accurately the
splice operation, please read carefully this user's manual.
(SS413F Video: youtu.be/llfhWtie48c)
2.
Product specifications
1
Applicable optical
fibers
SM (G.652 & G.657), MM (G.651), DS (G.653), NZDS (G.655) and
user-defined optical fibers
Splice loss
0.02dB (SM),0.01dB (MM),0.04dB(DS/NZDS)
Return loss
Better than 60dB
Control
technology
Real time splice arc control and correction; Self adaptive in working
environment scope; Electrode oxidation self adaptive.
Splicing time
≤9 seconds (standard SM).
Heat time★
≤25 seconds (The Heat time can be set and the heater temperature can be
adjusted.); Fast heat
function, functions of automatic or manual heating selection.
Splicing function
Step-by-step splicing or automatic splicing optional
Fiber alignment
Fine alignment, fiber core alignment, clad alignment, manual alignment
Fiber diameter
Cladding diameter 80 ~ 150μm,
Coating diameter 100 ~ 1000μm
Cleave length
Coating less than 250μm: 5 ~ 16 mm; Coating 250 ~ 1000μm: 16 mm.
Tension test
Standard 2N (optional)
Magnification
times★
320 times (X-axis or Y-axis);
160 times (X-axis and Y-axis).

2
Remarks:
①The technical data in the above table“★”are different for different
types of products.
②Detailed technical indicators of the product should be consulted and
obtained with the sales staff of the company.
Fiber clamp
Multifunctional clamp is applicable to bare fiber, tail fiber, jumper,
covered fiber and stealth fiber. The clamp meets the requirement of
industry standard FTTH fusion quick splicer.
Heat-shrink sleeve
60mm/40mm/20mm and a series of micro- shrink sleeves (some
features are optional)
Display
★
Provided with TFT color 4.3 LCD display. The screen is protected by
high strength protective panel. Contents (image) can be flipped, easy
for two-way operation.
External Interface
USB2.0 Interface: convenient data download, USB flash disk
upgrade software.
Splicing mode
100 groups user mode, 53 groups factory mode.
Heater mode
40 groups user mode, 11 groups factory mode.
Connection storage
Built-in memory is capable to save latest 10000 splices.
Store 100 groups of splice images (X, Y fiber splicing images).
Electrode life
> 5500 times (times of arc).
Lithium battery
★
Continuous splicing, heating more than 350 times (typical
environment).
Power saving
function
In “Power Save Mode" Under typical
circumstances can save 15% battery power
Power supply
★
Lithium battery provides 12.5V power (charging in 10.8V) and can
be charged continuously when the splicer works. When the charging
time 3.5, the battery charging times are not less than 300 times.
(Charging) Power adapter: Input AC100-240V 50/60HZ, Output
DC13.5V/4.8A. The present power mode can be identified, real-time
monitoring the present battery capacity.
Work environment
Operating environment: -10~+50℃; Storage temperature:- 40 ~ +
60℃;Humidity: <95% RH
(non-condensing); Operating altitude: 0 ~5000m
Maximum wind speed: 15m / s.
External
dimension★
133(Length)*163(Width)*140(Height)
Weight ★
1.6 kg (Batteries not included)

3.Main components of fusion splicer
3.1 Name of main components of fusion splicer
Left fiber clamp
Heating groove
Heater right press plate
Heater transparent window cover
Heater left press plate
3.2 Descriptions of the keypad of fusion splicer
Right fiber clamp
V-groove
Electrode
3

Buttons of keypad I Buttons of keypad II
Remarks:
①Keypad layout is different for different model fusion splicer of this series, each
button mark and their functions are listed in the table above.
②The "blue" text on the table above is the button functional description of
keyboard Ⅱ.
Boutton
Readiness
Manual mode
Automatic
mode
Parameters menu
Power switch
Power switch
Power switch
Power switch
Moving cursor
Upward movement of fiber
Invalid
Increasing the amount of
parameters/moving cursor
Downward movement of
fiber
Invalid
Reducing the amount of
parameters/moving cursor
Leftward movement of fiber
Invalid
Reducing the amount of
parameters/moving cursor
Rightward movement of
fiber
Invalid
Increasing the amount of
parameters/moving cursor
Invalid
Return to readiness screen
Return to
readiness
screen
Return to higher level menu
screen
Invalid
Invalid
Invalid
Confirming option
function/Parameter modification
Enter splice
mode menu
Open the function to move
motor by buttons at pause
Invalid
Enter lower level menu
/operation screen
Start splicing
Continue forward
/Start splicing
Start splicing
Invalid
Start splicing
Continue forward
/Start splicinge
Start splicing
Confirming option
function/Parameter modification
Invalid
Motor reset
Motor reset
Invalid
Invalid
Motor reset/Return to higher
level menu
Motor
reset/Return to
higher level
menu
Return to standby screen/Higher
level menu
Heater Switch
Heater Switch
Heater Switch
Heater Switch
Invalid
Next step / arc
Invalid
Invalid
4

4. Common Operating Interface Description
●Top right corner of the screen :Indicating "Heater" is "warming up" at
current.
●Bottom of screen :Indicating "Keypad operation"
on current screen.
4.3【Heater mode】 4.4【Arc Calibration】
4.2【Splice options】4.2.1【Operation Options】
●Top right corner of the screen :Indicating the present power supply mode of
"power adapter".
4.1 Standby Interface of fusion splicer (Level 1 Menu)
5

5.1 Starting up:
Hold down button;
When the LED indicator on the keypad is changed to green,release button.
5.2 Shutdown:
Hold down button. After the LED indicator on the keypad is changed
from green to red, release button.
5.3. Power supply
5.3.1 Power adapter power supply(no need to install lithium batteries)
Adapter AC input
●Only AC power cord attached to the adapter is used, and
the input voltage is AC100-240V 50-60HZ.
●The grounding terminal of AC power line input must be grounded
effectively。
Adapter DC output
●Use only the DC power cord attached to the adapter.
●Output voltage: DC13.5V 4.8A
●Insert DC power cord into the "POWER INPUT" port at the bottom of
splicer. The splicer supplies power to the adapter.
4.5【Maintenance】 4.6【Settings】
5. Power supply
6

②Different battery configurations correspond to different charging modes.
●Use only AC power cord attached to the adapter, input voltage:AC100-
240V 50/60HZ.
●The grounding terminal of AC power line input must be grounded
effectively.
●Insert DC power cord attached to adapter "POWER INPUT" at the
bottom of splicer Input port, the splicer will start one charging process of
secondary lithium batteries.
Charging of batteries
●Charging indicator lamp is red; after charging, Charging indicator Lamp
Turn green.
●When the power is off, the charging time is up to 3hours, 30minutes,
40minutes and the battery is surplus. The amount of capacity determines
the length of charging time.
Battery maintenance
●Please store lithium batteries in a cool, dry and safe environment.
●Do not place the lithium battery near high temperature, flammable and
explosive gases or liquids.
●If the lithium battery needs to be stored for a long time (more than one
month), it is recommended to charge it to 40%-60%, and the storage time
should be charged 1 to 2 times a month.
5.3.2 Lithium battery power supply
①The random lithium batteries are correctly connected to the bottom of the
splicer (power module), that is to realize the power supply of lithium
batteries in the splicer.
7

●Please use the special charger provided by our company for the lithium
battery.
●Do not short circuit the positive and negative electrodes of the lithium
battery, otherwise it will cause burns and explosion.
●Please use the standard lithium battery supplied by SKYSHL for the fusion
splicer, please do not use other lithium batteries not supplied by our
company.
●Do not disassemble the lithium battery privately.
●Do not hit the lithium battery strongly.
5.3.3 Low voltage alarm (battery-powered)
This model fusion splicer has "low voltage alarm" function.When the
lithium battery (group) power is below a certain value,the fusion splicer
screen will show "low battery!!!" warning window as shown below. At
this point, the user should promptly use the power adapter or charge the
lithium battery, or hold down button to turn off the fusion splicer.
Otherwise, it will shut down automatically after about 30 seconds.
6. Cleaning operation before fusion
Cleaning V-groove(Youtube Video:https://youtu.be/P6qsIM3S-D4)
Clean the bottom of the V-groove with a wet cotton swab dipped in
absolute ethanol. Use a dry cotton swab to absorb the residual anhydrous ethanol
in the V-shaped tank. Use a clean, cut, fiber-optic end to remove dirt.
8
Other manuals for SS413F Series
1
Table of contents
Popular Welding System manuals by other brands


TAFA
TAFA 30*8B35 owner's manual

Lincoln Electric
Lincoln Electric INVERTEC V350-PRO CE Technical specifications

ESAB
ESAB Buddy Arc 145 instruction manual

CIGWELD
CIGWELD 636804 use instructions

Red-D-Arc
Red-D-Arc DC-400 Operator's manual

Hobart Welding Products
Hobart Welding Products Spool Gun DP 3035-10 owner's manual


