SKILLQUBE qubeAVpro User manual
1
User Guide
qubeAVpro LAN light
Date: 10/2022

2
General 3
Introduction 3
Sustainable quality management 3
Important safety measures 4
qubeAVpro LAN light assembly instructions 5
Activating the license key 7
Using the qubeAV application 9
Connecting and setting up audio/video 9
Integrating an external medium 13
Setting preroll 13
Marker set 14
Recording 15
Using the tile view 18
Saving a recording 19
Opening a saved recording 20
Processing recordings further 20
Closing the application 21
Shortcuts in the software 22
Marker shortcuts 23
Disposing of the qubeAVpro LAN light system 24
Legal notice 24

3
General
Introduction
Congratulations on your purchase of the new qubeAVpro LAN light.
With the current interest in optimizing training in team communication and medical
procedures, the use of audio-video systems has become a hugely popular part of
regular training.
You can use your debriefing system to analyze your training scenarios from all angles.
The high-quality qubeAV software allows you to record these training scenarios for later
debriefing.
The qubeAV software lets you record a patient monitor, which makes it easy for you to
integrate systems from the qubeSERIES into the qubeAVpro LAN light system in a
simulation scenario.
Markers let the instructor mark important scenarios in the simulation at any time to
ensure even quicker access to important analyzes during the debriefing.
Sustainable quality management
The SKILLQUBE “Mission360” relies upon holistic solutions for simulations and training
in preclinical and clinical patient care. For SKILLQUBE, “Mission360” means sustainably
supporting every area of learning through providing significant input.
Its scope encompasses simple knowledge transfers,
teaching new skills, training people to make the right
decisions, team simulations and training sessions,
conveying preclinical and clinical experiences and
everything in between.
With the qubeAVpro LAN light audio-video system,
SKILLQUBE has revolutionized the analysis and debriefing
of simulation scenarios.
This manual provides you not only with the operating instructions but also with an
abundance of information about working with the qubeAV software. To ensure that you
enjoy using your qubeAVpro LAN light system for a long time to come, please take time
to carefully read through the instructions and safety information below.

4
Important safety measures
At SKILLQUBE, safety comes first!
We keep the safety of our customers in mind at all times when designing and
assembling our products.
Safety measures for your qubeAVpro LAN light system
● Never leave the qubeAVpro LAN light system operating unattended.
● Make sure that the system has been assembled correctly and completely prior
to commissioning.
● Never allow water or other fluids to enter the system.
● Always remove the power plug from the power outlet when you have finished
working with the qubeAVpro LAN light system.
● Never pull or yank on the power cable.
● Read through the instructions carefully before putting the device into operation.
Keep the instructions accessible at all times.
● Never immerse the power cable in water or other liquids.
● Never work with the system if the power cable or plug is damaged or if the
system is not working as expected or is in some way damaged. For maintenance
or repair, take the device only to an authorized person or return it to SKILLQUBE.
● Never let the power cable hang over the edge of the table. Keep the power
cable away from hot surfaces (for example, radiators and stoves).
● Always turn off the system and unplug the power plug from the power outlet:
o If you leave the system unattended
o If the system is not in operation
o Before cleaning the system
o Before moving or transporting the system
● All maintenance work beyond the cleaning of the exterior of the qubeAVpro LAN
light system must be carried out only by personnel authorized by SKILLQUBE.
5
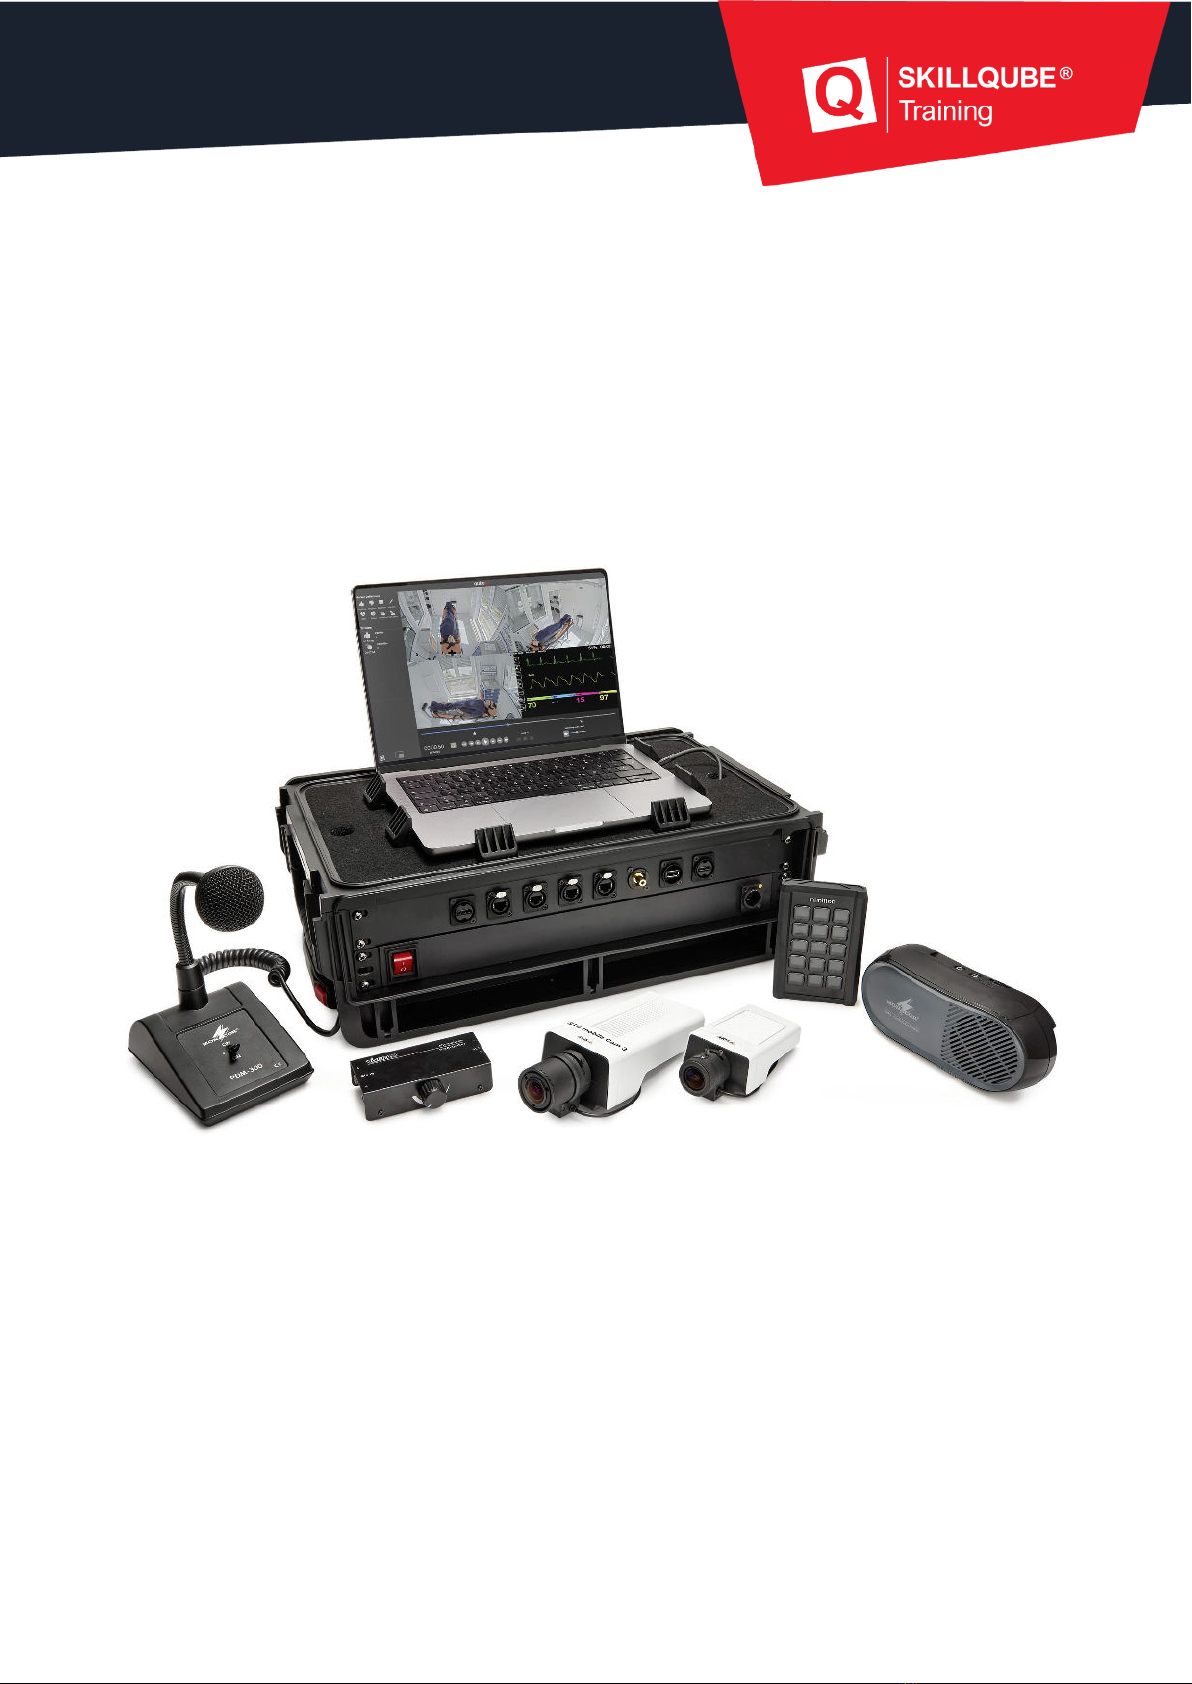
qubeAVpro LAN light assembly instructions
The qubeAVpro LAN light debriefing system consists of:
● Box with rack case
o Connections for accessories
o MacBook
● Boxes with accessories
o 3x 20 m LAN cable
o 3x IP camera box
o 1x speaker including power supply
o 1x 10 m audio cable
o 1x desktop microphone
o 1x preamplifier including power pack
o 1x rack case power cable
o 1x MacBook power supply
o 1x USB marker keyboard
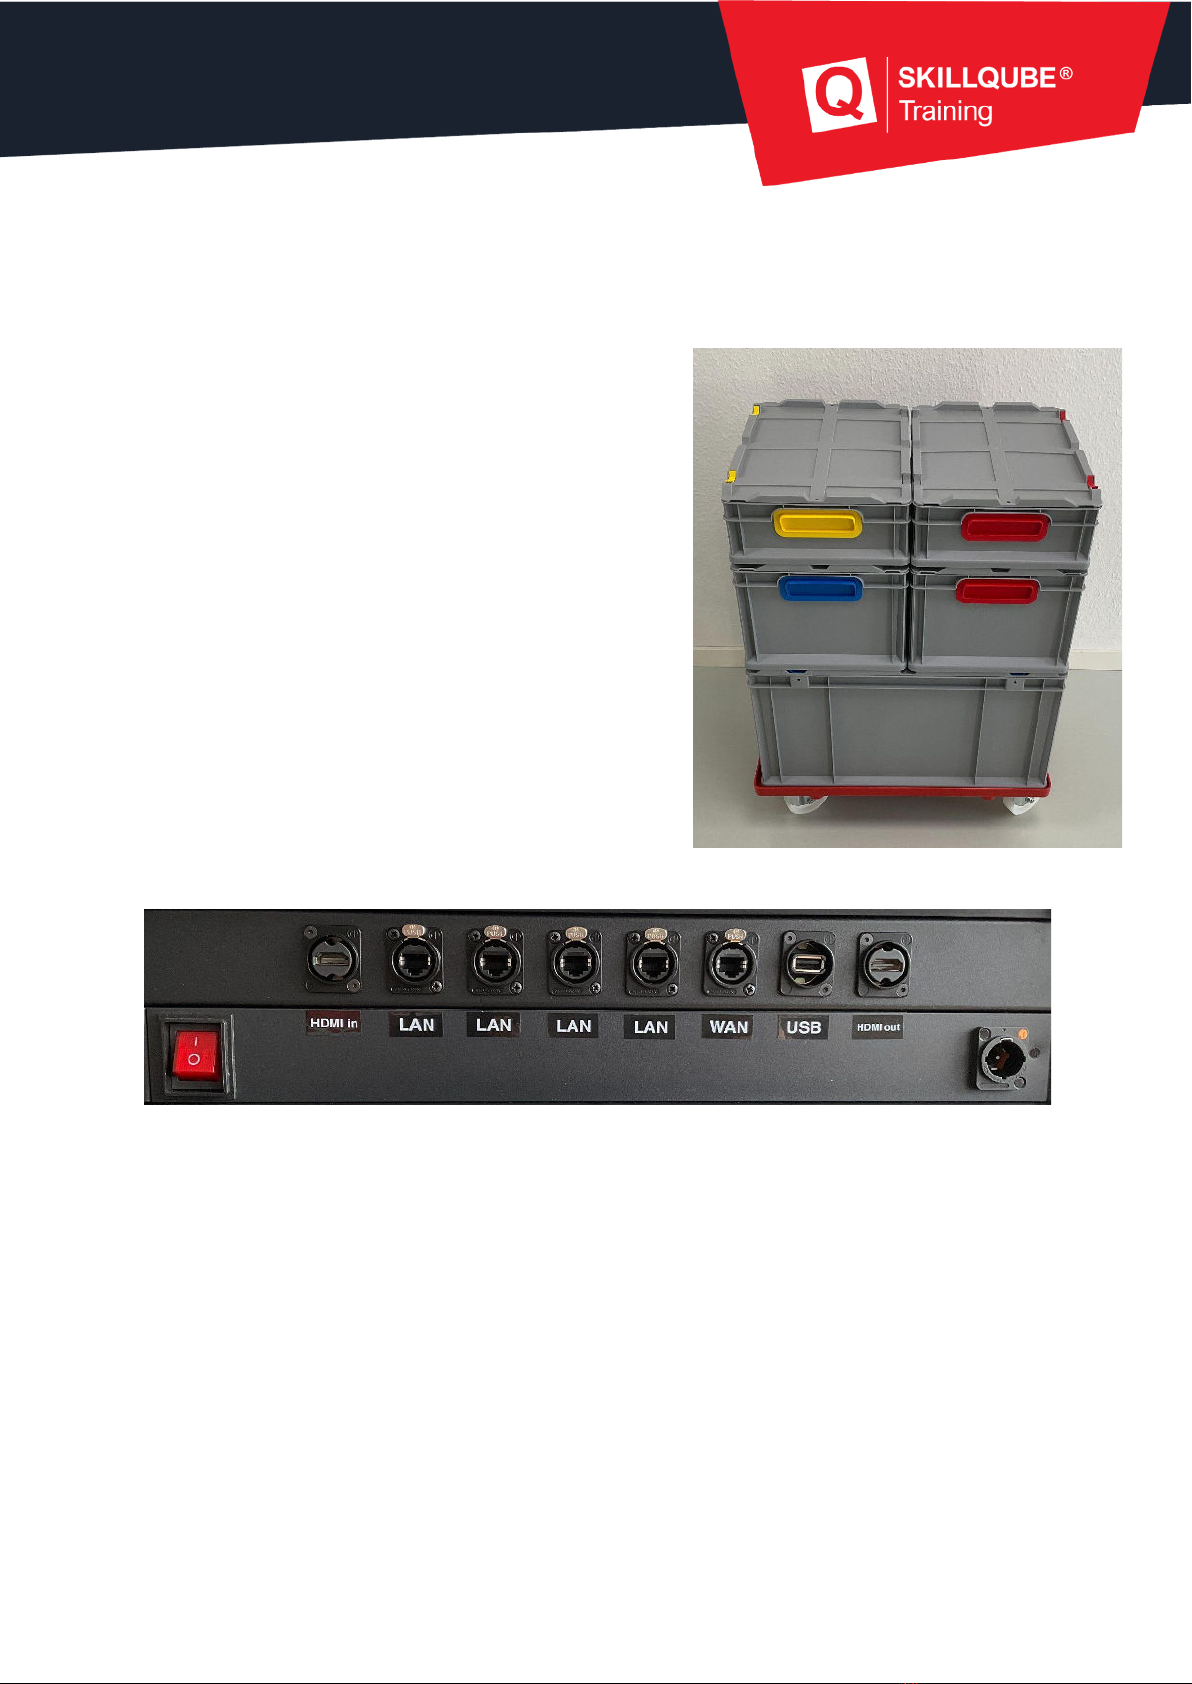
Rack case connections:
From left to right:
● On/off switch
● HDMI in: external media stream (optional)
● LAN: connection for IP cameras
● WAN: external maintenance
● USB: connection for marker keyboard
● HDMI out: auditorium monitor
● Power Twist socket: power supply

6
qubeAVpro LAN light “Voice of God” (communication station)
You will receive different preamplifiers depending on their availability, but they are all
identical with regard to their “Voice of God” function.
1. Connect the microphone (6.3 mm jack) to the preamplifier (“Mic in”).
2. Connect the preamplifier (red/white RCA connectors) to the speaker (3.5 mm
jack – “AUX in”).
3. Connect the preamplifier and speaker to the power supply.
7
Activating the license key
The qubeAVpro LAN light debriefing system that you receive is usually already fully set
up. If this is the case, you can skip this point. If a license key has not been entered yet,
proceed as follows:
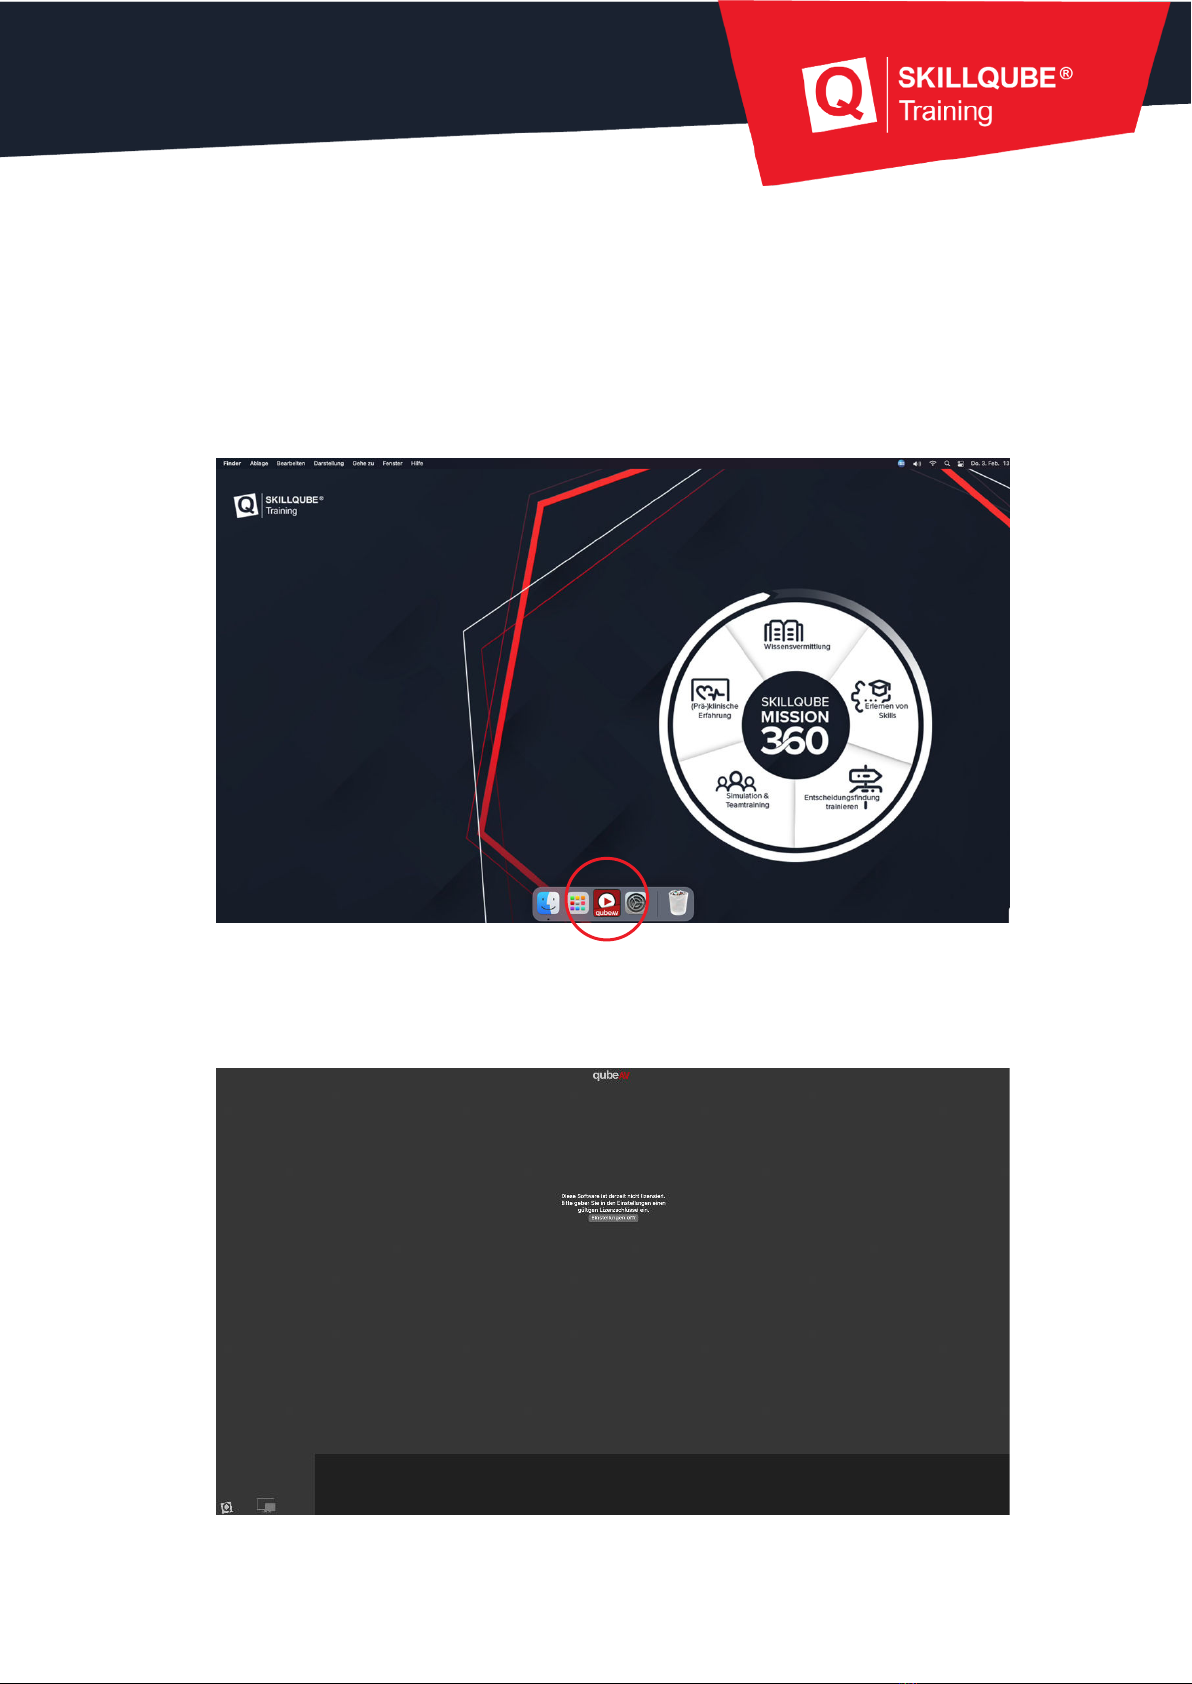
1. Open the installed qubeAV application in the dock.
2. After opening the application, you land on the start screen. To activate the
license, press the “Open Settings” button.

8
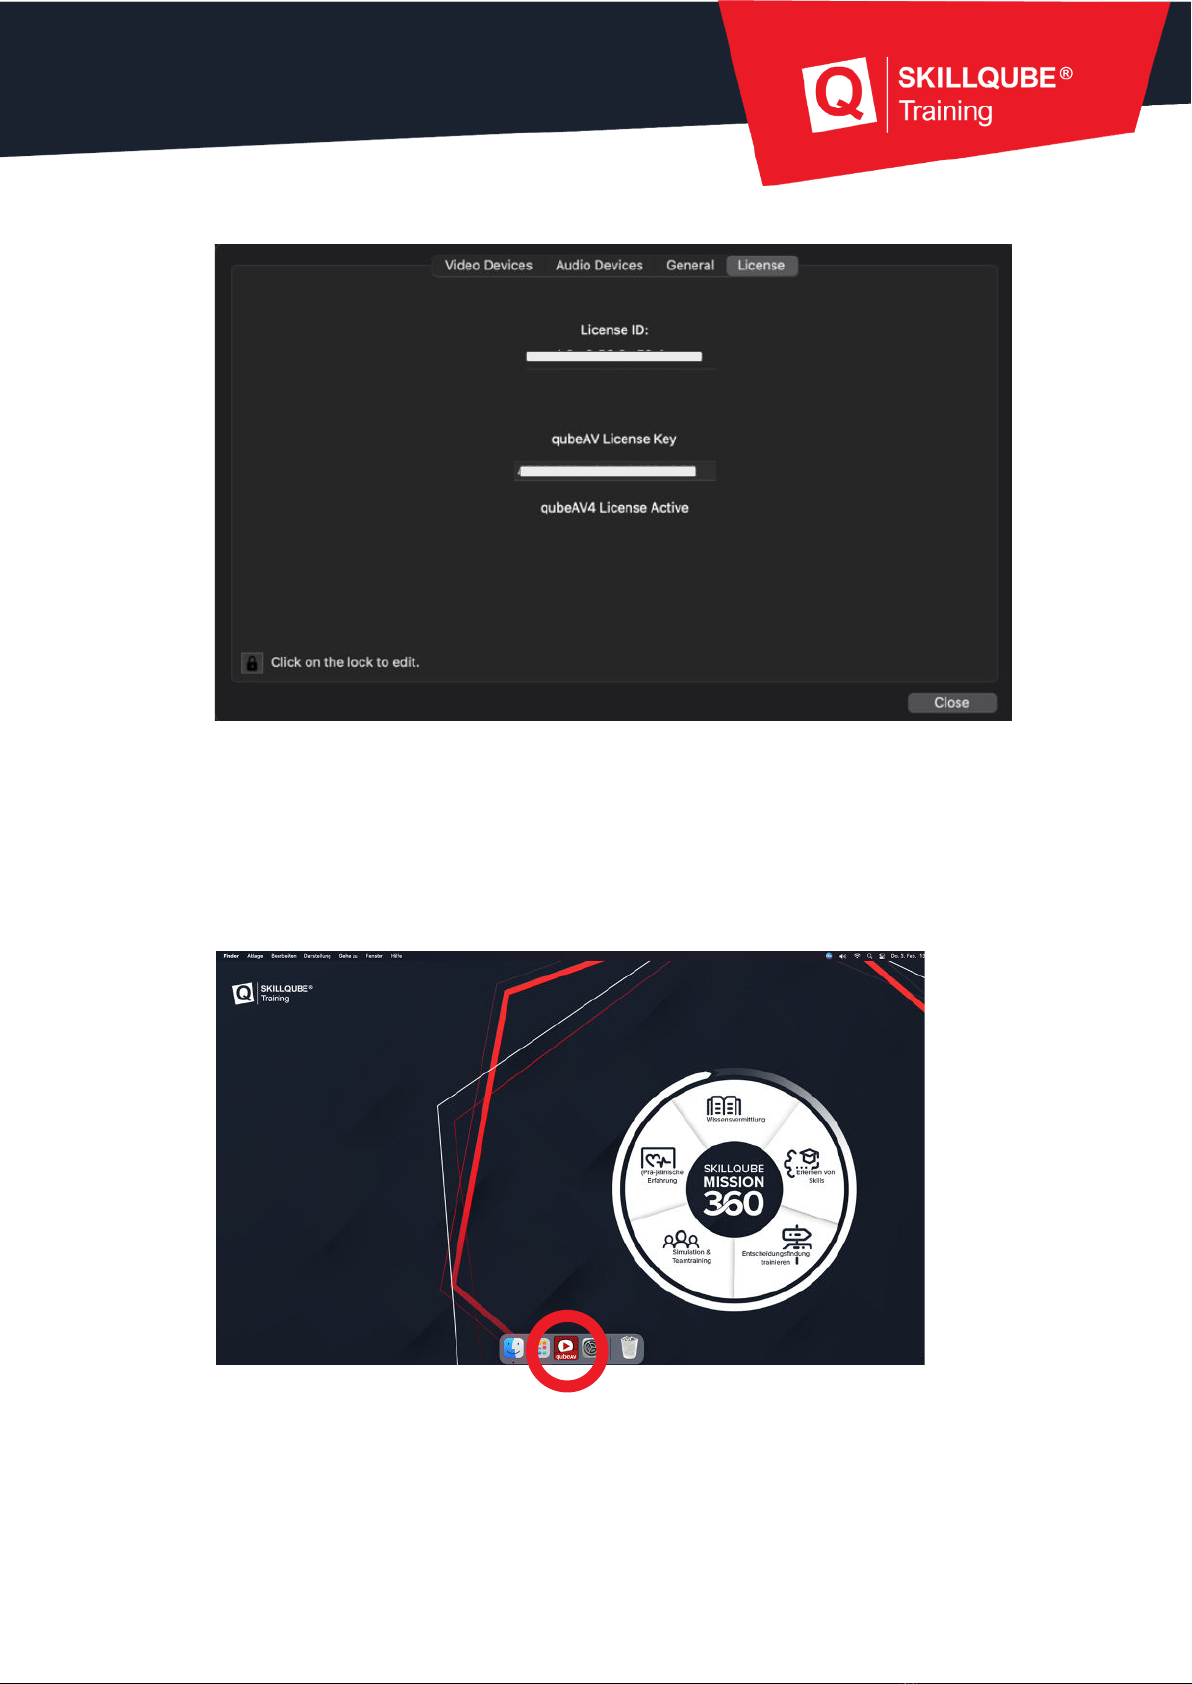
3. Open the lock in the bottom left corner. You can then enter the license key that
was sent to you.
4. The application starts itself up. You do not have to provide any confirmation after
entering the correct license key. After entering the key, close the lock in the
bottom left corner and then choose “Close”.
9
Using the qubeAV application
Connecting and setting up audio/video
1. Open the installed qubeAV application in the dock.
2. If no cameras are found after you open the software, you can go directly to the
settings to configure them. If you just want to load a file to view it, you can skip
this step.
10
3. Use the shortcut !"!+ or go to “qubeAV” and then “Settings” in the menu bar at
the top to open the settings.
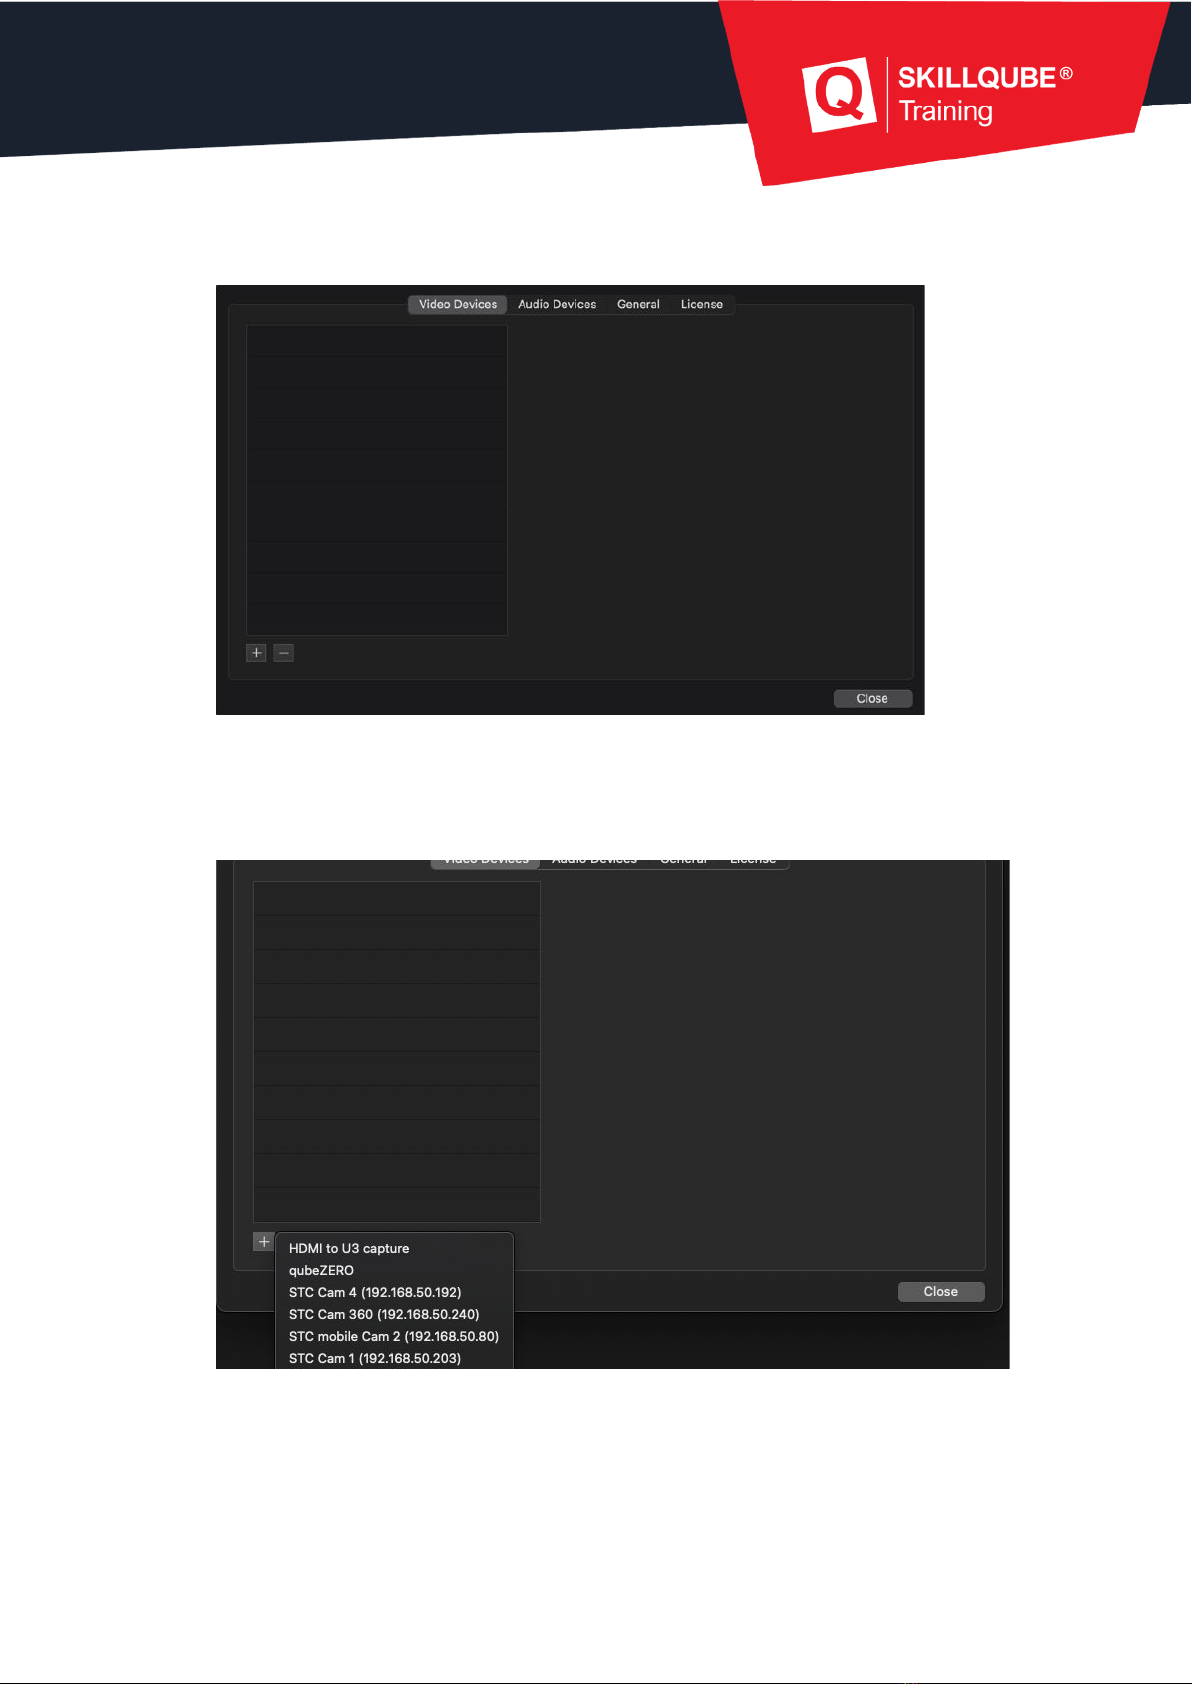
4. Press “+” in the bottom left corner to open the connected cameras. All the
available devices are displayed for you. If you are using a qube patient monitor,
you can also integrate it into the system here. The monitor is listed by name if it
is on the same network as your debriefing system and has been started.
5. Once you have clicked the desired camera to select it, it appears in your list.
Repeat this step to connect any remaining video sources.
Other manuals for qubeAVpro
1
Table of contents
Other SKILLQUBE Medical Equipment manuals


