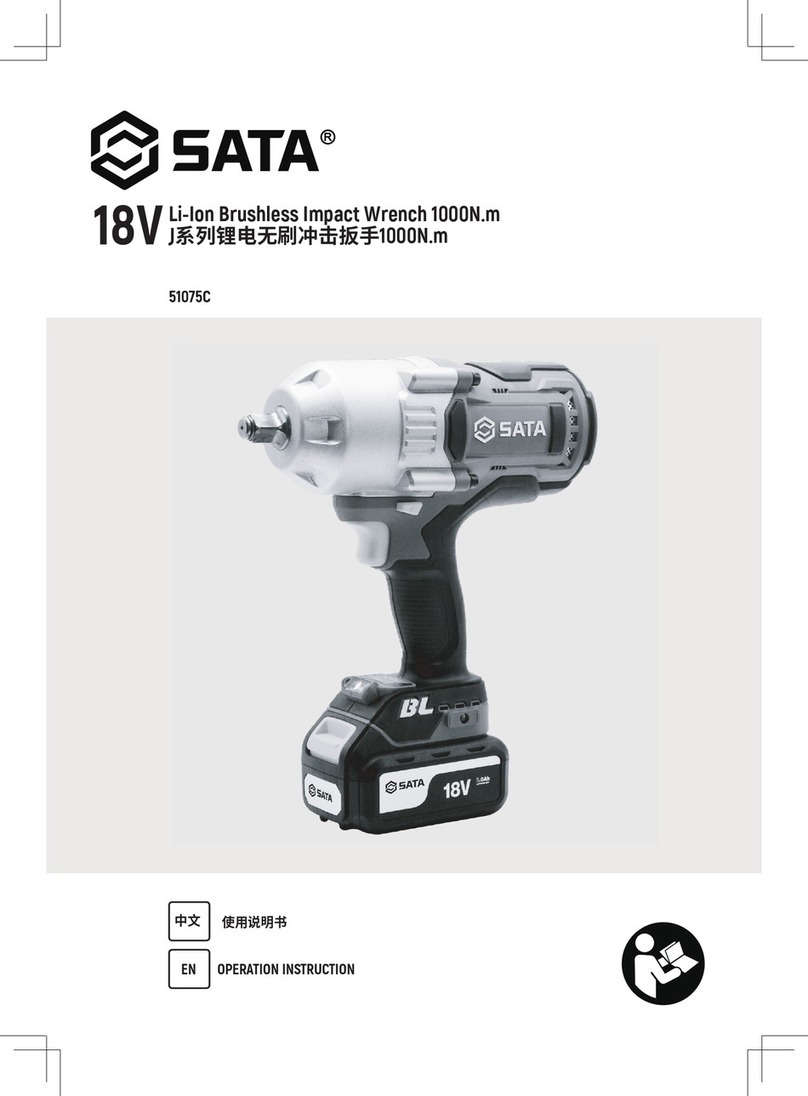
Sealey CP650LIHV User manual

18V 1/2”SQ DRIVE CORDLESS IMPACT
WRENCH
MODEL NO: CP650LI,CP650LIHV
Thank you for purchasing a Sealey product. Manufactured to a high standard, this product will, if used according to these
instructions, and properly maintained, give you years of trouble free performance.
IMPORTANT: PLEASE READ THESE INSTRUCTIONS CAREFULLY. NOTE THE SAFE OPERATIONAL REQUIREMENTS, WARNINGS & CAUTIONS. USE
THE PRODUCT CORRECTLY AND WITH CARE FOR THE PURPOSE FOR WHICH IT IS INTENDED. FAILURE TO DO SO MAY CAUSE DAMAGE AND/OR
PERSONAL INJURYAND WILL INVALIDATE THE WARRANTY. KEEP THESE INSTRUCTIONS SAFE FOR FUTURE USE.
1. SAFETY
1.1. GENERAL POWER TOOL SAFETY WARNINGS
WARNING! Read all safety warnings and all instructions. Failure to follow the warnings and instructions may result in electric shock,
reand/orseriousinjury.
9Save all warnings and instructions for future reference.
1.1.1. WORK AREA SAFETY
9Keep work area clean and well lit. Cluttered or dark areas invite accidents.
9Evaluateyourworkingareabeforeusingthetool;e.g.ceilings,oorsandenclosuresmaycontainelectricalitemsorwaterpiping.
8DO NOT operate power tools in explosive atmospheres, such as in the presence of ammableliquids,gasesordust.Powertools
create sparks which may ignite the dust or fumes.
9Keep children and bystanders away while operating a power tool. Distractions can cause you to lose control.
1.1.2. PERSONAL SAFETY
9Stay alert, watch what you are doing and use common sense when operating a power tool. DO NOT use a power tool while you are
tiredorundertheinuenceofdrugs,alcoholormedication.Amomentofinattentionwhileoperatingpowertoolsmayresultinserious
personalinjury.
9 Usepersonalprotectiveequipment.Alwaysweareyeprotection.Protectiveequipmentsuchasdustmask,non-skidsafetyshoes,
hardhat,orhearingprotectionusedforappropriateconditionswillreducepersonalinjuries.
9 Preventunintentionalstarting.Ensuretheswitchisintheo-positionbeforeconnectingtopowersourceand/orbatterypack,picking
up or carrying the tool.
9 Carryingpowertoolswithyourngerontheswitchorenergisingpowertoolsthathavetheswitchoninvitesaccidents.
9 Removeanyadjustingkeyorwrenchbeforeturningthepowertoolon.
8DO NOT overreach. Keep proper footing and balance at all times. This enables better control of the power tool in unexpected
situations.
9Dress properly. DO NOT wearlooseclothingorjewellery.Keepyourhair,clothingand gloves away from moving parts. Loose clothes,
jewelleryorlonghaircanbecaughtinmovingparts.
9If devices are provided for the connection of dust extraction and collection facilities, ensure these are connected and properly used.
1.1.3. POWER TOOL USE AND CARE
8DO NOT forcethepowertool.Usethecorrectpowertoolforyourapplication.Thecorrectpowertoolwilldothejobbetterandsafer
at the rate for which it was designed.
8DO NOTusethepowertooliftheswitchdoesnotturnitonando.Anypowertoolthat cannot be controlled with the switch is
dangerous and must be repaired.
WARNING!Disconnecttheplugfromthepowersourceand/orthebatterypackfromthepowertoolbeforemakinganyadjustments,
changing accessories, or storing power tools.
9Store idle power tools out of the reach of children and do not allow persons unfamiliar with the power tool or these instructions to
operatethepowertool.Powertoolsaredangerousinthehandsofuntrainedusers.
9 Maintainpowertools.Checkformisalignmentorbindingofmovingparts,breakageofpartsandanyotherconditionthatmayaect
the power tool’s operation. If damaged, have the power tool repaired before use. Many accidents are caused by poorly maintained
power tools.
9Use the power tool, accessories and tool bits etc. in accordance with these instructions, taking into account the working conditions
andtheworktobeperformed.Useofthepowertoolforoperationsdierentfromthoseintendedcouldresultinahazardous
situation.
1.1.4. SERVICE
9 Haveyourpowertoolservicedbyaqualiedrepairpersonusingonlyidenticalreplacement parts. This will ensure that the safety of
the power tool is maintained.
1.2. SPECIFIC IMPACT DRIVER SAFETY INSTRUCTIONS
8DO NOTholdunsecuredworkpieceinyourhand.Securelooseworkpieceswithaclamp,viceorotheradequateholdingdevice.
CP650LI,CP650HVIssue2(3)09/02/23
Original Language Version
© Jack Sealey Limited
Refer to
instructions Wear eye
protection Wear protective
gloves Wear ear
protection

2. INTRODUCTION
Variablespeedtriggerforgreatercontrol.Castaluminiumgearbox.Rubbergearheadcover.Thermaloverloadprotection.Double
injectionbodywithrubbergripsforaddedcomfort.Brushlessmotor,whichgivesanimprovedperformanceandrequiresless
maintenancethanthebrushedequivalent,givingyouamoreecient,longerlastingtool.Producestorqueofupto650Nm(479lb.ft).
Fittedwithelectronicbrake.LEDworkllightilluminatesworkareawhentriggerispressed.Suppliedinstoragecasewith4AhLithium-
ion battery and fast charger..
3. SPECIFICATION
Model No.................................................... CP650LI/HV
Battery ............................................18V4AhLithium-ion
Breakawaytorque .................................650Nm(479lb.ft)
Drive........................................................... 1/2”SqDrive
Fasteningtorque...................................430Nm(317lb.ft)
Impact rate.............................................. 2300-2700bpm
Max.torque..........................................................700Nm
Noisepower/pressure ...................................95/87dB(A)
No-loadspeed ...................................0-2200/0-2600rpm
Vibration/uncertainty ..................................... 9.3/1.5m/s²
4. OPERATION
4.1. USING THE WRENCH
4.2. Fitthesockettothewrenchbysnappingitontothesquare
drive. Note: Use only impact grade sockets.
4.3. Fit the battery pack to the wrench by aligning the tongue on
the battery with the groove in the housing and slide into place.
4.4. Ensurethatthebatterypackisrmlylocated,Aclickwillbe
heard when it has locked into position.
4.5. Selecttherequireddirectionofrotation.Tochange direction, push the forward or reversechange direction, push the forward or reversecontrol(g.1)totheleftorright.DO NOT
attempt to change the direction of rotation whilst trigger is depressed.
4.6. Speedcanbecontrolledbyvaryingthengerpressureonthetrigger.
Initial pressure will switch on the work light.
4.7.4.7. Whentightening,takecarenottoover-torquesmallxi Whentightening,takecarenottoover-torquesmallxings.
Note:Oncriticalfixingsalwayscheckthetorquewithatorquewrenchaccordingtotheproductorvehiclemanufacturer’sguidelines
5. BATTERY CHARGING
NOTE: When new, the batteries will have been shipped in a low charge state. Fully charge the batteries before using your tool.
5.1. Toremovethebatteryfromtheequipment,depressthespringloadedbuttononthebatterypack.Removethebatterypackbysliding
out. DO NOT touch the metal battery terminals.
5.2. Thebatteryisdesignedtotintothechargeronewayonly.Insertthebatteryfullyandrmlytoseatthebatteryintothechargingbase.
5.3. Take the base charger and plug it into the mains, switch on the power and the LED on the charger will illuminate.
5.4. When the battery is on charge the red LED on the charger will illuminate.
5.5. When the green LED on the Charger illuminates permanently the battery is fully charged.
5.6. Remove the battery from the charger. Switch off and remove the plug from the mains.
6. MAINTENANCE
WARNING:Alwaysdisconnectthebatterybeforecarryingoutanyinspection,maintenanceorcleaning.
6.1. GENERAL INSPECTION
6.1.1. Regularlycheckthatallthexingscrewsaretight.Repairsshouldbecarriedoutbyanauthorisedservicecentre.
6.2. CLEANING
WARNING: Alwayswearprotectiveequipmentincludingeyeprotection
and gloves when cleaning this tool.
6.2.1. Keepyourtoolcleanatalltimes.Dirtanddustwillcauseinternalpartstowearquickly,andshortenthedevice’sservicelife.
6.2.2. Clean the body of your machine with a soft brush, or dry cloth.
6.2.3. Neverusecausticagentstocleanplasticparts.Ifdrycleaningisnotsucient,amilddetergentonadampclothisrecommended.
6.2.4. Water must never come into contact with the tool. Ensure the tool is thoroughly dry before using it.
6.2.5. Ifavailable,useclean,dry,compressedairtoblowthroughtheventilationholes(whereapplicable).
6.3. LUBRICATION
6.3.1. Slightly lubricate all moving parts at regular intervals with a suitable spray lubricant.
6.4. STORAGE
6.4.1. Store this tool carefully in a secure, dry place out of the reach of children.
Original Language Version
© Jack Sealey Limited CP650LI,CP650HVIssue2(3)09/02/23

Sealey Group, Kempson Way, Suffolk Business Park, Bury St Edmunds, Suffolk. IP32 7AR
01284 757500 sales@sealey.co.uk www.sealey.co.uk
ENVIRONMENT PROTECTION
Recycleunwantedmaterialsinsteadofdisposingofthemaswaste.Alltools,accessoriesandpackagingshouldbesorted,takento
a recycling centre and disposed of in a manner which is compatible with the environment. When the product becomes completely
unserviceableandrequiresdisposal,drainanyfluids(ifapplicable)intoapprovedcontainersanddisposeoftheproductandfluids
according to local regulations.
WEEE REGULATIONS
DisposeofthisproductattheendofitsworkinglifeincompliancewiththeEUDirectiveonWasteElectricalandElectronicEquipment
(WEEE).Whentheproductisnolongerrequired,itmustbedisposedofinanenvironmentallyprotectiveway.Contactyourlocalsolid
waste authority for recycling information.
Note: It is our policy to continually improve products and as such we reserve the right to alter data, specifications and component parts without prior notice.
Important: No Liability is accepted for incorrect use of this product.
Warranty:Guaranteeis12monthslabourandtwoyearspartswarrantyfrompurchasedate,proofofwhichisrequiredforanyclaim.
Original Language Version
© Jack Sealey Limited
WARNING! – Risk of Hand Arm Vibration Injury.
This tool may cause Hand Arm Vibration Syndrome if its use is not managed adequately.
ThistoolissubjecttothevibrationtestingsectionoftheMachineryDirective2006/42/EC.
This tool is to be operated in accordance with these instructions.
Measured vibration emission value (a): 9.3m/s²
Uncertainty value (k): 1.5m/s²
Please note that the application of the tool to a sole specialist task may produce a different average vibration emission. We recommend
that a specific evaluation of the vibration emission is conducted prior to commencing with a specialist task.
Ahealthandsafetyassessmentbytheuser(oremployer)willneedtobecarriedouttodeterminethesuitabledurationofuseforeach
tool.
NB: StatedVibrationEmissionvaluesaretype-testvaluesandareintendedtobetypical.
Whilst in use, the actual value will vary considerably from and depend on many factors.
Such factors include; the operator, the task and the inserted tool or consumable.
NB: ensure that the length of leader hoses is sufficient to allow unrestricted use, as this also helps to reduce vibration.
The state of maintenance of the tool itself is also an important factor, a poorly maintained tool will also increase the risk of Hand Arm
Vibration Syndrome.
Health surveillance.
Werecommendaprogrammeofhealthsurveillancetodetectearlysymptomsofvibrationinjurysothatmanagementprocedures
can be modified accordingly.
Personal protective equipment.
Wearenotawareofanypersonalprotectiveequipment(PPE)thatprovidesprotectionagainstvibrationinjurythatmayresultfromthe
uncontrolleduseofthistool.Werecommendasufficientsupplyofclothing(includinggloves)toenabletheoperatortoremainwarm
and dry and maintain good blood circulation in fingers etc.
Pleasenotethatthemosteffectiveprotectionisprevention,pleaserefertotheCorrectUseandMaintenancesectioninthese
instructions.GuidancerelatingtothemanagementofhandarmvibrationcanbefoundontheHSEwebsitewww.hse.gov.uk-Hand-Arm
VibrationatWork.
CP650LI,CP650HVIssue2(3)09/02/23
This manual suits for next models
1
Table of contents
Other Sealey Impact Driver manuals

Sealey
Sealey CP20VIDX User manual

Sealey
Sealey Premier SA6008 User manual

Sealey
Sealey SA6.V2 User manual

Sealey
Sealey CP20VPIW User manual

Sealey
Sealey SA141 User manual

Sealey
Sealey CP20VIWX User manual

Sealey
Sealey SA5/S.V3 User manual

Sealey
Sealey CP1211 User manual

Sealey
Sealey GSA6006 User manual

Sealey
Sealey SA5/S.V2 User manual

Sealey
Sealey SA682.V2 User manual

Sealey
Sealey SA6004.V2 User manual

Sealey
Sealey CP20VIW User manual

Sealey
Sealey SA297 User manual

Sealey
Sealey SA684 User manual

Sealey
Sealey SA299.V2 User manual

Sealey
Sealey SA681.V2 User manual

Sealey
Sealey SA91.V2 User manual

Sealey
Sealey SA600 User manual

Sealey
Sealey SA91.V3 User manual