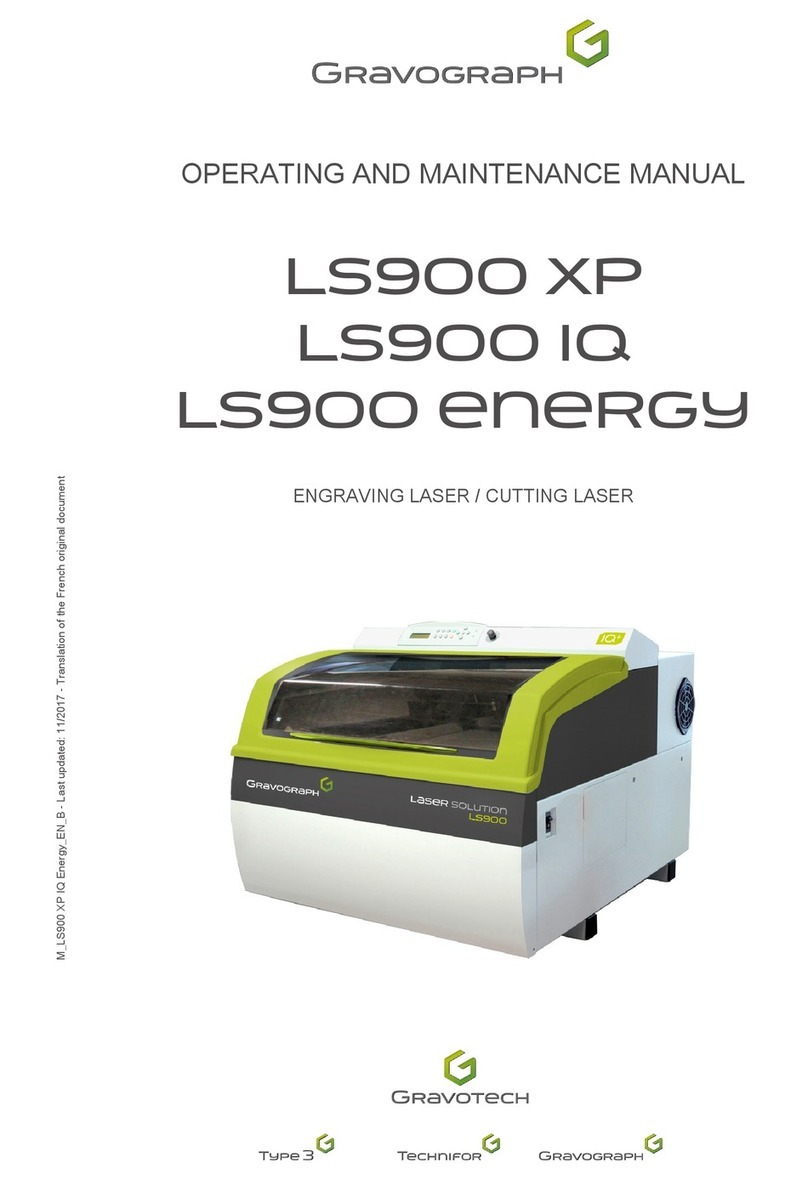
Roland EGX-20 User manual

DESKTOP ENGRAVER
EGX-20
U S E R ' S
M A N U A L
Thank you very much for purchasing the EGX-20.
To ensure correct and safe usage with a full under-
standing of this product's performance, please be sure
to read through this manual completely and store it in
a safe location.
Unauthorized copying or transferral, in whole or in
part, of this manual is prohibited.
The contents of this operation manual and the speci-
cations of this product are subject to change without
notice.
The operation manual and the product have been
prepared and tested as much as possible. If you nd
any misprint or error, please inform us.
Roland DG Corp. assumes no responsibility for any
direct or indirect loss or damage which may occur
through use of this product, regardless of any failure
to perform on the part of this product.

For the USA
FEDERAL COMMUNICATIONS COMMIS-
SION RADIO FREQUENCY INTERFERENCE
STATEMENT
NOTE:
This equipment has been tested and found to comply with
the limits for a Class A digital device, pursuant to Part 15 of
the FCC Rules.
These limits are designed to provide reasonable protection
against harmful interference when the equipment is operated
in a commercial environment.
This equipment generates, uses, and can radiate radio fre-
quency energy and, if not installed and used in accordance
with the instruction manual, may cause harmful interference
to radio communications.
Operation of this equipment in a residential area is likely
to cause harmful interference in which case the user will be
required to correct the interference at his own expense.
Unauthorized changes or modication to this system can void
the users authority to operate this equipment.
Use only I/O cables that have been designed and manufac-
tured specically for this device.
For Canada
NOTICE
This Class A digital apparatus meets all requirements of the
Canadian Interference-Causing Equipment Regulations.
AVIS
Cet appareil numérique de la classe A respecte toutes les
exigences du Règlement sur le matériel brouilleur du Ca-
nada.
WARNING
This is a Class A product. In a domestic environment this product may cause radio interference in which
case the user may be required to take adequate measures.
For EU Countries
For EU Countries
Manufacturer:
ROLAND DG CORPORATION
1-6-4 Shinmiyakoda, Kita-ku, Hamamatsu-shi, Shizuoka-ken, 431-2103 JAPAN
The authorized representative in the EU:
Roland DG Corporation, German Ofce Halskestrasse 7, 47877 Willich, Germany
For California
WARNING
This product contains chemicals known to cause cancer,
birth defects and other reproductive harm.
RolandDG Corp. has licensed the MMP technology from the TPL Group.

1
How to Use This Manual
Be sure to read through this manual when using the EGX-20 for the rst time. This manual explains mainly the following
information.
Connecting to a computer, installing a blade, mounting an engraving workpiece, and the like
Installing the driver software on the computer
The procedure for creating a nameplate using Dr. Engrave (a text-engraving program)
You can also install and set up the following programs on the included Roland Software Package CD-ROM and use them on
your computer.
Virtual MODELA (a program that simulates cutting results obtained with 3D Engrave)
Dr.Engrave (a text-engraving program)
3D Engrave (a program for creating reliefs)
Windows driver (a software driver for using the EGX-20 with Windows)
The manuals for these (except for the manual for the driver) are in electronic format. Refer to them for detailed information
on use.
Manuals in Electronic Format
You can view the manuals in electronic format (PDF les)
from the setup menu that appears when you insert the
Roland Software Package CD-ROM in the CD-ROM drive on
your computer. Load the Roland Software Package CD-ROM
in the computer’s CD-ROM drive and view the manuals in
electronic format as required.
To view a description of the program, click the button.
To view a manual, click the button. A PDF manual is
available for programs listed with a button.
Acrobat Reader is required to view PDF les. If Acrobat
Reader is not already installed and set up on your computer,
then the setup program for Acrobat Reader starts automati-
cally, allowing you to install and set it up.
Help
After you have installed and set up the programs, you can view help for each that contains information similar to the PDF
les. In Windows, click [Start]. From the menu, point to [Programs], then [Roland 3D Engrave], then select [3D Engrave Help].
The help window appears. In the same way, point to [Roland Dr. Engrave] and select [Dr. Engrave Help], or point to [Roland
Virtual MODELA] and select [Virtual MODELA Help]. Alternatively, start the respective program, then from the [Help] menu,
select [Contents]. The help window appears.

Table of Contents
How to Use This Manual.............................................................................................................................................................. 1
To Ensure Safe Use...............................................................................................................3
About the Labels Axed to the AC Adapter and Unit .................................................................................................... 5
1 Getting Ready .........................................................................................................................6
What You Can Do with the EGX-20.......................................................................................................................................... 6
Check the Included Items........................................................................................................................................................... 6
Names and Functions .................................................................................................................................................................. 7
Setting Up and Connection....................................................................................................................................................... 8
Attaching the Adhesive Sheet ................................................................................................................................................10
Installing the Cutter Holder.....................................................................................................................................................11
2 Installing and Setting Up the Software..................................................................................12
The Software You Can Install and Set Up............................................................................................................................12
System Requirements................................................................................................................................................................12
Installation and Setup................................................................................................................................................................13
3 Creating a Nameplate (Engraving Mode)..............................................................................16
Loading Material..........................................................................................................................................................................16
Installing a Cutter ........................................................................................................................................................................17
Setting the Origin Point ............................................................................................................................................................19
Creating Data with Dr. Engrave..............................................................................................................................................20
Setting the Cutting Parameters..............................................................................................................................................25
Performing Engraving................................................................................................................................................................27
4 Creating a Relief (3D Cutting Mode) .....................................................................................28
Removing the Cutter..................................................................................................................................................................28
Detaching the Depth Regulator Unit...................................................................................................................................29
Installing a Cutter ........................................................................................................................................................................30
Loading Material..........................................................................................................................................................................31
Setting the Origin Point ............................................................................................................................................................32
Creating Data with 3D Engrave..............................................................................................................................................34
Adjusting Cutting........................................................................................................................................................................37
Performing Cutting.....................................................................................................................................................................38
5 More Advanced Operations...................................................................................................39
Using Dierent Nose Cones for Dierent Purposes........................................................................................................39
Using the 3D Cutting Mode.....................................................................................................................................................40
6 Optional Parts .......................................................................................................................42
Replacement Cutters and Consumable Parts....................................................................................................................42
Optional Parts for Scribing.......................................................................................................................................................43
7 Appendix ...............................................................................................................................44
Daily Care and Maintenance ...................................................................................................................................................44
Functions Using the Switch Panel on the EGX-20 ...........................................................................................................44
What to Do If... ..............................................................................................................................................................................45
Specications................................................................................................................................................................................47
http://www.rolanddg.com/
Copyright © 2002-2012 Roland DG Corporation
Company names and product names are trademarks or registered trademarks of their respective holders.
2

To Ensure Safe Use
Improper handling or operation of this machine may result in injury or damage to property. Points which
must be observed to prevent such injury or damage are described as follows.
About WARNING and CAUTION Notices
WARNING Used for instructions intended to alert the user to the risk of death or severe injury
should the unit be used improperly.
CAUTION
Used for instructions intended to alert the user to the risk of injury or material damage
should the unit be used improperly.
Note: Material damage refers to damage or other adverse eects caused with respect
to the home and all its furnishings, as well to domestic animals or pets.
About the Symbols
The symbol alerts the user to important instructions or warnings. The specific meaning of the
symbol is determined by the design contained within the triangle. The symbol at left means "danger of
electrocution."
The symbol alerts the user to items that must never be carried out (are forbidden). The specic thing
that must not be done is indicated by the design contained within the circle. The symbol at left means
the unit must never be disassembled.
The symbol alerts the user to things that must be carried out. The specic thing that must be done is
indicated by the design contained within the circle. The symbol at left means the power-cord plug must
be unplugged from the outlet.
WARNING
Never attempt to disassemble, repair, or
modify the machine.
Doing so may result in re, electrical shock,
or injury. Entrust repairs to a trained service
technician.
Do not use with any electrical power supply
that does not meet the ratings displayed on
the AC adapter.
Use with any other power supply may lead to re
or electrocution.
Do not use while in an abnormal state (i.e.,
emitting smoke, burning odor, unusual
noise, or the like).
Doing so may result in re or electrical shock.
Immediately unplug the power-cord plug from
the electrical outlet, and contact your authorized
Roland DG Corp. dealer or service center.
WARNING
Ground the unit with the ground wire.
Failure to do so may result in risk of electrical
shock in the even of a mechanical problem.
Do not use with any power supply other
than the dedicated AC adapter.
Use with any other power supply may lead to re
or electrocution.
Use only with the power cord included with
this product.
Use with other than the included power cord may
lead to re or electrocution.
3

CAUTION
Do not use with a damaged AC adapter,
power cord, or power-cord plug or with a
loose electrical outlet.
Use with any other power supply may lead to
re or electrocution.
When not in use for several hours, unplug
the power-cord plug from the electrical
outlet.
Failure to do so may result in danger of shock,
electrocution, or re due to deterioration of the
electrical insulation.
Do not attempt to unplug the power-cord
plug with wet hands.
Doing so may result in electrical shock.
Install on a stable surface.
Failure to do so may result in falling of the unit,
leading to injury.
Do not inadvertently allow the hands, or
hair near the rotating parts while in opera-
tion.
Doing so may result in injury.
When you’re nished, wash your hands to
rinse away all cuttings.
CAUTION
Do not injure or modify the electrical power
cord, nor subject it to excessive bends,
twists, pulls, binding, or pinching, nor
place any object of weight on it.
Doing so may damage the electrical power
cord, leading to electrocution or re.
When unplugging the electrical power cord
from the power outlet, grasp the plug, not
the cord.
Unplugging by pulling the cord may damage
it, leading to re or electrocution.
Do not allow liquids, metal objects or am-
mables inside the machine.
Such materials can cause re.
Do not touch the tip of the blade
Doing so may result in injury.
Wear dust goggles and mask during use.
Cutting dust may scatter, causing bodily in-
jury.
To Ensure Safe Use
4

About the Labels Afxed to the AC Adapter and Unit
These labels are axed to the body of this product and the AC adapter. The following gure describes the location.
Rating label
Do not use with any electrical power
supply that does not meet the ratings
displayed on the AC adapter.
Handle tool with care.
Model name
In addition to the WARNING and CAUTION symbols, the symbols shown below are also used.
NOTICE Indicates information to prevent machine breakdown or malfunction and ensure
correct use.
Indicates a handy tip or advice regarding use.
To Ensure Safe Use
5

1 Getting Ready
What You Can Do with the EGX-20
• You can engrave a plate with text or shapes to create a nameplate or the like.
Using Dr. Engrave, the included 2D engraving program, you can easily engrave anything from simple text to complex
designs to produce high-quality engraved plates.
p. 16, "Creating a Nameplate"
• You can cut thick materials up to a depth of 7 mm to create reliefs and other forms.
Using 3D Engrave, the included 3D engraving program, you can easily produces reliefs and other three-dimensional
engraved forms.
p. 28, "Creating a Relief"
Check the Included Items
AC adapter: 1 Power cord: 1 Cutter: 1
(with cutter holder)
Nose cones
(large: 1, medium: 1, small: 1)
The medium one is installed on the
machine.
Adhesive sheet: 1 Test-use plate material: 1
Hexagonal screw driver: 1 Hexagonal wrenches
(large: 1 and small: 1)
User's Manual: 1
Roland Software Package
CD-ROM: 1
6
1 Getting Ready

Names and Functions
The names of the parts of the EGX-20 are as follows.
Front
Rear
Switch Panel
Carriage
Depth regulator unit
Table
Z-axis light
Power light
View light
Origin Set light
Movement
button
Speed
control
Spindle Speed
control
Power button
View button
Origin Set
button
Cover
Spindle motor
Spindle unit
Parallel connector
AC adapter jack
7
1 Getting Ready

Setting Up and Connection
Setting
NOTICE
Never install this unit in any of the following situations, as it could result in damage:
• Places where the installation surface is unstable or not level.
• Places with excessive electrical noise.
• Places with excessive humidity or dust.
• The EGX-20 generates heat when used, and should not be installed in an area with poor heat radiation characteristics.
• Places with excessive vibration.
Use within a temperature range of 5 to 40°C (41 to 104°F) and within a humidity range of 35 to 80%.
Securely connect the power cord, computer I/O cable and so on so that they will not be unplugged and cause
failure during operation. Doing so may lead to faulty operation or breakdown.
* Do not place any object within the area
10 cm (4 in.)
10 cm (4 in.)
30 cm (12 in.)
30 cm (12 in.)
8
1 Getting Ready
Other manuals for EGX-20
1
Table of contents
Other Roland Engraver manuals