Introduction
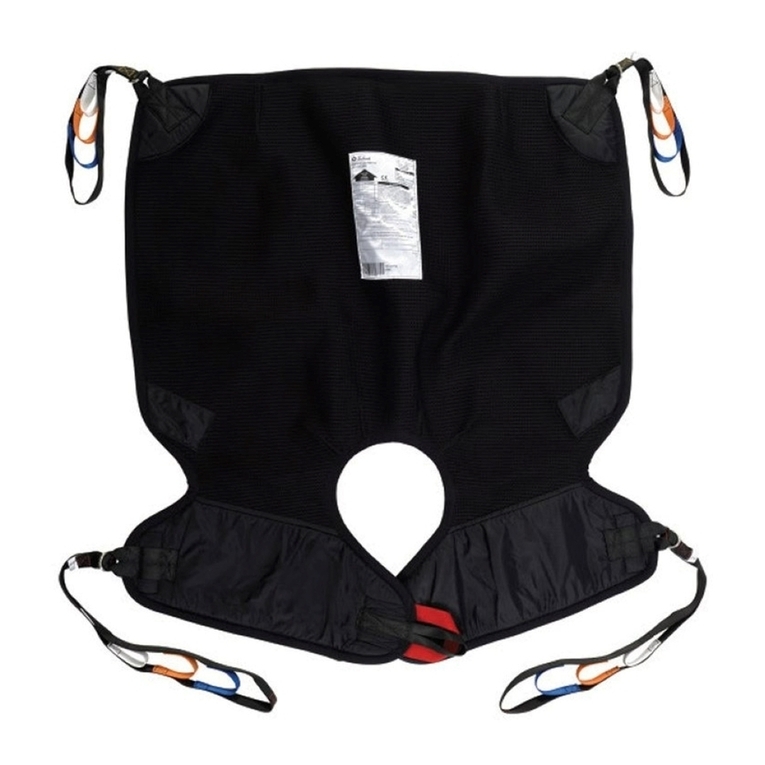
The Child 1 Sling is designed for moving a child from 3 – 10
years of age, the Child 2 Sling can be used for children from
8 – 14 years, where a hoist cannot be used.
The Adult Standard Sling is designed for moving and
handling a child from approximately 11 years of age to a
large adult, for transfer where a hoist is not an option.
The sling models require a minimum of two and maximum of
four operatives distributing the weight between them.
A set of four optional hoist straps can be fitted to the
sling for use with a hoist that has a standard spreader bar.
Whenever possible, a hoist should be used.
The sling is intended to be used by those who are fully
trained in manual handling techniques.
PROMOVE slings for children and adolescents
Preparation (T.I.L.E.)
TASK
•Explain to the individual what you propose to do.
Individual
•Assess the capability of the individual; what
assistance, if any, they can give. Identify relevant
health issues.
Load
•Assess the safe working load (SWL).
•Determine if the use of a slide sheet is appropriate.
•Determine how many operatives will be involved
and identify the individual who will take the lead.
•Ensure that each member of the team is aware of
what she/he is required to do.
Environment
•Assess the location, determine what physical
obstructions there are, will certain members of the
team have to step over or around an obstruction,
what is the nature of the floor; slippery, sticky,
uneven, deep carpet.
Deploying the sling
8
2
3
5
5
4
6
7 7
1
2
Repeat the procedure
from the other side taking
the elongated part under
that already in place and
again bring the handle
through to meet the handle
of the same colour.
Both yellow handles
should be held together
and joined with the padded
fabric, securing with Velcro;
in the same way both blue
handles should be held
together and secured
with Velcro.
Turn padded piece
over if necessary to ensure
that both webbing handles
are enclosed within the
padded fabric.
The sling is now in the
correct position for
manually moving the
individual.
Place the sling behind
the person’s back bringing
the person forward if
necessary. The surface with
the label should be away
from the body.
Push the sling down as
far as possible so that the
V-shaped cut is near the
base of the spine.
Bring the two elongated
parts down to either side of
the individual.
Lean the individual
slightly to one side if
appropriate, tuck the sling
partly under the hip.
Then raising each leg
in turn bring one of the
elongated parts beneath
both thighs and pull
through to bring the
coloured handle to meet
the other handle
of the same colour.
3
4
5
6
7
8
Implementing the move
Ensure all operatives have a firm grip. On the guide of the
lead operative, move and slide the individual into the new
location.
Move in short stages, pause, and if necessary, reassess.
Remain aware of the well-being of patient and operatives
at all times.
More moving options
If using two people to implement the move, one person
can stand behind and grasp two handles at the rear (lower
webbing handles on the back oer an alternative lifting
height) with the other person at the front grasping both
sets of coloured handles. Alternatively, one person can
stand either side, each taking one rear handle and one
front handle.
Four people making the lift will reduce the load on each
individual; two should be behind and two at the front.
If possible use in conjunction with a slide sheet to
minimise or eliminate lifting.
Find us on:
facebook.com/promoveproducts
@a2bwithdignity
3
1
5