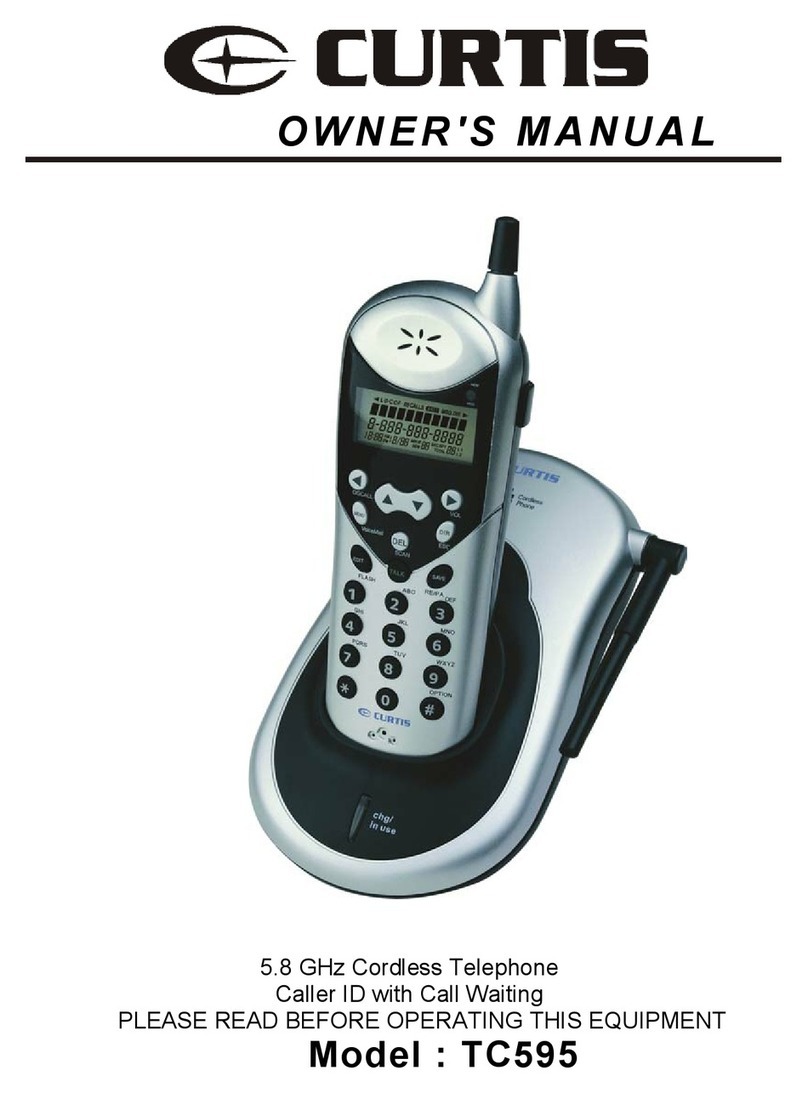
Profoon PDX-2608 User manual

USER’S MANUAL
PDX-2608
PDX-2608 DUO

2
1 OVERVIEWS
1.1 HANDSET:
handset speaker
display,
see the next paragraph
handset
microphone
recharge contacts, to recharge the handset battery by placing the
handset onto the cradle/charger
button,
see the next page
and buttons,
see the next page
keypad, see the next page
telephone function buttons,
see the next page
direct memory buttons
indicator; ashes when
receiving a call, remains lit
when the BOOST function is
enabled

3
direct memory buttons
R button: function button for
certain telecom services
in standby mode, press to open
the menu
during setup, press to conrm your settings
correction button when entering phone numbers or names
during setup, press to go back one step
in stand-by mode, press to start an intercom call (PDX-2608 DUO only)
during a call, press to switch off the microphone
press to answer an incoming call or to start a phone conversation
during a call, press again to enable or disable the speaker function
press to end a call
press and hold (> 5 sec.) to switch off the handset
in standby mode, press to open the Caller-ID memory
in standby mode, press to open the last dialled number memory
press to scroll through memories or settings
0-9 buttons: to dial phone numbers and to enter memories
‘asterisk’ and ‘pound’ buttons: used for e.g. telecom banking
+ extra:
button *: press and hold 2 seconds to lock and unlock the keyboard
button #: press and hold 2 seconds so switch-OFF and ON the ringer signal
BOOST button: during a call, press to en-
able the extra amplier
and buttons: during a call, press to
increase or decrease the volume

4
1.2 DISPLAY:
ashes when the connection between the handset and base is lost
remains lit when the handset is within range of the base
ashes when receiving an external call
remains lit during a call
ashes when receiving an internal call
remains lit during an intercom call
illuminates when the speaker function is enabled
illuminates when checking the Caller-ID memory and having new
calls
shows the status of the rechargeable batteries:
= batteries are full
= batteries are 2/3 full
= batteries are 1/3 full, recharge as soon as possible
= batteries are empty, the handset will switch off and you can no
longer make calls
the battery symbol will scroll while charging until the batteries are fully
charged
illuminates when the number is too long to be shown in the display
(press the # button to see the rest of the number)
handset name (HS) and
internal number (1)

5
illuminates when you’ve receiver a voicemail message (only FSK
systems)
illuminates when the alarm (wake-up) function is enabled
illuminates when the ring volume is set to 0 (switched off)
1.3 BASE:
page button: to page all handsets (hand-
set search button), also used for register-
ing new handsets.
charging contacts:the rechargeable bat-
teries in the handset are charged via
these contacts

6
2 INSTALLATION
2.1 BASE STATION:
Telephone connection:
Plug the small connector at the phone cable into the back of the base
station (press the connector until you hear a click). Plug the phone
connector into the phone socket.
Power supply:
Connect the supplied power adaptor to the input at the rear of
the base and insert the adaptor into a 230V wall socket.
ONLY CONNECT THE INCLUDED ADAPTER. CONNECTING
OTHER ADAPTERS MAY RESULT IN DANGEROUS SITUA-
TIONS OR MAY CAUSE DAMAGE TO THE ELECTRONICS OF THE
PHONE.
Power adaptor input
Phone line input

7
2.2 HANDSET:
1. Open the battery compartment of the handset, by sliding the battery
cover down.
2. Insert the batteries into the battery compartment; at this, pay atten-
tion to the polarity (+ and -).
3. Slide the battery cover back onto the handset and place the handset
on the base station.
4. Leave the handset continuously during 15 hours on the base station,
to charge the batteries properly.
INSERT ONLY RECHARGEABLE NiMH (NICKEL METAL
HYDRIDE) BATTERIES. THE USE OF NON RECHARGE-
ABLE BATTERIES MAY CAUSE DANGEROUS SITUATIONS OR
EXPLOSION HAZARD.
2.3 EXTRA HANDSET AND CHARGER: (PDX-2608 DUO)
2 batteries and a charger with adapter will be included for every
handset. Plug the adapter of these chargers in a 230 Volt mains
socket, insert the batteries into the handset(s) and place the
handset(s) on the charger(s) for 15 hours to charge the batteries.

8
3 CALLING
3.1 RECEIVING CALLS:
when you receive a call, the display lighting of the handset will switch on
and the indicator at the top of the handset starts ashing
press the Call button to answer this call
• see paragraph 10.2, item [ Auto antw ] answering calls by only from the base station
3.2
CALLING WITH THE PHONE OR USING THE HANDS-FREE FUNCTION:
You can make calls holding the handset against your ear or you can use
the speaker function allowing other household members to listen in or to
keep your hands free for e.g. making notes
during a call, press the Call button again to switch on the
speaker function
press the Call button again to switch the speaker func-
tion back off
3.3 ENDING CALLS:
press the End button to disconnect your call
• you can also place the handset back onto the base or cradle/charger to disconnect a
call

9
3.4 DIALLING NUMBERS:
Direct dialing:
Press the phone-on key and wait for the dial tone.
Enter the phone number through the keyboard; this
number will be dialed directly.
pre-dialling:
Enter the phone number through the keyboard.
• press and hold the 0 button for at least once second to insert a
dialling pause (the display will show -P-)
• press the C button to delete any incorrect input
press the Call button to dial the number
dialling from the phonebook memory:
press 2x the button
use the and buttons to search for the desired
memory
press the Call button to dial the number
• see paragraph 7.3 for programming phonebook memories
2x

10
dialling from the Caller-ID memory:
press the button and use the and buttons to
select the desired call
press the Call button to dial the selected number
dialling from the last dialled number memory:
press the button and use the and buttons to
select the desired call
press the Call button to dial the selected number
dialling speed-dial contacts
press and hold the M1 or M2 button for 2 seconds
the handset will switch on and the number is dialled
• see paragraph 10.2, item [ Snelkeuz ] for programming these
speed-dial memories
dialling direct memories
press and hold one of the 0-9 buttons on the keypad for
at least 2 seconds
the handset will switch on and the number is dialled
• see paragraph 7.4 for programming the direct memories
2 sec.
2 sec.
This manual suits for next models
1
Table of contents
Other Profoon Cordless Telephone manuals