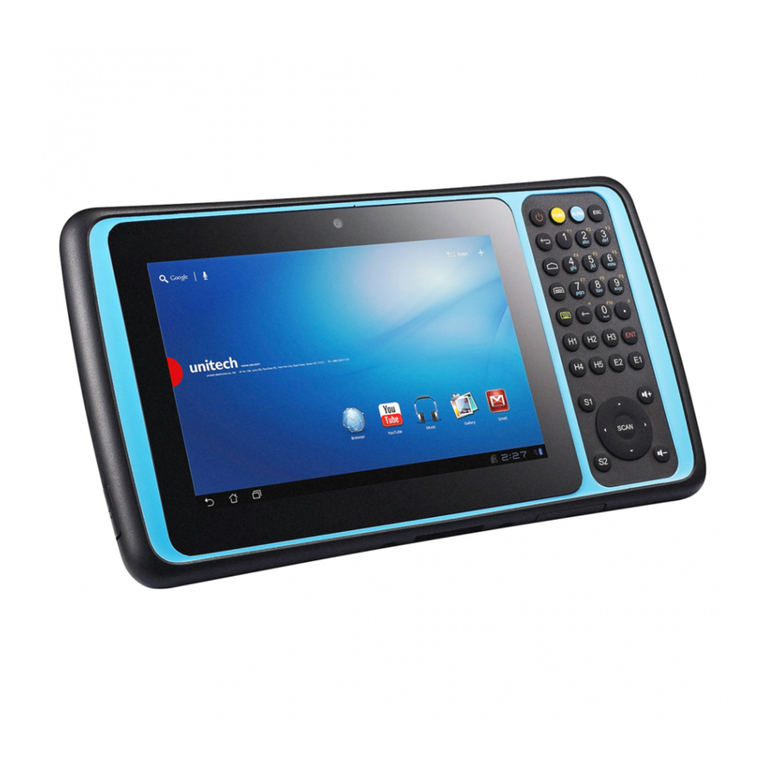
POSIFLEX MT-4008W/R User manual

1
MT-4008W/R
Package Contents
MT-4008W/R (x 1)
Pistol grip (x1)
15W power adaptor (x 1)
Stylus (packed inside the power
adaptor box) (x 1)
Battery pack for pistol grip (x 1)
Recovery or information DVD (x 1)
MT-4008W/R user manual (x 1)
MT-4008W/R barcode scanner user
manual (x 1)
3-track MSR/ RFID Reader (x 1)
(Optional)
MT-4008W/H
Package Contents
MT-4008W/H (x 1)
15W power adaptor (x 1)
Stylus (packed inside the power
adaptor box) (x 1)
Recovery or information DVD
(x 1)
MT-4008W/H user manual (x 1)
3-track MSR/ RFID Reader (x 1)
(Optional)
After checking the package contents, before using the
MT-4008W series, please charge the tablet and battery
pack by using the power adaptor or charger.
MT-4008W/R_MT-4008W/H
Mobile Terminal System
User Manual
12530900010 Ver. Original
http://www.posiflex.com

2
Product Features
Standard Features
System
Intel® Bay Trail-T Z3745D (Quad Core, 2M Cache, Normal
1.33GHz, Burst up to 1.83 GHz)
DDR3L 2GB , DRAM on board
Mechanical Structure
Provided with a pistol grip for easily holding the tablet
(MT-4008/R)
Provided with a hand strap for easily holding the tablet
(MT-4008/H)
Display
7.85” P-CAP multi-touch LCD display
1024 x 768 resolution, brightness 300 nits (maximum)
WIFI
Wi-Fi 802.11b/g/n 2.4GHz
Bluetooth
Bluetooth® V4.0
Camera
2M-pixel front camera and 5M-pixel rear camera
Pistol Grip
Provided with a 1D decoded laser scan engine
Provided with a 1D/2D decoded image scan engine
Optional Items
Modem
3G module
Card Reader
Encrypted 3-track MSR
RFID Reader
Charger
PG Battery pack charger
(CS-100)
MT-4008 W/R charger
(CS-200)
Docking Station
DS-200/210

3
Views of the MT-4008W/R
Front View
Rear View
Top View
microUSB Port 1D/2D Barcode Scanner
(Optional)
Trigger Button
for Barcode Scanner
Pistol Grip
Projected Capacitive
Touch Screen
Front Camera
Home Button
3-track Magnetic Stripe Reader /
RFID Reader (Optional)
Rear Camera
Speaker

4
Left Side View
Right Side View
Views of the MT-4008W/H
Front View
Docking Station Connector
5VDC
-
IN Power Jack
Docking Station Locking Hole
Battery Capacity Indicator
of Pistol Grip
Battery Capacity
Checking Button
Power Button
microSD Card Slot microSIM Card Slot
Projected Capacitive
Touch Screen
Front Camera
Home Button
3-track Magnetic Stripe
Reader / RFID Reader
(Optional)

5
Rear View
Top View
Left Side View
Right Side View
Rear Camera
Speaker Handstrap Cover
microUSB Port
Docking Station Connector
5VDC
-
IN Power Jack
Docking Station Locking Hole
Power Button microSD Card Slot
SIM Card Slot

6
Load a Battery Pack and a stylus into the Pistol Grip
(for MT-4008W/R)
A user who purchases the MT-4008W/R model has a battery pack
for pistol grip. Besides, the user also has a stylus that is packed
inside the power adaptor box. To install the battery pack and
stylus, follow the steps listed below.
1. Press the battery pack cover of the
pistol grip.
2. Press and move the cover in the
direction indicated by the arrow in the
right figure.
3. Make the concave portion of the
battery pack face the protruding
stopper tab. Then, push the tab toward
the fringe of the open mouth of the grip
4. Determine that the battery pack is fully
loaded.
Press

7
5. Insert the projected-capacitive stylus
onto the slot, as indicated by the arrow
in the figure.
6. Determine that the stylus is well
inserted.
7. Slide the battery pack cover along the
fringe of mouth of the pistol grip in the
direction indicated by the arrow in the
figure.
8. Determine that the battery pack cover
is made to fully cover the mouth of the
pistol grip.
Caution: After loading the battery into the pistol grip,
remember to charge the battery pack first with a charger or a
power adaptor connected between the tablet and an electrical
outlet. For the detailed description of battery charging, refer
to the section titled “Charging the Battery” as described
below.

8
Connecting the Pistol Grip onto the Tablet
(for MT-4008W/R)
The pistol grip is an option with 1D or 2D scan engine. Posiflex
provides two models of pistol grips, one with 1D scan engine and
the other one with 2D scan engine, which is just a gun grip for
users to easily operate the scanner by holding the pistol grip. To
install the pistol grip onto the tablet, follow the steps listed below.
1. Align the pistol grip with the wedge
track of the pistol grip, which is
formed on the rear side of the tablet.
2. Align the down arrow formed on the pistol grip with the
beginning segment of the arrow formed on the rear side of the
tablet.
3. Push the pistol grip in the direction indicated by the arrow in
the figure below.
Note: when the grip is connected to the rear side of the tablet, the
battery capacity indicator turns bright if the power energy of the
battery in the grip remains.

9
4. The pistol grip will be fixed and locked to the tablet when the
pistol grip is pushed to the point, where the down arrow
formed on the pistol grip is aligned with the destination of the
arrow formed on the rear side of the tablet.
5. If you want to check how much
capacity of the battery pack in the
pistol grip remains, press the battery
capacity checking button on the
pistol grip, and you will see the
battery capacity level through the
LED indicator.
Note: When the “FULL” indicator is bright, it is indicated that the
battery capacity is full; when the “LOW” indicator is bright, it is
indicated that the battery capacity is low, which prompts you to charge
the battery or change the battery pack.
Replacing the Pistol Grip with a Handstrap Cover
(Optional)
The handstrap cover is an optional holder designed for users to
easily hold the tablet for operation. To replace the pistol grip with
a handstrap cover, follow the steps listed below.
1. Push the unlocking knob to the end
in the direction indicated by the
arrow in the figure (1). Then, slide
the pistol grip in the direction
indicated by the arrow in the figure
(2).
1
1
2
2

10
2. Move the pistol grip upwards and
remove it.
3. Lay the handstrap cover on the rear
side of the tablet along the track
formed on the rear side of the tablet.
4. Determine that the handstrap cover
entirely lies on and is precisely
aligned with the track formed on the
rear side of the tablet.
5. Push the handstrap cover to the end
along the track in the direction
indicated by the arrow in the figure.
6. Determine that the handstrap cover
is completely pushed to the end.
This manual suits for next models
1
Table of contents