POCTech CT10 User manual

Copyright
The device bears CE mark indicating its conformity with the provisions of the Council Directive 93/42/EEC concerning
medical devices and fulfills the essential requirements of Annex I of this directive.
The CT10 Continuous Glucose Monitoring System is manufactured by Zhejiang POCTech Co., Ltd.
© Zhejiang POCTech Co., Ltd. All rights reserved. This User Manual may change without notice. When this happens, a new
issue of the User Manual will be released.
Definitions of Safety Notes
A WARNING statement provides important information about a potentially hazardous situation which, if not avoided, could
result in serious consequences.
A CAUTION statement provides important information about a potentially hazardous situation which, if not avoided, may
result in minor or moderate injury to the user or patient or damage to the medical device or other property.

A NOTE provides additional information intended to avoid inconvenience during operation.
Contents
Section 1. Safety Information
1.1. Important Safety Information
1.2. Labels
Section 2. Product Introduction
2.1. Intended Use
2.2. Contraindications
2.3. System Introduction
2.4. System Components
2.5. Receiver Menu Description
Section 3. Preparation before Use
3.1. Preparation before Use
Section 4. Product Operation and Notice
4.1. Using a New Sensor
4.2. Initialize the Sensor
4.3. Sensor Initialization and First Ref BG
4.4. Events Input
4.5. Features of the Touch-Screen Display
4.6. Care and Maintenance during Monitoring
4.7. Ending Your Continuous Glucose Monitoring
4.8. Waste Disposal
Section 5. Troubleshooting and Maintenance
5.1. Troubleshooting(with Error Code)
5.2. General Maintenance of Device -Inspection and Maintenance
Section 6. Specifications and EMC Declaration
6.1. Specifications
6.2. EMC Declaration
6.3.EU Radio Equipment Directive (RED) Declaration
Section 7. Warranty
7.1. Contacts and Numbers
7.2. Warranty

Section 1. Safety Information
1.1. Important Safety Information
Read this entire manual before using your Continuous Glucose Monitoring System. If you do not understand something or
have any questions, please ask your Diabetes Management Team or another health care provider. Contraindications,
warnings, precautions, cautions, and other important safety information can be found in this User Manual.
This device is not designed to replace a blood glucose meter. The system must be used with a blood glucose meter in
compliance with regulations.
•Treatment decisions should not be based solely on results from this device. You must confirm with a blood glucose meter
before making therapeutic adjustments.
•Symptoms related to low or high blood glucose levels should not be ignored. If you have symptoms of low or high glucose,
use your blood glucose meter to verify the results.
•You should update the device’s calibration according to the instruction in this manual to ensure device performance. The
performance of the device when calibrated less frequently than the recommendation has not been studied.
•The CGM product should be used under the supervision of a physician.
•Always wash hands with soap and water before opening the sensor package. After opening the package, avoid touching
the adhesive area.
•Before inserting the sensor, always clean the skin at the sensor insertion location with a topical antimicrobial solution such
as isopropyl alcohol. Do not apply the sensor until the cleaned area is dry.
•Establish a rotation schedule for choosing each new sensor location. Avoid sensor locations that are constrained by
clothing, accessories, or subjected to rigorous movement during exercise.
•Avoid injecting insulin or placing an insulin pump infusion set within 3 inches of a sensor.
•The sensor is sterile in its unopened, undamaged package. Do not use any sensor if its sterile package has been previously
damaged or opened.
•For calibration you must enter the exact finger stick reading that your blood glucose meter displays. Enter all finger stick
readings for calibration within 5 minutes. Entering incorrect finger stick readings that occurred more than 5 minutes ago
will affect device performance.
1.2. Labels:
Symbol label
Title of symbol
Consult instructions for use
Refer to instruction manual/ booklet
Sterilized using irradiation
Do not re-use
Type BF applied part
Direct current
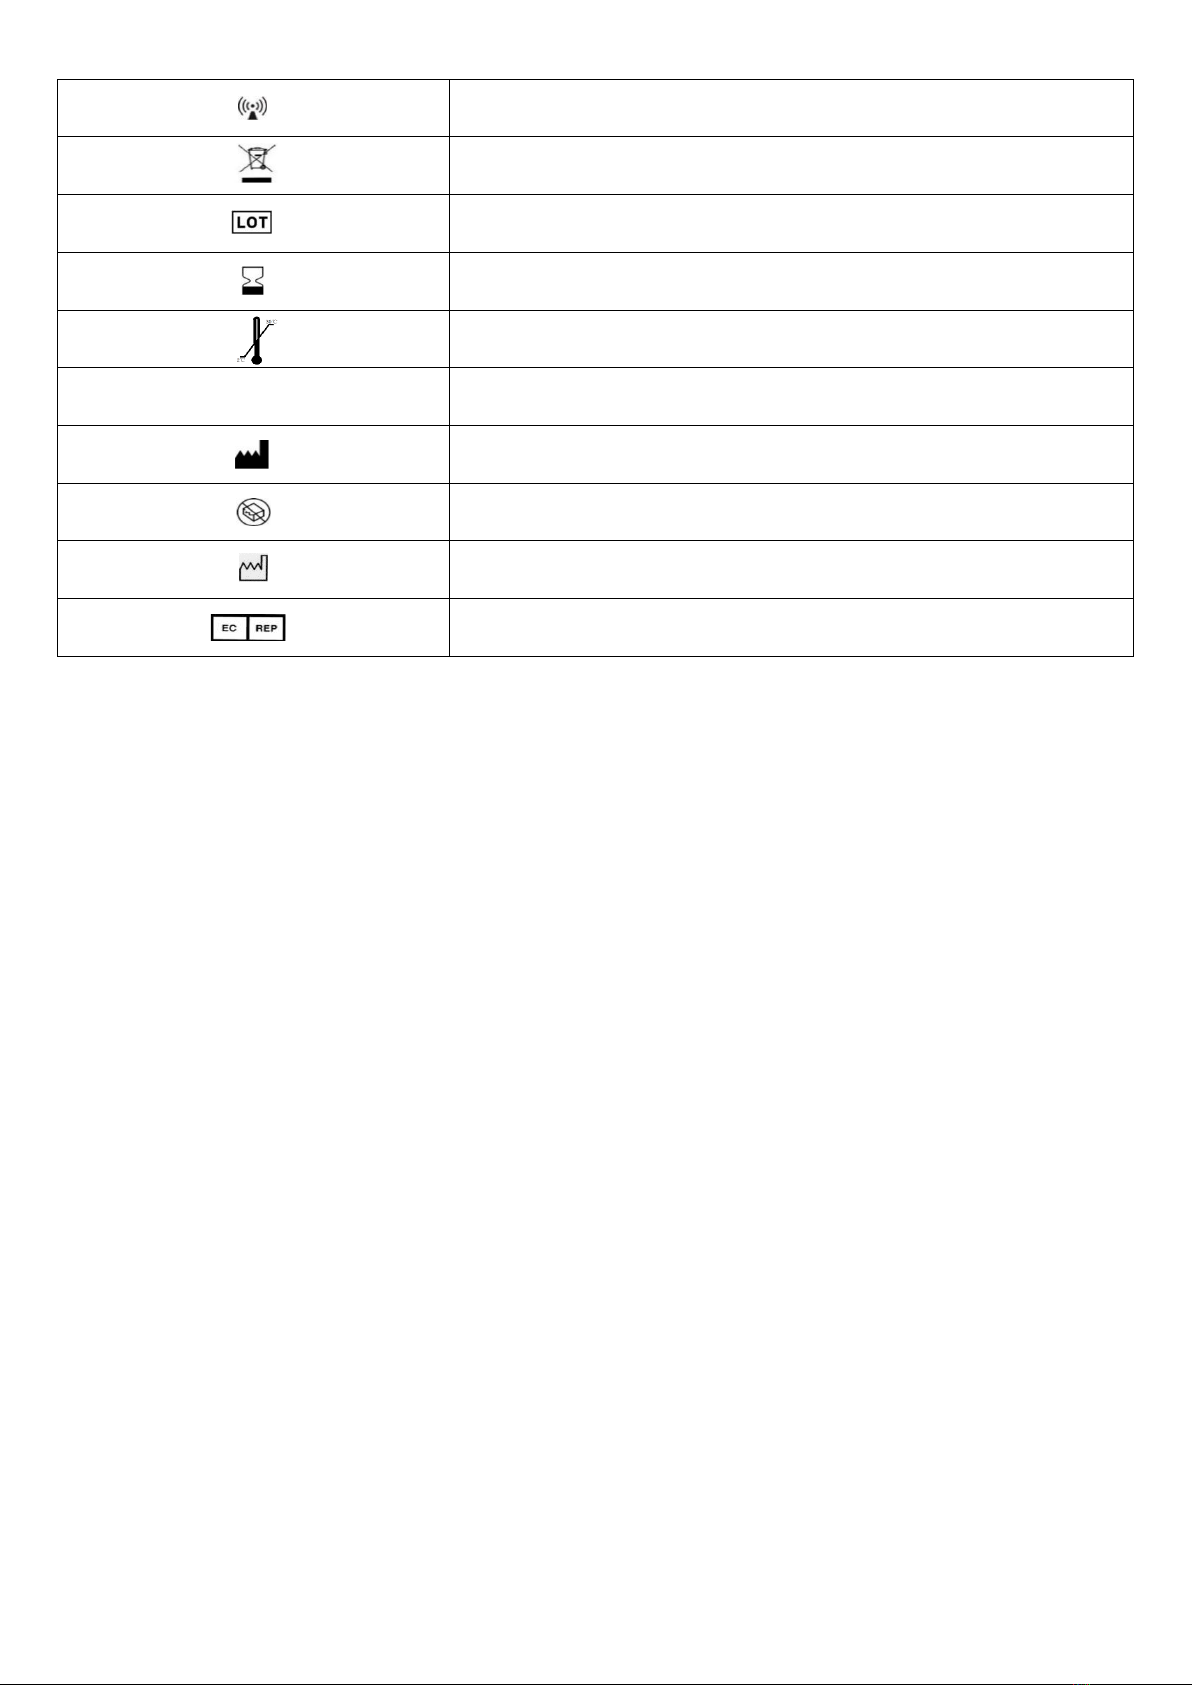
Non-ionizing electromagnetic radiation
Symbol for the marking of electrical and electronic equipment
Batch code
Use-by date
Temperature limit (2℃~30℃)
IP27
Degrees of protection against water indicated
Manufacturer
Do not use if package is damaged
Date of manufacture
Authorized representative in the European Community

Section 2. Product Introduction
2.1. Intended Use
The device is indicated for detecting trends and tracking patterns in adults with diabetes. The system is intended for use by
patients.
This device is not designed to replace a blood glucose meter. The device must be used with a blood glucose meter.
Treatment decisions should not be based solely on results from the system. Treatment decisions must be confirmed with a
blood glucose meter before making therapeutic adjustments.
Indications
The system is indicated for detecting trends and tracking patterns in adults with diabetes. It is intended for use by patients
2.2. Contraindications
CT-Scan, X-Ray or MRI: If you must be examined with CT, X-ray, or MRI imaging, remove the transmitter and sensor. Start a
new sensor after the examination.
2.3. System Introduction:
Principle of Operation
The sensor works through enzymatic electrochemical reactions with glucose. The enzyme, glucose oxidase, allows glucose
to be converted into an electronic signal. The receiver converts the sensor signal to a glucose reading that is displayed to
the user.
The CT10 allows you to continually see your readings every 3 minutes for up to 10 days.
Reagents
Glucose oxidase. The enzyme glucose oxidase is derived from a microorganism Aspergillus niger purified and dried
according to Type VII-S guidelines. Direct tissue contact with the glucose oxidase is prevented by an outer sensor membrane
layer, therefore the risk of tissue reactions from glucose oxidase is considered to be minimal.
2.4. System Components
The system consists of three parts (Fig.1), a glucose sensor, a transmitter, and a receiver.
Figure 1. System: Sensor, Transmitter, and Receiver
•The sensor is a four electrode flexible tiny strip assembled with an inserter, packed in a sterile package for direct use.

Figure 2. The Sensor Assembly (Sensor & Inserter)
CT10 system components:
Part
1
1.1
CT-202 Sensor
2
2.1
CT-100C10 Transmitter
3
3.1
CT-100BD Receiver
4
4.1
User Manual
4.2
Quick Start Guide
4.3
Accessory: USB (Type C) Cable
4.4
Accessory: Battery Lid
4.5
Accessory: CR1620 Lithium ion button battery for CT-100C10 Transmitter(Option)
•Additional Supplies Needed:
Users should have a blood glucose meter readily accessible to make therapeutic adjustments and calibrate the CGM.
Users can choose to receive data using the receiver or POCTech CGM App. Users can download the POCTech CGM App
through the mobile application market. Used with the transmitter and sensor, the POCTech CGM App can collect, analyze,
transform and display the current data collected by the transmitter, store the collected data and generate reports.
Users can get the latest version of User Manual of POCTech CGM App at www.poctechcorp.com
Users can contact the supplier to obtain POCTech Care software for Windows, which is used to input the stored CGM data
into the computer through the USB cable to display the glucose data collected by the CGM.
2.5. Receiver Menu Description (Fig. 3):

Figure 3. Receiver Display
2.5.1 Top Status Line:
Date, Time; (yy-mm-dd)
Vibrator Alert; ( )
Remaining Sensor Days(10)
Audio Alert; ( )
Bluetooth; ( )
Battery. ( )
2.5.2 Middle Glucose Information:
Glucose Reading& Unit
Glucose Arrow
Glucose Trend Graph.
2.5.3 Bottom Menu Line:
Sensor ON/OFF/Signals ( );
Parameters Settings ( );
Events Input( );
Data Review ( ).
Sensor ON/OFF:
To turn transmitter data communication link ON/OFF (Fig.4): In normal operation mode, the “Sensor On” item is not
necessary. The sensor/transmitter connection initiates via the “Scan to search” operation. When a sensor is in data link
status, the “Sensor On” item is not operable. The “Sensor Off” is available only for particular cases when the monitoring
needs to be interrupted, or stopped before the end of the nominal 10-day period.
The “Sensor Signal” is for sensor status check purposes (trouble shooting) when abnormality is suspected.
The Sensor Menu can be opened by long pressing the icon (more than 3 seconds).

Figure 4. View Signal Screen
Parameters Settings (Fig. 5):
Date/Time;
Keypad Tone.
Alert On/Off (Audio/Vibrator/Audio+Vibrator).
Alert Setting (Hyperglycemia/Hypoglycemia threshold values).
Language .
Figure 5. Parameters Settings Menu
Events Input(Fig. 6):
RefBG: User enters Blood glucose (BG)
Event Input: User Logs:
Exercise;
Meal;
Medication;
Insulin.

Figure 6. Events Input
Data Review (Fig.7):
Review Data: Review historical sensor data.
24 Hours Data: Display a 24-hour Overlay of the selected sensor data file.
Figure 7. Data Menu

Section 3. Preparation before Use
3.1. Preparation before Use
The Sensor:
Check the sterile packaging and the expiration date to make sure that the sensor is in good condition.
The Transmitter:
Make sure that one new CR1620 (3V) cell button battery is available for each sensor when beginning the monitoring.
Prepare the transmitter (Fig.8): Install a CR1620 battery in the transmitter.
Figure 8. Install Transmitter Battery
Make sure the battery’s positive side is upward.
Tighten the battery chamber lid with a coin (Fig.9).
Figure 9. Tighten the Battery Lid
The transmitter starts wireless broadcasting. Its ID number will be displayed on the nearby receiver (When the receiver is in
Search Mode).
Figure 10. Transmitter ID Number
The Receiver:
Press and hold the power switch for more than 3 seconds to turn the receiver power ON. Verify that the date and time are
Table of contents
Other POCTech Blood Glucose Meter manuals


