Planet WAP-4060PE User manual


Other manuals for WAP-4060PE
1
Table of contents
Other Planet Wireless Access Point manuals

Planet
Planet WDAP-C1800AX User manual

Planet
Planet Wireless Access Point w/Bridge WAP-1963A User manual

Planet
Planet WAP-4035 User manual

Planet
Planet WNAP-6350 User manual

Planet
Planet WNAP-6350 User manual

Planet
Planet WDAP-C3000AX User manual

Planet
Planet MAP-3120 User manual

Planet
Planet WAP-2000 User manual
Planet
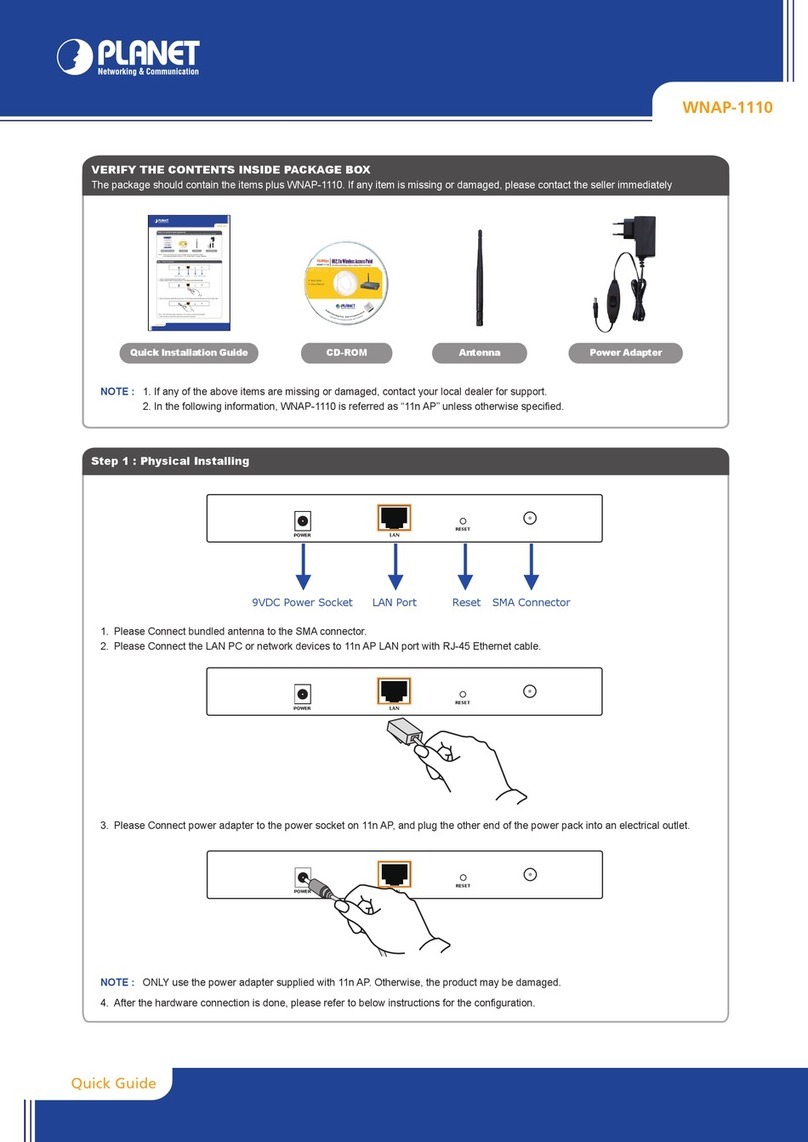
Planet WNAP-1110 User manual

Planet
Planet WNAP-7300 User manual

Planet
Planet WDAP-C7200AC User manual

Planet
Planet WDAP-3000AX User manual

Planet
Planet WAP-3000 User manual

Planet
Planet WAP-4033 User manual

Planet
Planet RTL8812AU-CG User manual

Planet
Planet Network Device WAP-4033PE User manual

Planet
Planet WAP-6100 User manual

Planet
Planet WAP-6200 User manual

Planet
Planet WNAP-7325 User manual

Planet
Planet WNAP-C3220E User manual