Phonak TV Connector User manual
TV Connector
User Guide

32
Contents
1. Welcome
2. Getting to know your TV Connector
3. Getting started
3.1 Setting up the power supply
3.2 Supported audio connections
3.3 Connecting to an audio device
3.4 Optional: Connecting to an audio device
using the audio socket
3.5 Connecting the TV Connector to the
hearing aids
4. Daily use of the TV Connector
4.1 Adjusting the volume of the audio
4.2 TV Connector and phone calls
4.3 Switching off audio transmission
4.4 Understanding the indicator light (LED)
5. Troubleshooting
5.1 Testing the audio transmission
5.2 Questions and answers
4
5
8
8
10
11
12
13
15
17
18
18
19
20
20
21
24
24
24
25
26
30
33
6. Service and warranty
6.1 Local warranty
6.2 International warranty
6.3 Warranty limitation
7. Compliance information
8. Information and explanation of symbols
9. Important safety information
4 5
Congratulations on choosing the TV Connector. The TV
Connector allows you to connect your hearing aids to
your TV or other entertainment/communication devices.
Please read this user guide carefully to discover how
to benefit from the features of your TV Connector.
If you have any questions, please consult your hearing
care professional or go to www.phonak.com/tvconnector
Phonak – life is on www.phonak.com
1. Welcome
CE mark applied: 2018
2. Getting to know your
TV Connector
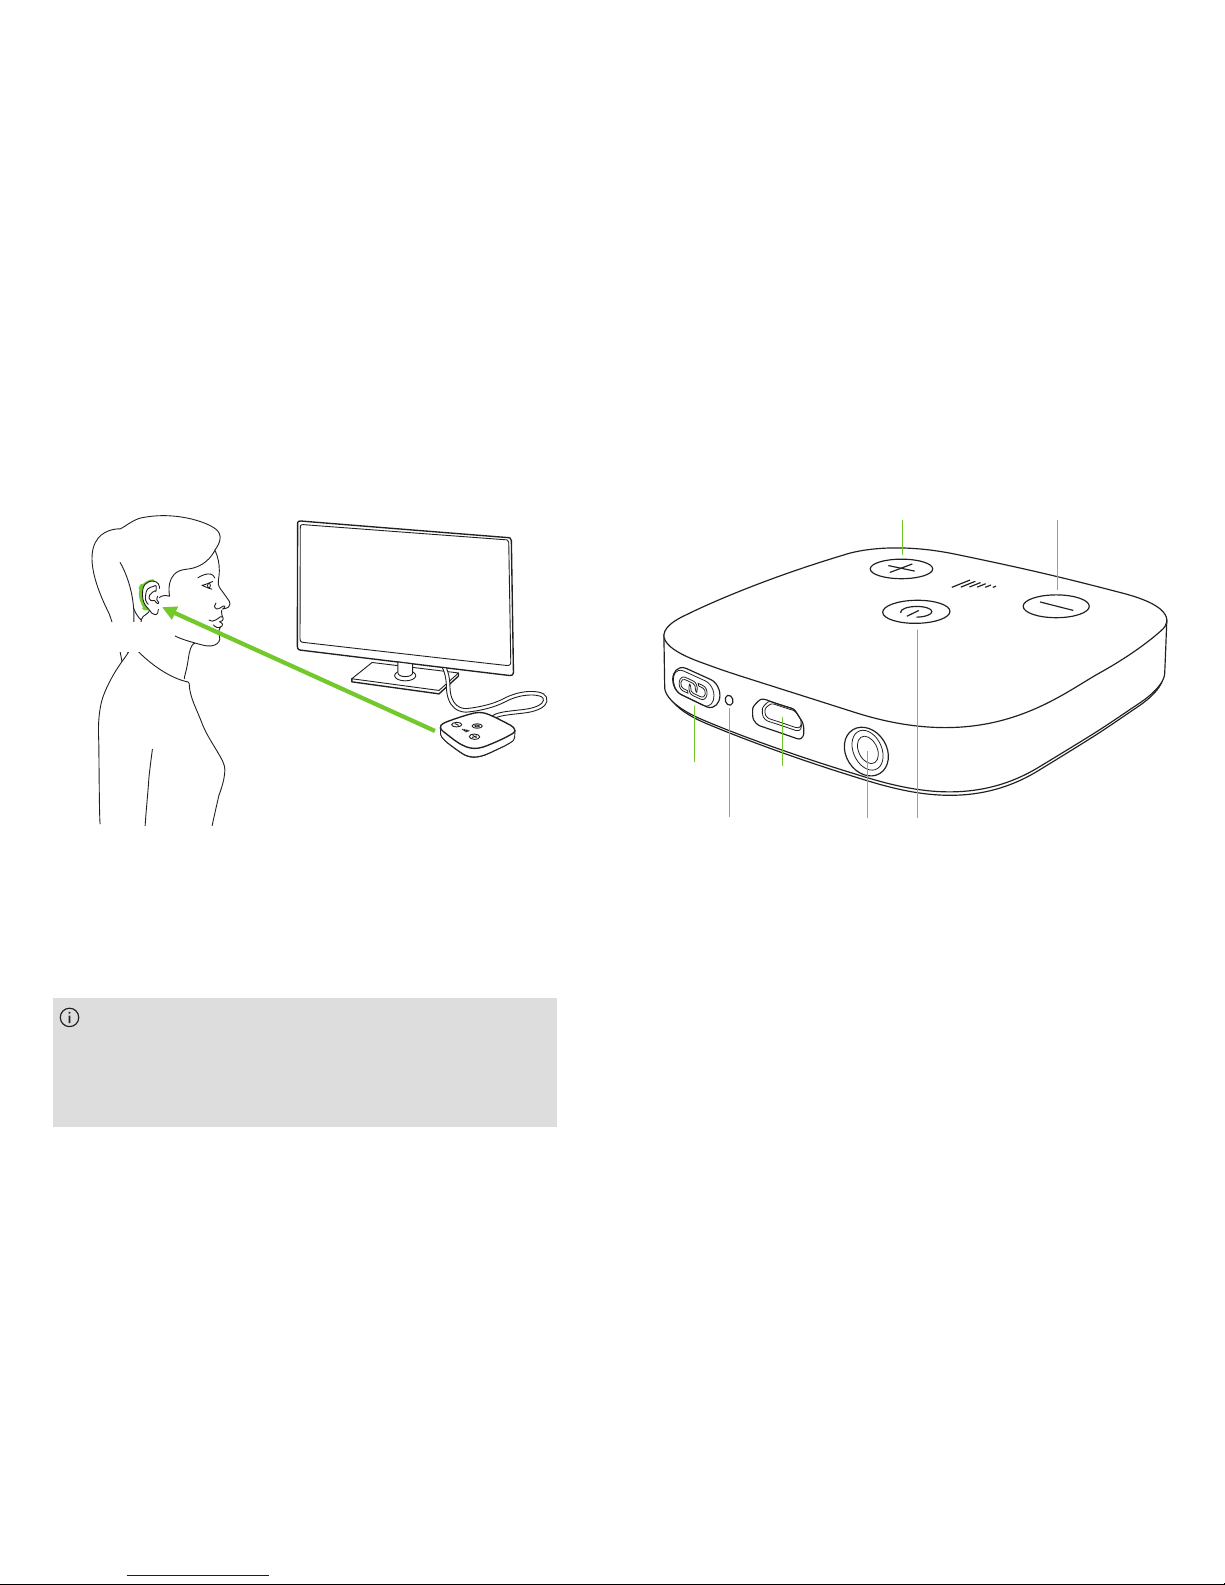
The intended use of the TV Connector is to establish
a wireless connection between your hearing aids
and a TV (or any other audio source). It sends audio
signals within a 15 meter (50 ft) radius wirelessly to
the hearing aids.
TV Connector is compatible with all Phonak direct
connectivity wireless hearing aids.
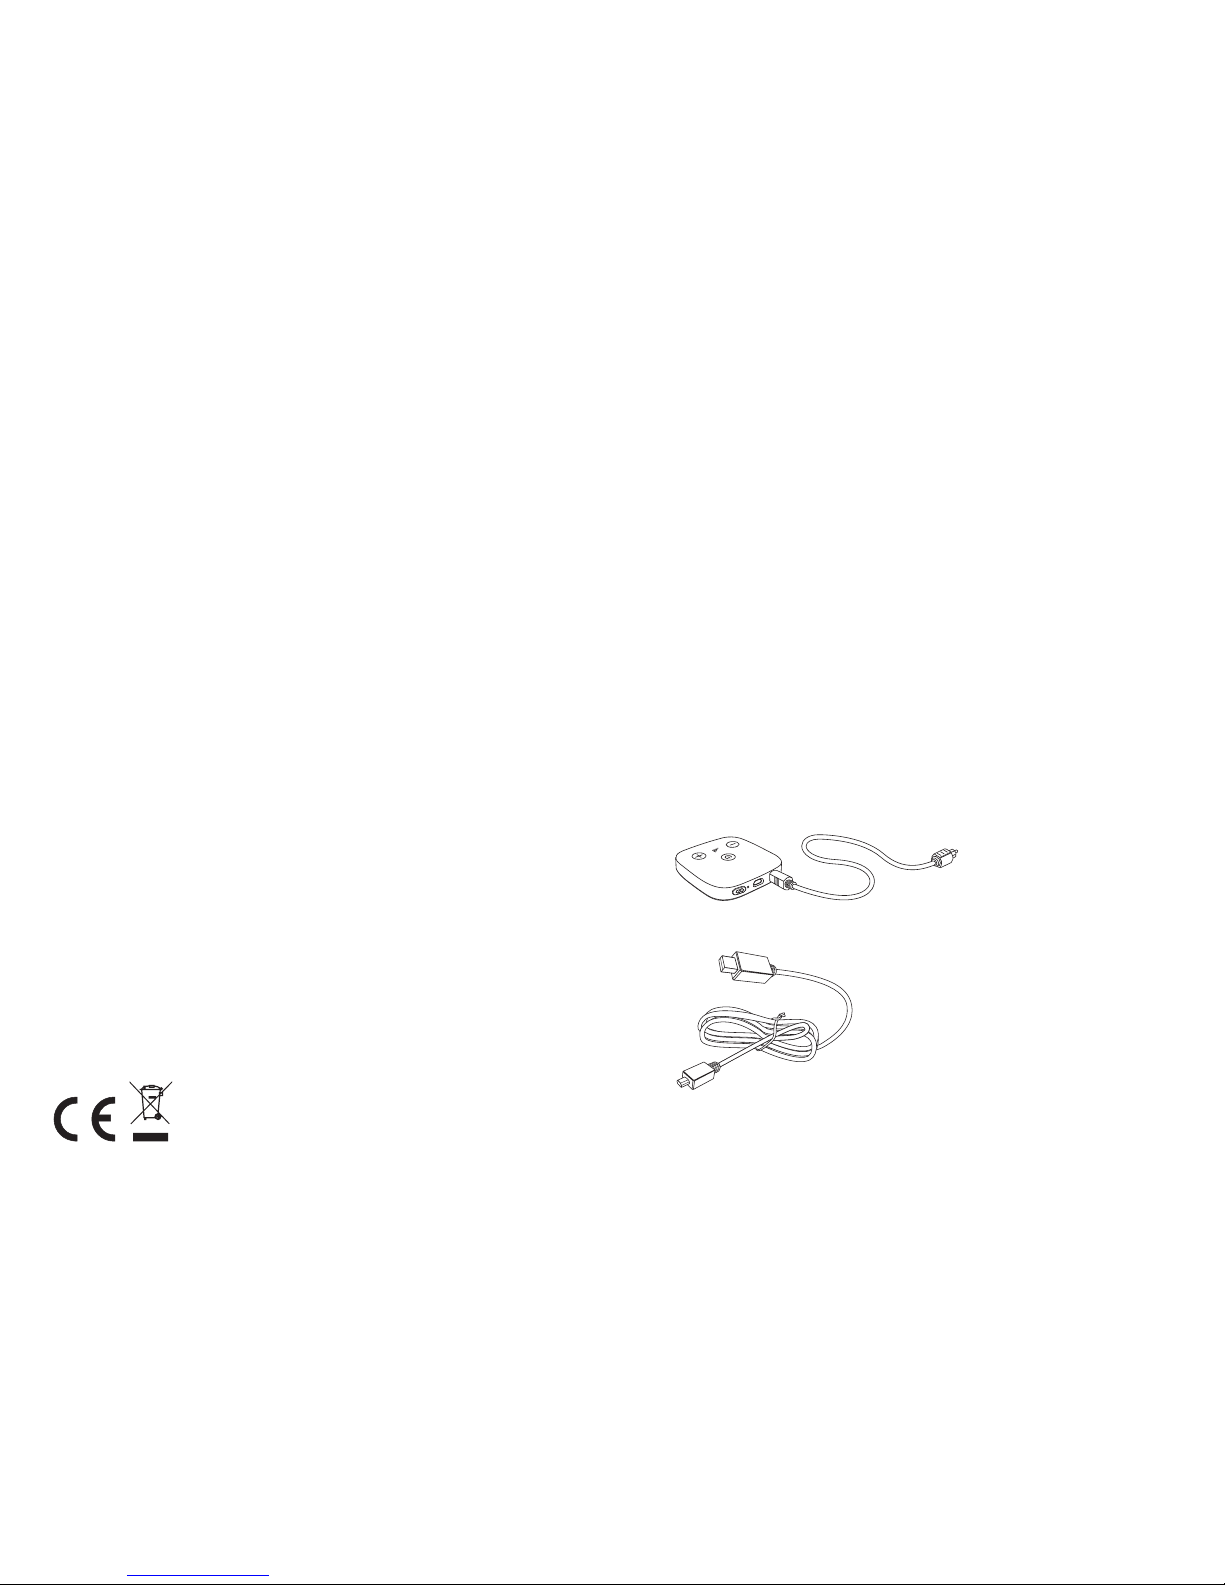
Toslink or Audio cable
USB cable
6 7
2.1 Device description
1Connect button
2Indicator light (LED)
3microUSB power socket
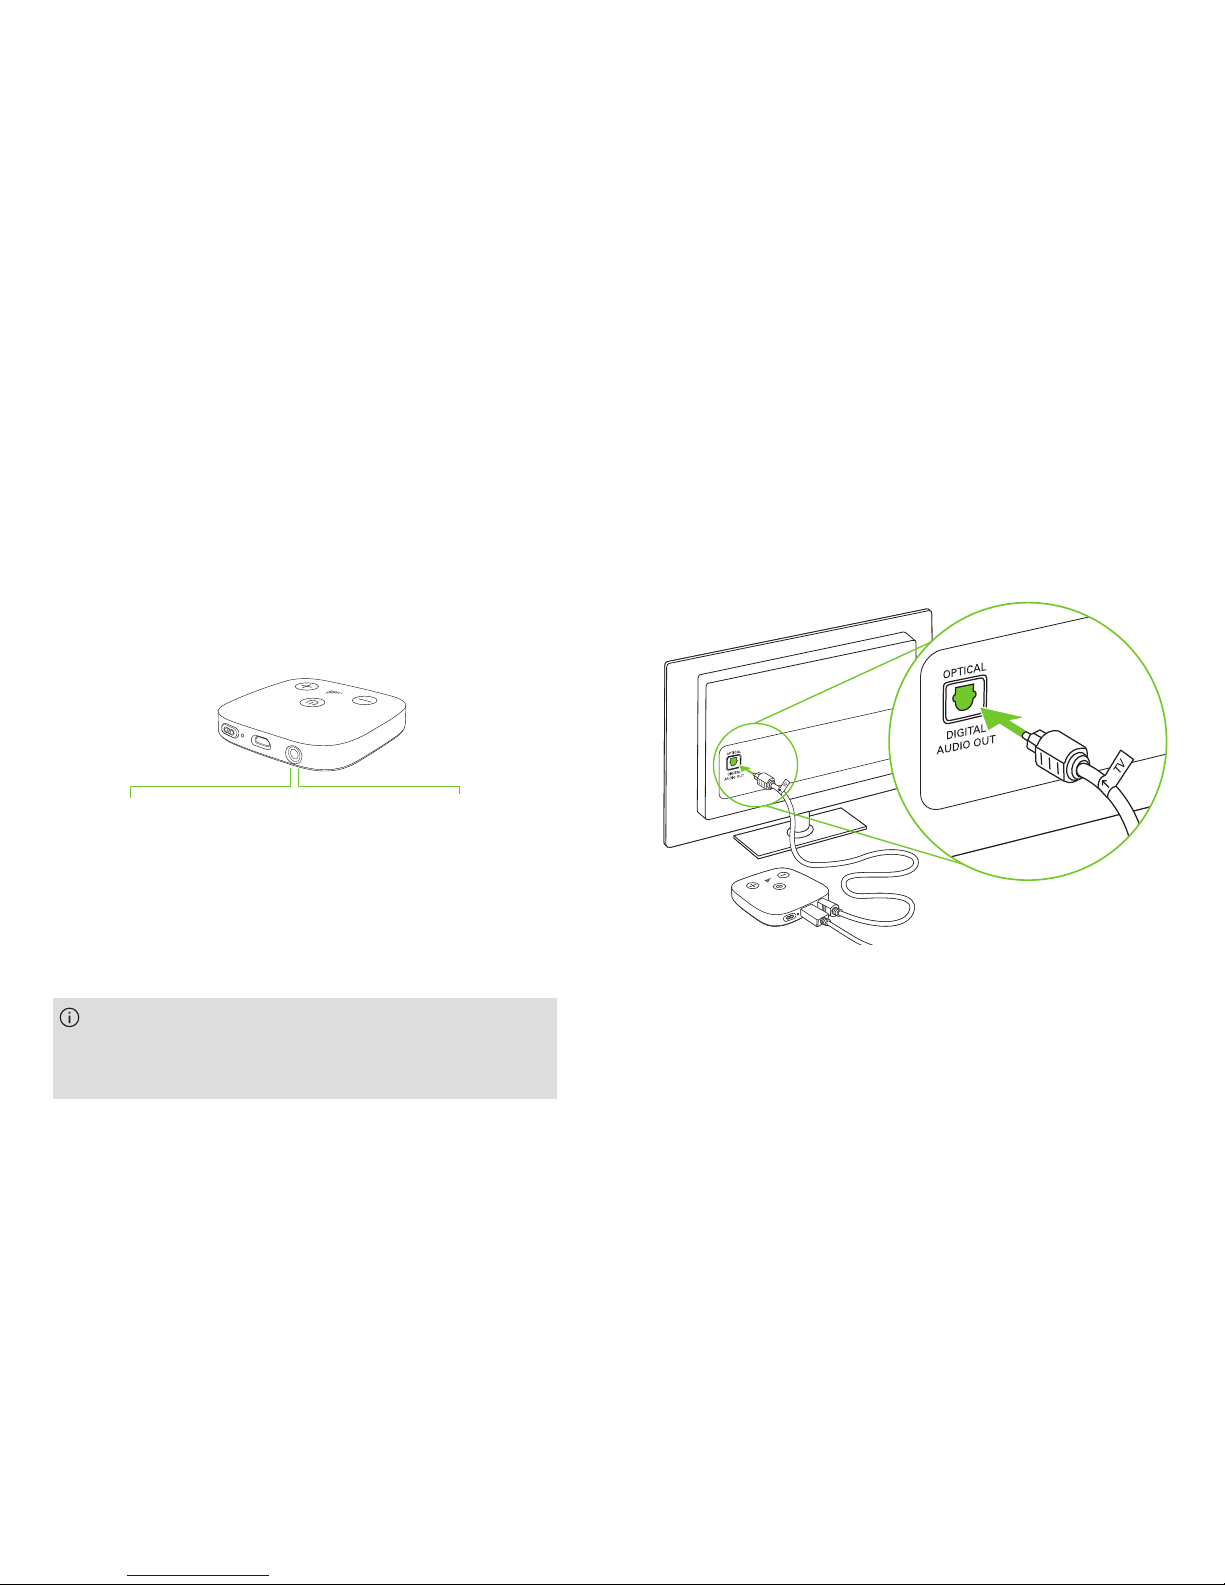
4Audio socket for optical (Toslink)
or analog (3.5mm jack) cable
5Power button
6Volume up and down buttons (calibration)
2 4 5
1
6 6
3
TV Connector
Hearing aid
Up to 15 meters
(50 ft)
Line-of-sight between your hearing aids and
the TV Connector is not required. However,
environmental interference like walls or furniture
may reduce the operating range.
8 9
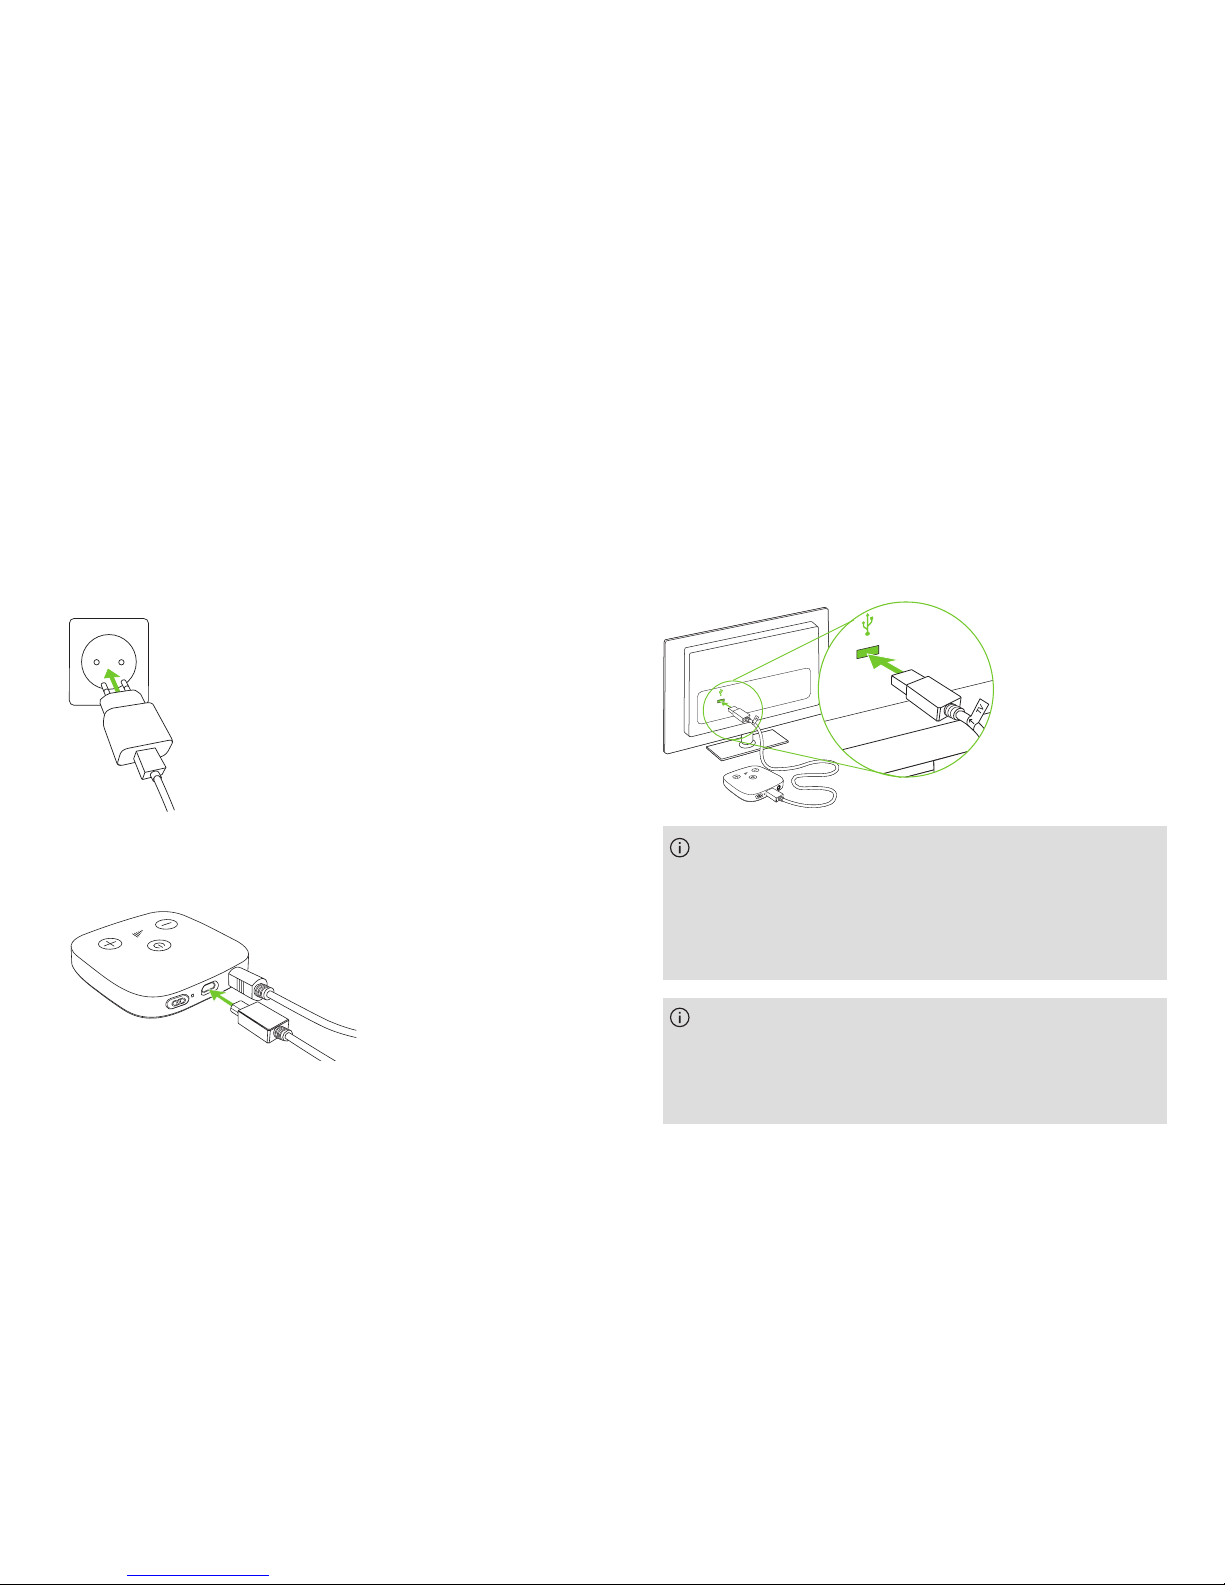
2. Insert the smaller end of the USB cable into the free
socket of the TV Connector.
Alternatively the TV Connector can be powered via USB
cable on the TV. Insert the larger end of the USB cable
into the USB socket of the TV.
3.1 Setting up the power supply
1. Plug the power supply unit into the socket outlet of
the mains power.
3. Getting started
The TV Connector will turn ON the first time it is
connected to a power source. If the TV Connector
does not turn ON automatically when the power
supply is connected, press and hold the power button
for longer than 2 seconds to turn ON the device.
Upon the very first time powering the device, the
connection to the hearing aids will be initiated
automatically and the hearing aids will play a
confirmation tone.
10 11
3.2 Supported audio connections
The TV Connector can be connected to any audio source
such as a TV, PC or HiFi system. It supports two different
audio cable inputs: Optical (Toslink) or Analog (3.5 mm
jack). Either of the audio cables can be plugged into the
dedicated audio socket on the TV Connector.
Optical (Toslink)
Digital signal
Fiber optic cable
(optical cable pre-installed)
Analog
3.5 mm jack
(optional)
3.3 Connecting to an audio device
Connect the free end of the optical (TOSLINK)
cable into the optical digital audio output of your TV
(or audio source).
Always connect the chosen audio cable of the TV
Connector to the audio OUTPUT of your TV or
alternative audio device!
12 13
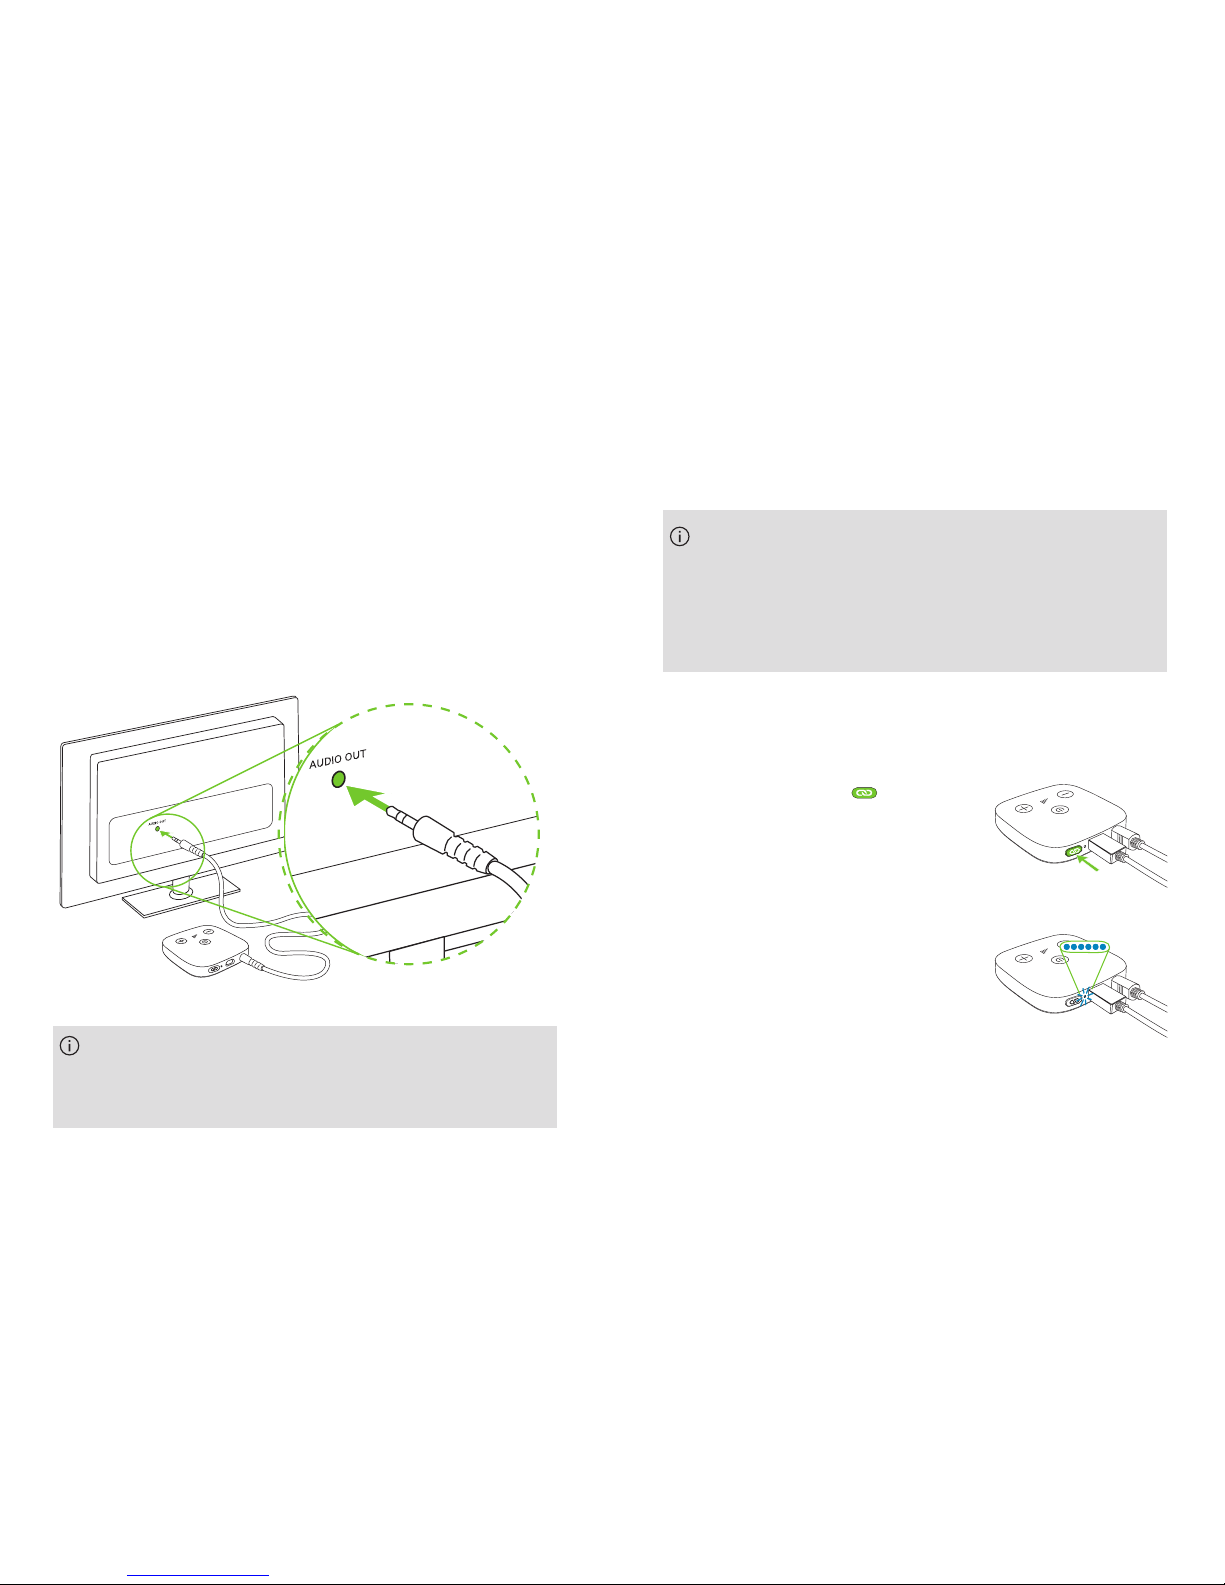
3.5 Connecting the TV Connector to the hearing aids
To connect new hearing aids to the TV Connector follow
the steps:
•Press the Connect button
on the back, and the indicator
light will start blinking blue.
•Make sure the hearing aids are
switched on and within
1 meter (3 ft) of the
TV Connector.
3.4 Optional: Connecting to an audio device using
the audio socket
Replace the supplied optical (Toslink) cable on the TV
Connector with the analog (3.5 mm jack) cable. Insert one
end of the analog cable into the TV Connector and
connect the other end of the analog cable to the audio
out port of your TV (or alternative audio source).
When the TV Connector is plugged into a power
source the very first time upon installation, the
connection to the hearing aids will be initiated
automatically and the hearing aids will play a
confirmation tone.
Some TVs will switch off their loudspeakers when
using the headset socket – the TV will not be audible
for other people.
14 15
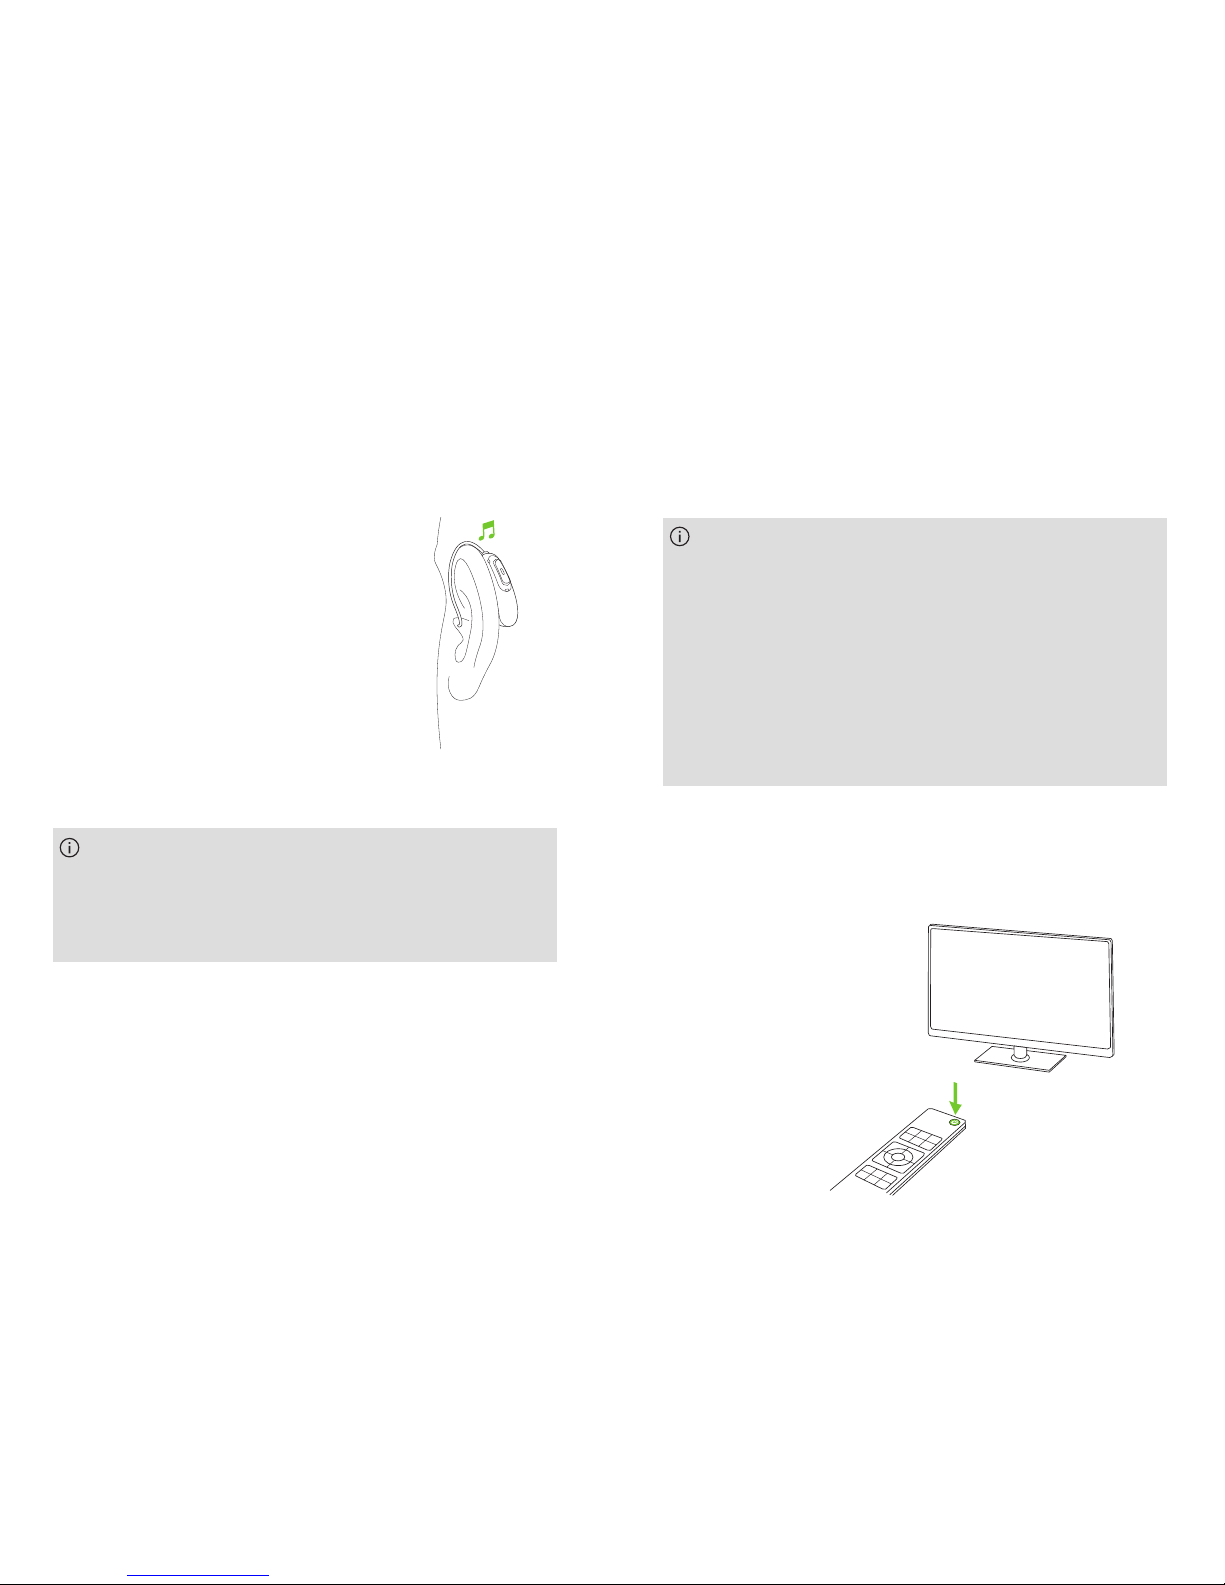
4. Daily use of the TV Connector
•You will hear a confirmation
beep in your hearing aids when
the connection was successful.
This may take up to 10 seconds
•If no audio is present during the
connect process, beeps will be
played left/right during 5 seconds
after the confirmation beep of the
hearing aids
The TV Connector will connect to any compatible
hearing aid, which is within the range during the
connection process. They will be automatically
connected again after the initial connection process.
The TV Connector can receive and transmit Dolby
Audio™, stereo or mono audio signals. Please make
sure no DTS function has been enabled in TV (or on
alternative audio source) settings.
If present, this audio signal will be indicated by a
blinking red LED indicator light on the TV Connector.
Please change the audio signal to this (PCM) in the
audio settings menu of the TV. Alternatively, switch
to the analog 3.5 mm audio cable.
Switch ON your TV (or alternative audio device). If the
TV Connector is powered on, it will automatically
transmit the audio signal to the connected hearing aids.
16 17
You will hear the sound of the TV/audio device directly in
your hearing aids.
If the hearing aids are out of range of the TV Connector
the audio transmission will be terminated. Once the
hearing aids are back into the range of TV Connector, the
audio signal will automatically resume streaming.
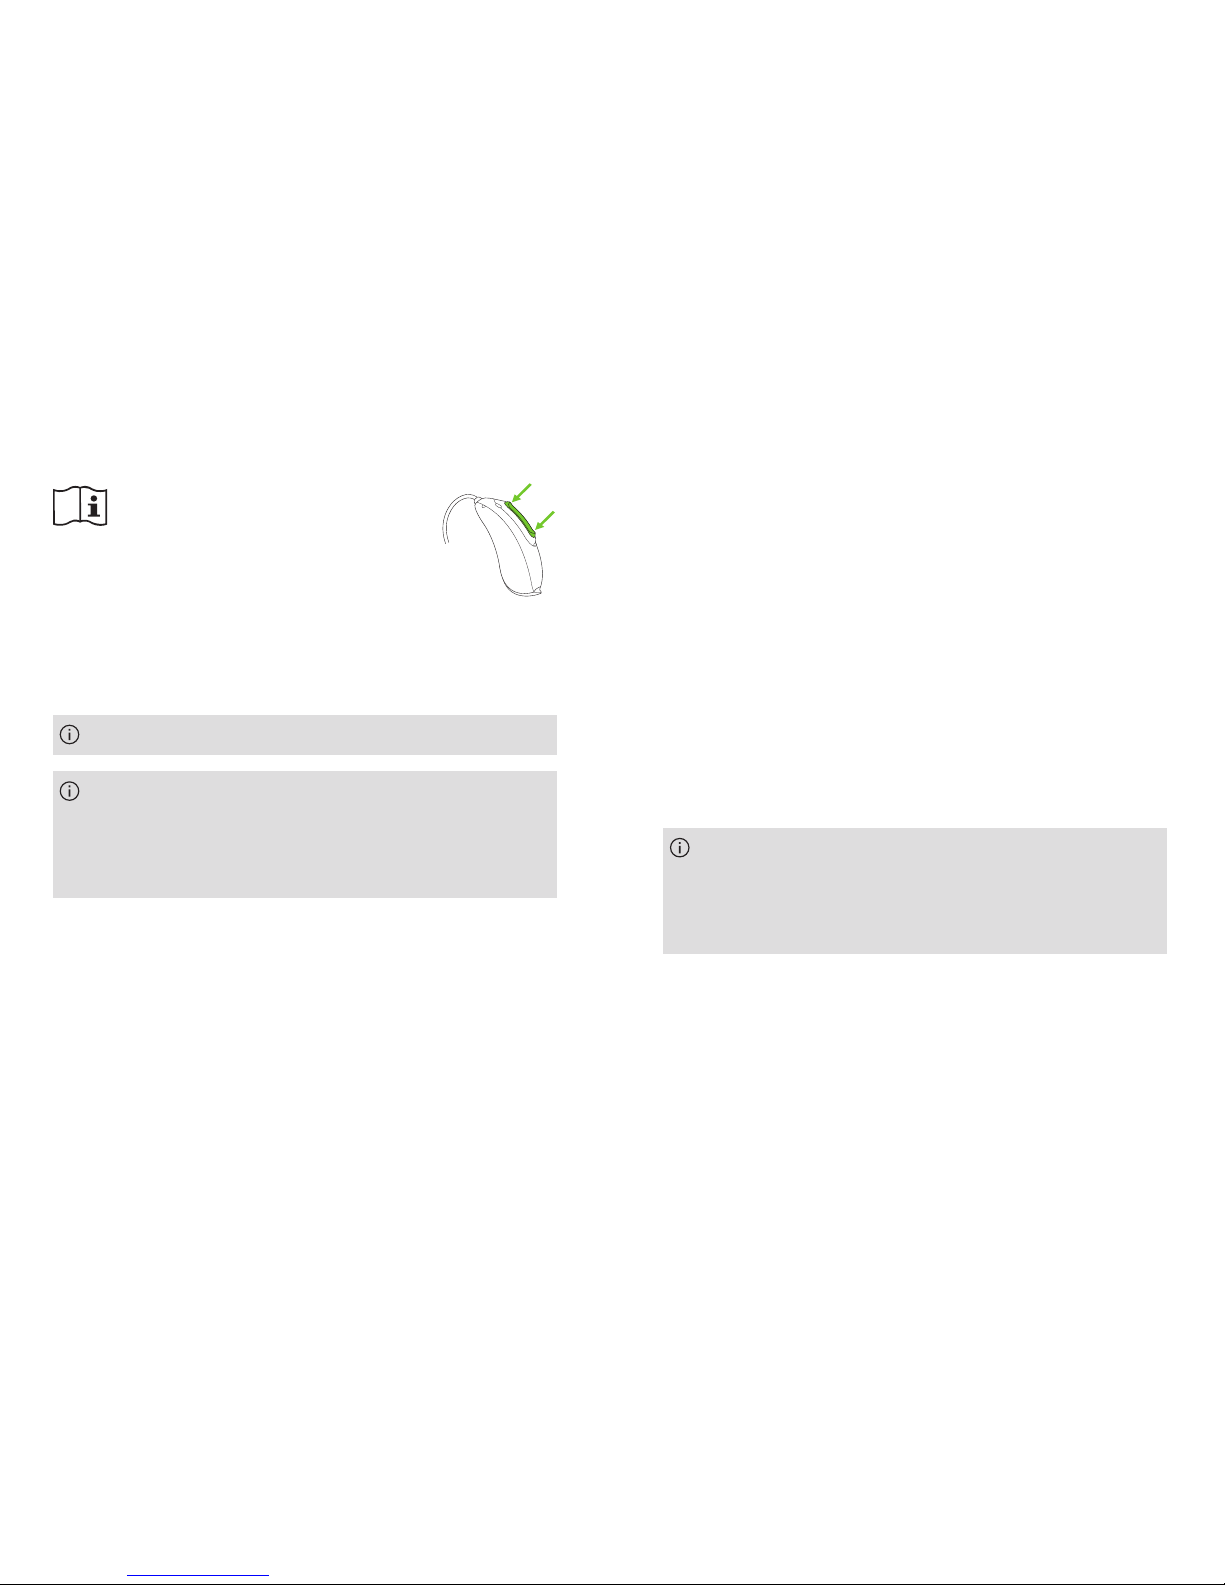
You might need to accept
the incoming audio signal on the
hearing aid by pressing the
hearing aid button.
4.1 Adjusting the volume of the audio transmitting
from TV Connector
To adjust the volume of the audio from the TV Connector:
•Push the volume increase button (+) on top of the
TV Connector.
•Push the volume decrease button (-) on top of the
TV Connector.
A tune will be played in any connected hearing aid to
indicate that the volume has changed.
Make sure the TV/audio device is switched on.
If no audio input is available, the TV Connector
automatically stops the audio transmission to the
hearing aids. The indicator light will be solid white
(standby mode).
The volume can be adjusted independently of the
audio source (Toslink or analog). The individual
settings remain stored even after powering OFF the
TV Connector.
18 19
4.2 TV Connector and phone calls
If the hearing aids are connected to your cell phone,
you can still receive phone calls, even when using the
TV Connector.
In case of an incoming call, the hearing aids
automatically stop the audio signal from the TV
Connector and alerts will be played signalizing the
incoming call. After the call the hearing aids
automatically switch back to the TV Connector
audio signal.
4.3 Switching off audio transmission
To end the transmission of the audio signal, simply
switch off the TV or other connected audio sources.
The TV Connector will go into the standby mode
automatically. Alternatively, turn OFF the TV Connector
using the power button on the top of the device.
In this case turn ON the TV Connector using the power
button when using the TV Connector next time.
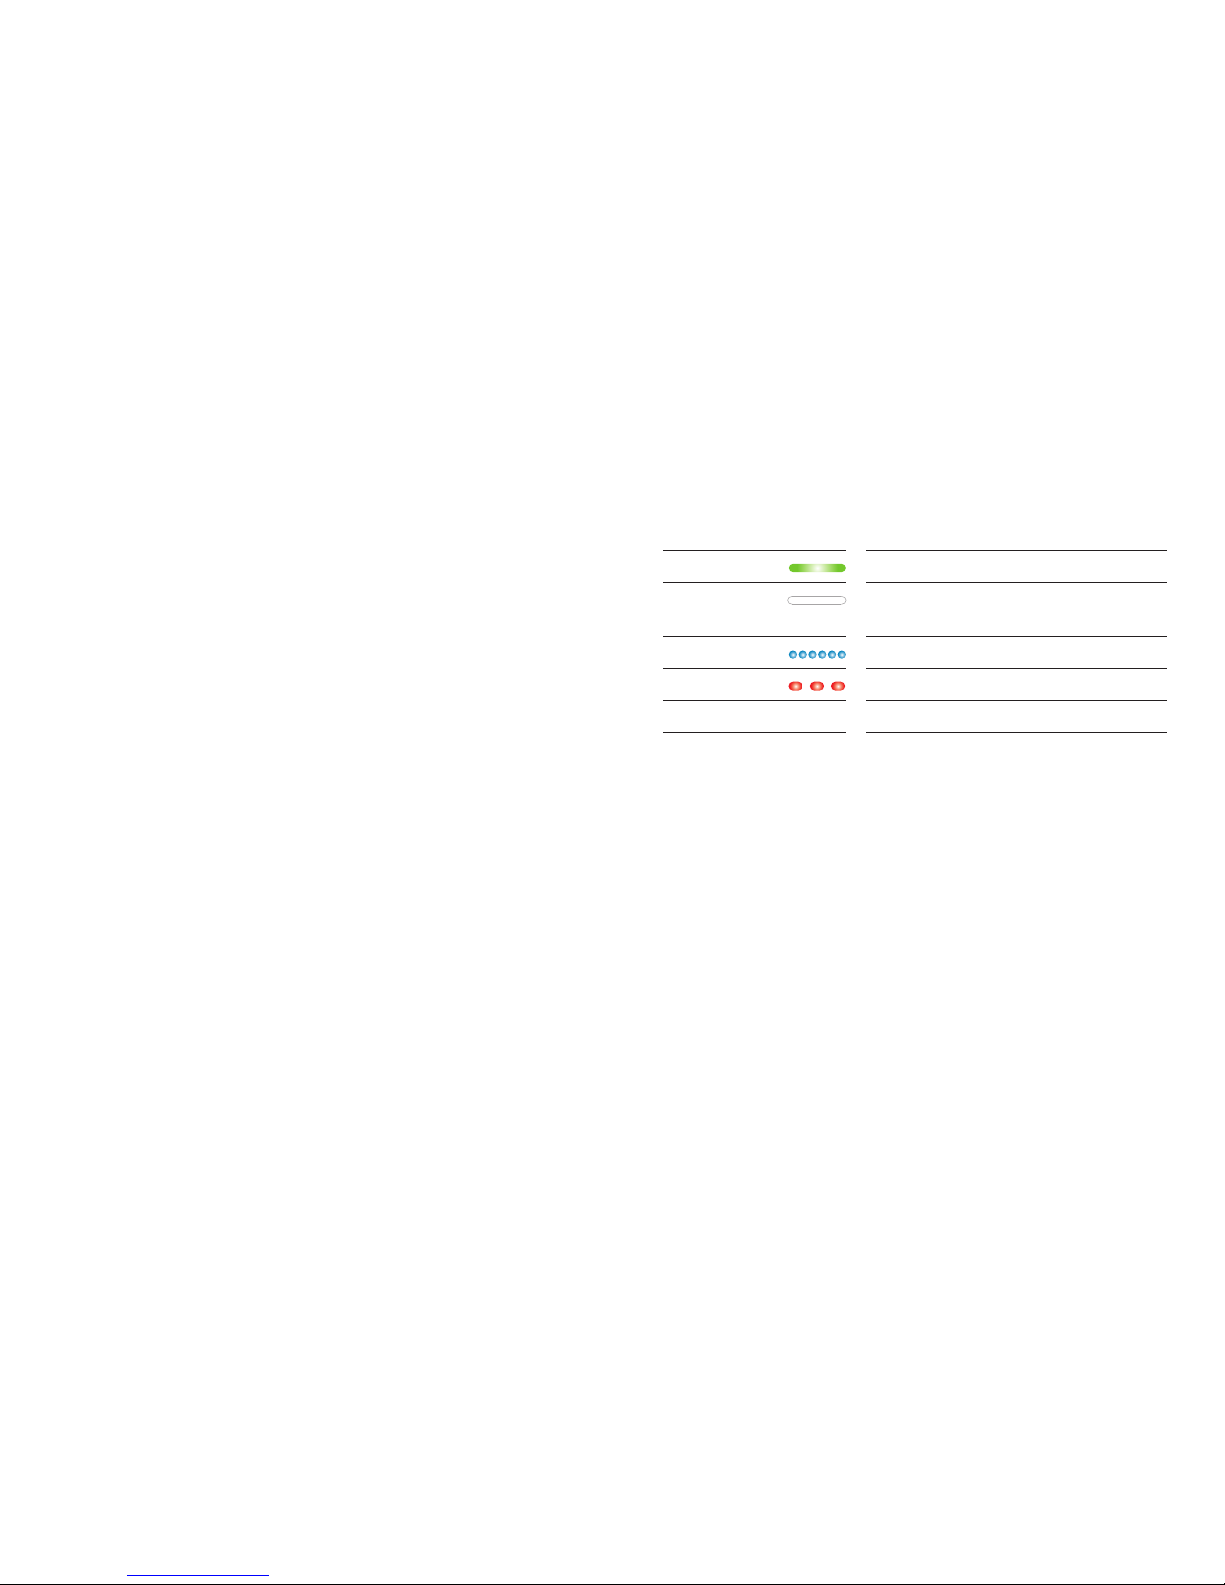
4.4 Understanding the indicator light (LED)
Solid green Switched on and transmitting audio
Solid white Switched on but no audio transmission
(standby mode)
Blinking blue Connecting mode
Blinking red Wrong audio input format (DTS)
No light Switched o
Other manuals for TV Connector
4
Table of contents
Other Phonak TV Tuner manuals


