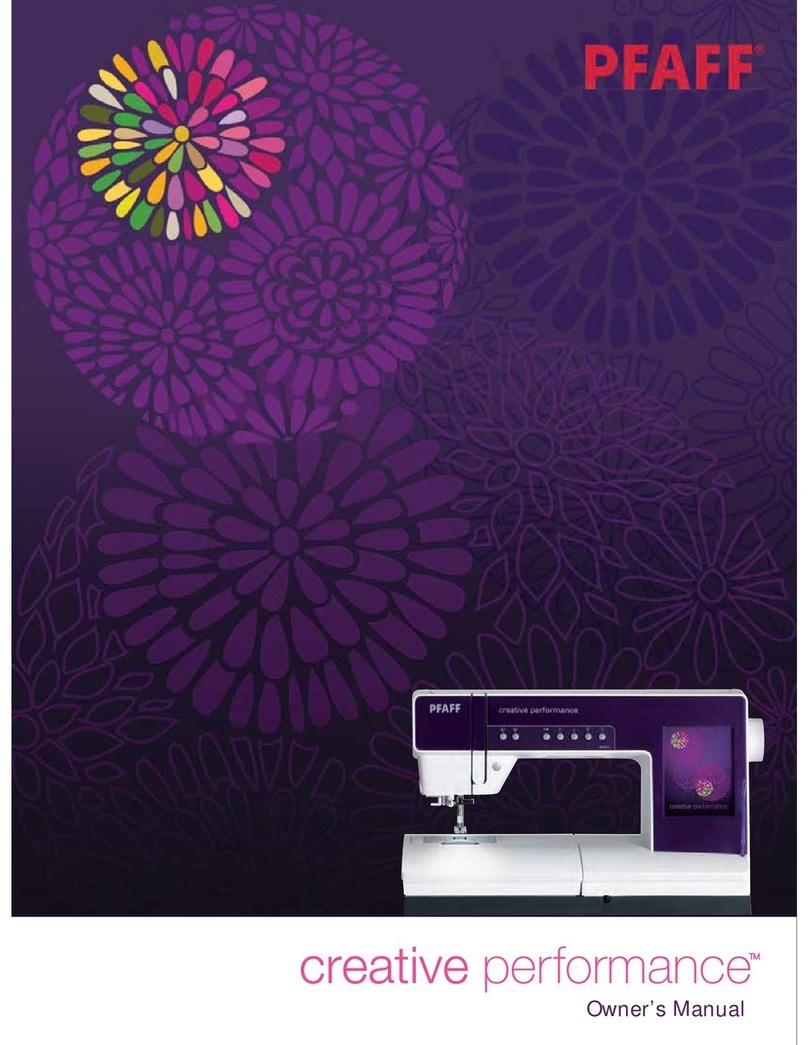
Pfaff fashion User manual

Owner’s manual

v. 1.0
This houshold sewing machine is designed to comply with IEC/EN 60335-2-28 and UL1594
IMPORTANT SAFETY INSTRUCTIONS
When using an electrical appliance, basic safety precautions should always be followed, including the following:
Read all instructions before using this household sewing machine.
DANGER - To reduce the risk of electric shock:
• A sewing machine should never be left unattended when plugged in. Always unplug this sewing machine
from the electric outlet immediately after using and before cleaning.
• Always unplug before relamping. Replace bulb with same type rated 5 Watt.
WARNING - To reduce the risk of burns, Àre,
electric shock, or injury to persons:
• Do not allow to be used as a toy. Close attention is necessary when this sewing machine is used by or
near children or inÀrm person.
• Use this sewing machine only for its intended use as described in this manual. Use only attachments
recommended by the manufacturer as contained in this manual.
• Never operate this sewing machine if it has a damaged cord or plug, if it is not working properly, if it has
been dropped or damaged, or dropped into water. Return the sewing machine to the nearest authorised
dealer or service center for examination, repair, electrical or mechanical adjustment.
• Never operate the sewing machine with any air openings blocked. Keep ventilation openings of the
Sewing machine and foot controller free from the accumulation of lint, dust, and loose cloth.
• Keep Àngers away from all moving parts. Special care is required around the Sewing machine needle.
• Always use the proper needle plate. The wrong plate can cause the needle to break.
• Do not use bent needles.
• Do not pull or push fabric while stitching. It may deÁect the needle causing it to break.
• Switch the sewing machine off (“0”) when making any adjustment in the needle area, such as threading
needle, changing needle, threading bobbin, or changing presser foot, etc.
• Always unplug the sewing machine from the electrical outlet when removing covers, lubricating, or when
making any other user servicing adjustments mentioned in the instruction manual.
• Never drop or insert any object into any opening.
• Do not use outdoors.
• Do not operate where aerosol (spray) products are being used or where oxygen is being administrated.
• To disconnect, turn all controls to the off (“0”) position, then remove plug from outlet.
• Do not unplug by pulling on cord. To unplug, grasp the plug, not the cord.
SAVE THESE INSTRUCTIONS

ClassicStyle™
fashion2023
Congratulations!
You have purchased a top quality PFAFF® sewing machine
with with unique features.
To learn about your
ClassicStyle™ fashion2023
, follow
the instructions for the
expression
™
2028
.
Your
ClassicStyle fashion2023
has the same features
as the
expression2028
except from some stitches and
accessories.
You will Ànd the overview of the stitches and presserfeet
included with your
ClassicStyle fashion2023
on the next
page.
Some fabrics have a lot of excess dye which can cause
discoloration on other fabric but also on your sewing
machine. This discoloring may be very difÀcult or
impossible to remove.
Fleece and denim fabric in especially red and blue
often contain a lot of excess dye.
If you suspect that your fabric/ready-to-wear garment
contains a lot of excess dye, always pre-wash it before
sewing/embroidering to avoid the discoloring.
Totally Stylish Sewing

32
01
15
11
14
10
13
9
12
8
7
6
45
3. Blindhem/Overlock Foot with IDT
820256-096
0. Standard Presser Foot with IDT
820250-096
1. Fancy Stitch Foot with IDT
820253-096
2. Fancy Stitch Foot
820278-096
4. Zipper Foot with IDT
820248-096
5. Buttonhole Foot
820295-096
Presser feet (standard accessories)
For more information about accessories, please contact your
PFAFF dealer.
6. Bulb Remover/Needle Plate Changer
12. Edge Guide/Quilting Guide
7. Buttonhole Guide
8. Spool cap
9. Felt pad
10. Bobbins
11. Needle box
13. Second spool holder
14. Seam ripper
15. Brush
820292-096
820294-096
93-036 048-44/000, 93-035 050-44/000, 93-036 049-44/000
93-033 064-06/000
412 76 79-01
48-020 804-32/000
820251-096
93-033 063-44/000
99-053 016-91/000
93-847 979-91/000

16
15
14
13
12
11 10
9
8
7
6
5
4
32
1
18
17
33
32
31
29
28
27
26
25
24
2322
21
19
20
30
1 -/+ button A (stitch width/pattern
width controls)
2 -/+ button B (stitch length/pattern
length controls)
3 -/+ button C (stitch density/balance
controls)
4 Carrying handle
5 Handwheel
6 Direct selection buttons
7 Stitch selection button
8 Connection socket “lead cord”
9 Connection socket “foot control”
10 Master switch
11 Base plate
12 Removable accessory tray
13 Presser foot holder with presser foot
14 Integrated dual feed/IDT
15 Integrated needle threader
16 "Reverse sewing” button
17 Threading slots
18 Needle thread tension
19 Take-up lever
20 Presser foot lifter
21 Thread guide
22 Spool holder with spool cap
23 Hole for second spool holder
24 Lid with stitch chart
25 Bobbin winder
26 Bobbin door
27 Free arm
28 Sewing bulb (max. 5 W)
29 Thread cutter
30 “Pattern mirror” button/”Lock”
button
31 Thread take-up
32 Needle holder with retaining (set)
screw
33 Needle plate
Parts of the sewing machine

1:2
Introduction
TABLE OF CONTENTS
1. Introduction
Utility stitches expression 2028 1:4
Utility stitches expression 2028 1:5
Decorative stitches 1:6
2. Preparations
Carrying case 2:1
Lid 2:1
Electrical connection 2:2
Connecting the foot control 2:2
Voltage Switch 2:2
Accessory tray 2:3
Removing the accessory tray 2:3
Bobbin winding 2:4-5
Thread tension 2:6
Inserting the bobbin 2:6
Threading the needle 2:7
Integrated Needle threader 2:8
Presser foot lifter 2:8
Drawing-up the bobbin thread 2:9
Bobbin thread 2:9
Thread cutter 2:9
Changing the presser foot 2:9
Setting the needle thread tension 2:10
Winding a bobbin through the needle 2:10
Changing the needle 2:12
Threading the twin needle: 2:12
The IDT (Integrated Dual Feed) 2:13
Lowering the feed dog 2:13
3. Sewing
Stitch selection 3:1
Altering stitches 3:1
Altering the stitch width 3:1
Altering the needle position 3:1
Altering the pattern width e.g. Stitch 25 3:2
Altering the stitch/pattern length 3:2
Altering the stitch density 3:2
Balance 3:3
Reverse sewing 3:3
“Pattern mirror” 3:3
"Lock" button 3:4
Twin needle 3:4
Explanation of the sewing
recommendations table 3:6
Sewing in zippers 3:6
Basting stitch 3:7
Top stitching 3:7
Blind hem stitch 3:8
Overlock stitches 3:9
Free Motion Sewing 3:10
Bridging stitch 3:11
Cross hem stitch 3:11
Rolled hem with hemmer No. 7 3:12
Shell edging 3:12
Buttonholes 3:13
Inserting the sensormatic buttonhole
guide: 3:13
Attaching buttonhole foot 3:13
Fully automatic buttonhole 3:13
Semi-automatic buttonhole 3:14
Manual buttonhole 3:15

1:3
Introduction
Buttonhole with gimp thread 3:16
Sewing on buttons 3:17
Buttonhole tips: 3:17
General notes on decorative sewing 3:18
Changing the pattern width 3:18
Changing the pattern length 3:18
Free motion embroidery 3:19
Tapering 3:19
Quilt stitch 3:19
Cross-stitch 3:20
Hemstitching 3:20
4. Maintenance
Changing the needle plate 4:1
Cleaning 4:1
Changing the light bulb 4:2
Sewing problems and their solutions 4:3

1:4
1234567890 11121310
Introduction
Utility stitches expression 2028
Stitch No. Description Application Presser-
foot
1 Straight stitch For seaming and topstitching up to 6 mm. 13 needle positions
available for edgestitching or sewing in zippers.
0
2 Stretch triple straight
stitch
For reinforced seams such as trousers, under arm seams or
decorative topstitching. With 13 needle positions.
1
3 Zigzag stitch, Center
needle position
For Ànishing seams on fabrics, applique, and inserting lace. 0
4 Elastic stitch Strong stitch for seam Ànishes, sewing elastic, darning tears, and
patches.
0
5 Blind hem stitch For securing hems invisibly on woven fabrics 3
6 Elastic blind hem stitch For securing hems invisibly and Ànishing the edge on stretch
fabrics.
3
7 Closed overlock stitch For hemming and overlapping stretch fabrics in one operation. The
closed seam prevents fabric edges from fraying.
3
8 Bridging stitch For bridging, decorative hemstitching and crazy quilting. 0
9 Linen buttonhole Buttonhole for blouses, shirts and linen. 5
0 Button attaching program For two-hole or four-hole buttons. 2
10 Basting stitch For basting project pieces together. 1
11 Zigzag stitch Right/Left
needle position
For applique, couching over cords and creating eyelets. 3
12 Lightning stretch stitch For joining light weight stretch fabrics and decorative
embellishment
1
13 Decorative elastic stitch For joining overlapped seams on bulky fabrics such as leathers
and terry cloth.
0

1:5
17 18 19 20 21 22 23 24 2514 15 16 26
Introduction
Utility stitches expression 2028
Stitch No. Description Application Presser-
foot
14 Lightning stretch stitch For joining light weight stretch fabrics and decorative
embellishment.
1
15 Stretch triple zigzag stitch Elastic stitch for decorative hems and topstitching. 1
16 Overlock stitch For joining and overcasting stretch fabrics in one operation. 3
17 Honeycomb stitch Elastic, decorative stitch for ornamental hem Ànishing on
stretch fabric, for decorative elastic application and sewing
with elastic thread in the bobbin.
0
18 Cross hem stitch Provides a highly elastic decorative seam for hems on
sportswear and casual wear.
0
19 Closed overlock stitch For joining and overcasting woven fabric and easily fraying
fabrics in one operation. The overcast edge thread prevents the
fabric edges from fraying.
3
20 Pullover stitch Join and overcast open knit fabrics and jersey. 3
21 Light-knit fabric patching
stitch
For sewing and patching light knit wear (undergarments etc.) 3
22 Cross stitch Classic decorative stitch for garments, linen and kitchen
towels.
1
23 Cross stitch Classic decorative stitch for garments, linen and kitchen
towels.
1
24 Hem stitching For ornamental hem stitching. Can be used with wing needle. 1
25 Hem stitching For ornamental hem stitching. Can be used with wing needle. 1
26 Hem stitching For ornamental hem stitching. Can be used with wing needle. 1

1:6
34 35 36 39 40 42 43
53
59
46
60
41
48 49 51
54
52
38
55 63
44 45
37
28
27 29 30 31 32 33
67
47 50
64 66
65
61585756 62
68
Introduction
Decorative stitches expression 2028
Quilt stitches 2028
This manual suits for next models
1
Table of contents
Other Pfaff Sewing Machine manuals

Pfaff
Pfaff Powerline 2545 Guide

Pfaff
Pfaff POWERline 2591 ME User manual

Pfaff
Pfaff 571 Guide

Pfaff
Pfaff hobby 350 User manual

Pfaff
Pfaff 16 User manual

Pfaff
Pfaff 1180 U Series Owner's manual

Pfaff
Pfaff Synchromatic 1209 User manual

Pfaff
Pfaff 28 User manual

Pfaff
Pfaff Smarter User manual

Pfaff
Pfaff 3822-2/42 User manual