LM-150 SERIES LCD MONITOR Operating Manual
—2—
Chapter 2 Unpacking and Installation
Unpack the LM-150 Monitor and inspect for any apparent physical damage that may have occurred in
transit. In addition to the monitor, the packaging should contain a power cord, warranty card, and, if
ordered, the optional table stand. Four M4 x 10mm screws are also provided for the VESA-100 mount,
four M3 x 8mm screws for optional table stand. Standard and optional accessories are covered in
Chapter 6 of this manual.
We recommend you retain the shipping carton for future use.
1. When installing a mount option please assure a soft, non-scratch surfaced is used to place the
monitor on.
2. Place the monitor on the soft surface screen face down for installation of table stand or
VESA-100 mount.
3. Use the included M4x10mm screws to attach either option. The table stand attaches on the rear
bottom of the unit whilst the VESA-100 is located on the rear center. Please refer to Chapter 3
for further reference.
4. Place the LM-150 in the required location for operation.
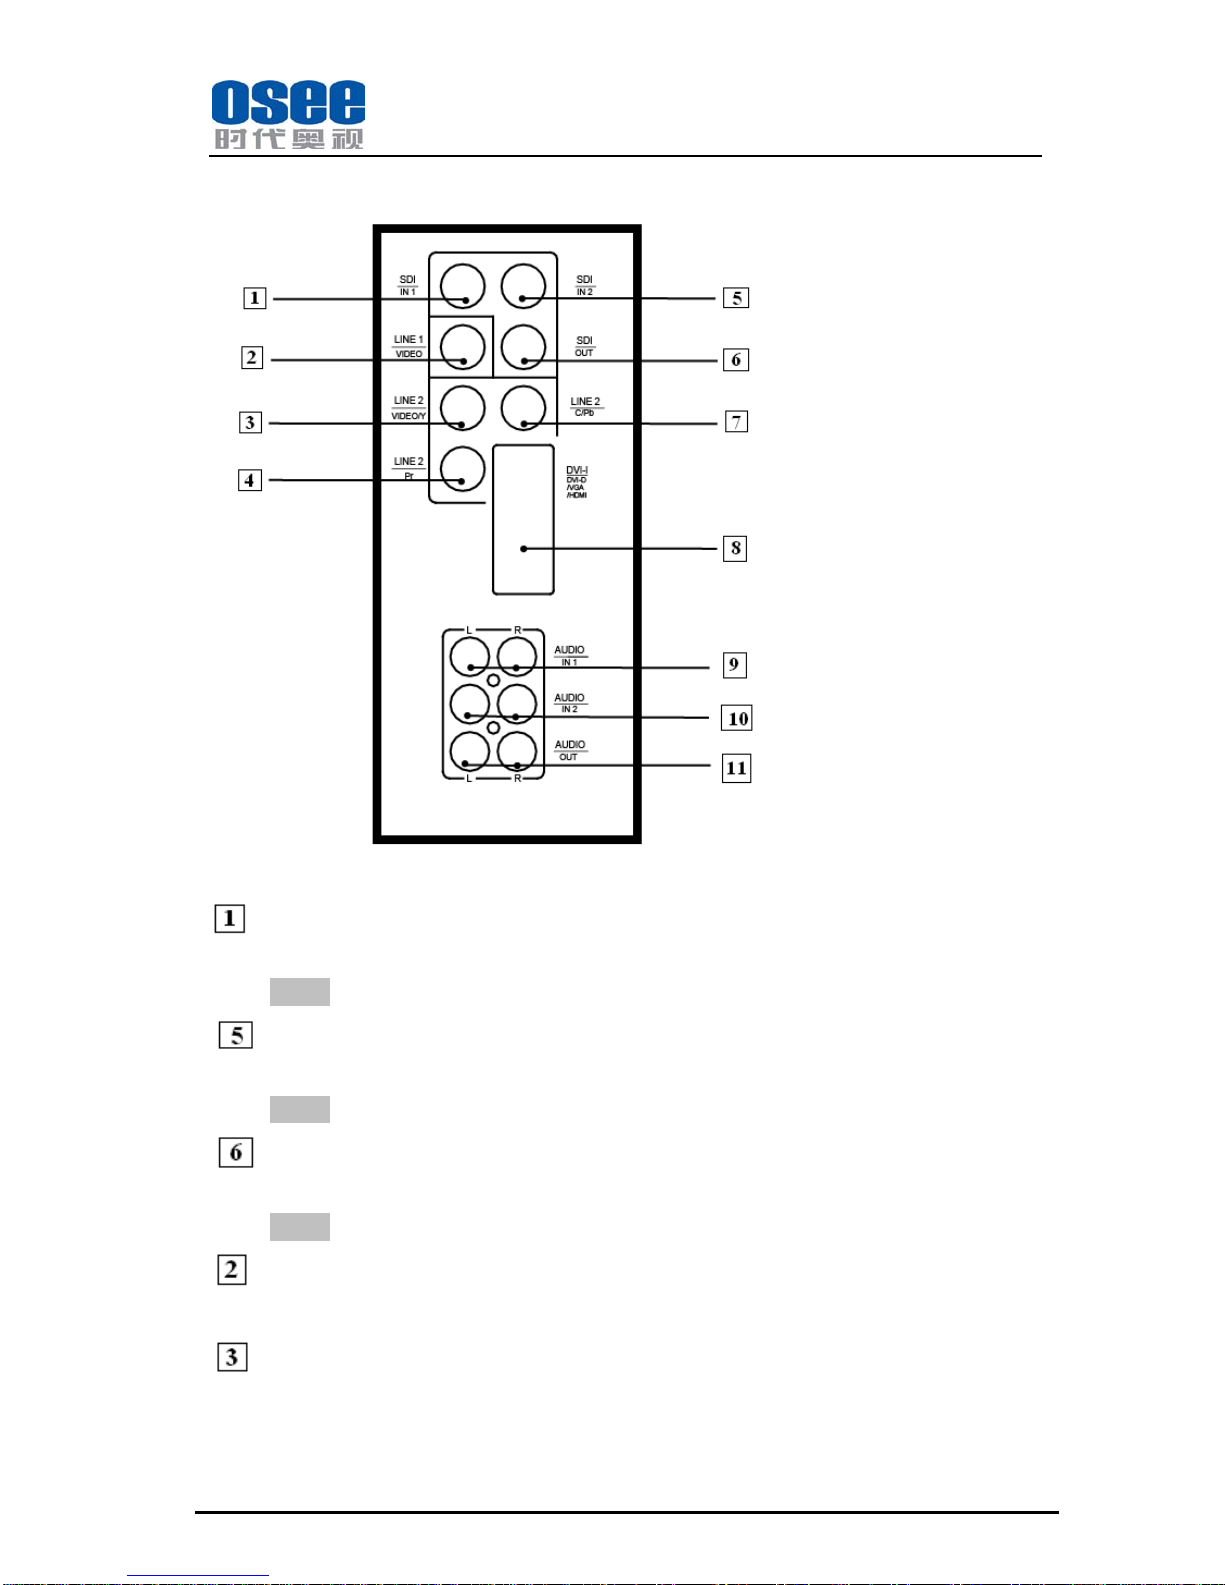
5. Connect the required signals. For BNC connections use 75Ωrated connectors
6. ConnectA.C. Mains power using the included EIC power cord. Please ensure an Earth ground
present to ensure proper operation of the unit.
7. As a final step turn on the mains power using the toggle switch located on the rear of the LM-150
above the power connection