Optima Centoris KN-1 User manual

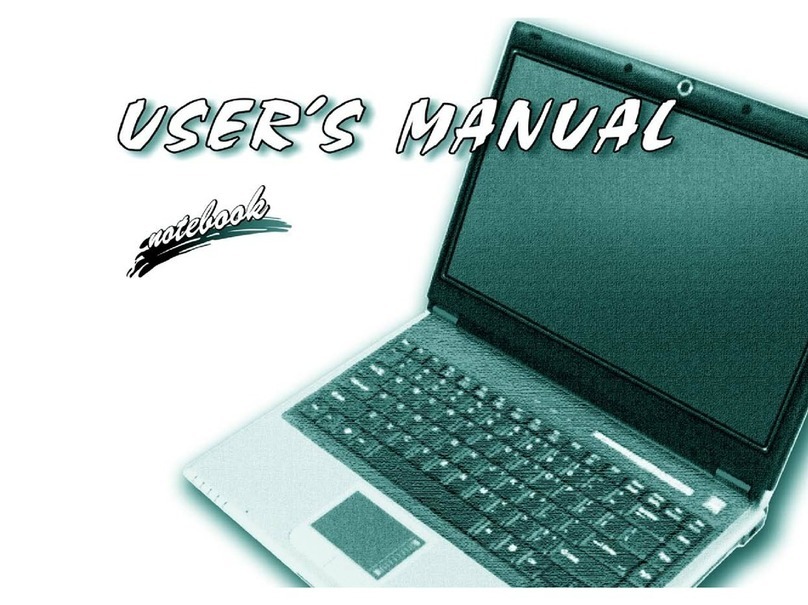
KN1 SERIES NOTEBOOK PC
USER’S MANUAL
Dec 2004
ENGLISH

2
ENGLISH FRANÇAIS DEUTSCH ESPAÑOL ITALIANO
CONTENTS
BEFORE YOU START ............................................................................................. 5
Make sure you have everything ..................................................................................... 5
Familiarize yourself with the computer ........................................................................ 6
OPENING THE DISPLAY PANEL ................................................................................ 6
FRONT OVERVIEW .................................................................................................... 7
LEFT SIDE OVERVIEW .............................................................................................. 9
RIGHT SIDE OVERVIEW .......................................................................................... 10
BACK OVERVIEW ..................................................................................................... 11
BOTTOM OVERVIEW ................................................................................................ 12
GETTING STARTED ............................................................................................. 13
Power Sources ............................................................................................................. 13
CONNECTING THE POWER ADAPTERS ............................................................... 13
RECHARGING THE BATTERY ................................................................................. 14
Starting Your Notebook................................................................................................. 15
POWER ON .............................................................................................................. 15
Status Indicators ...................................................................................................... 16
Using Function Keys ................................................................................................ 18
Using the TouchPad................................................................................................. 19
Memory Module Upgrade......................................................................................... 20
TROUBLESHOOTING ........................................................................................... 21
Identifying the Problem................................................................................................. 21
APPENDIX ............................................................................................................ 22
Notebook Specifications .............................................................................................. 22

3
TAKING CARE OF YOUR NOTEBOOK PC
DO NOT place or drop objects on the computer
and DO NOT apply heavy pressure on it.
DO NOT subject the computer to magnetic
fields.
To prevent possible overheating of the computer's
processor, make sure you don't block the open-
ings provided for ventilation.
DO NOT press or touch the display panel.
DO NOT place on uneven or unstable work
surfaces.
DO NOT use your notebook computer under
harsh conditions.
DO NOT expose to direct sunlight. DO NOT use or store in extreme temperatures.

4
ENGLISH FRANÇAIS DEUTSCH ESPAÑOL ITALIANO
DO NOT expose to dust and/or corrosive
chemicals.
DO NOT spray water or any other cleaning fluids
directly on the display.
DO NOT slam your notebook shut and never
pick up or hold your notebook by the display.
If you are traveling with your computer, remem-
ber to carry it as hand luggage. Do not check it in
as baggage.
DO NOT place near fire or other sources of heat. DO NOT tamper with the batteries. Keep them
away from children.
Avoid sudden changes in temperature or humid-
ity by keeping it away fromA/C and heating vents.
DO NOT expose the computer to rain or
moisture.

5
BEFORE YOU START
Make sure you have everything
When you receive your notebook PC, unpack it carefully, and check to make sure you have all the
items listed below. For a pre-configured model you should have the following:
• Notebook Computer
• Lithium ion battery
• AC adapter with AC power cord
• Driver and Applications CD
• Quick Start Guide or User Guide
Depending upon the configuration of your notebook, you may also need following items:
• DVD Application CD
• DVD / CD-RW Combo Application CD
• DVD+/- RW Application CD
• Super Multi DVD-RW Application CD
Once you have checked and confirmed that your notebook system is complete, read through the
following pages to learn about all of your notebook components.

BEFORE YOU START
6
ENGLISH FRANÇAIS DEUTSCH ESPAÑOL ITALIANO
1
2
Familiarize yourself with the computer
OPENING THE DISPLAY PANEL
The lid locks to the computer chassis magnetically.
To open, simply lift the lid up. When closing it, be sure not to slam it shut.

BEFORE YOU START
7
Display Panel
Quick Start Buttons
Keyboard
TouchPad
Pointing Device
Stereo Speakers
Status Indicator Lights
Suspend/Resume/
Power On Button
Stereo Speakers
FRONT OVERVIEW
The following is an overview of the front of the notebook.
Display Panel
The display panel is a color LCD panel with back lighting for the display of text and graphics.
Keyboard
A full-size keyboard with dedicated Windows®keys.
Stereo Speakers
The built-in dual speakers allow for stereo sound.

BEFORE YOU START
8
ENGLISH FRANÇAIS DEUTSCH ESPAÑOL ITALIANO
Status Indicator Lights
The Status indicator lights correspond to specific operating modes. These modes are: Hard Drive
(HDD) Activity; Optical Disc Drive (ODD) Activity; and Battery status. Furthermore, at the top
of the keyboard there are three additional status indicator lights: Wireless Status; Caps Lock; and
Num Lock.
TouchPad Pointing Device
The TouchPad pointing device is a mouse-like cursor control with four buttons (left, right, and
two scroll buttons).
Suspend/Resume/Power On Button
This button turns your notebook on and off as well as puts it to sleep. (See Suspend/Resume/
Power On Button in the Power On section for more information.)
Quick Start Buttons
The three quick start buttons allow you activate the Wireless card or to launch your favorite email
and Internet applications with the press of a button.

BEFORE YOU START
9
Microphone Jack USB
Port
Infrared
(IrDA)
Port
PC Card
Slot
IEEE
1394
Port Memory Card
Reader
Headphone
Jack
Microphone Jack
The microphone jack allows you to connect an external mono microphone.
Headphone Jack
The headphone jack allows you to connect headphones or external speakers and amplifiers.
USB Port
The USB port allows you to connect Universal Serial Bus devices. It supports v2.0 of the USB
standard, which allows data exchange rates as high as 480 Mb/s.
Infrared (IrDA) Port
The infrared (IrDA) port allows you transfer data between devices (such as your computer and
IR-equipped printers) using infrared technology similar that found in common household remote
controls.
IEEE 1394 Port
The 1394 port is used to connect between your and a peripheral such as a digital video camera.
Memory Card Reader
The memory card reader offers the fastest and most convenient method to transfer pictures, music
and data between your notebook and flash compatible devices such as digital cameras, MP3
players, mobile phones, and PDAs.
PC Card Slot
The PC Card Slot allows you to install one Type II PC Card.
LEFT SIDE OVERVIEW
The following is a brief description of the left side of the notebook.

BEFORE YOU START
10
ENGLISH FRANÇAIS DEUTSCH ESPAÑOL ITALIANO
Emergency
Tray
Release
Kensington
Lock Port
Optical Drive
Eject Button
Optical
Drive
RIGHT SIDE OVERVIEW
The following is a brief description of the right side of the notebook.
Optical Drive
The Optical Drive allows you to play back a media discs, such as CDs and DVDs.
Optical Drive Eject Button
The Optical Drive Eject Button allows you to open the Optical Drive tray to remove or insert a
DVD or CD.
Emergency Tray Release
The Emergency Tray Release allows you to open the Optical Drive tray without powering on
your notebook.
Kensington Lock Port
The Kensington lock slot allows you to secure your notebook to an immovable object through an
optional security cable
Other manuals for Centoris KN-1
1
This manual suits for next models
1
Table of contents
Languages:
Other Optima Laptop manuals

Optima
Optima Centoris V470 User manual

Optima
Optima Centoris V260 User manual

Optima
Optima Centoris W259 User manual

Optima
Optima Centoris G200N User manual

Optima
Optima Centoris Z500 User manual

Optima
Optima WO141PI User manual

Optima
Optima Centoris G200 User manual

Optima
Optima Centoris EF6C User manual

Optima
Optima Centoris W100 User manual

Optima
Optima Centoris V480 User manual