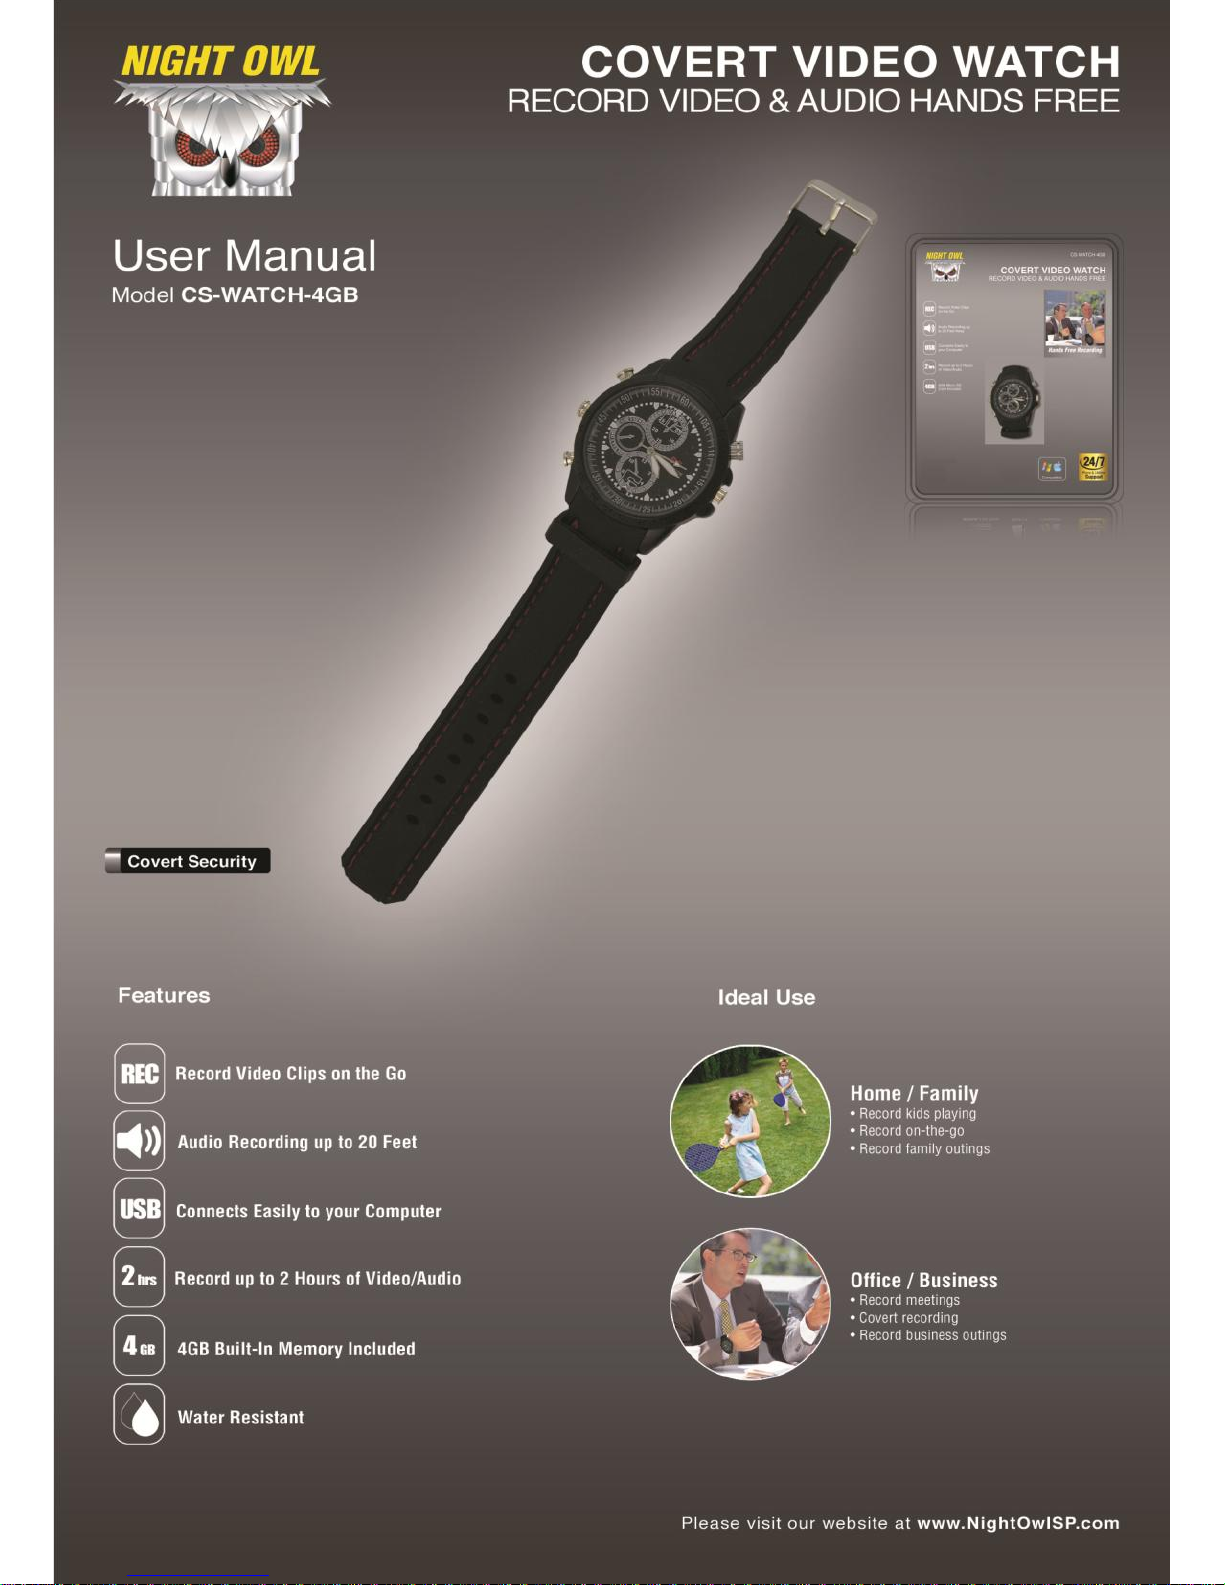
Night Owl CS-WATCH-4GB User manual


2
Chapter 1 : FCC Radiation Norm ..............................................3
Chapter 2 : Package Contents ..................................................4
Chapter 3 : System Requirements............................................5
Chapter 4 : Hardware Description ............................................6
Chapter 5 : Charging Your Video Watch..................................7
Chapter 6 : Changing the Time and Date.................................8
Chapter 7 : Recording a Video................................................10
Chapter 8 : Taking a Picture....................................................11
Chapter 9 : Download Your Videos / Pictures.......................12
Chapter 10 : Warranty..............................................................14
Interactive How-To videos are available for
the chapters indicated with this icon.
You can also visit Night Owl’s website at
http://www.nightowlsp.com/Videos
Table of Contents

3
FCC
This equipment has been tested and found to comply with limits for
Class B digital device pursuant to Part 15 of Federal Communications
Commission (FCC) rules.
FCC Compliance Statement
These limits are designed to provide reasonable protection against
frequency interference in residential installation. This equipment
generates, uses, and can radiate radio frequency energy, and if not
installed or used in accordance with the instructions, may cause harmful
interference to radio communication. However, there is no guarantee
that interference will not occur in television reception, which can be
determined by turning the equipment off and on. The user is encouraged
to try and correct the interference by one or more of the following
measures:
Reorient or relocate the receiving antenna
Increase the separation between the equipment and the receiver
Connect the equipment into an outlet on a circuit different from that
to which the receiver is connected to.
CAUTION!
The Federal Communications Commission warns the user that changes
or modifications to the unit not expressly approved by the party
responsible for compliance could void the user’s authority to operate the
equipment.
Chapter 1: FCC Radiation Norm

4
Your new Video Watch will contain the following items.
- Video Watch with 4GB Built-in Memory
- 1ft. USB Cable
- User Manual
Chapter 2: Package Contents

5
Please be sure the computer that you will use the video watch with
complies with the following specifications:
- IBM PCs or 100% Compatible
- Windows®2000, XP, Vista, 7
- Mac® OS 10.3 and above
- Available USB Port
Chapter 3: System Requirements
In order for your video watch to be water resistant, please
be ensure that all knobs are securely fastened. If the
knobs are loose or not attached, the video watch will
experience water damage.

6
Chapter 4: Hardware Description

7
1. To charge your video watch, locate the USB cable that
was provided in the packaging. Twist off the middle knob
on the left side of the watch and plug the auxiliary end of
the cable into the hole on the video watch.
2. Connect the other end of the USB cable to your computer.
The LED indicator will flash red while the video watch is
charging.
3. Once the video watch is completely charged, the LED
indicator will turn to a solid red color.
Prior to use, please charge your new
video watch using the included USB
cable for 8 hours for optimal
performance.
Chapter 5: Charging Your Video Watch

8
Changing the Time and Date Displayed on the Recorded Files
1. To change the time and date on your video watch,
connect it to your computer.
2. A window will pop-up once you have inserted the USB
into the computer. Click “Open folder to view files”.
3. Create a new text document, right click in the folder, left
click “New” and then left click “Text Document”. Name the
document “Time”.
4. Type in the date and time. The format of the time must be
set in “YYYY.MM.DD HH:MM:SS”using Military Time.
Chapter 6: Changing the Time and Date

9
5. Go to “File”, “Save” the document and safely remove the
video watch from your computer.
6. Turn on the video watch, press and hold the Start/Stop
button for two seconds, to initiate the reset.
Changing the Time on the Face of the Video Watch
1. Locate the “Time Adjust Knob” in the middle of the right
side of the video watch.
2. Gently pull the knob out. The hands on the video watch’s
face will stop moving.
3. Turn the knob to adjust the time.
4. Push the knob back in and the hands on the video watch’s
face will begin to move.
When your video watch’s battery is too low, the time may
reset to factory default. You will need to reset the time
again if you want your recorded files to have the correct
recording time.
Table of contents


