Nexxt Solutions NHC-F410 User manual
WARRANTY
nexxtsolutions.com/warranty
YEAR
2
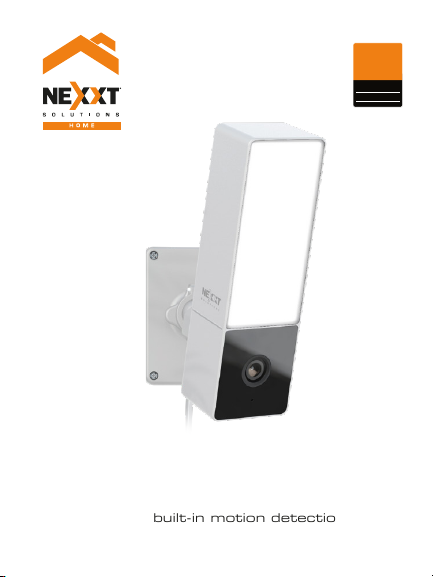
with built-in motion detection
NHC-F410
Smart Wi-Fi mini
floodlight camera
English
User guide
Thank you for purchasing the Smart Wi-Fi oodlight
camera from Nexxt Solutions. We are excited in being a
part of making your life easier, safer and bringing peace of
mind inside and outside your home.
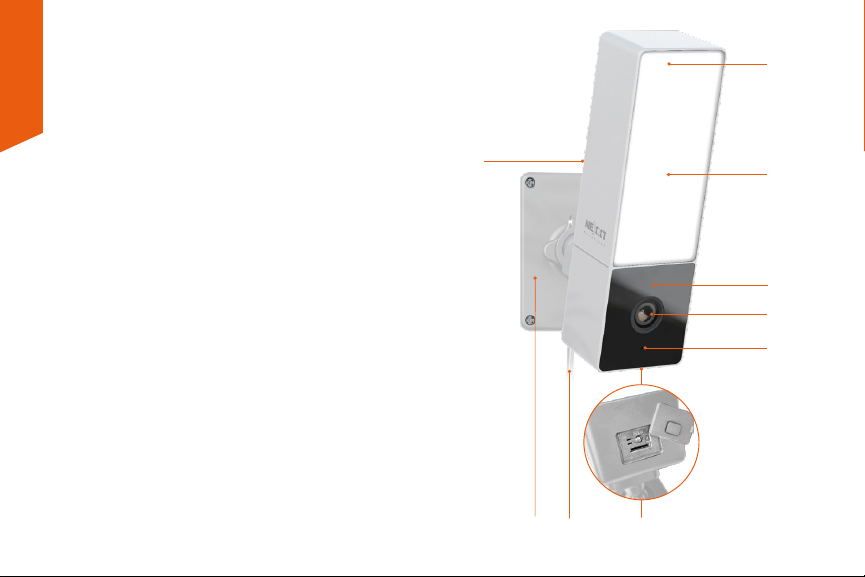
Product overview
1. Floodlight: eective long-range illumination of 1000
lumens per light
2. Activity and light sensor: enables the night vision and
motion illumination functions of the camera
3. Lens
4. Infrared LED lights: for night vision
5. Microphone: picks up the voice of visitors and the sound
surrounding the camera
6. Built-in speaker: allows you to be heard from your
phone via the Nexxt Home app
7. Built-in microSD™ card slot: supports local storage for a
card of up to 128GB
Reset button: press and hold this button to reset the
device. If you have modied any settings, they will return
to factory default status
8. Power cable
9. Built-in mounting bracket
1
2
6
3
5
7
8
9
4
Package content
• Smart mini-oodlight camera with bracket
• Mounting screw kit
• Power adapter with rubber cover
• Warning sticker
• Quick start guide
(1)
(1)
(1)
(1)
(1)
Preliminary steps
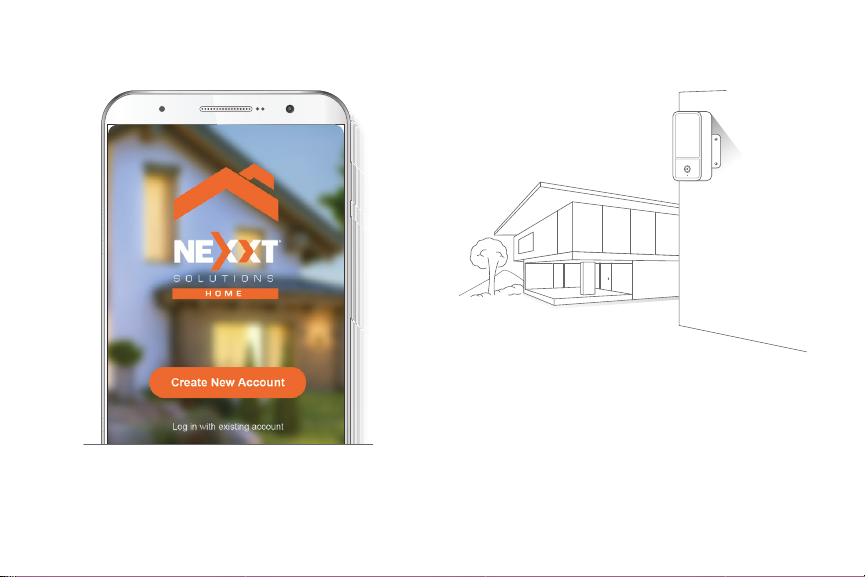
1. Determine the location of the camera preferably one that
oers the best viewing angle and Wi-Fi reception.
2. Unscrew the base of the bracket and use it as a template
to drill the holes. Insert the supplied screws and then
reattach the camera assembly to the bracket base.
How to insert the microSD™ card
The Wi-Fi camera comes with a built-in card slot which
supports a microSD™ card of up to 128GB. Once you insert
the storage card, the camera will automatically start to record
and store images and footage on that memory.
Step 1: Lift the rubber cover located on the base of the
camera.
Step 2: Insert the microSD™ card. Make sure to install it in the
correct direction.
Step 3: Press down the cover and make sure it is tightly
secure in place.
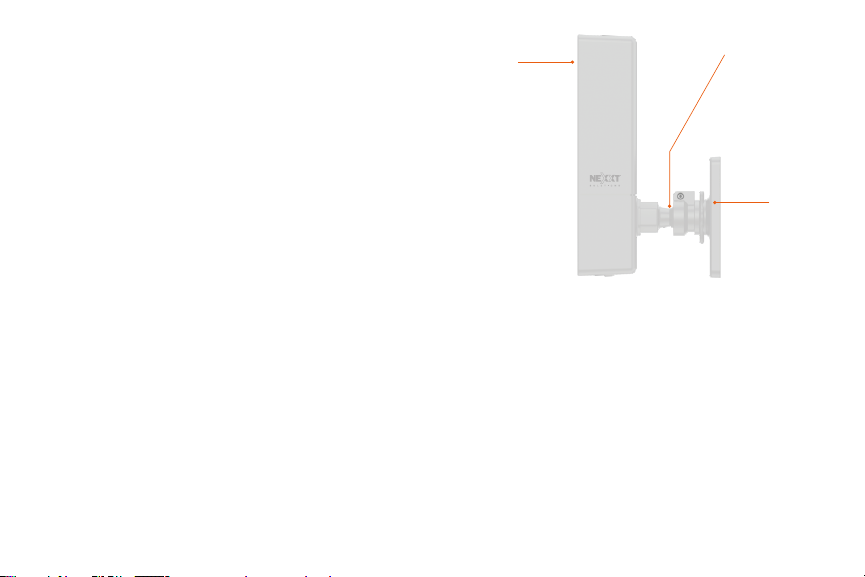
Smart Wi-Fi
mini- oodlight
camera
Lock the collar
to set the
camera at the
desired angle
Wall/ceiling
mounting
bracket
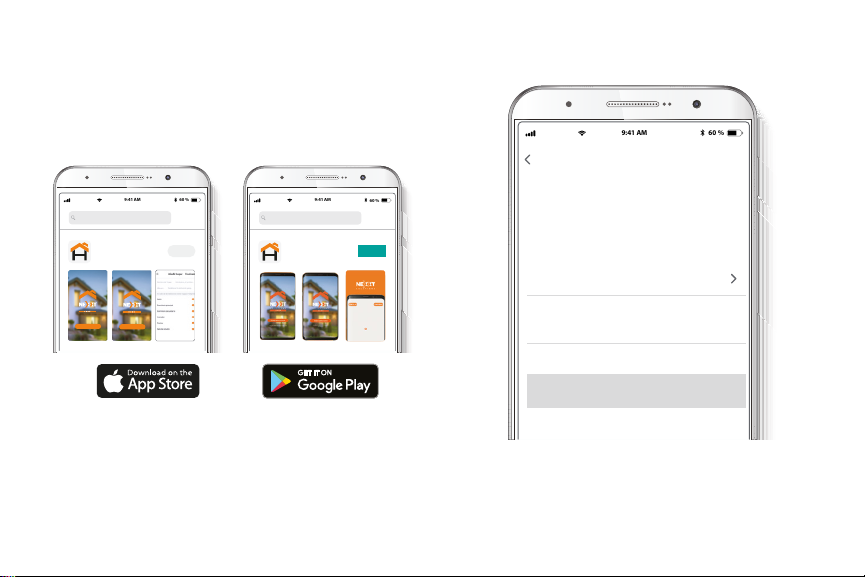
Step 1
Register by email. Fill in the required elds.
Installing the Nexxt Home App
Download Nexxt Home app on Google Play
or Apple App Store.
60 %
9:41 AM
Register by email
United States of America
Email
Get authentication code
60 %
9:41 AM
Nexxt Home
Nexxt Solutions Home App
Cancel
GET
Accvent LLC
Login with existing account
Create New Account
SOLUTIONS
Iniciarsesión con cuenta existente
Crear Cuenta Nueva
SOLUTIONS
60 %
9:41 AM
Nexxt Home
Nexxt Solutions Home App
Cancel
INSTALL
Accvent LLC

Step 3
Create a new password and then select Completed.
Step 2
Enter the verication code you received.
60 %
9:41 AM
Enter verication code
Verication code has been sent to your
60 %
9:41 AM
Set Password
Completed
6-20 characters, including letters and numbers
Plug in
Plug in the mini-floodlight camera using the provided AC
adapter. After 10 seconds, you will hear a first tone
indicating that the mini-floodlight camera has started
correctly. After another 5 seconds, a second tone will be
heard indicating that the mini-floodlight camera is ready to
be paired.
If you do not hear the tones, hold down the reset button for
8 seconds to reset the device.
Step 4
The Nexxt Solutions Home Account has been successfully
set up.
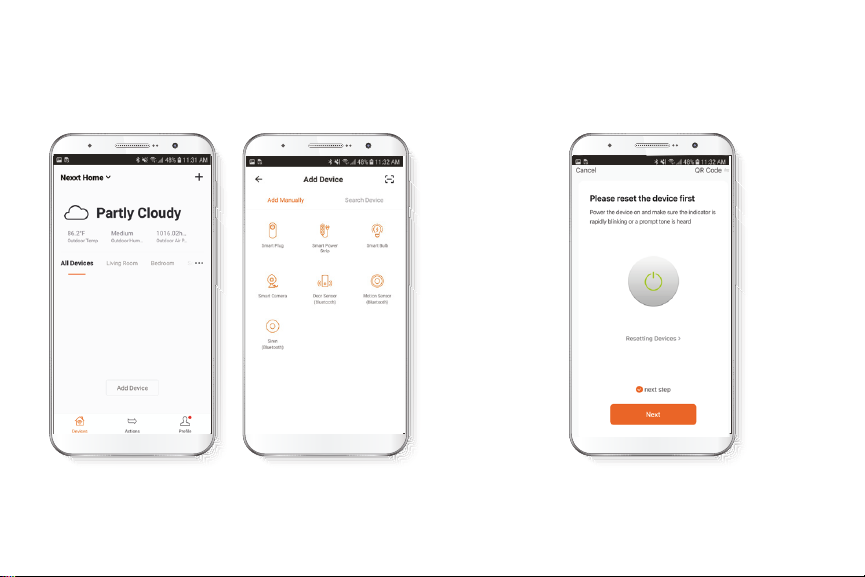
Add device
Step 1
Select +followed by the smart camera.
Step 2
Select next step.
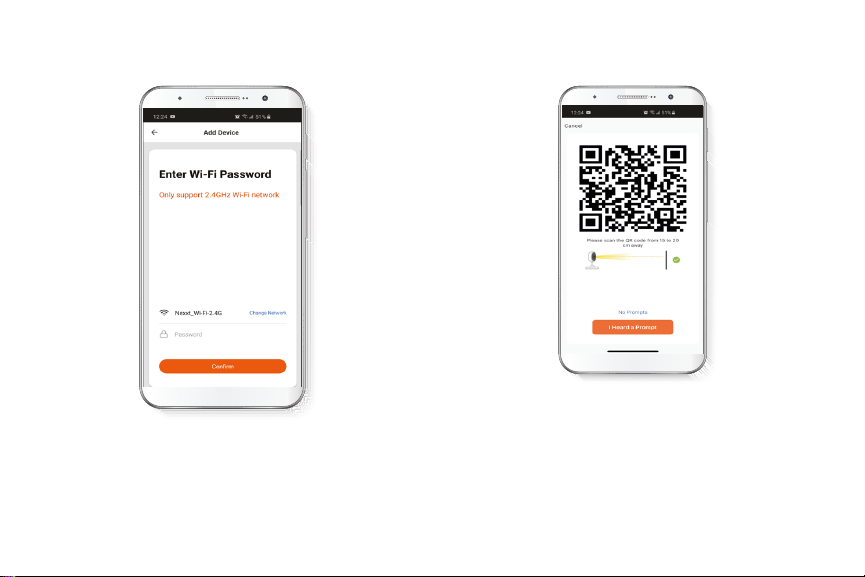
Step 4
Select Continue to get the QR code. Scan the QR code from
your mobile device with the smart camera. Once you hear
the tone, click on the I heard a prompt button.
If you experience any issues, reset the camera. If a
Registered Account added the camera through the app,
then another user will be prevented from setting up that
camera in a dierent account, unless permission is granted
through the Share access option.
Step 3
You must connect to a 2.4GHz WiFi network. Enter your
network password. Make sure you enter the correct
password, otherwise the device will not connect.
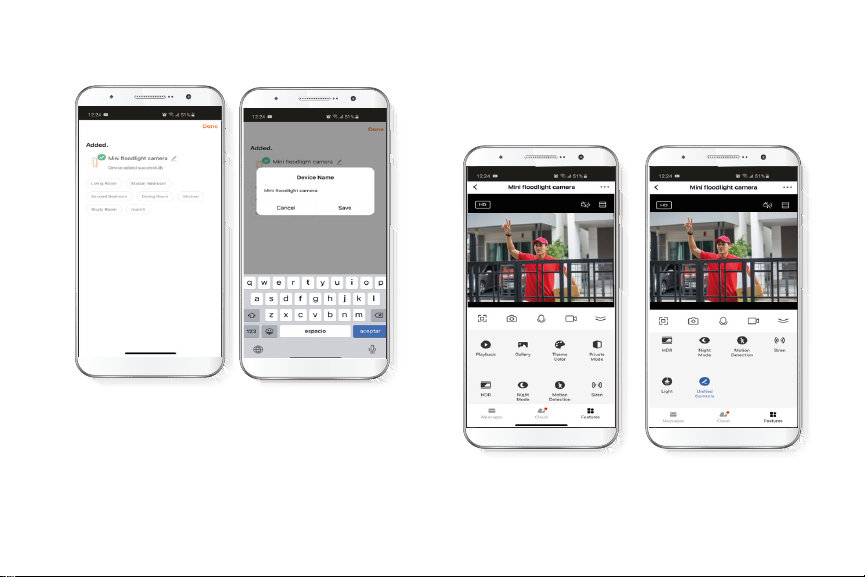
Step 5
If pairing is successful, the notication Device added
successfully will be displayed on the screen.
Click on the pencil icon to rename the camera, and then
select Save to store your settings.
Camera interface

Full screen: Switches to full screen mode.
Screenshot: Takes a picture of what the camera is
viewing.
Speak: Allows voice communications through the
microphone.
Record: Starts recording a video.
Playback: If a microSD™ is installed, you can use
the playback function to watch recordings.
Gallery: Presents a list of all recorded videos and
photos stored locally or in the cloud.
Theme color: Allows users to customize the
appearance of the interface by switching to either
light mode or dark mode. The latter is the one
recommended for battery-saving purposes on
your smart device.
Private mode: It switches the camera to sleep
mode to give users peace of mind about their
privacy by blocking the lens, recording and
microphone functions when they are at home.
HDR: The High Dynamic Range is a technology that
improves the quality of scenes by enhancing the
brightness and contrast ratios of the screen.
Night mode: Provides the selection between the
Smart, Infrared and Light conguration settings.
Motion detection settings: Turns the motion
detection feature on and o.
Siren: Tap to manually trigger and stop the alarm.
Light: Lets you switch the oodlight on or o, set
the countdown timer, or program specic
illumination cycles through the schedule.
Unied controls: Use it to set up shortcuts to
control other compatible smart devices.
Messages: A quick way to view the list of push
notications sent to your mobile device.
Cloud storage: For added storage capacity, check
our cloud services available through a subscription.
HD/SD: Switches between High Denition and
Standard Denition modes.
Mute: Disables the microphone function on
the camera
Settings: Allow access to the camera parameters.
Table of contents
Languages:
Other Nexxt Solutions Digital Camera manuals


