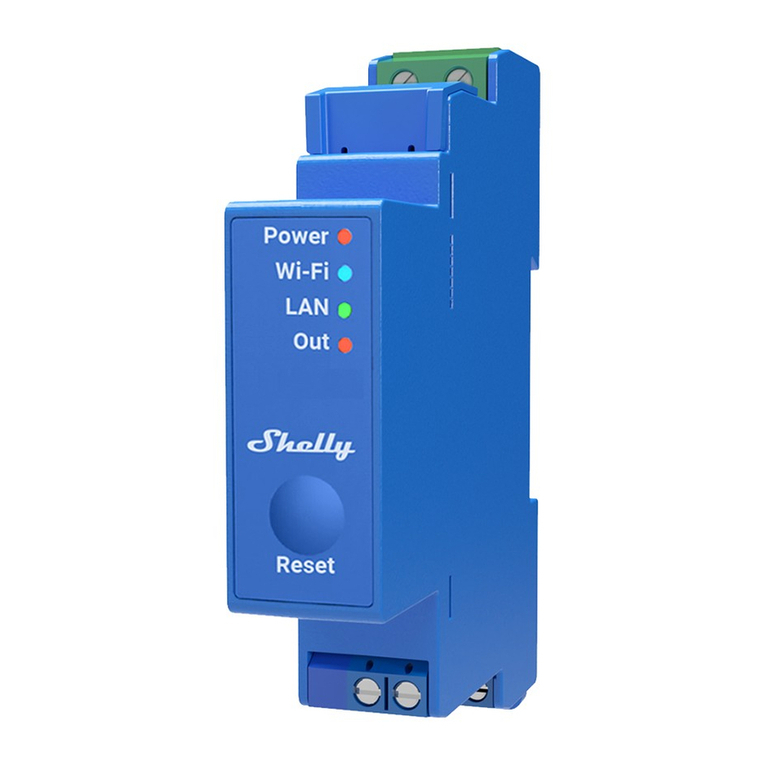
NatComm RCU-SIP User manual

RCU-SIP
USER GUIDE
For Technical Assistance
Please Ph: 07 5596 5128
or Email : [email protected]om.au

Page 2 Natcomm
DESCRIPTION
RCU-SIP is a SIP based Relay Control device which can operate with
Any IP based PBX system, including Cloud PBX systems.
RCU-SIP provides PBX access to Two Separate Dry Relay Contacts,
each of which can be programmed with their own unique PIN Codes
and Relay Closure Times.
RELAY TOGGLE You can also use the PIN code to toggle the relay
between Closed and Open with each call.
RCU-SIP has a full Analog Telephone Adaptor (ATA) incorporated
within its design.
RCU-SIP can be connected to ANY Point on a Local Area or Wide
Area Network, such as :
* Any Internal Network Point of a LAN
* Direct to a Network Switch
* Direct to a Network Modem used for LAN or WAN
Once connected, RCU-SIP will connect to the Network via DHCP
A Windows based program (called Natcomm SIP Controller) is
supplied for your RCU-SIP unit. This program is designed for use on
PC running Windows 7 or later (on your same network). Install the
program by double clicking the supplied Program file. The program
will install and a Natcomm Icon will be installed on the desktop.
You will be emailed an FTP Link to download the RCU-SIP setup
program : Natcomm_IP_Controller.exe

CONNECTION OVERVIEW
A. PBX CONNECTION
RCU-SIP is designed to connect as a SIP Client of an IP based PBX. It has an RJ45
Socket for Network Connection. It is supplied with a CAT5 connection cable.
RCU-SIP will connect to your PBX Network via DHCP and you can then access its
Administration panel to set up its Server IP address, its local Extension Settings
and if required, other parameters such as a Static IP address, Port Number and Audio Codec
settings.
B. RELAY CONNECTION
A Screw Terminal Connection Box is supplied with a short RJ45 lead to connect
your external equipment RCU-SIP.
C. POWER CONNECTION
RCU-SIP is supplied with a 12VDC (min 1A) Centre Positive Power Adaptor.
You MUST use the supplied Power Adaptor or permanent damage to the unit may result.
D. UNIT PROGRAMMING
Once installed, RCU-SIP is ready to go with pre-programmed default settings for
each relay.
By default RCU-SIP will answer Incoming Call to its Extension after 1 Ring.
Relay 1 will respond to the DTMF code *3 and upon detection will close its relay for
15 seconds.
Relay 2 is programmed to respond to *4 and upon detection will close its relay for
15 seconds.
You can control 1 or 2 relays on a single call, including multiple commands of each.
RCU-SIP will hang up 30 seconds after the last command.
You can change all of these settings (by calling into RCU-SIP and pressing ##),
including the ability to Close a Relay and leave it Closed or Open a Relay and leave
it Open (we call this Toggle Operation).
See pages 12-15 for Programming Procedure and details.

Page 4 Natcomm
INSTALLATION DIAGRAM
A Screw Terminal Connection Box supplied with RCU-SIP
Relay 1 Connection
To Connect to Relay 1 of RCU-SIP, use the screw terminals that connect
to the ORANGE and BROWN wires in the Connection Box.
Relay 2 Connection
To Connect to Relay 2 of RCU-SIP, use the screw terminals that connect
to the BLUE and WHITE wires in the Connection Box.
.

SIP INSTALLATION
A Windows based program (called Natcomm SIP Controller) is supplied for
your RCU-SIP unit. This program is designed for use on PC running Windows
7 or later (on your same network). Install the program by double clicking the
supplied Program file. The program will install and a Natcomm Icon will be
installed on the desktop.
Connect RCU-SIP to the Network
Using the supplied CAT5 cable connect the NETWORK port of RCU-SIP to your
Internet Network, at any convenient Network Point or direct to a Switch or
Modem-Router. Connect the Supplied Power Supply and Switch the Power ON.
Wait 1-2 minutes while RCU-SIP ‘boots up’ and registers to your Network
Double Click the Icon to open the program.
Once the program has loaded
Click for IP Address
After a short delay, the
program will then display the IP
Address, Gateway Address
and Subnet Mask of RCU-SIP
The Password is : root
Enter the Password and then Click Login to Enter the Advanced
Settings area. This is where you can set up the SIP settings of the device.
SIP Parameter Setup
Refer to pages 17-20 for all SIP set up instructions).
A) Setting up the Extension Number
B) Setting Up a Username and Password
C) Setting Up the Network Server IP address
D) Changing from DHCP to Static IP
E) Load all Changes into the Internal ATA
F) Downloading the ATA User Guide for full ATA setting details.
5
4
(
1
2
3
4
5
6

Page 6 Natcomm
SIP Advanced Settings Menu
Enter Extension Number and Username and Password (if used)
Go into the Phone 1 Menu
Enter Phone 1
Now Enter Your :
Extension Number
User Name
Password
Scroll Down to the
Bottom of the Page
You MUST Click
When complete
You MUST Click
Reload
See Arrow Above
1
4
Save
2
3
3
4
A
B

Enter NETWORK SERVER IP ADDRESS
Go into the SIP Menu
A & B
4
Enter the SIP Menu
Enter Here Your
SIP Server IP Address
Make sure the
Send Registration Request
with Expire Time is ticked.
It should only be unticked for a direct peer to
peer IP connection.
Then Scroll Down to
the Bottom of the Page
You MUST Click
1
2
3
4
Save SIP Settings
C

Page 8 Natcomm
Changing from DHCP to Static IP
Go into the Settings Menu
Enter Settings Menu
Deselect DHCP
Here
Enter Static IP Settings
Here
or Here
Scroll Down to the Bottom of
the Page
You MUST Then Click
1
2
3
4
Save and Reload
D

Now Reload to Effect Your Changes
Go into the Reload Menu
Downloading the ATA User Guide
Go into the Users Guide Menu
save
Leave the Default Setting Unchanged
‘Reset and execute Main Application’
Now Click
There will be a short delay
while the ATA resets itself
Reset
Select the Users Guide Menu
A PDF User Guide will then
download to your PC
E
F

Page 10 Natcomm
RCU-SIP OPERATION
1. RCU-SIP will Automatically Answer Incoming calls and listen for DTMF
Commands for up to 99 seconds (The Default is 30 seconds). This is the ‘Call
Wait Time’.
You will hear 1 ‘Beep’ after Answer
2. If a Correct Command is detected, RCU-SIP will CLOSE its Internal Relay for a
Programmed amount of time and then wait for the programmed ‘Call Wait Time’
for further DTMF Commands.
If RCU-SIP is set to ‘Toggle’ mode, RCU-SIP will CLOSE its Internal Relay if it is
OPEN, or OPEN the Relay if it is CLOSED and leave it in the new state until the
next time it detects a Correct Command.
If power is disconnected from RCU-SIP, it will remember the state of its Relay
and set it to the Correct State after power is restored.
3. When entering DTMF Commands for BOTH relays in a single call, you need to
leave 2 seconds between commands.
4. You must wait until you hear the Beep before entering a Command.
5. If the DTMF Commands are being sent by an Automated Device, enter a single
comma (,) between each relay code in the automatic code dialing sequence.
A single comma (,) will instruct the Automated Device (such as a Modem) to insert a wait
of 2 seconds before resuming any further dialing.
Table of contents