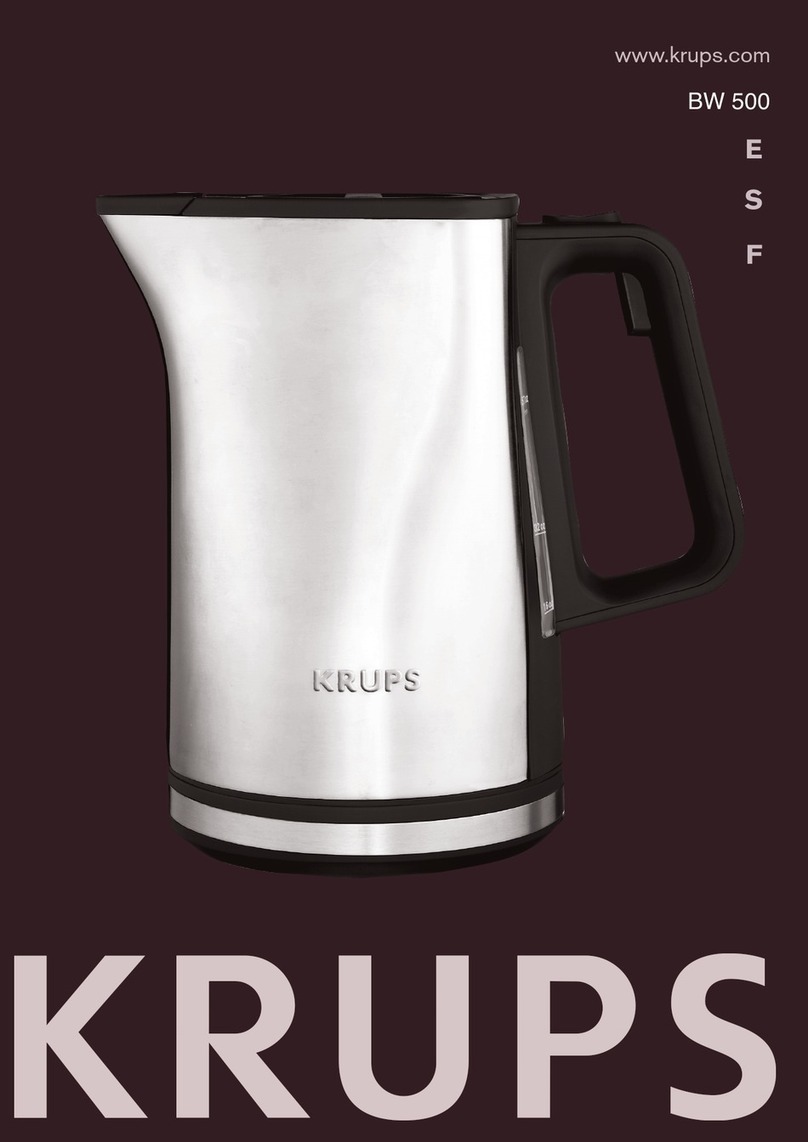
Midea MEK17GT-E8 User manual

User Manual
Electric Jug Kettle
Please read the manual carefully before operating your product.
Retain it for future reference.
MEK17GT-E8

IMPORTANT SAFEGUARDS
When using electrical appliances, basic safety precautions
should always be followed including the following:
1. Read all instructions.
2. DO NOT touch hot surfaces. Use handles or knobs.
3. To protect against electrical shock, do not immerse cord,
plugs, or (state specific part or parts in question) in water
or other liquid.
4. Close supervision is necessary when any appliance is
used by or near children.
5. Unplug from outlet when not in use and before cleaning.
Allow to cool before putting on or taking off parts.
6. DO NOT operate any appliance with a damaged cord or
plug or after the appliance malfunctions or has been
damaged in any manner. Return appliance to the nearest
authorized service facility for examination, repair, or
adjustment.
7. The use of accessory attachments not recommended by
the appliance manufacturer may cause injuries.
8. DO NOT use outdoors.
9. DO NOT let cord hang over edge of table or counter, or
touch hot surfaces.
10. DO NOT place on or near a hot gas or electric burner, or
in a heated oven.
11. Always attach plug to appliance first, then plug cord into
the wall outlet. To disconnect, turn any control to "off",
then remove plug from wall outlet.
12. DO NOT use appliance for other than intended use.
1

13. Household Use Only.
14. DO NOT Immerse In Water.
SAVE THESE INSTRUCTIONS
A.A short power supply cord is provided to reduce the risk
resulting from becoming entangled in or tripping over a
longer cord.
B.Extension cords are available and may be used if care is
exercised in their use.
C.If an extension cord is used, (1) the marked electrical
rating of the extension cord should be at least as great as
electrical rating of the appliance, and (2) the longer cord
should be arranged so that it will not drape over the
counter or table top where it could be pulled on by children
or tripped over unintentionally.
Notes On The Card:
a) A short power-supply cord (or detachable power-supply cord) is to be
provided to reduce the risk resulting from becoming entangled in or
tripping over a longer cord.
b) Longer detachable power-supply cords or extension cords are available
and may be used if care is exercised in their use.
c) If a long detachable power-supply cord or extension cord is used,
1) The marked electrical rating of the detachable power-supply cord or
extension cord should be at least as great as the electrical rating of the
appliance.
2) If the appliance is of the grounded type, the extension cord should be a
grounding-type 3-wire cord.
3) The longer cord should be arranged so that it will not drape over the
countertop or tabletop where it can be pulled on by children or tripped
over.
IMPORTANT SAFEGUARDS
2

Brief introduction
Rational design,
bring convenience and enjoyment to your life
● Rapid boiling , save time and energy for you
● Removable filter to keep the water clean of any foreign matter.
● Automatically cuts out for boil-dry protection.
● Easy read water gauge.
● Thermostat of high quality.
● 360 rotational power base
● Stainless steel body
3

Names of main parts
1. The kettle body
5. Button 6. Temp indication
2. Spout 3. Lid 4. Handle
7. Power base
Kettle model
Model No. Rated voltage Rated power Capacity Dimensions Weight
MEK17GT-E8 120V~ 50/60Hz 1500W 1.7L 9.45*8.19*11.34 inch 3.46 lbs
4

Operation Manual
Button #1 program function
button, used to program keep
warm setting
Button #2 manual temp
and time decrease button
1. Display real-time temperature;
2. Display specific tea brewing
programs: 1 - 5;
3. Display custom tea brewing
temperature: 122-212°F
4. Display custom tea brewing
time: 1 - 15 min
Button #4 on/off button
Button #3 manual temp and
time increase button
1. Powering on:
1.1. Without kettle on the base: After the product is powered on, the
buzzer sounds a long hint tone, the LED display tube displays letter
“E” all the time, and any buttons are not valid.
1.2. With kettle on the base: After the product is powered on, the buzzer
sounds a long hint tone, the LED display tube displays letter “C”,
after about 3 s, the product enters the standby mode, and the
functions of the specific program “1” are selected by default. At the
same time, the indicator light on the top left corner of the LED
display tube turns on, and the LED display tube displays the current
temperature.
2. Selecting tea brewing programs and setting tea brewing temperature
and time
2.1. Selecting specific tea brewing programs:
In standby status: When you click the button #1 at the first time, the
indicator light corresponding to the button # 1 turns on, the LED
display tube enters the fixed displaying mode of tea brewing and
displays “1” by default, and the corresponding indicator light on the
top left corner turns on at the same time (Specific tea brewing
5

programs correspond to respective indicator lights). Then, you can
select “1, 2, 3, 4 and 5” with the buttons #2 and #3 within 5 s. Figures
have the following meanings:
1: herbal tea: 212°F/6 minutes brewing time
2: black tea: 212°F/3 minutes brewing time
3: oolong tea: 200°F/3 minutes brewing time
4: white tea: 180°F/3 minutes brewing time
5: green tea: 160°F/3 minutes brewing time
2.2.Customizing tea brewing temperature:
In standby status: When you double-click the button #1, the product
enters the temperature setting program, the LED display tube
displays 176 °F by default. Then, you can set the tea brewing
temperature from 122 ~ 212 °F with the buttons #2 and #3 within 5 s.
2.3.Customizing tea brewing time:
In standby status: When you click the button #1 three times, the
product enters the time setting program, the LED display tube
displays 3 min by default. Then, you can set the tea brewing time
from 1 ~ 15 min with the buttons #2 and #3 within 5 s.
2.4.In standby status: When you click the button #1 four times, the
product returns to the setting program in 2.1.
2.5.When the kettle is keeping warm after water is boiled to the target
temperature, the indicator light corresponding to the button #1 turns
on. At this time, the LED display tube displays the set temperature,
please click the button #1 to switch to the tea brewing time setting
program. Then, you can set the tea brewing time from 1 ~ 15 min
again with the buttons #2 and #3.
(If there is no operation within 5 s after you click the button #1, the LED
display tube returns to display real-time temperature; when you click
the button #1 again, the product directly returns to the setting program
you selected last time.)
3. Starting/Cancelling tea brewing
Operation Manual
6

Operation Manual
3.1.After the product is powered on, the kettle enters the standby status,
please click the button #4. Then, the indicator light corresponding to the
button #4 turns on, the kettle starts to boil water according to program
“1” by default, the LED display tube displays the target tea brewing
temperature, and after 3 s, the LED display tube switches to display the
real-time temperature. During water boiling, you can click the button #4
again to cancel water boiling and return to the standby status.
3.2.After water is boiled to the target temperature to brew tea, the buzzer
sounds 3 times, the indicator light corresponding to the button #1
turns on, the indicator light corresponding to the button #4 turns off,
and the kettle starts to keep warm.
3.3.When the kettle is keeping warm after water is boiled to the target
temperature to brew tea, click the button #4 to brew tea. If you
previously selected the specific tea brewing programs “1-5”, the kettle
brews tea for corresponding default tea brewing time; if you
previously selected custom tea brewing, the kettle brews tea at
custom tea brewing temperature for custom tea brewing time. After
tea brewing is finished, the kettle starts to keep warm. During tea
brewing, you can click the button #4 again to cancel tea brewing and
return to the standby status. (If the kettle is brewing tea, the indicator
light corresponding to tea brewing on the bottom right corner of the
LED display tube turns on; else, this indicator light turns off)
4. Keeping warm
4.1.The kettle starts to keep warm after water is boiled to the target
temperature. During warm keeping, if there is no operation, the kettle
stops keeping warm and turns off any display by default after 20 min.
4.2.After tea brewing is finished, the kettle starts to keep warm, and after
20 min, the kettle stops keeping warm and turns off any display.
5. Standby to save energy:
In standby mode, if there is no operation within 30 min, the product will
turn off.
7

6. Functions of pressing and holding buttons:
6.1.Function of pressing and holding button to silence: When the button
#1 is valid, press and hold it 2 s. Then, the buzzer sounds twice, and
it indicates the product is silenced successfully.
6.2.Function of pressing and holding button to turn off: While the product
starts on, press and hold the button #4 for 2 s. Then, the product
turns off; after the product is turned off, you can click any button to
restart it.
Notes:
a. When buttons are valid, the buzzer sounds a “tick”;
b. There are 6 round LED lights above and under the LED tube, and
they are indicator lights for specific tea brewing programs. They are
arranged orderly in “Z” shape from the top left corner to indicate
specific programs “1, 2, 3, 4 and 5” and the tea brewing program.
c. During water boiling and tea brewing and after tea brewing, no
button is available except the button #4, namely that only button #4
can cancel tea brewing and return to the standby status.
d. If the kettle is placed on the base, buttons respond to operations of
users; else, buttons do not respond. In any status after startup,
when you place it on the base after lifting it, the product returns to
the standby status again.
Operation Manual
8

1. Fill the kettle with 0.5L white vinegar and the remainder with water
and allow to stand for over 1 hours;
2. Empty the solution from the kettle. Wipe off the deposits remained
with damp cloth;
3. Fill the kettle with clean water, bring to boil and then discard the
water. Repeat and the kettle will be ready to use;
4. If necessary, repeat the operations above for several times;
5. Do not immerse into water. The surface of the kettle may be wiped
over with a damp cloth and polished with a soft dry cloth;
6. Grasp the top of the scale filter and pull upwards to remove. Wash
with clean water and dry thoroughly before replacing in the kettle.
►
To prolong the kettle's life, please clean the mineral
deposits in the kettle regularly.
►
Always unplug from the plug socket and allow to cool
down before cleaning.
►
Do not use chemical, steel wool, or abrasive cleaners to
clean the outside of the kettle, as these will scratch the
surface and fade the outside color.
CLEANING
9
Table of contents
Languages:
Other Midea Kettle manuals

Midea
Midea 350123 User manual

Midea
Midea MK-17G02A2 User manual

Midea
Midea MKS1723J User manual

Midea
Midea MK-17S26E2 User manual

Midea
Midea 350125 User manual

Midea
Midea MK-15H01A User manual

Midea
Midea MK-17S31A User manual

Midea
Midea FP-68PKL017LDTM-T User manual

Midea
Midea MK-15H01A2E User manual

Midea
Midea MK-HE1508 User manual

Midea
Midea MEK17DW-W User manual

Midea
Midea MK-17S31B User manual

Midea
Midea MK-HE1533 User manual

Midea
Midea 3000 Series User manual

Midea
Midea MKS1723D User manual

Midea
Midea MK-17S18D User manual

Midea
Midea MK-15H01A User manual

Midea
Midea MK-17DC-GN User manual

Midea
Midea 350130 User manual

Midea
Midea MK-17S30B2-E5 User manual