Max BC-LGW-O-TW User manual

Cube LAN Gateway
BC-LGW-O-TW
Operating manual

2
Package contents
Quantity Item
1x MAX! Cube LAN Gateway
1x Plug-in USB power supply
1x USB cable
1x Network cable
1x Mounting accessories
1x Assembly bracket for wall mounting
3x Brief instruction in German/English, French/
Dutch and Polish/Italian
Package contents

3
Table of contents
1 Information about this manual................................. 4
2 Safety instructions.................................................... 4
3 Function .................................................................... 5
4 Device overview......................................................... 8
5 Mounting ................................................................... 9
6 Setting up the MAX! system.................................... 10
7 Restore factory settings.......................................... 15
8 LED flashing sequences and
transmission behaviour.......................................... 17
9 Maintenance and cleaning...................................... 18
10 Information about radio operation ......................... 18
1st English edition 07/2014
Documentation © 2014 eQ-3 AG, Germany
All rights reserved. Translation from the original version in German.
V1.1
Table of contents
4
Information about this manual
1
InformatIon about thIs manual
Read this manual carefully before starting to use the device.
Keep the manual so you can refer to it at a later date if you
need to. If you hand over the device to other persons for use,
please hand over the operating manual as well.
Symbols used:
Attention!
This indicates a hazard.
Note.
This section contains important additional informa-
tion.
2
safety InstructIons
The device is not a toy; do not allow children to play
with it. Do not leave packaging material lying around,
as it can be dangerous in the hands of a child.
Do not open the device: it does not contain any com-
ponents that need to be serviced by the user. In the
event of an error, please return the device to the ser-
vice department.
The device may only be operated indoors and must be
protected from the effects of damp and dust, as well
as solar or heat radiation.
5
Function
Using the device for any purpose other than that de-
scribed in this operating manual does not fall within
the scope of intended use and shall invalidate any war-
ranty or liability. This also applies to any conversion
or modification work. The device is intended for private
use only.
3
functIon
With the MAX! Heating Control system, the room temperature
in apartments, houses and other small buildings can
comfortably be controlled and regulated.
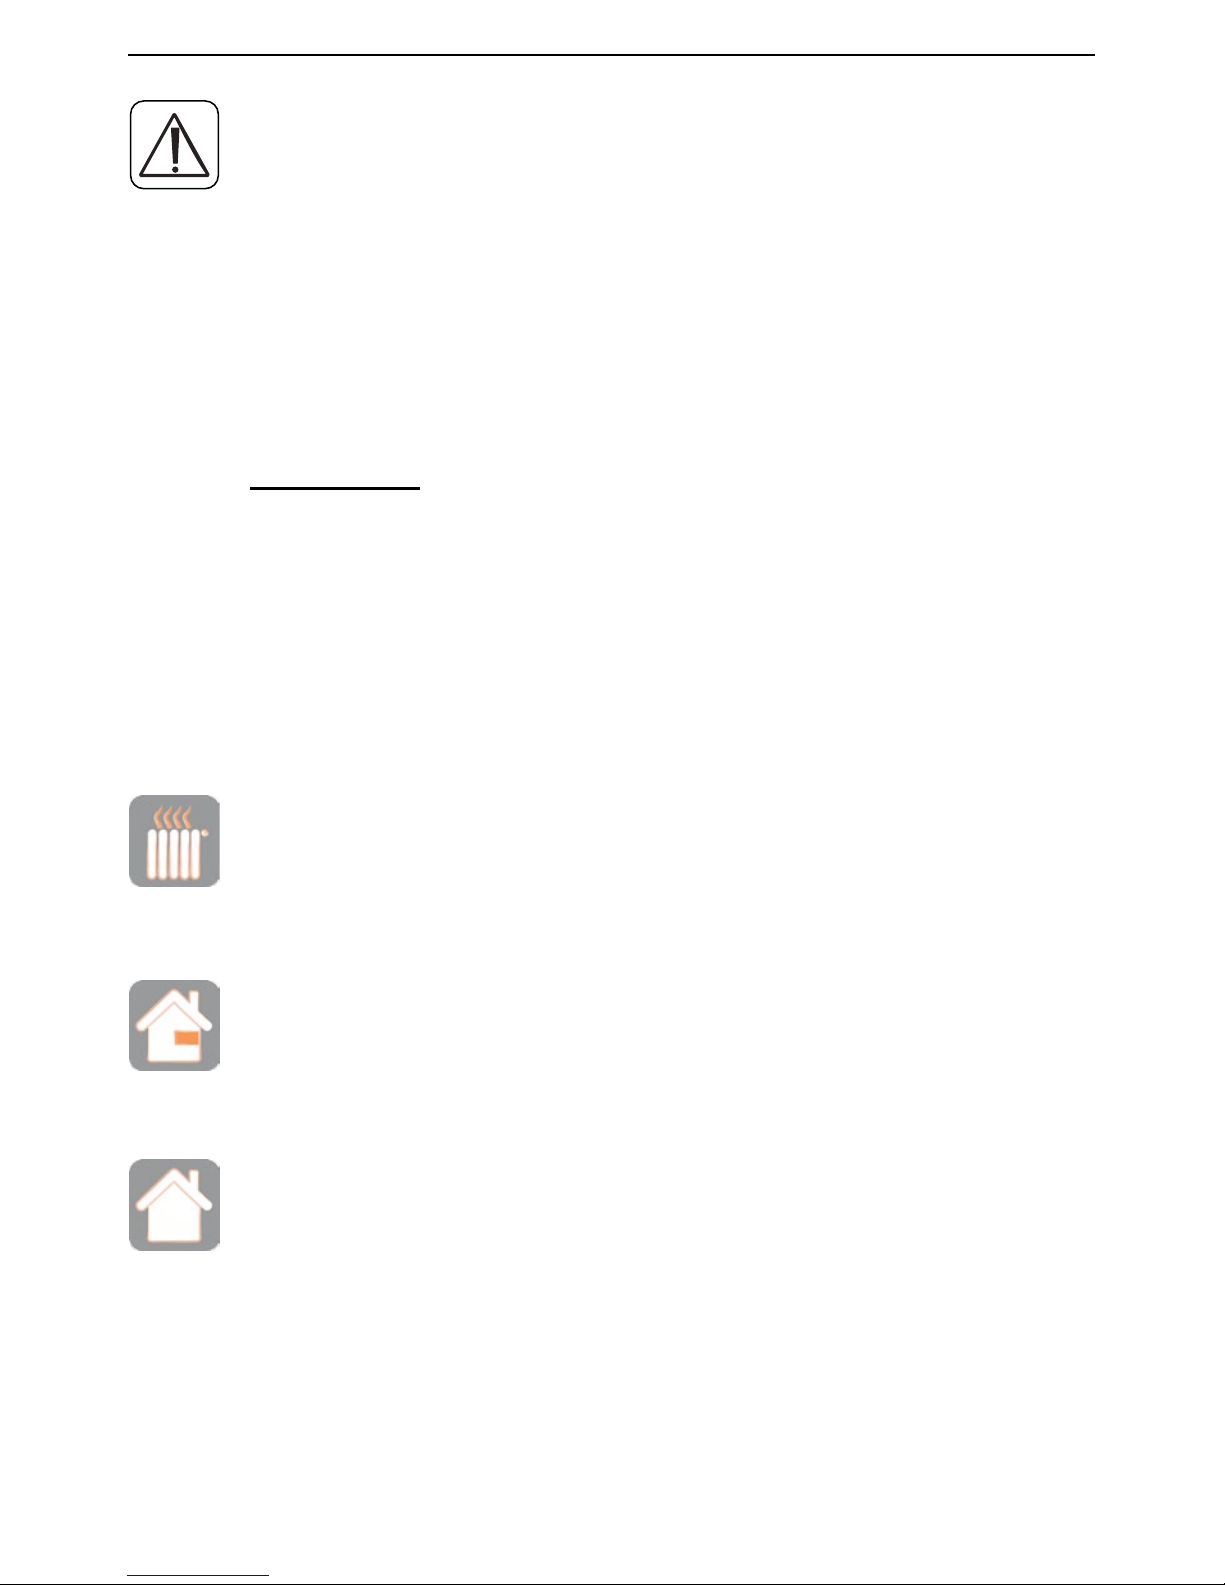
MAX! Heating Control offers three expandable solutions:
MAX! Radiator solution
Local control for single radiators via the MAX! Radia-
tor Thermostat+.
MAX! Room solution
Central control of all radiators in one room via the
MAX! Wall Thermostat+.
MAX! House Solution
Central control of all radiators in your house via smart-
phone and Internet.

6
Function
The MAX! Cube as central element of the MAX! House so-
lution offers convenient control of all MAX! devices in your
house in several ways:
•via the local MAX! software on your PC,
•via the MAX! Internet control from any PC with Internet
connection or
•via the MAX! app for iOS and Android smartphones.
Please note that the MAX! system can be controlled
via the local MAX! software, Internet control or app.
The three different interfaces can not be used at the
same time.
Additionally, the status of all MAX! devices can be checked
via the MAX! Cube at all times. The MAX! Cube links the MAX!
devices in your house and your computer network. Further-
more, the device stores any settings and configurations that
you have made.
Different settings and configurations for all MAX! devices
can be made for individual rooms. As the MAX! Cube saves
all settings and configurations, the system can be operated
even without PC or active Internet connection. The wireless
communication between MAX! components is performed
in two directions (bidirectional). This ensures that the in-
formation sent reaches the recipient and possible interfer-
ences are detected.
If you have been using the MAX! Room solution or the MAX!
Radiator solution so far, all MAX! devices can easily be inte-
grated into to MAX! House solution. Therefore, you only have

7
Function
to restore the factory settings of your MAX! components and
teach-in the devices to the MAX! Cube. You will find further
information in the operating manual of the single devices
(available for download at max.eQ-3.com).
8
Device overview
4
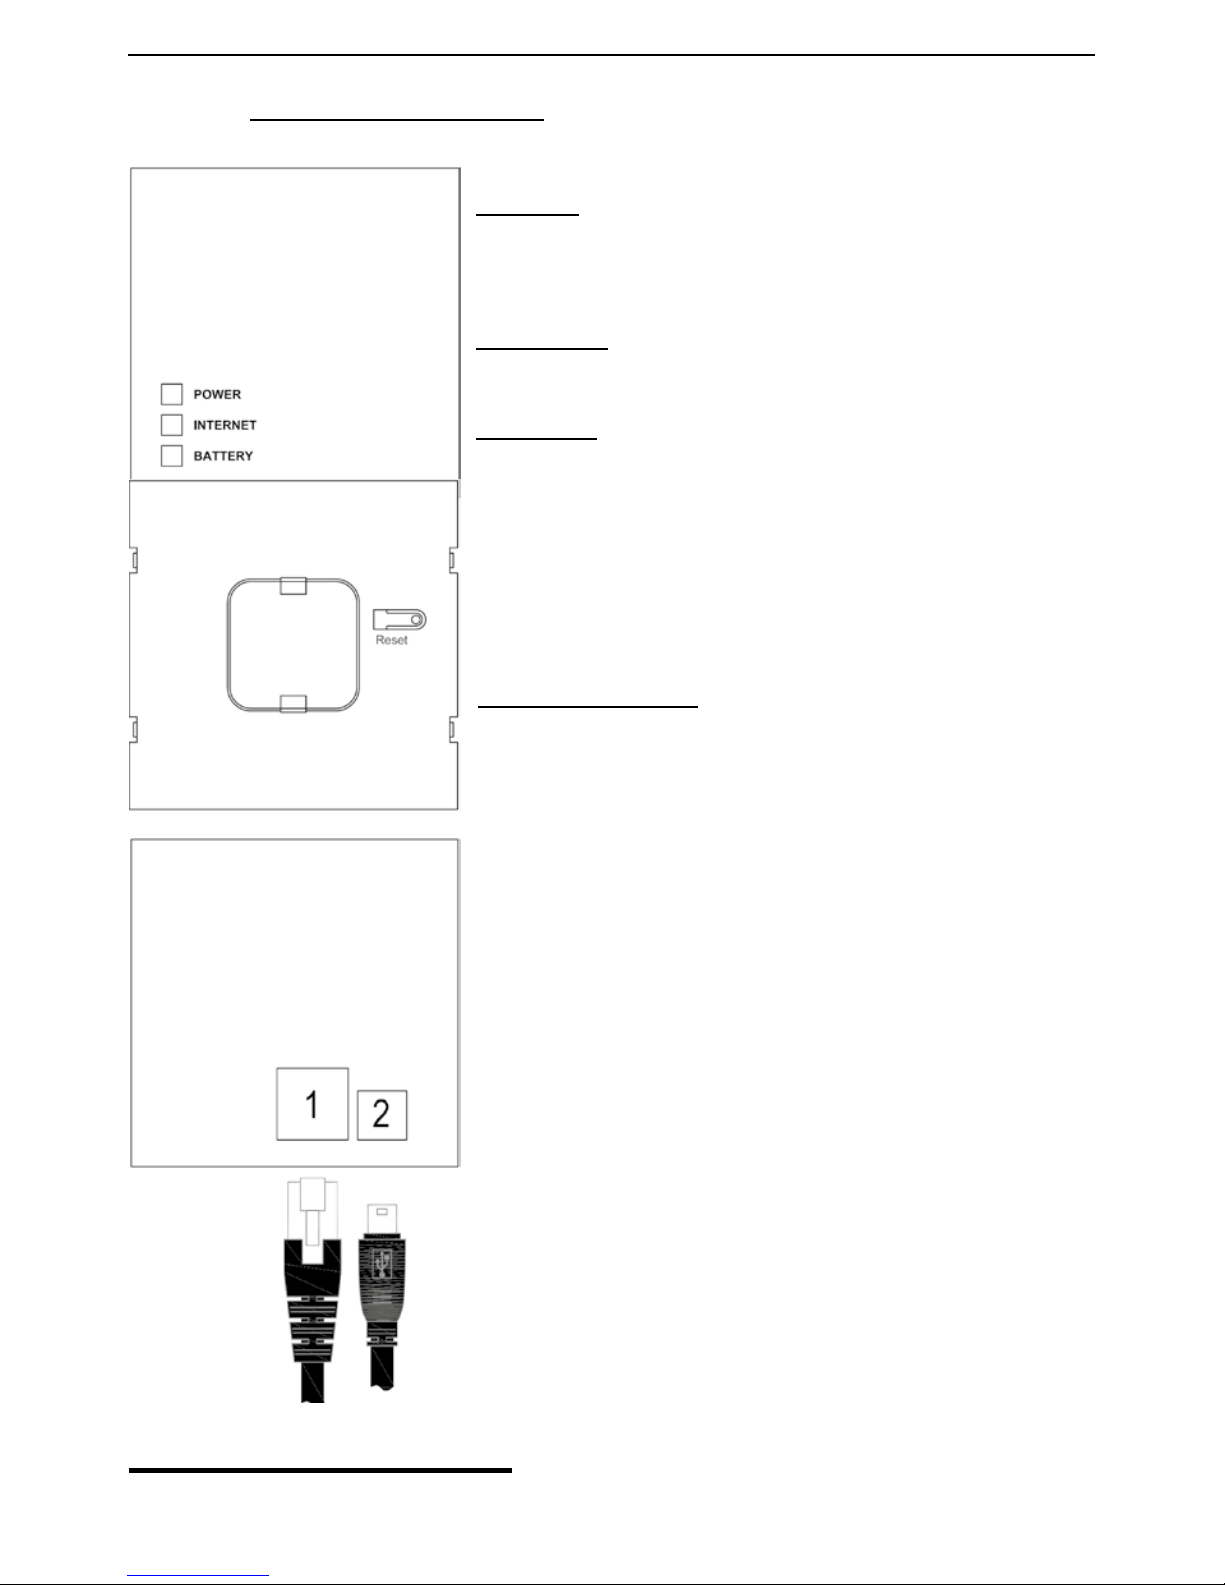
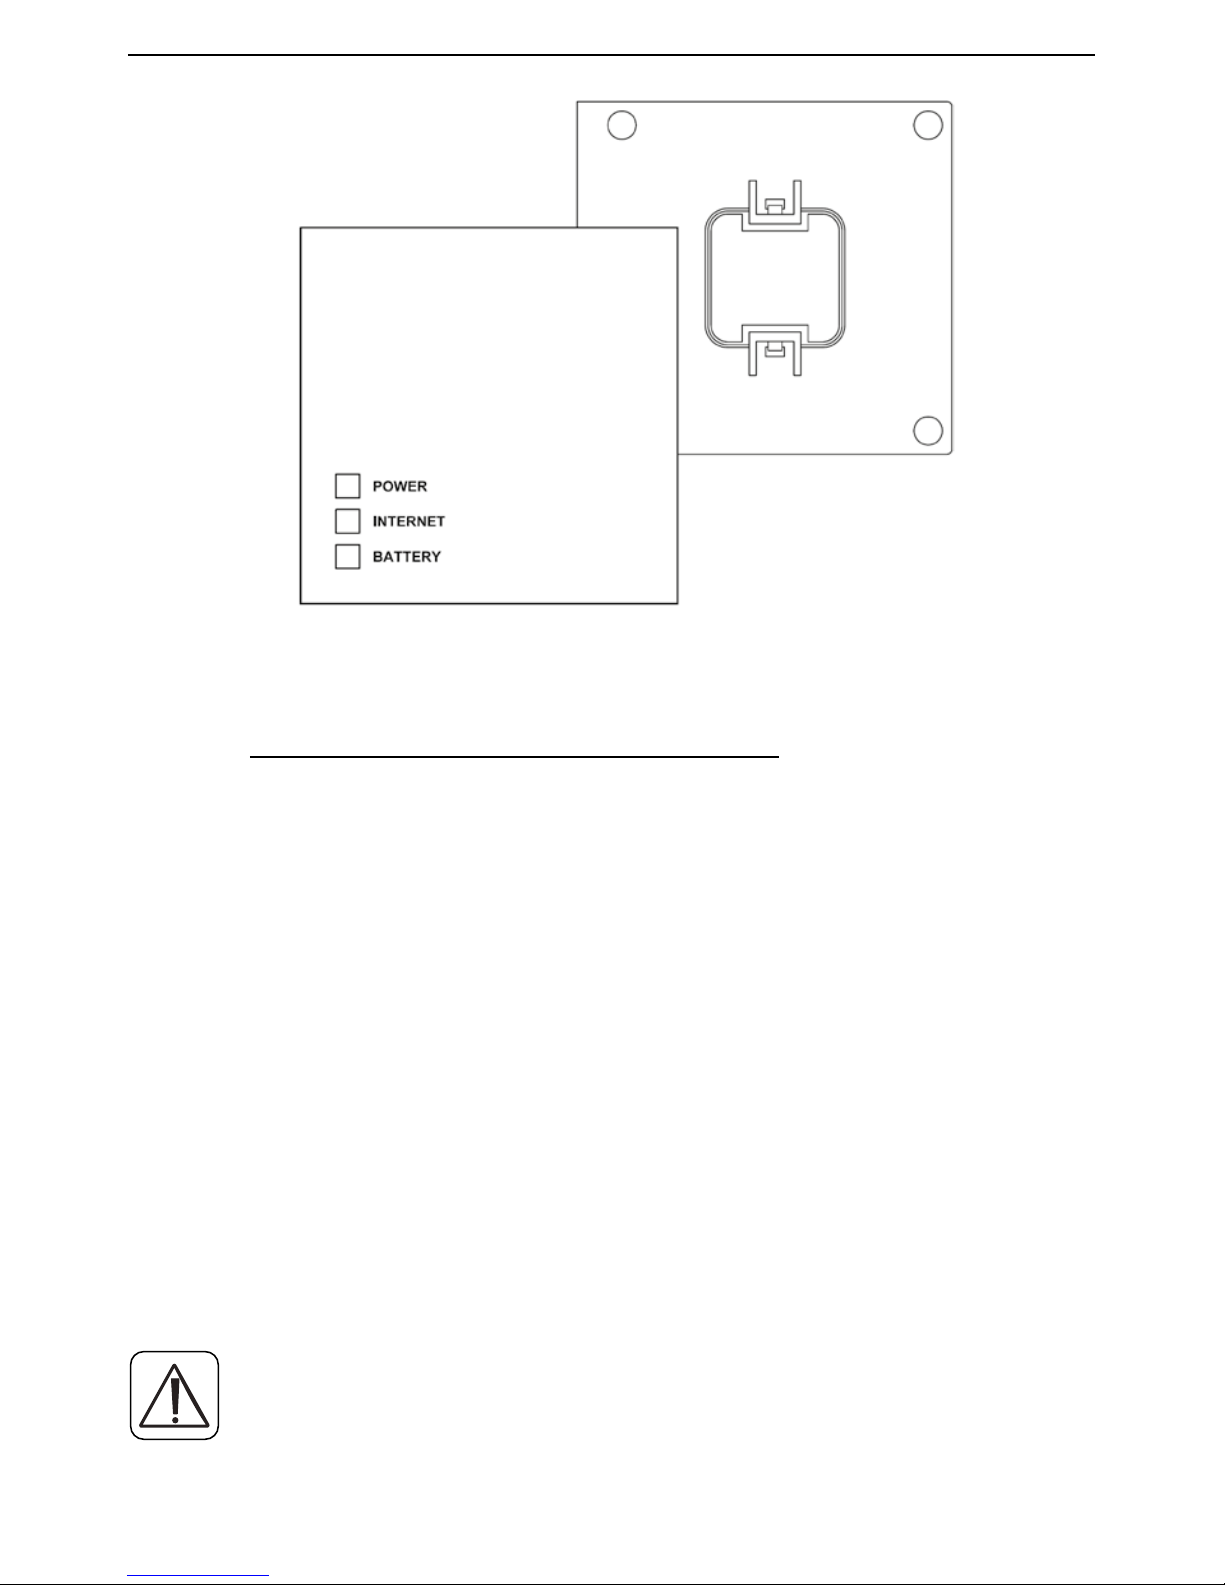
DevIce overvIew
Top:1
Power: The LED indicates whether a
power supply is present and if the de-
vice is ready for operation.
Internet: The LED indicates whether a
connection to the LAN/Internet exists.
Battery: The LED indicates whether a
battery needs to be replaced on a MAX!
component.
Bottom side:
Reset button: For restoring
the factory settings
Side:
1) Network port to connect to a router.
(2) Port for for USB power supply (see
Section 6.1)
1 see sec. 8 "LED flashing sequences and transmission behaviour"
9
Mounting
5
mountIng
The MAX! Cube can be fastened to the wall or be used as
standing unit.
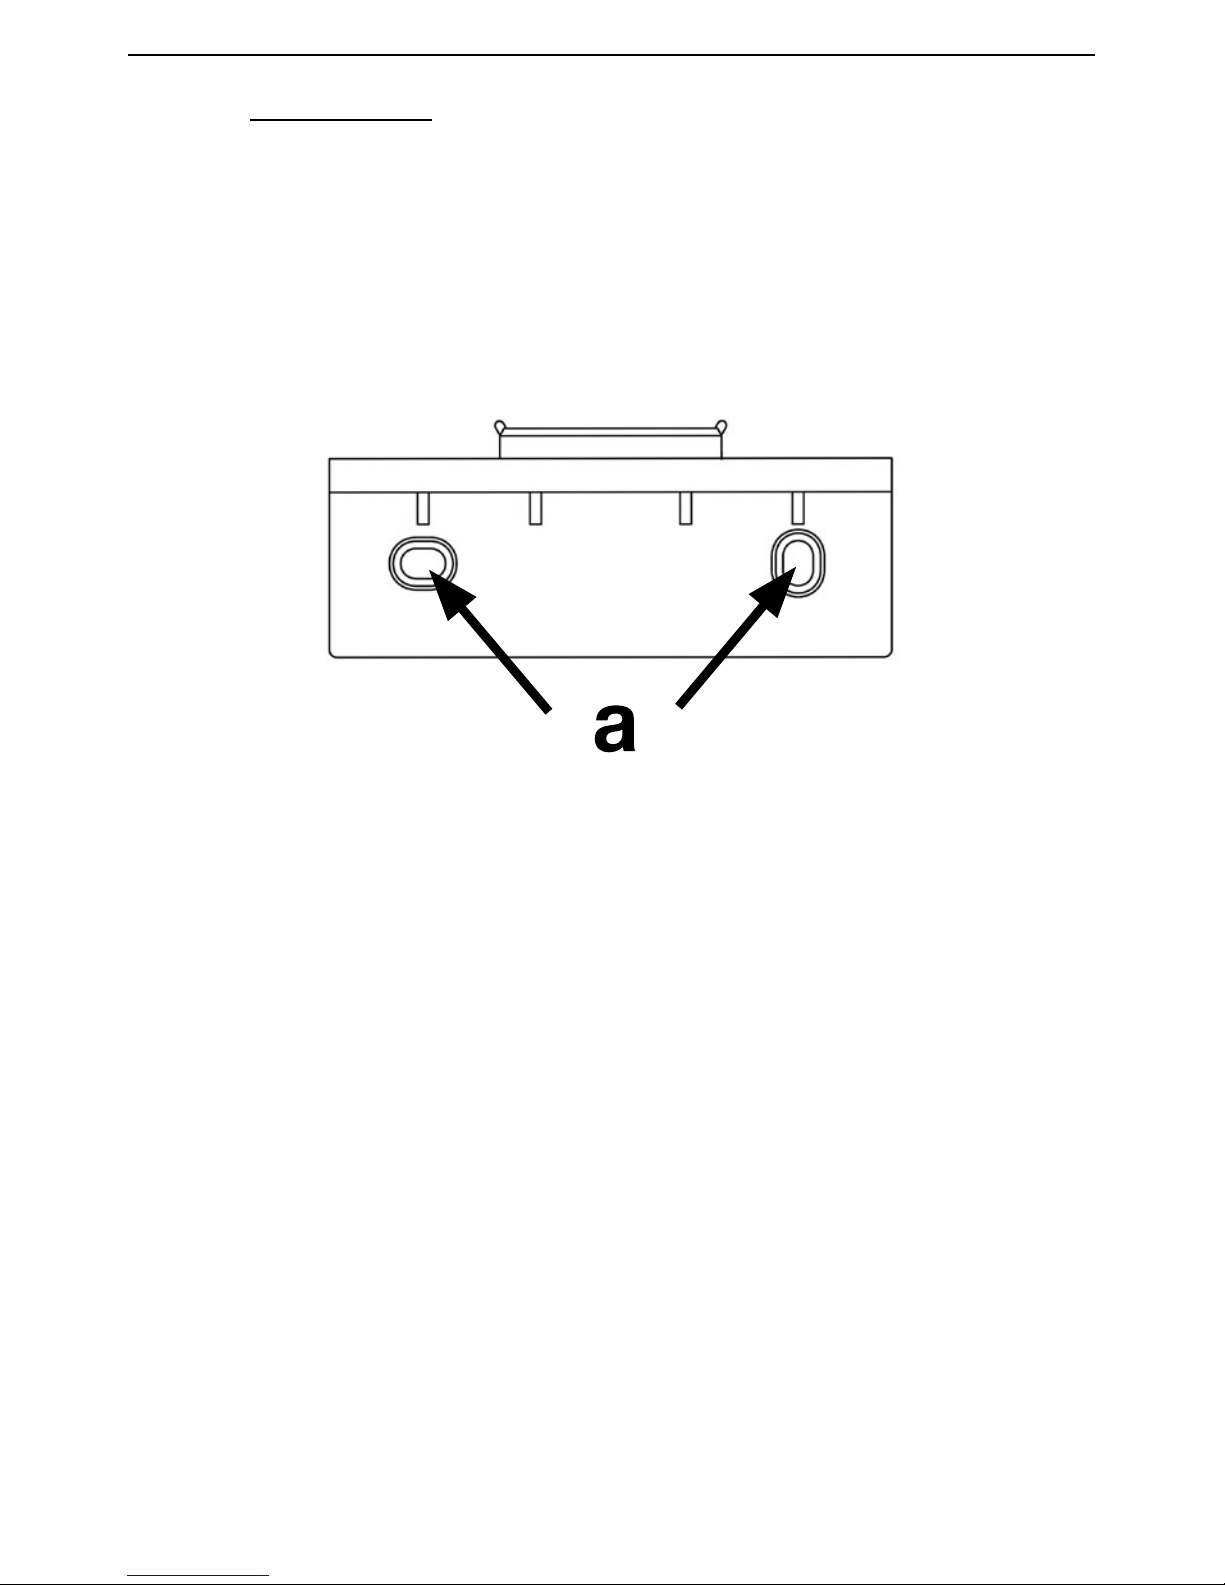
Use the wall bracket if you wish to mount the MAX! Cube
on a wall:
•Use a pen to mark the bore hole positions (a) on the wall.
•Use a drill to make the holes as illustrated (a).
•Use the screws and plugs supplied to fasten the bracket
to the wall.
•Once the wall bracket is in place, the MAX! Cube can be
attached to the wall bracket from above, with the open-
ing pointing down.
10
Setting up the MAX! system
6
settIng up the maX! system
Setting up the MAX! system involves the following steps:
•Connecting the MAX! Cube,
•MAX! Installing the software
•installing and teaching in the MAX! devices,
•setting up Internet control
6.1
connectIng the maX! cube
6.1.1 Connect the MAX! cube to the power supply:
The MAX! Cube draws its power supply from the plug-in main
adapter included in the scope of supply.
To avoid damaging the device, please only use the
original main adapter supplied with the device for the
power supply.
Table of contents
Popular Gateway manuals by other brands

LST
LST M500RFE-AS Specification sheet

Kinnex
Kinnex Media Gateway quick start guide

2N Telekomunikace
2N Telekomunikace 2N StarGate user manual

Mitsubishi Heavy Industries
Mitsubishi Heavy Industries Superlink SC-WBGW256 Original instructions

ZyXEL Communications
ZyXEL Communications ZYWALL2 ET 2WE user guide

Telsey
Telsey CPVA 500 - SIP Technical manual


