increase the ejection amount.
3.Air volume adjustment: turn the air volume knob (5) clockwise to
reduce the air volume, and vice versa to increase the air volume.
4. Cleaning and curing
Note: After use, first close the air valve of the air compressor, cut off
the continuous input of compressed air, and pull the small iron ring
(13) at the front of the red air release valve (or tighten the trigger of
the spray gun to release air) to release the air in the tank before
opening the cover. Pour out the remaining paint, wash with a proper
amount of diluent, or add a proper amount of diluent in the tank,
connect it to the air compressor for spraying and washing. After
cleaning, use a clean soft cloth to wipe and save it for next use.
5. Other
There are 4 pieces of transparent gaskets under the lock switch,
which are only used for transportation anti-collision. Please remove
the gaskets when using.
multicolor paint, texture paint and other materials.
2. Usage method
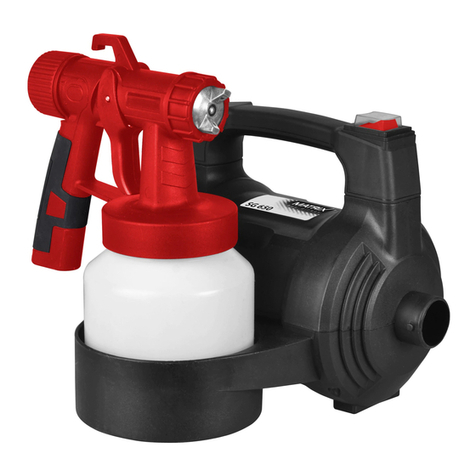
1.Installation: Before use, install the multi-functional spray gun
package according to the diagram, check whether there are loose
parts at each connection point, and tighten it again for
reinforcement.
2.Loading: open the cover (12), prepare the coating with the
corresponding thinner according to the actual situation, filter it
through the filter screen with the corresponding aperture, pour the
coating into the barrel, cover the cover and lock the switch for
standby.
3.Use: interface (8) on the upper end of the pressure gauge, install a
quick connector (11) on either side, and connect an air compressor
with a power of no less than 3000 watts. At this time, the pressure
gauge is in the closed state, gently pull the pressure regulating valve
knob (10) , slowly adjust it clockwise until the air is discharged, and
then adjust the air pressure to the best state (0.5~2.5 bar). After the
adjustment, lock the pressure regulating valve knob.
4. Note: After use, first close the air valve of the air compressor to
cut off the continuous input of compressed air. You must pull the
small iron ring (13) at the front of the red air release valve (or tighten
the trigger of the spray gun to release air) to release the air in the
tank before opening the cover.
3. Adjustment method
1. Atomization adjustment:
(1).Circular atomization: Turn the atomization knob (3) clockwise to
obtain circular cross-section atomization.
(2).Elliptic (sector) atomization: Turn the atomization knob
counterclockwise to obtain elliptical (sector) atomization.
(3).Paint effect of color dots: remove the copper atomizing cap,
install the golden colored cap (2) clockwise, and reduce the air
pressure appropriately according to the actual situation. The color
dots have the best effect.
2.Ejection adjustment: Turn the adjustment knob (4) clockwise to
shorten the needle stroke and reduce the ejection amount;
otherwise, turn it counterclockwise to lengthen the needle stroke and
Installation diagram
10 11
123
5 4
6
7