Majestic TM154 User manual
500-0000051027

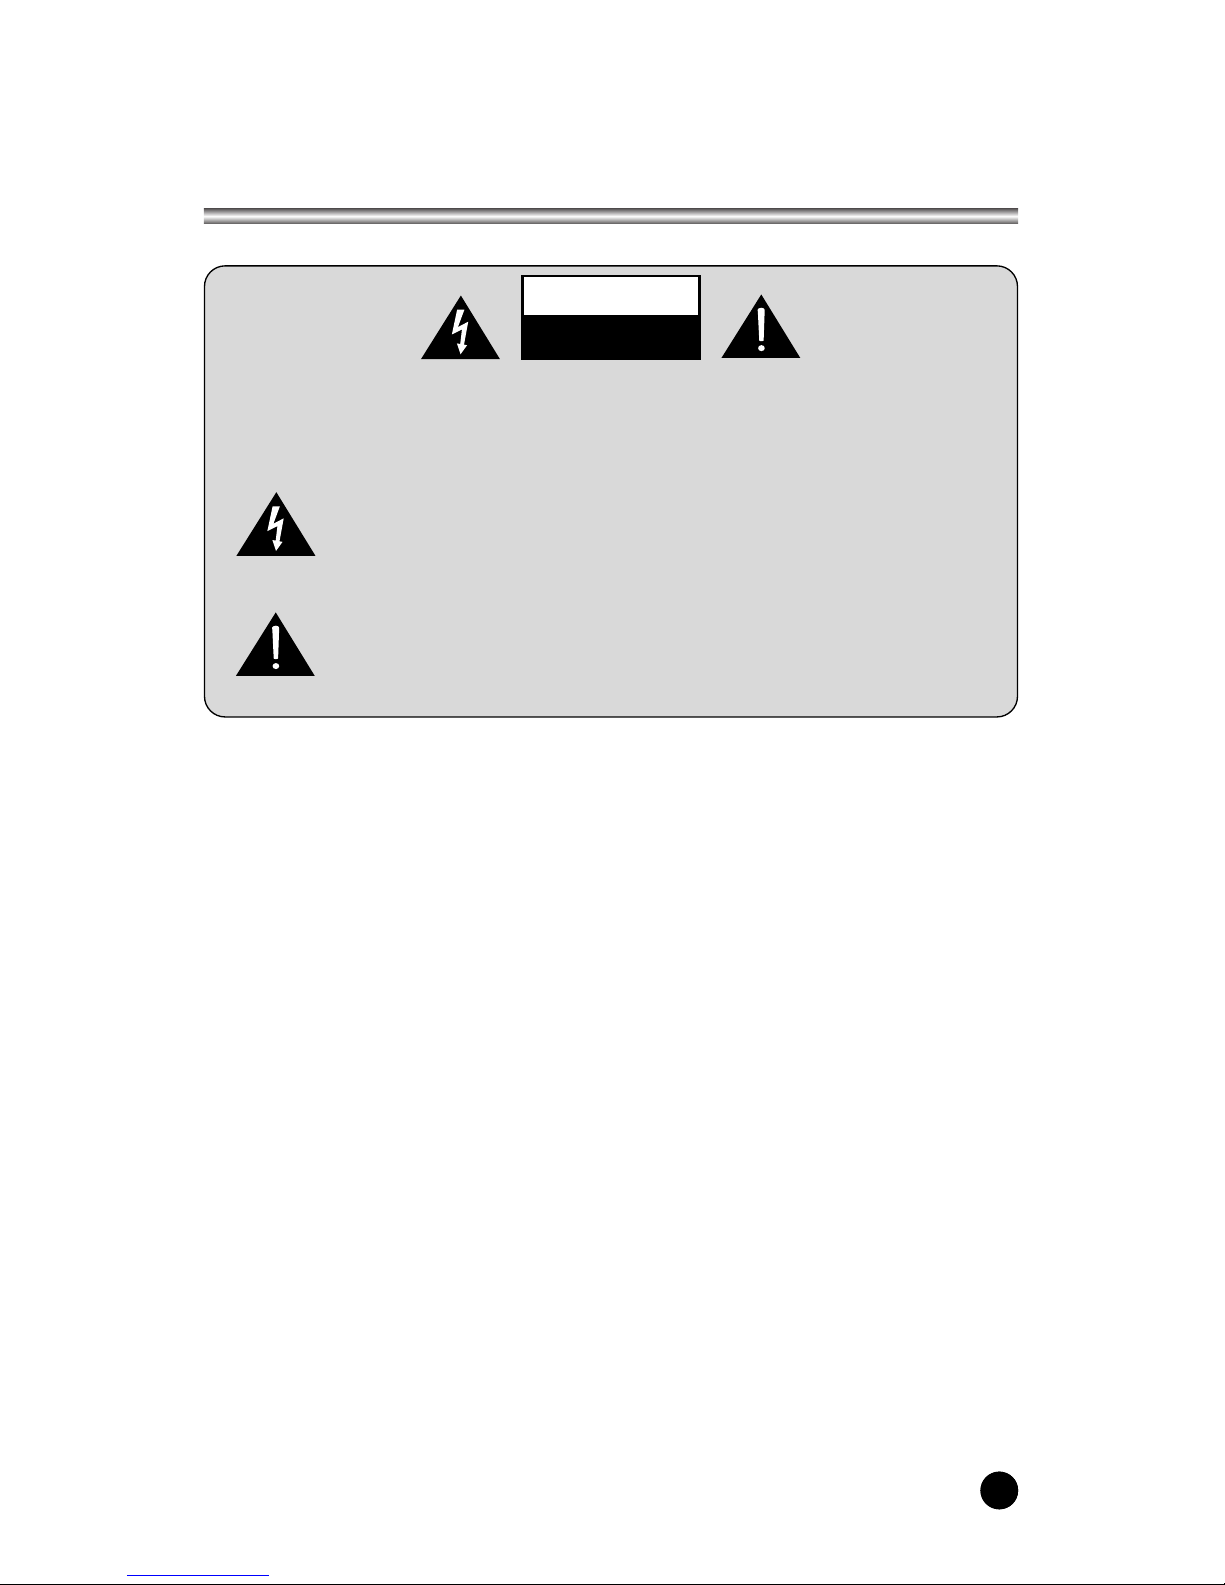
Warnings
WARNING :
To prevent fire or shock hazard, do not expose the set to rain or moisture. Do not rub
or strike the Active Matrix LCD with anything hard as this may scratch, mar, or
damage the Active Matrix LCD permanently.
CAUTION:
Do not attempt to modify this product in any way without written authorization.
Unauthorized modification could void the user’s authority to operate this product.
Power
This set operates on a DC supply provided by the AC-DC adaptor, the voltage is as
indicated on the label on the back cover. Use only the AC-DC adaptor supplied with
the set and never apply an AC mains to the set directly. The AC-DC adaptor operates
on an AC mains supply, the voltage is as indicated on the label of the AC-DC
adaptor.
a. Connect the DC plug of the AC-DC adaptor to the 12V socket of the set.
b. Connect the AC-DC adaptor and its power cord.
c. Connect the power cord to an AC mains.
In the event of thunderstorms or power cuts, please pull out the mains plug of the
AC-DC adaptor and the aerial plug. Do not allow anything to rest upon or roll over the
power cord, and do not place the set where the power cord is subject to damage.
WARNING
RISK OF ELECTRIC SHOCK
DO NOT OPEN
WARNING :
To reduce the risk of electric shock do not remove cover (or back).
No user serviceable parts inside. Refer servicing to qualified service personnel.
The lightning flash with arrowhead symbol, within an equilateral
triangle, is intended to alert the user to the presence of uninsulated
“dangerous voltage” within the product’s enclosure that may be of
sufficient magnitude to constitute a risk of electric shock to persons.
The exclamation point within an equilateral triangle is intended to
alert the user to the presence of important operating and
maintenance (servicing) instructions in the literature accompanying
the appliance.
223

Service
Never remove the back cover of the TV, this can expose you to high voltage and
other hazards. If the TV does not operate properly, unplug it and call your dealer.
Connect the antenna cable to the connection marked Ant. (on the rear). For best
reception, use an outdoor antenna.
Location
Position your TV so that no bright light or sunlight will shine directly on the screen. Do
not expose the TV to vibration, moisture, dust or heat. Also ensure that the TV is
placed in a position that allows a free flow of air. Do not cover the ventilation
openings on the back cover. You can install the TV on a wall or place it on a table-top
or similar flat surface. Mounted the TV securely to eliminate the risk of injury from the
TV falling.
Cleaning
Unplug the TV before cleaning the face of the LCD Screen. Dust the TV by wiping the
screen and cabinet with a soft, clean cloth. If the screen requires additional cleaning,
use a clean, damp cloth. Do not use liquid or aerosol cleaners.
Warnings
4

225
Contents
Warnings 3~4
Contents 5
Supplied Accessories 6
Controls 7~9
Controller of panel 7
Remote controller 8~9
Basic Operation 10
Turning the TV On and Off 10
Programme selection 10
Volume adjustment 10
Q.View 10
Sound mute function 10
On screen Language selection 10
On Screen Menus and Displays 11
Setting up TV Programme 12~14
Auto Programme 12
Manual Programme 13
Programme Edit 14
Picture Control 15
Manual picture control 15
Auto picture control 15
Sound Control 16~17
Other functions 18~19
Clock 18
Blue Back 19
Auto Sleep 19
Childlock 19
Radio 19
Radio Control 20
Teletext 21~22
Text On/Off 21
TOP text 21
FLOF text 21
Special Teletext function 22
External Equipment Connection 23~24
Antenna connection 23
SCART jack 23
A/V Inputs 23
Headphone jack 23
Connecting the PC as a monitor 24~27
Product specification 28
Troubleshooting 29
Before operating the set, please read this manual carefully.
6
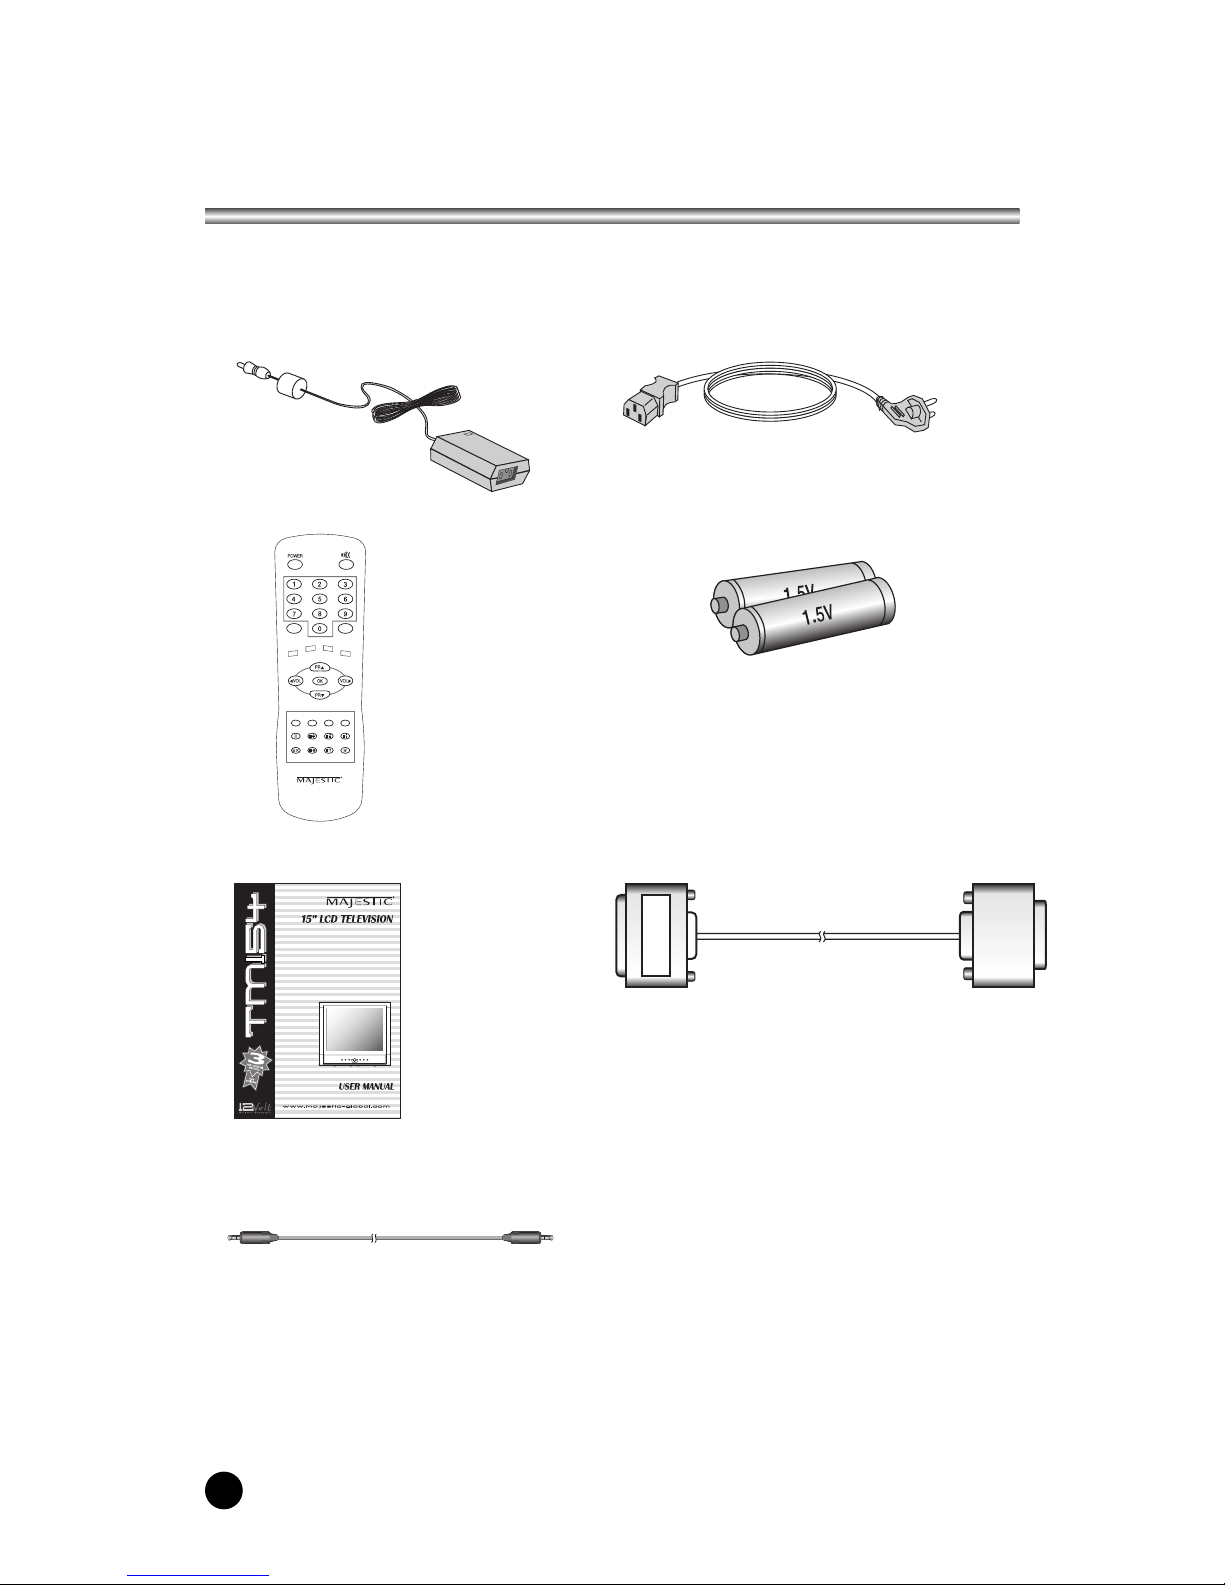
Supplied Accessories
LMake Sure the following accessories are provided with Product.
1. AC/DC adaptor
3. Remote controller
5. Owner’s manual 6. PC IN cable
7. PC Audio IN cable
4. Batteries (type AAA)
2. AC Cord
TV/AV
I/II LIST
SLEEP Q.VIEW
MENU
PC/ *
PSM SSM ARC/ *
REVEAL
TEXT
MIX
SIZE HOLD INDEX
UPDATE TIME
227
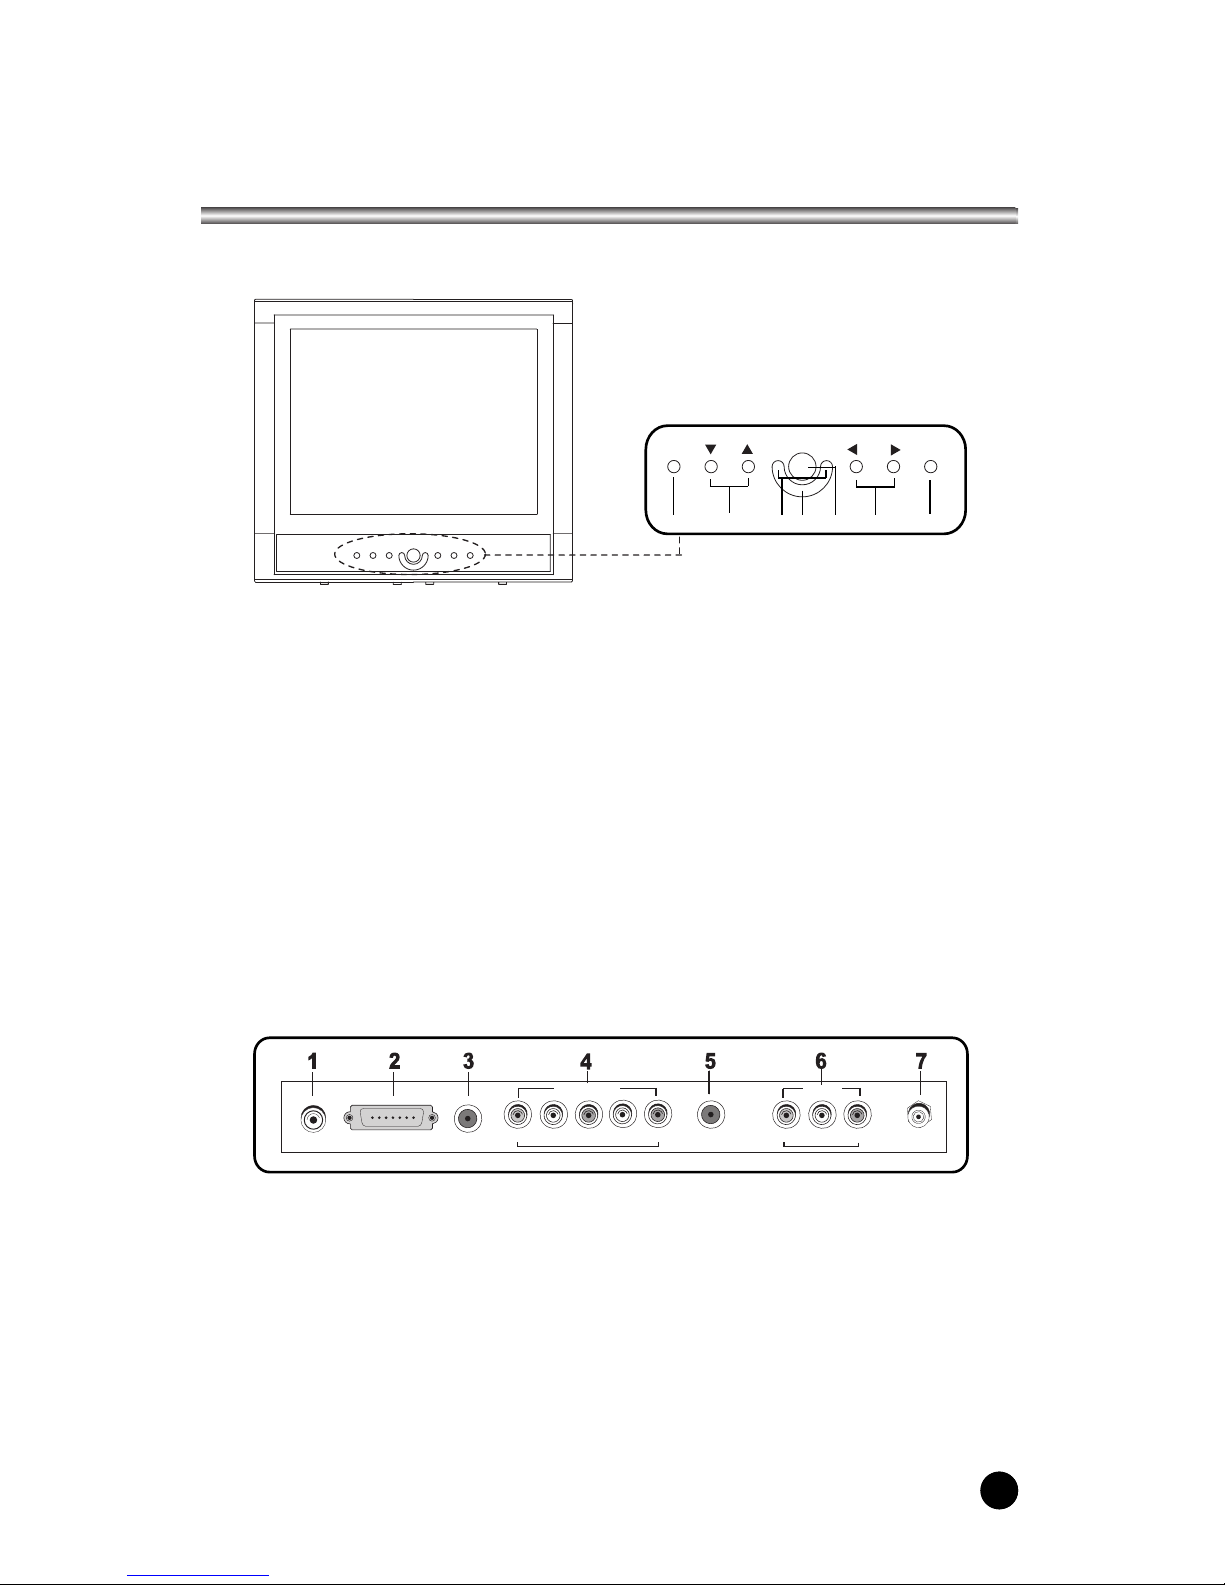
Controls
1. DC12V IN
2. PC ANALOG IN
3. PC AUDIO IN
Connect the audio cable from the PC AUDIO IN of the set.
4. COMPONENT IN
5. HEADPHONE OUT
Connect a headphone to this socket.
6. A/V-IN
Connect the Audio/Video outputs of external equipment to these inputs.
7. ANT. (Antenna input)
DC12V PC-ANALOG PC-AUDIO IN
COMPONENT
YPb(Cb) Pr(Cr) L(MONO) RH/P
A/V IN
VIDEO L(MONO) R ANT
Front Panel
Rear Panel
1. MENU
Displays a menu.
2. + PR - (Programme Up/Down)
Selects a programme or a menu item.
3. Power Indicator
Illuminates in red when the TV is in standby mode./ Illuminates in green when the
TV is switched on. Illuminates in blinked when the power save mode(only PC mode).
4. Remote control sensor
Accepts the IR signal of remote controller.
5. ON/OFF
Switches TV set on or off.
6. + VOL - (Volume Up/Down)
Adjusts the volume./ Adjusts menu settings.
7. TV/AV
Selects TV, COMPONENT, VIDEO, RADIO(Only when the set is Radio On.) or PC mode.
Clears the menu from the screen.
MENU PR VOL TV/AV
123457
6

22
Controls
All the functions can be controlled with the remote controller. Some functions can
also be adjusted with the buttons on the side panel of the set.
Remote controller
Before you use the remote controller, please install the batteries.
1. POWER
Turns the TV on from standby or off to standby mode.
2. MUTE
Turns the sound on and off.
3. NUMBER buttons
Selects programme numbers.
4. TV/AV
Selects TV, COMPONENT, VIDEO,
RADIO(Only when the set is Radio On.) or PC mode.
Clears the menu from the screen.
5. MENU
Displays a main menu.
6. LIST
Displays the programme list menu.
7. I/II
Selects the language during dual language broadcast.
Selects the sound output.
8. SLEEP
Sets the sleep timer.
9. Q.VIEW
Returns to the previously viewed programme.
10. PRxy (Programme Up/Down)
Selects next programme or a menu item.
11. OK
Accepts your selection or displays the current mode.
1
3
5
7
8
2
4
6
9
TV/AV
I/II LIST
SLEEP Q.VIEW
MENU
PC/ *
PSM SSM ARC/ *
REVEAL
TEXT
MIX
SIZE HOLD INDEX
UPDATE TIME
228
229
Controls
→→
Battery installation
uInserting batteries
1. Remove the battery cover by pulling it upward
in the direction shown by the arrow.
2. Insert the batteries with correct polarity ( "+" to "+",
and "-" to "-" ).
3. Replace the battery compartment cover.
* Install two high-quality 1.5V "AAA" alkaline batteries. Don't mix old batteries with
new batteries.
*Remove batteries when you won't use the remote controller for long time. Liquid
leakage from old batteries may cause operation failure.
uNotes for using remote controller
• Make sure there are no objects between the remote controller and its sensor.
• Don't place the remote control near a heater or in damp place. Strong impact to the
remote control may cause operation failure.
• Signal from the remote control may be disturbed by sun light or other bright light. In
this case, darken the room or move the TV.
12. VOLÏq (Volume Up/Down)
Adjusts the sound level. Adjusts menu settings.
13. PC/*
Selects the PC mode.
14. PSM (Picture Status Memory)
Recalls your preferred picture setting
15. SSM (Sound Status Memory)
Recalls your preferred sound setting
16. TELETEXT button
These buttons are used for Teletext.
For further details, see the ‘Teletext’ section.
16
15
13
TV/AV
I/II LIST
SLEEP Q.VIEW
MENU
PC/ *
PSM SSM
REVEAL
TEXT
MIX
SIZE HOLD INDEX
UPDATE TIME
ARC/ *
Table of contents
Other Majestic LCD TV manuals


