Linnenberg Telemann User manual

Owner’s Manual
T E L E M A N N

2
Introduction
TELEMANN realizes a high performance audio
source without drawbacks. The playback of
audio files at D quality (1411 kbps) is absolutely
comparable, if not better than the reproduction
of a pure high class D-player. The result you
get from the TELEMANN depends strongly on the
resolution of the audio file you play and on the
correct settings of your computer or streamer
running the audio software.
Thank you for
purchasing
the
TELEMANN !

3
In contrast to a red book D-player, a computer
in conjunction with TELEMANN’s USB input can
play files with extremely high resolution and with
different formats like WAV, FLA or DFF (DSD
bitstream). Such music files can be downloaded
on specialist internet shops like 2L.no,
HDtracks.com or highresaudio.com to name but
a few. The choice of music and the number of
albums available is clearly limited today, but
new releases show up every day. The big
advantage here is that you are not bound to a
certain format like SA D or DVD-Audio.
omputer audio is future proof.
The second essential digital audio format is
S/PDIF ( oax 1, 2, AES/EBU and optical). The
TELEMANN supports sample rates up to 192kHz
and bit depths up to 24bit.
Furthermore, you can optionally use the cinch
output pair as analog input by altering two
internal jumpers. By abandoning the
unsymmetrical output, you now get a full
working preamplifier for use with a phono stage
for instance.
4
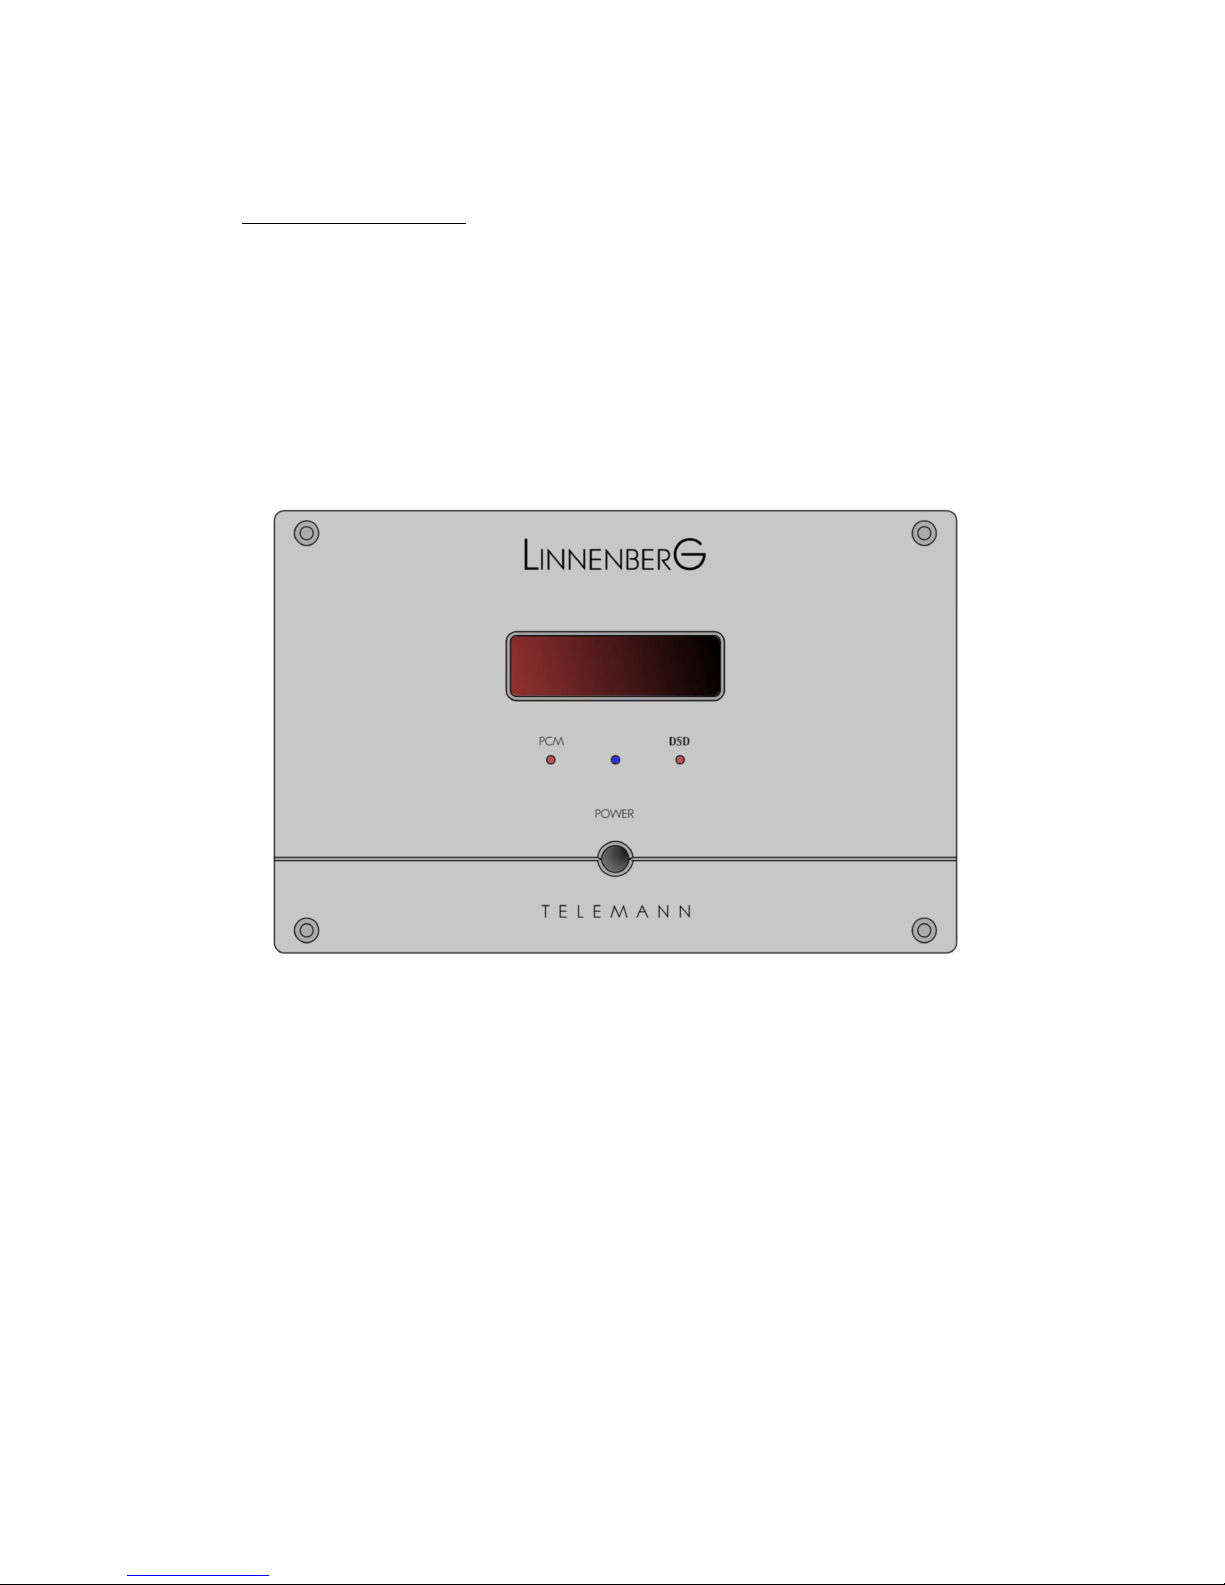
ontrols – front
(Figure 1)

5
onnections - rear
(Figure 2)
Default: cinch
output pair;
optionally
useable as
analog input !

6
Basic operation
Room temperatures over 30 degrees elsius
and / or extreme humidity should be
avoided. Keep away from heat sources like
radiators, heating, ovens or similar
appliances dissipating heat. It is important to
maintain an adequate supply of airflow to
prevent overheating.
!
Place the unit on a solid, flat level surface such
as a shelf where it is convenient to operate.
Before connecting the TELEMANN to your
mains the first time, check if the indicated
mains voltage is in accordance with your
home supply. Never plug an 115V version in
a 230V mains socket or serious damage will
occur.
!

7
There is no need to operate the mains ON / OFF
switch on the back side of the TELEMANN since
the standby power consumption is less than
0,5W. As it is common practice, disconnect
TELEMANN from the mains during a
thunderstorm or when going on vacation.
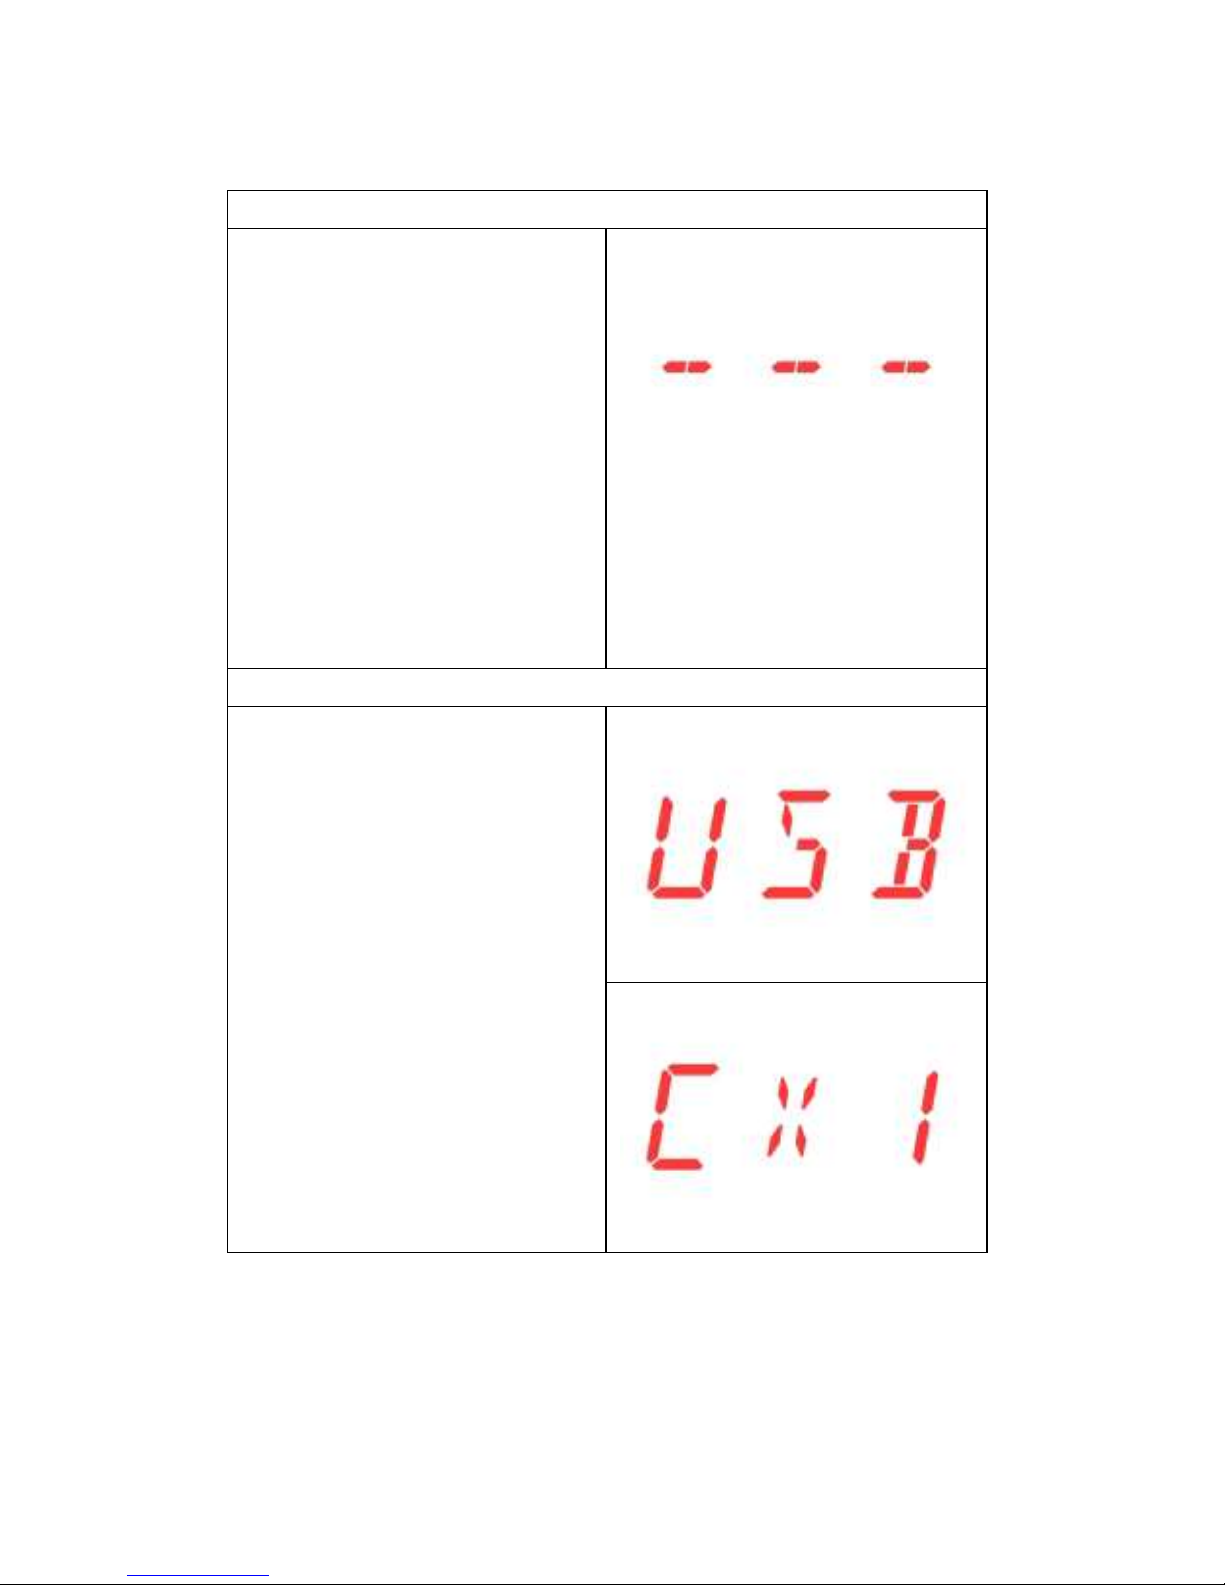
Once the power cord is connected, the blue LED
should light up when the power switch and
subsequently the front panel push button are
operated. The red display shows “TELEMANN” in
form of a ticker. Turn off the unit by pushing the
front button again and do the signal
connections according to figure 2. If everything is
connected, turn on and have fun!
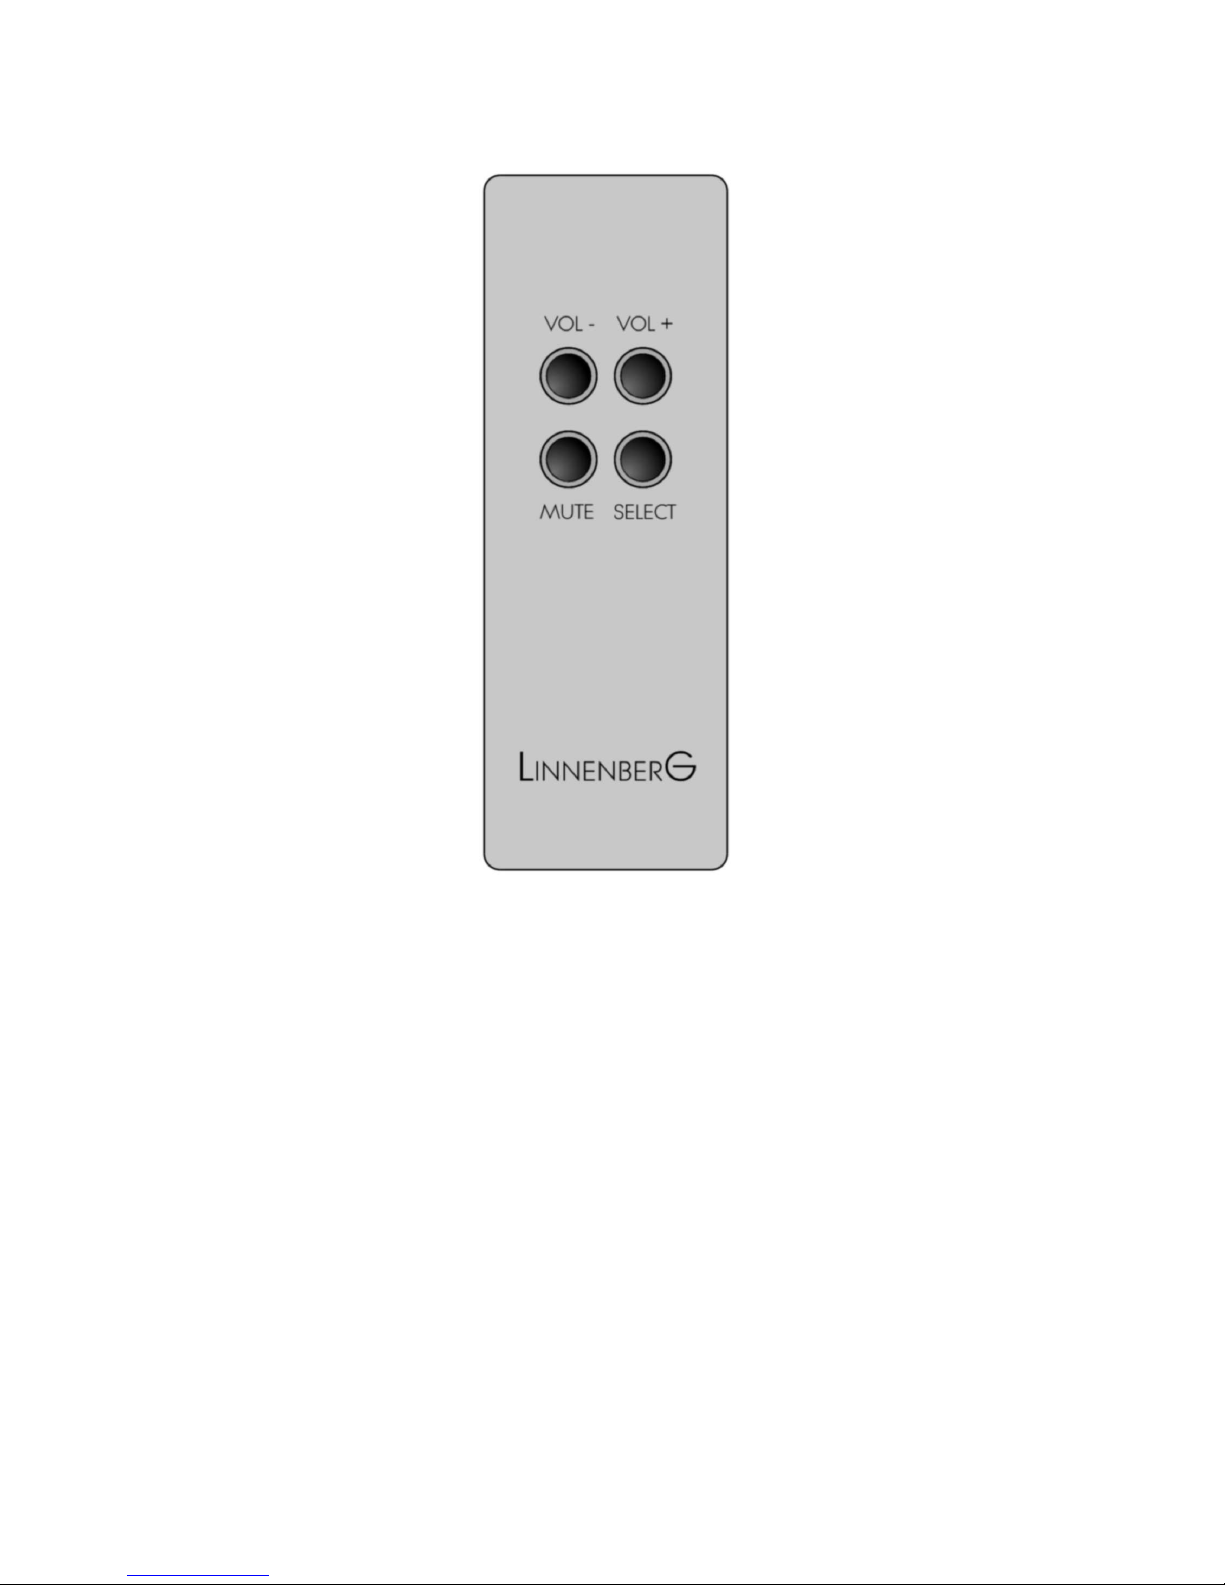
Remote control operation
To enhance the versatility of the TELEMANN as
an analog / digital preamp, all functions are
remote controllable. The unit responds to the
remote provided with the unit. Should you
experience the fail of an action subsequent to a
button pressing, please press the button again.
Flat batteries, too long distance / angle or an
obstructed light path may be the reason.
8
(Figure 3)
Besides controlling the volume, the remote
enables the user to mute the output, select the
input source and choose the digital filter mode
for P M input sources.
9
Mute
Pressing the <Mute>
button on the remote
mutes the output.
Releasing the mute
action is either by
pressing <Mute> again
or by pressing the
volume buttons.
Please note: the mute
function is not
available for the
analog source.
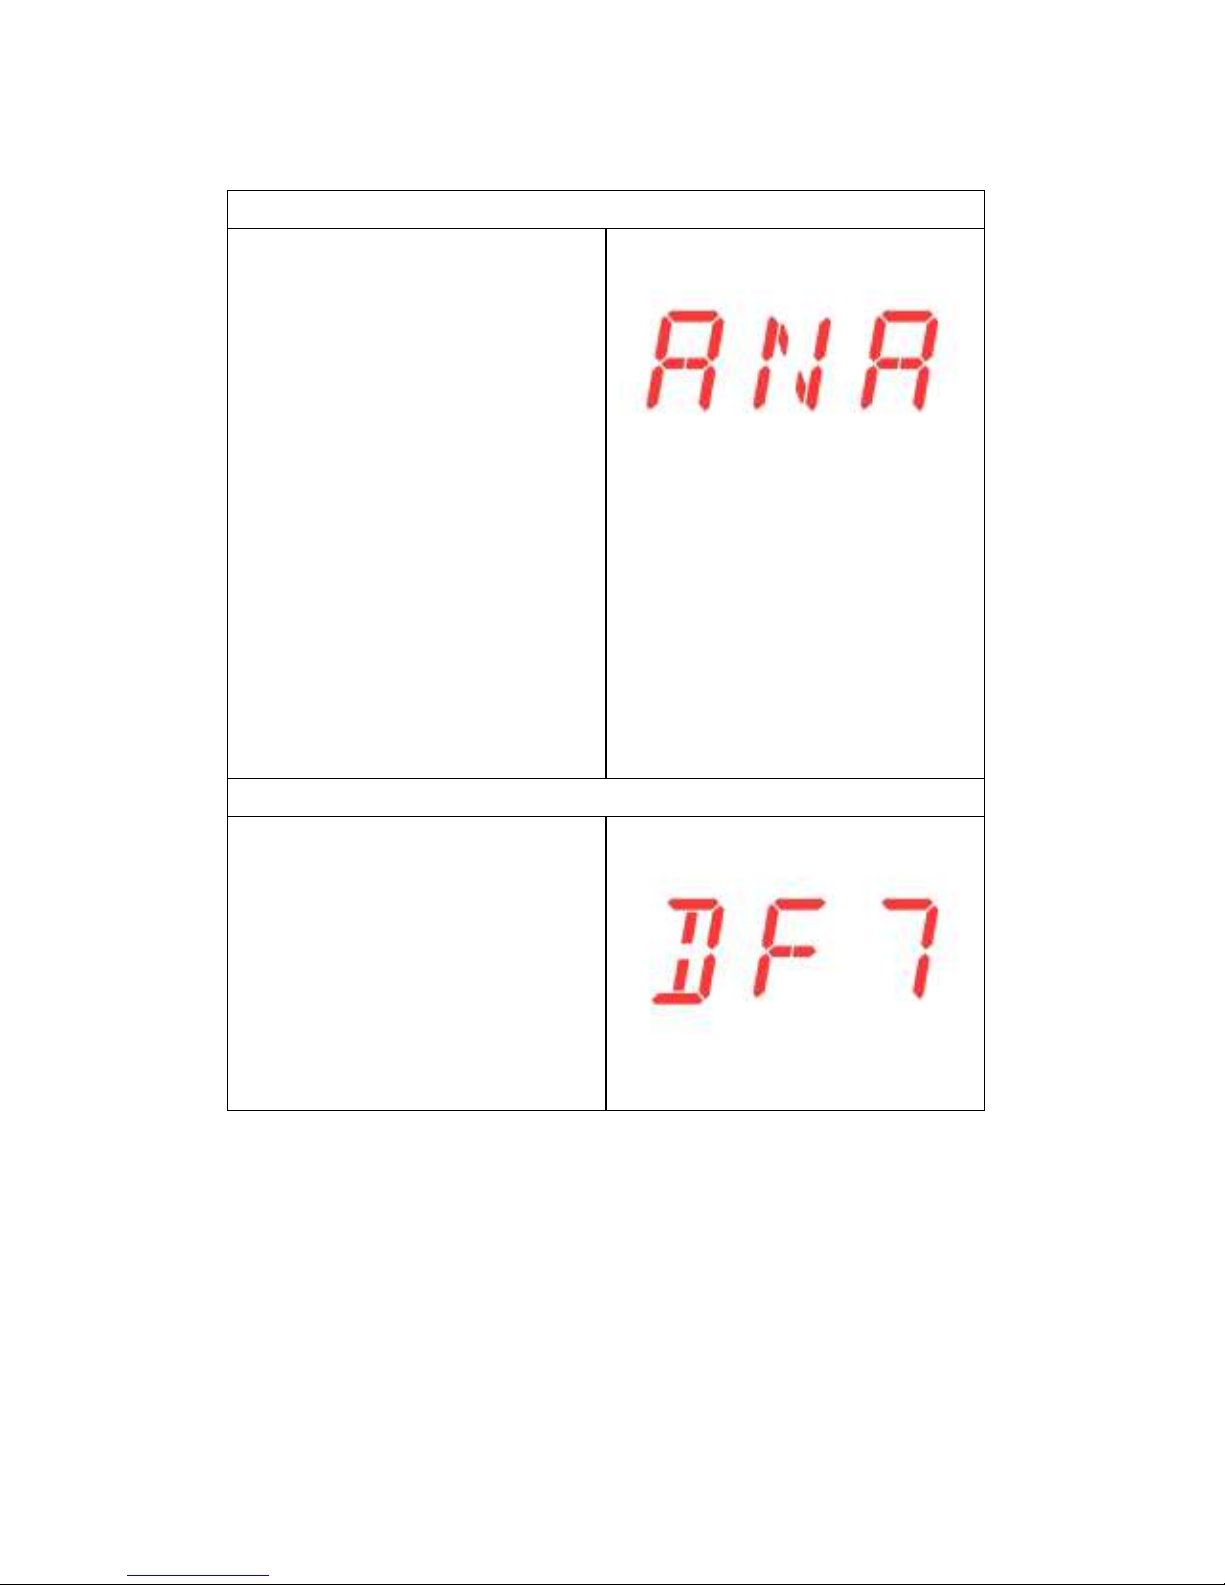
Select
Pressing the <Select>
button subsequently
changes the input
source of the
TELEMANN. Inputs USB,
AES (symmetric digital
input), oax1, oax2,
optical (Toslink) and
the analog input
option are selectable.
10
Select (cont.)
The output cinch pair
on the rear of
TELEMANN can be
used as an
unsymmetrical analog
input when the
relevant jumpers
inside the TELEMANN
have been changed
from outputs (default
factory setting) to
inputs. Please note: the
mute function is not
available for the
analog source.
Mute + Select
Pressing <Mute> first to
enter the mute mode
and thereafter <Select>
lets you change the
filter setting of digital
filter. 7 options are
available through DF1
to DF7
Table of contents


