
KT&C 550TVL User manual
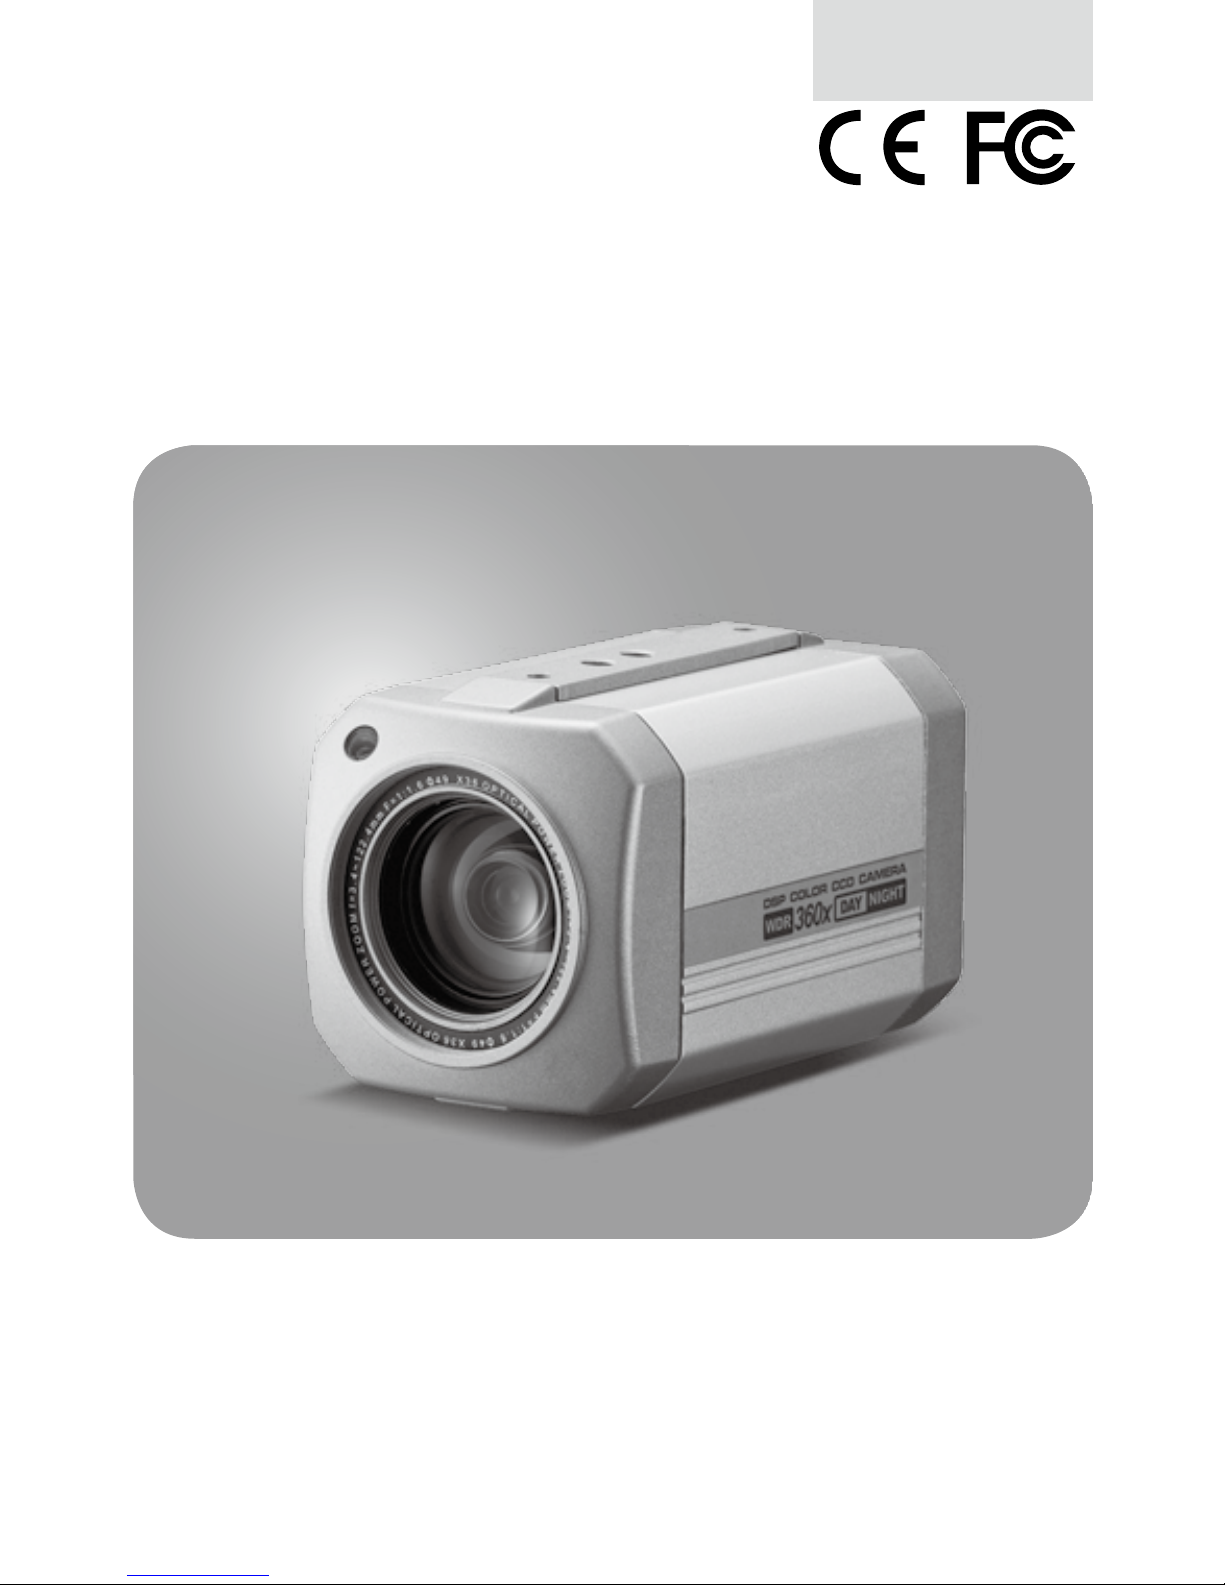
M064-ZA360-001
Before installing and using the
camera, please read this manual
carefully. Be sure to keep it handy for
later reference.
About this manual
OPERATION MANUAL
3 6 0 X AU TO F O C U S
ZOOM COLOUR CAMERA

CONTENTS
1. Cautions
2. Precautions
3. Features
4. Components and Accessories
• Package
•Tripod Mounting
5. Dimensions
6. Overview
•Rear View
7. Installation
• Connecting to Monitor
• Connecting to Power
• Connecting to Connection
8. Operating Camera
• OSD Menu Configuration
• On Screen Display(OSD)
• Menu Setup
- LENS
- EXPOSURE
- WHITE BALANCE
- WDR(*)/BLC
- DAY & NIGHT
- IMAGE
- SPECIAL
_ TIT LE
_ PRI VAC Y
_ DIS PLA Y
_ MOT ION D ETE CT
9. Communication Protocol
10. Specifications
3
(*) CAUTION : The WDR is an Optional function

1.Cautions
INFORMATION
This equipment has been tested and found to comply with limits for a Class
B digital device, pursuant to part 15 of the FCC Rules. These limits are
designed to provide reasonable protection against harmful interference when
the equipment is operated in a commercial environment. This equipment
generates, uses, and can radiate radio frequency energy and, if not installed
and used in accordance with the instruction manual, may cause harmful
interference to radio communications.
Operation of this equipment in a residential area is likely to cause harmful
interference in which case the user will be required to correct the interference
at their own expense.
WARNING
Any Changes or modications in construction of this devices which are
not expressly approved by the party responsible for compliance could
void the authority to operate the equipment.
CAUTION : To prevent electric shock and risk of re hazards:
- Do NOT use power sources except for that specied.
- Do NOT expose this appliance to rain or moisture.
4

Correct Disposal of This Product
(Waste Electrical & Electronic Equipment)
(Applicable in the European Union and other European countries with
separate collection systems)
This marking shown on the product or its literature, indicate that it should not
be disposed with other household wastes at the end of its working life. To
prevent possible harm to the environment or human health from uncontrolled
waste disposal, please separate this from other types of wastes and recycle it
responsibly to promote the sustainable reuse of material resources.
This product should not be mixed with other commercial wastes purchased this
product, or their local government ofce, for details of where and how they can
take item for environmentally safe recycling.
Business users should contact their supplier and check the terms and
conditions of the purchase contract.
Household users should contact either the retailer where they for disposal.
1. A regulated DC12V 500mA power supply is recommended for use with this camera
for the best picture and the most stable operation.
An unregulated power supply can cause damage to the camera.
When unregulated power supply is applied, product warranty will be
out of subject.
2. It is recommended that the camera is used with a monitor that has a CCTV quality
75 video impedance level.
If your monitor is switched to high impedance then please adjust accordingly.
3. Do not attempt to disassemble the camera to gain access to the internal
components. Refer servicing to your dealer.
4. Never face the camera towards the sun or any bright or reective light, which may
cause smear on the picture and possible damage to the CCD.
5. Do not remove the serial sticker for the warranty service.
NOTE
1.Cautions
5

CAUTIONS
1
2.Precautions
• Exposure to a spotlight or an object emitting strong light may cause smear or
blooming.
• Ensure that the power source complies with normal specications before supplying it
to the camera.
NOTE
6 7
Do not operate under extreme temperature conditions.
Using the camera in temperatures exceeding 50˚C or below -10˚C may
lower image quality or cause the camera to malfunction.
Do not operate in high humidity environments.
Using the camera in places with high humidity may lessen picture quality
because of moisture on the lens.
Do not operate under unsteady lighting.
The camera will not work properly in places with great changes in
illumination intensity, such as uorescent lamps.
Do not attempt to disassemble the camera.
Do not drop the camera or subject it to physical shock.
It may damage the camera if dropped or subjected to strong impact.
Do not exposed to an intense light source such as direct sunlight
It may damage the CCD.
Do not exposed the camera to rain or other types of liquids.
It may damage the camera.
Do not exposed the camera to radioactivity.
It may damage the CCD.

1/4” Sony Double Scan Exview HAD CCD
1/4” Sony Double Scan EXview HAD CCD with 380,000(NTSC) or
440,000(PAL) effective pixels, delivers an excellent signal-to-noise ratio,
exceptional low-light performance, enhanced FOV, and high image quality.
The minimum illumination required is 0.1 Lux(Night Mode, DSS OFF)
36x Optical Zoom
The Built-in 36x Optical zoom lens is a highly durable component. It features
Auto Focus, Auto Iris and Zoom functions.
SS-3 DSP Chip
SS-3 features a powerful SONY's DSP that can efciently remove image
noise, producing crisp and clear images even under low lighting conditions.
High Resolution
Featuring 550TV lines horizontal resolution in color mode and 570TV lines
horizontal resolution in BW mode.
Day & Night
The camera automatically determines whether it is night time or day time,
selecting operating mode automatically. The camera operates in color mode
during day light conditions and BW mode in night conditions for clearer
identication.
Privacy Masking
Privacy Zone masking protects private objects and areas. The camera sets
up to 15 places per screen simultaneously.
Multi-Protocol
Adopts various communications protocol, such as VISCA(SONY), LG, Pelco-
D/P compatible. It enables the camera to be compatible with other equipment.
3.Features
6 7

FEATURES
2
CAUTIONS
1
4.
Components and Accessories
Package
8 9
Operation Manual 36x Zoom Camera
Operation
Manual
Tripod Mounting
Tripod Mounting bracket is assembled
to the top and buttom of the camera.
Tripod Mounting Hole
Install the camera on an optional tripod.
The tripod must be equipped with screws with
specications shown on the right.

8 9
5.
Dimensions

6.
Overview
10 11
Key Buttons
• Following buttons control zoom, focus, and auto focus functions.
W(WIDE) button : To widen the view. (ZOOM OUT)
T(TELE) button : To close in on a far object. (ZOOM IN)
N(NEAR) button : To see a near object clearly.
F(FAR) button : To see a far object clearly.
• Pressing the M(MENU) button prompts the main setup menu.
• Setup menu can be navigated using these buttons.
MENU(M) button : To access the main setup menu.
UP(T) button : To move the arrow indicator to up.
DOWN(W) button : To move the arrow indicator to down.
LEFT(N) button : To change date to down.
RIGHT(F) button : To change date to up.
Control Interface
• Used to connect the remote control equipment.
Includes the RS-485 communication pin.
Zoom and focus functions can be controlled by using external signals.
Power LED
• Illuminates when power is supplied.
Video Output Jack
• Used to connect an external video monitor in jack.
Power Input Terminal
• Power supply terminal(DC12V± 10%)
Video Out Jack
Power LED
Power Input
Terminal
Control
Interface
Key Buttons
Rear View

7.Installation
Connecting to Monitor
• Connect Video Out Jack to the monitor's Video In Jack as shown below.
• Connection methods may vary depending on the video equipment. Please refer to
the model specic instruction manual.
• Connect cables with the unit powered down.
Set the 75Ω / Hi - Z selection switch as shown below if you have an intermediate
device.
10 11
CAMERA
INTERMEDIATE END MONITOR
VIDEO VIDEO
This manual suits for next models
1
Table of contents
Other KT&C Camcorder manuals


Popular Camcorder manuals by other brands


Panasonic
Panasonic AG-HMC152EN operating instructions

Insignia
Insignia NS-DCC5HB09 - Camcorder - 720p user guide

MYDLINK
MYDLINK DCS-6100LH Quick installation guide

Sony
Sony video Hi8 Handycam CCD-TR555 operating instructions

SECURECOM
SECURECOM V-5014B installation guide

Panasonic
Panasonic HDC-SD100 operating instructions


