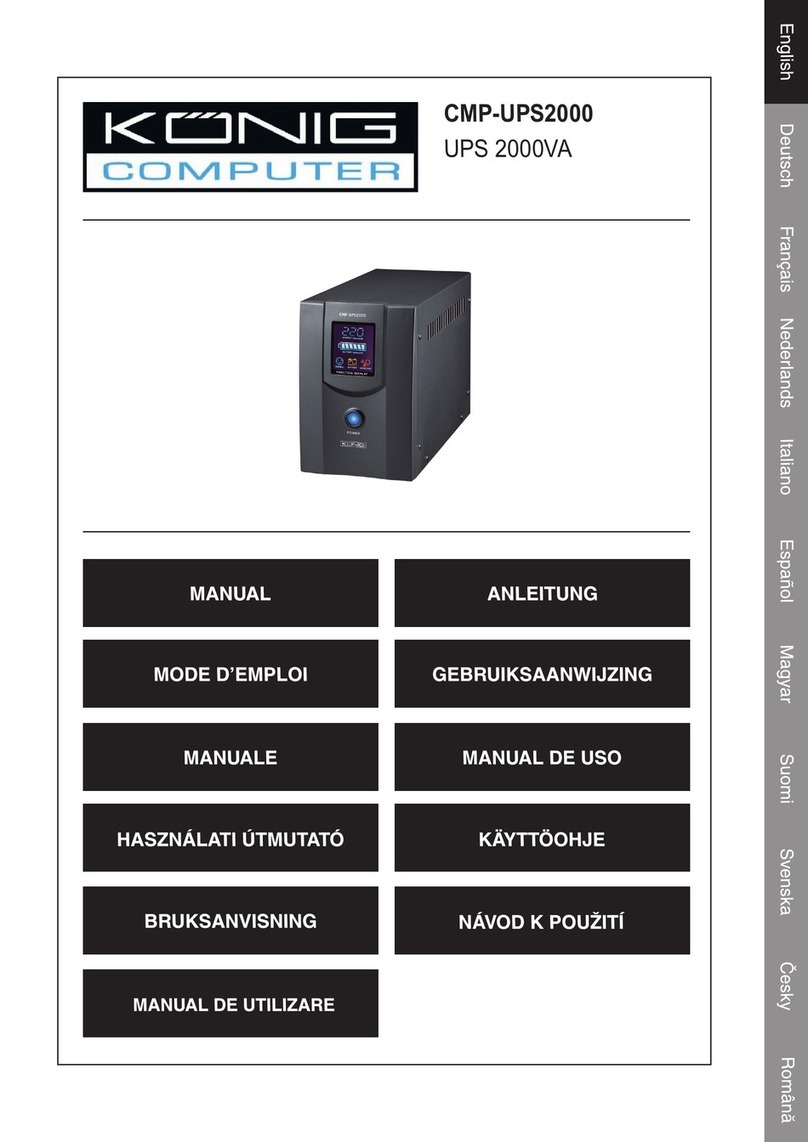
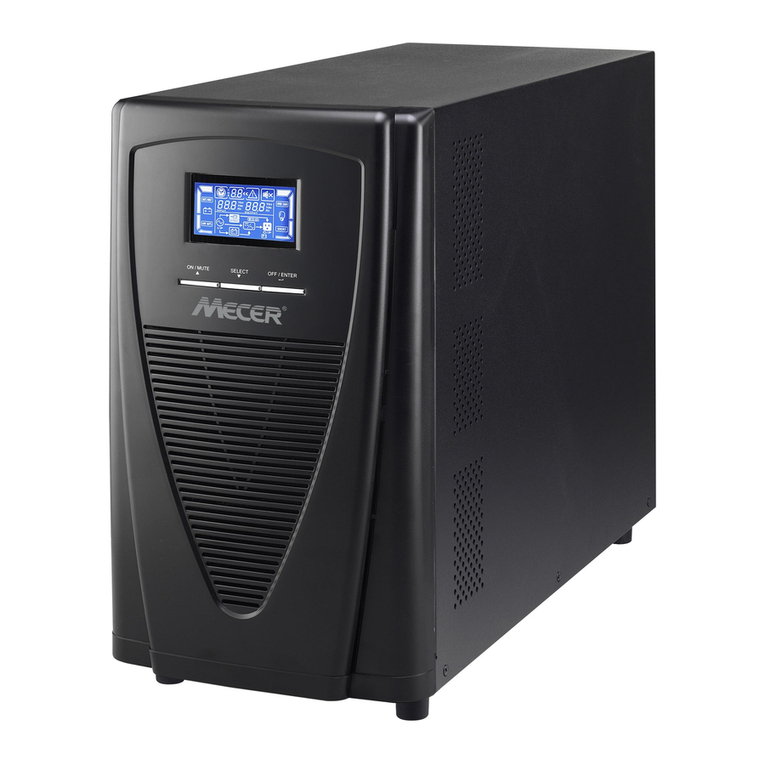
Konig CMP-UPS500 User manual

CMP-UPS500/650/800C
UPS 500/650/800VA + Charger

Presentation
LCD INDICATOR STATUS
1. OUTPUT VOLTAGE Shows the output voltage
2. NORMAL Utility power in normal condition.
3. OVERLOAD UPS overload. The buzzer emits continuous alarm for 30
seconds.
4. BATTERY UPS transfer to backup or battery test mode.
The buzzer emits alarm every four seconds.
5. BATTERY CAPACITY Battery capacity indicator
6. POWER SWITCH Power on-off/*Battery test and buzzer on-off
7. CHARGE AREA 7a: AA/AAA Battery Charge; 7b: 9V Battery Charge; 7c:
USB Charge
8. CHARGE INDICATOR AA/AAA Battery charge indicator (4x GREEN); 9V Battery
charge indicator (1x YELLOW); USB Charge (1x RED)
9. OUTPUT SOCKET Connect with load equipment.
10. INPUT PHONE JACK Insert the phone line into the jack.
11. OUTPUT PHONE JACK Connect to the Tel/Fax/Modem by another phone line.
12. RESET CIRCUIT BREAKER Reset circuit breaker power
13. RS232 PORT A connector to monitor the running status of the UPS
(optional).
14. INPUT POWER CORD Connect to the AC power
AA/AAA/9V Battery Charge:
CHARGE INPUT 220 VAC/50 Hz
CHARGE OUTPUT
1.4 VDC/100 mA (AA)
1.4 VDC/100 mA (AAA)
9.0 VDC/25 mA (9V)
CHARGE
TIME
(HOURS)
AA
AAA
9V
9H/600 mA
12H/800 mA
9H/180 mA
USB Charge:
OUTPUT VOLTAGE 5.0+/-0.2 V
OUTPUT CURRENT ≥300 mA
CHARGE TIME Different type battery charge time differ
1

Front
Rear
2

3
Installation
Inspection
Inspect the UPS upon receipt. The packaging is recyclable. Save it for re-use or dispose of it
properly.
Placement
Install the UPS in a protected area with adequate airflow, and away from direct sunlight and excessive
dust. Do not operate the UPS where the temperature and humidity are outside the specified limits in
the Specifications Table.
Connect to Utility
Connect the AC input power connector to utility power to power up the UPS.
Charge the battery
The battery in the UPS will lose some charge in shipping and storage. It will recharge completely
after approximately 8 hours of normal operation. Do not expect full battery runtime during this initial
recharge period.
Connect the loads
Plug the loads into the output connectors on the rear of the UPS.
Caution: Never connect a laser printer or plotter to the UPS with other computer equipment. A laser
printer or plotter periodically draws significantly more power than when idle, and may overload the
UPS.
Operation
Switch On
With the UPS plugged in, press and hold the POWER button more than 4 seconds until a beep
sounds to switch the UPS on. The UPS will perform self-testing each time when it is switched on.
Switch Off
By pressing and hold the POWER button more than 4 seconds until hearing one beep sound.
Self-Test
In normal utility power, push the POWER button less than 1 second and UPS performs a self-test
on the battery capacity. During the self-test, the UPS operates a backup mode, the BATTERY and
FAULT icon stay on.
Backup (slow alarm)
When in Backup mode, the BATTERY and FAULT icon illuminates and the UPS emit a beep every
four seconds. The alarms stops when the UPS returns to the utility power operation. Press the
POWER button to stop the beep.
Low Battery (rapid alarm)
In Backup mode, when the battery energy runs low, the UPS beeps rapidly until the UPS shuts down
from battery exhaustion or return to utility power operation.
Overload (continuous alarm)
When the UPS is overloaded, the OVERLOAD icon illuminates and the UPS emits continuous alarm
for 30 seconds to warn for an overload status. Disconnect nonessential load equipment from UPS to
eliminate the overload.

4
Maintenance
1. With normal use, a UPS battery will last three to six years depending on number of discharge and
temperature. Replacement and servicing of the battery should be performed or supervised by
personnel knowledgeable of batteries and their precautions. Keep unauthorized persons away.
2. Charge the UPS‘s battery every 3 months during extended storage.
3. Disconnect the power during extended storage to avoid overcharge of the battery.
4. Avoid overload or short circuit though the UPS have built-in overload and short circuit protecting
function.
Troubleshooting
Problem Possible Cause Action to take
UPS not on, VFD off
POWER button has not been
pushed or pushed too short
Press the POWER button and
hold more than 4 seconds
PCB failure Replace PCB, call for service
UPS always at battery mode
Power cord loose Replace power cord
AC fuse burned out Replace AC fuse
Line voltage to high, too low or
black out Normal condition
PCB failure Replace PCB, call for service
Buzzer continuous beeping Overload Remove the nonessential
loads
UPS does not provide
expected run time. Low
battery warning is sounded
prematurely
Battery is weak due to wear or
successive mains outages
Allow UPS to recharge battery
for a minimum of 8 hours.
If UPS sounds low battery
warning prematurely when
re-tested battery should be
replaced

5
Declaration of conformity
We,
Nedis B.V.
De Tweeling 28
5215MC ’s-Hertogenbosch
The Netherlands
Tel.: 0031 73 599 1055
Email: info@nedis.com
Declare that product:
Name: KÖNIG
Model: CMP-UPS500/650/800C
Description: UPS 500/650/800VA + Charger
Is in conformity with the following standards
EMC: EN 62040-2:2006, EN 61000-3-2, EN 61000-2-2, EN 61000-4-2/-3/-4/-5/-8
LVD: EN 60950-1:2001+A11:2004
Following the provisions of the European Community Directive 89/336/EEC, 73/23/EEC and 93/68/
EEC.
‘s-Hertogenbosch, January 2008
Mrs. J. Gilad
Purchase Director

6
Safety precautions:
CAUTION
RISK OF ELECTRIC SHOCK
DO NOT OPEN
To reduce risk of electric shock, this product should ONLY be
opened by an authorized technician when service is required.
Disconnect the product from mains and other equipment if a
problem should occur. Do not expose the product to water or moisture.
Maintenance:
Clean only with a dry cloth. Do not use cleaning solvents or abrasives.
Warranty:
No guarantee or liability can be accepted for any changes and modifications of the product or damage
caused due to incorrect use of this product.
General:
Designs and specifications are subject to change without notice.
All logos brands and product names are trademarks or registered trademarks of their respective
holders and are hereby recognized as such.
Attention:
This product is marked with this symbol. It means that used electrical and electronic products
should not be mixed with general household waste. There is a separate collections system
for these products.
Copyright ©

7

CMP-UPS500/650/800C
USV 500/650/800VA + Ladegerät

1
Gerätebeschreibung
LCD-ANZEIGE STATUS
1. AUSGANGSSPANNUNG Zeigt die Ausgangsspannung an
2. NORMAL Stromversorgung im Normalzustand.
3. ÜBERLAST USV-Überlast. Der Summer gibt 30 Sekunden lang
Daueralarm.
4. BATTERIE USV-Übertragung zur Pufferung oder Batterietest-Modus.
Der Summer gibt alle 4 Sekunden Alarm.
5. BATTERIEKAPAZITÄT Anzeige der Batteriekapazität
6. NETZSCHALTER Netz an-aus/*Batterietest und Summer an-aus
7. LADEBEREICH 7a: Aufladen AA/AAA-Batterie; 7b: Aufladen 9 V-Batterie;
7c: Aufladen USB
8. LADEANZEIGE Anzeige für Aufladen AA/AAA-Batterie (4 x GRÜN);
Anzeige für Aufladen 9 V-Batterie (1 x GELB); Anzeige für
Aufladen USB (1 x ROT)
9. AUSGANGSSTECKDOSE Verbraucheranschlüsse (USV-Ausgänge)
10. EINGANGSBUCHSE FÜR
TELEFON
Anschlussbuchse für Telefonleitung
11. AUSGANGSBUCHSE FÜR
TELEFON
Mit anderem Telefonkabel an Tel/Fax/Modem
anschließbar.
12. RÜCKSTELLER
NETZEINGANGSSICHERUNG
Stellt den Strom über Netzeingangssicherung wieder her
13. RS232-ANSCHLUSS Ein Anschluss zur Überwachung des vorhandenen Status
der USV (optional).
14. EINGANGSNETZKABEL Anschluss an Netzsteckdose
Aufladen AA/AAA/9V-Batterie:
LADEEINGANG 220 VAC/50 Hz
LADEAUSGANG
1,4 VDC/100 mA (AA)
1,4 VDC/100 mA (AAA)
9,0 VDC/25 mA (9V)
LADE-
ZEIT
(STUNDEN)
AA
AAA
9 V
9 h/600 mA
12 h/800 mA
9 h/180 mA
Aufladen USB:
AUSGANGSSPANNUNG 5,0+/-0,2 V
AUSGANGSSTROM ≥300 mA
LADEZEIT Ladezeit vom Batterietyp abhängig
This manual suits for next models
2
Table of contents
Languages:
Other Konig UPS manuals