keetouch KOT-0190US-SA6BP User manual

19" LCD Open frame SAW TM
(
the Dust T-proof type
)
User Guide Rev2.0)
- 1 -
19" LCD Open frame SAW Touch Monitor
(
((
(the Dust-proof Type)
))
)
User Gui e
Rev2.0
Model: KOT-0190US-SA6BP
Shenzhen K&JAD Technology Co. Ltd
www.keetouch.com
Dec. 2010

19" LCD Open frame SAW TM
(
the Dust T-proof type
)
User Guide Rev2.0)
- 2 -
Table of Contents
Chapter 1
Introduction
1.1 Product Description ...................................................................................................................................3
1.2 About the Product ......................................................................................................................................3
Chapter 2
Installation and Setup
2.1 Unpacking Your Touchmonitor ..................................................................................................................4
2.2 Product Overview ......................................................................................................................................5
2.3 Attaching the L-bracket …………………………………………………………………………...……..5
2.4 VESA Mounting Interface………………………………………………………………………………..6
2.5 Interface Connection .................................................................................................................................7
2.6 Installing the Driver Software and Calibration ....................................................................................8
2.6.1 Installing the Driver Software ....................................................................................................8
2.6.2 Calibration........................................................................................................................................9
Appendix A
Specification .................................................................................................................................................11
Mechanical Dimensions ...............................................................................................................................12
Appendix B
Typical Application...............................................................................................................................… 13
How to contact us
……………………………………………………………………………..…….14

19" LCD Open frame SAW TM
(
the Dust T-proof type
)
User Guide Rev2.0)
- 3 -
Chapter
1
1
INTRODUCTION
1.1 Product escription
Keetouch’s 19" LCD touch monitors have a long-lasting product cycle because the
enclosure is controlled by Keetouch’s specifications. Future panel improvements are therefore
possible without external changes. The KOT-0190US-SA6BP integrate with the Keetouch’s
SAW technology touchscreen.
1.2 About the Product
Your LCD openframe touchmonitor is 19” SXGA TFT color display with the following
features:
•
Long lasting product cycle-enclosure controlled by Keetouch specifications
•
Future generation panels phased-in without external changes
•
High quality panel with high brightness,high contrast ratio and broad viewing angle
•
Multiple mounting options including rear-mount ,VESA mount, horizontal or vertical
bracket-mount
•
Keetouch’s SAW technology on pure glass for the ultimate in image quality
•
Dual USB and RS232 touch interface
•
Worldwide agency approvals
For full Product Specifications refer to Appendix A.

19" LCD Open frame SAW TM
(
the Dust T-proof type
)
User Guide Rev2.0)
- 4 -
Chapter
2
2
INSTALLATION AND SETUP
This chapter discusses how to install your LCD touchmonitor and how to install the driver software.
2.1 Unpacking Your Touchmonitor
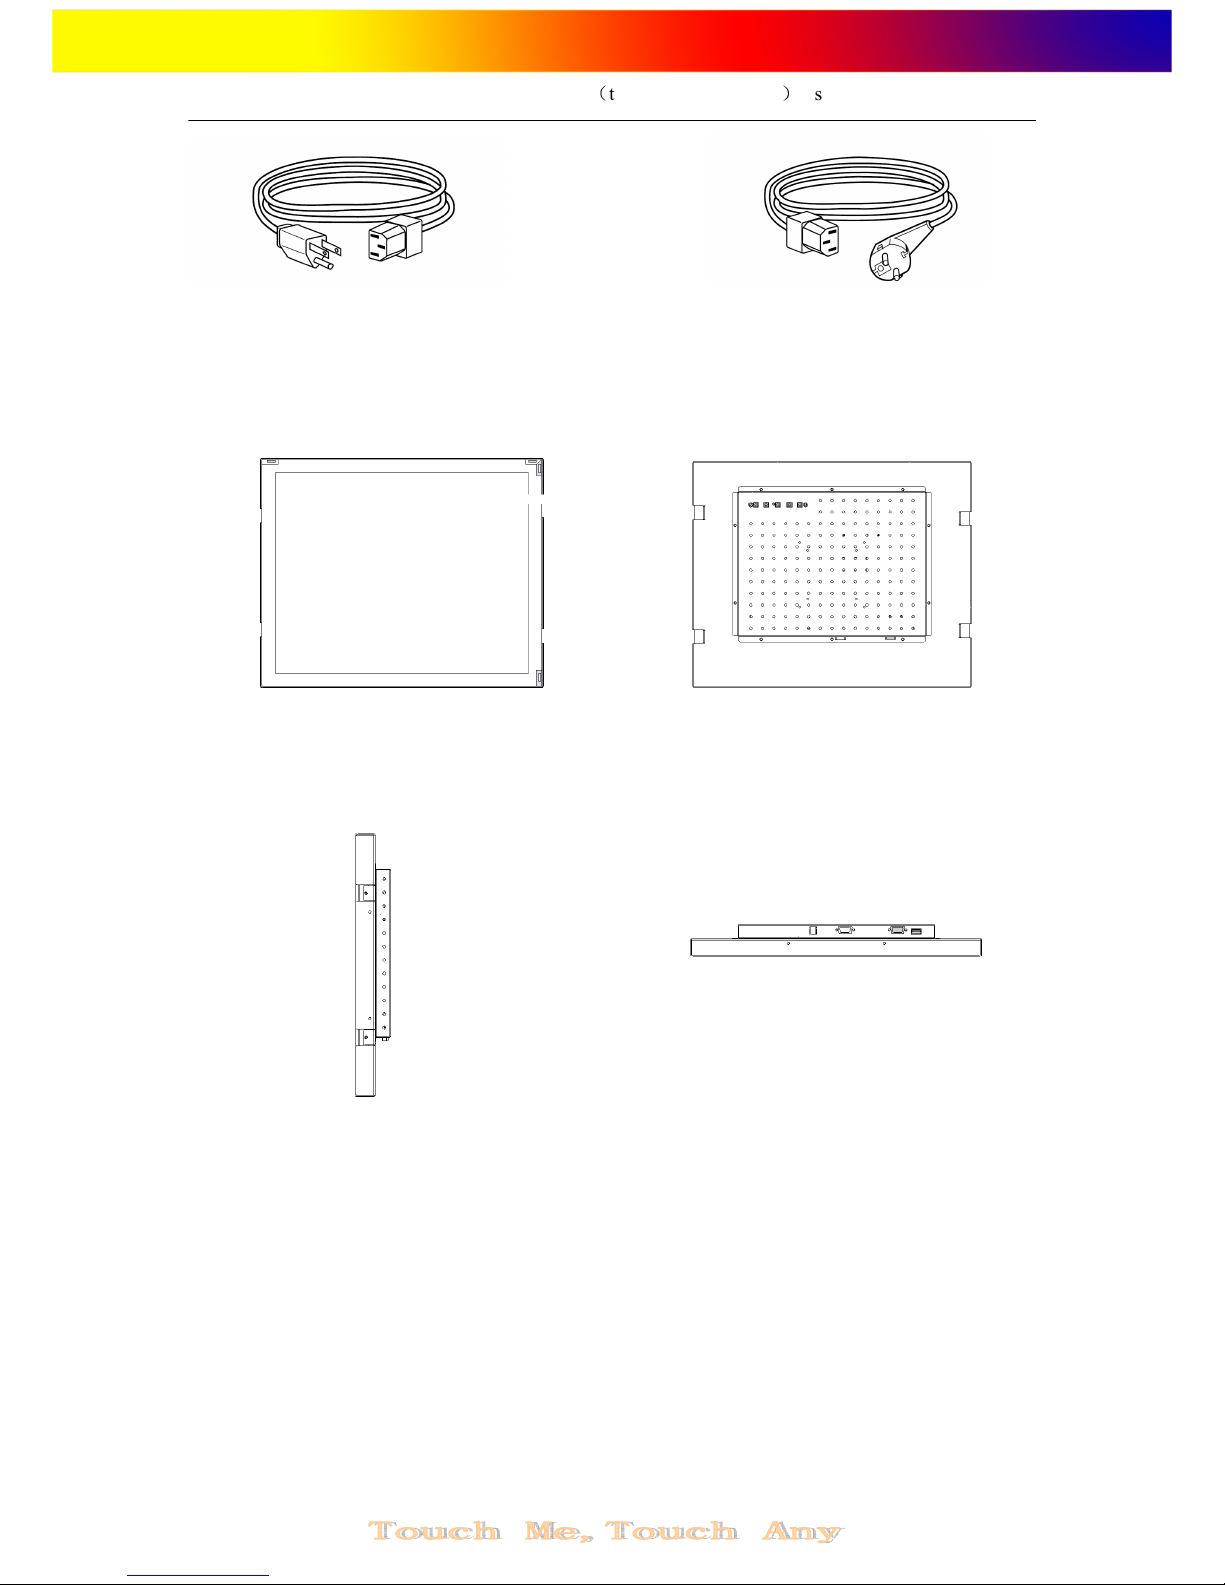
Check that the following 9 items are present and in good condition:
One Touchmonitor Two L-brackets
One Video cable One Brick power supply One Driver software CD
One Serial cable One USB cable Eight M4 Screws and Washers
19" LCD Open frame SAW TM
(
the Dust T-proof type
)
User Guide Rev2.0)
- 5 -
OR
One Power cable US/Canada One European power cable
2.2 Product Overview
Main Unit Rear View
Side View Bottom View
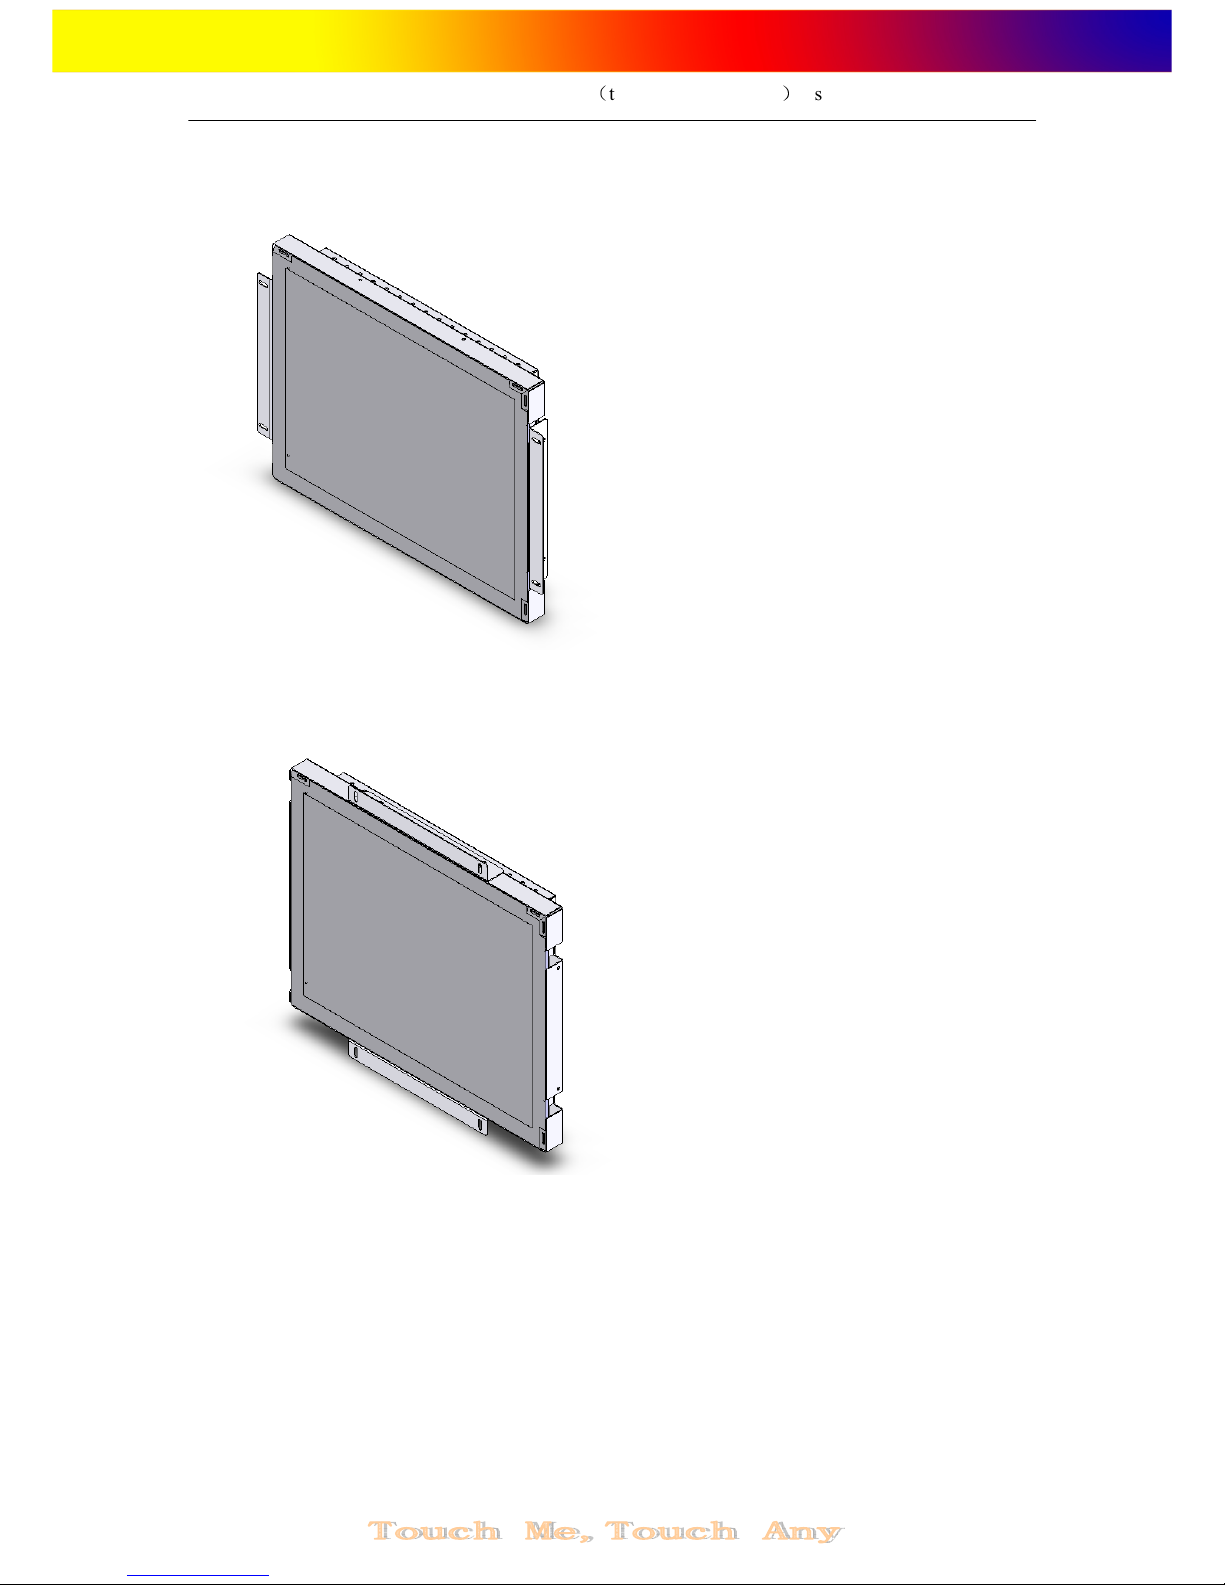
2.3 Attaching the L-Brackets
NOTE: You will nee a screw river to attach the L-brackets.
To attach the L-brackets:
1 Lay the monitor face down.
2 Place the long end of the L-bracket against the side of touchmonitor. Line up the two
holes of the L-bracket with the two holes of the touchmonitor.
3 Place two M4 screws in the holes and with the screwdriver, screw them in to secure the
bracket.
4 Repeat steps 2 and 3 to attach the other L-bracket to the other side of the touchmonitor.
NOTE: The way to attach the L-brackets has two options,See the illustration below:
19" LCD Open frame SAW TM
(
the Dust T-proof type
)
User Guide Rev2.0)
- 6 -
Option 1
(L-brackets to the left an right si es)
Option 2
(L-brackets to the up an own si es)
2.4 VESA Mounting Interface
Your touchmonitor conforms to the VESA Flat Panel Monitor Physical Mounting
Interface FPMPMITM) Standard which defines a physical mounting interface for flat panel
monitors, and corresponding standards for flat panel monitor mounting devices, such as wall
and table arms.
Your monitor has standard VESA mounting holes on the rear of the unit. The holes are
spaced at 75mm and 100mm standard.

19" LCD Open frame SAW TM
(
the Dust T-proof type
)
User Guide Rev2.0)
- 7 -
NOTE:Do not penitrate the M4 screw into the monitor more than 5mm.
2.5 Interface Connection
Note: Before connecting the cables to your touchmonitor an PC, be sure that the
computer an touchmonitor are turne off.
1. Connect one end of either the serial (RS232) cable or the USB cable but not both) to the
rear side of the computer and the other end to the LCD monitor. Tighten by turning the two
thumb screws clockwise to ensure proper grounding USB cable does not have thumb
screws).
2. Connect one end of the vi eo cable to the rear side of computer and the other to the LCD
monitor. Tighten by turning the two thumb screws clockwise to ensure proper grounding.
3. Connect one end of the power a apter to the monitor and the other end to the connector of
the power cord.
4. Press the power button on the rear panel to turn the monitor power on.

19" LCD Open frame SAW TM
(
the Dust T-proof type
)
User Guide Rev2.0)
- 8 -
NOTE:
::
:The touchmonitor shoul be integrate accor ing to the above process, if not
may result in the touchmonitor working abnormally。
2.6 Installing the river Software and Calibration
Keetouch TouchSystems provides driver software that allows your touchmonitor to work
with your computer. Drivers are located on the enclosed CD-ROM for the following operating
systems:
• Windows XP
• Windows 2000
• Linux
The latest versions of drivers and driver information for other operating systems are
available on the Keetouch TouchSystems web site at www.Keetouchtouch.com.
Your Keetouch touchmonitor is Plug-and-Play compliant. Information on the video
capabilities of your touchmonitor is sent to your video display adapter when Windows starts.
If Windows detects your touchmonitor, follow the instructions on the screen to install a
generic Plug-and-Play monitor.
2.6.1 Installing the river Software
double click the file of “Setup.exe” in the folder , the Windows will flip Dialog Box as
follow:
NOTE:Your touchmonitor have ual USB an Serial(RS232) touch interface port,
Depen ing upon whether you connecte the USB communication cable or the
Serial(RS232) communication cable, you shoul install only the USB river or the
Serial(RS232) river. Install the USB river, please chose the “KeeTouch, KCA USB
Series, USB”;Install the Serial(RS232) river, please chose “theKeeTouch,KCA RS232
Series,Serial”.

19" LCD Open frame SAW TM
(
the Dust T-proof type
)
User Guide Rev2.0)
- 9 -
After selecting the proper interface, click the Install button to start installing the driver as
following.
Installation successfully as following:
2.6.2 Calibration
Click at the right side in the down corner of the Desk-Top,then choose “calibrate”in
the pop-out of the menu ,and choose the “RS232” or “USB” at the submenu, as follow:

19" LCD Open frame SAW TM
(
the Dust T-proof type
)
User Guide Rev2.0)
- 10 -
Windows will pop-out the calibration interface, then click “+” with finger one by one,
as follow:
After clicking the “+” on by one, the calibration is completed.
Table of contents
Other keetouch Monitor manuals


