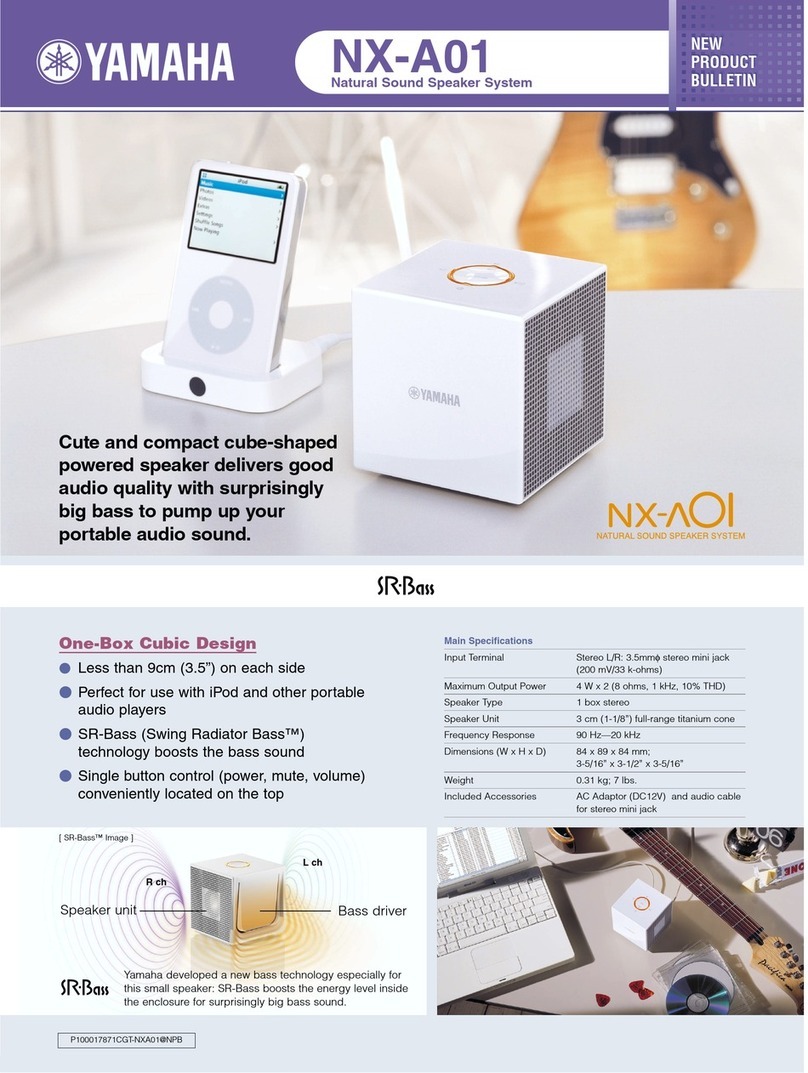
JVC NX-PN7 User manual

COMPACT COMPONENT SYSTEM
NX-PN7
INSTRUCTIONS
LVT1864-010A
[A]
English
cover_NX-PN7[A].fm Page 1 Wednesday, July 2, 2008 9:01 PM

G-1
Warnings, Cautions and Others
CAUTION
The button in any position does not
disconnect the mains line.
Disconnect the mains plug to shut the power off
completely (the STANDBY lamp goes off).
The MAINS plug or an appliance coupler is used
as the disconnect device, the disconnect device
shall remain readily operable.
• When the system is on standby, the STANDBY
lamp lights red.
• When the system is turned on, the STANDBY
lamp goes off.
The power can be remote controlled.
CAUTION
To reduce the risk of electrical shocks, fire, etc.:
1. Do not remove screws, covers or cabinet.
2. Do not expose this appliance to rain or
moisture.
CAUTION
Battery shall not be exposed to excessive heat
such as sunshine, fire or the like.
CAUTION:
Excessive sound pressure from earphones or
headphones can cause hearing loss.
CAUTION
• Do not block the ventilation openings or
holes.
(If the ventilation openings or holes are
blocked by a newspaper or cloth, etc., the
heat may not be able to get out.)
• Do not place any naked flame sources, such
as lighted candles, on the apparatus.
• When discarding batteries, environmental
problems must be considered and local rules
or laws governing the disposal of these
batteries must be followed strictly.
• Do not expose this apparatus to rain,
moisture, dripping or splashing and that no
objects filled with liquids, such as vases, shall
be placed on the apparatus.
Caution: Proper Ventilation
To avoid risk of electric shock and fire, and to prevent damage, locate the apparatus as follows:
1. Front: No obstructions and open spacing.
2. Sides/Top/Back: No obstructions should be placed in the areas shown by the dimensions below.
3. Bottom: Place on the level surface. Maintain an adequate air path for ventilation by placing on a
stand with a height of 10 cm or more.
Side viewFront view
safety_NX-PN7[A].fm Page 1 Wednesday, July 2, 2008 9:02 PM

1
Contents
Introduction................................................. 2
Precautions .................................................................2
Getting Started............................................3
Connections................................................................4
Canceling the Display Demonstration .......................5
Basic Operations ......................................... 6
Main Unit ................................................................... 6
Remote Control ..........................................................8
Playing Back from iPod............................11
Connecting iPod Devices ......................................... 12
Operations ................................................................13
Listening to FM Broadcast.......................15
Playing Back from Other Equipment .....17
Connecting Other Equipment................................... 17
Operations ................................................................17
Setting the Clock and Timer....................18
Setting the Clock ...................................................... 18
Setting the Timer...................................................... 19
Troubleshooting ........................................21
Specifications.............................................22
NX-PN7[A].BOOK Page 1 Friday, July 4, 2008 4:11 PM

2
Introduction
Thank you for purchasing a JVC product.
Please read all instructions carefully before operation, to ensure your complete understanding and
to obtain the best possible performance from the unit.
Precautions
Installation
• Install in a place which is level, dry and neither too hot nor too cold—between 5°C and 35°C.
• Install the unit in a location with adequate ventilation to prevent internal heat buildup inside the
unit.
• Leave sufficient distance between the unit and the TV.
• Keep the unit away from the TV to avoid interference with TV.
Power Sources
• When unplugging the unit from the wall outlet, always pull on the plug, not the AC power cord.
Internal Heat
Others
• Should any metallic object or liquid fall into the unit, unplug the AC power cord and consult your
dealer before operating any further.
• If you are not going to operate the unit for an extended period of time, unplug the AC power cord
from the wall outlet.
If anything goes wrong, unplug the AC power cord and consult your dealer.
DO NOT install the unit in a location near heat sources, or in a place subject to direct
sunlight, excessive dust or vibration.
DO NOT handle the AC power cord with wet hands.
For safety, observe the following carefully:
• Make sure there is good ventilation around the unit. Poor ventilation could overheat
and damage the unit.
• DO NOT block the ventilation openings or holes. If they are blocked by a newspaper
or cloth, etc., the heat may not be able to get out.
DO NOT disassemble the unit since there are no user serviceable parts inside.
NX-PN7[A].BOOK Page 2 Friday, July 4, 2008 4:11 PM

3
Getting Started
Supplied Accessories
After unpacking, check to be sure that you have
all the following items. The number in
parentheses indicates the quantity of each piece
supplied.
• Remote control (1)
• Lithium coin battery CR2025 (1) (The battery
has been installed when shipped from the
factory.)
• AC power cord (1)
• AC adaptor (AA-R1001) (1)
• FM antenna (1)
If anything is missing, consult your dealer
immediately.
CAUTION:
To avoid risk of fire, and to prevent damage.
• Do not use AC adaptors except the supplied
AC adaptor.
• Do not use the supplied AC adaptor for other
equipment.
Prepare the Remote Control
When you use the remote control for the first
time, pull out the insulation sheet.
Replacing the battery in the remote control
Insert the battery into the remote control by
matching the polarity (+ and –) correctly.
• If the range or effectiveness of the remote
control decreases, replace the battery.
WARNINGS:
• Store the battery in a place where children
cannot reach. If a child accidentally swallows
the battery, consult a doctor immediately.
• Do not recharge, short, disassemble or heat
the battery or dispose of it in a fire. Doing any
of these things may cause the battery to give
off heat, crack, or start a fire.
• Do not leave the battery with other metallic
materials. Doing this may cause the battery to
give off heat, crack, or start a fire.
• When throwing away or saving the battery,
wrap it in tape and insulate; otherwise, the
battery may start to give off heat, crack, or
start a fire.
• Do not poke the battery with tweezers or
similar tools. Doing this may cause the battery
to give off heat, crack, or start a fire.
• Dispose of battery in the proper manner,
according to federal, state, and local
regulations.
In this manual, operations using the remote
control are mainly explained; however, you
can use the buttons and controls on the unit if
they have the same (or similar) name and
marks.
Insulation sheet
Front side
CAUTION:
Danger of explosion if battery is incorrectly
replaced.
Replace only with the same or equivalent
type.
Lithium coin battery
(product number:
CR2025)
Rear side
NX-PN7[A].BOOK Page 3 Friday, July 4, 2008 4:11 PM

4
Connections
Connecting the Antenna
NOTE:
Make sure the FM antenna does not touch any other terminals, connecting cords or the AC power
cord. Also, keep the antenna away from metallic parts of the unit, connecting cords, and the AC
power cord. This could cause poor reception.
Do not connect the AC power cord until all other connections have been made.
For better FM reception
Disconnect the supplied FM antenna, and
connect to an outdoor FM antenna using a 75 Ω
wire with coaxial type connector.
Left side
FM antenna (supplied):
Extend it so that you can obtain the best
reception.
Outdoor FM antenna
(not supplied)
FM 75 ΩCOAXIAL
terminal
(on the rear panel)
NX-PN7[A].BOOK Page 4 Friday, July 4, 2008 4:11 PM

5
Connecting the Video Cord to View a Video/Picture from iPod
When viewing a video/picture from your iPod on your TV, use a composite video cord (not
supplied) to connect the VIDEO OUT jack on the unit and the composite video input on your TV.
Connecting the Power Cord
Canceling the Display Demonstration
When you connect the AC power cord for the first time, the display demonstration starts
automatically.
• When you operate the unit, the display demonstration stops temporarily. If no operation is done
for 2 minutes, the unit starts the display demonstration again.
• To activate again, hold down DEMO until “DEMO ON” appears on the display.
• When the ECO mode is activated (P.9), the display demonstration does not function.
Buttons Function
On the Unit On the remote
Hold down until “DEMO OFF” appears on the display.
Video cord (not supplied)
Right side
DC IN
10.7 V 3A
Right side
To a wall outlet
Plug in the AC power cord
only after all connections are
complete.
AC adaptor
(supplied)
AC power cord
(supplied)
NX-PN7[A].BOOK Page 5 Friday, July 4, 2008 4:11 PM

6
Basic Operations
Main Unit
Operating on the Main Unit
Buttons Functions
Turns on or off (standby) the power.
Changes the color of the illumination bars. (P.10)
• For DEMO button, see page 5.
Activates Sound Turbo. (P.10)
Changes the source to FM or AUDIO IN
(P.17).
Display (P.7)
STANDBY lamp Remote control sensor
Dock A (P.12) Dock B (P.12)
Illumination bars (P.10)
FM AUDIO IN
NX-PN7[A].BOOK Page 6 Friday, July 4, 2008 4:11 PM

7
Display Information
• Changes the source to iPod /iPod . (P.13)
• Starts playback and pauses for iPod. (P.13)
• iPod (P.13):
Press: Reverse skip/forward skip
Hold down: Reverse search/forward search
• FM (P.15): Tunes in to a station.
Adjusts the volume level (VOL MIN/VOL 1 to VOL 29/VOL MAX).
Symbols Description
iPod Lights up when an iPod is connected to dock A.
iPod Lights up when an iPod is connected to dock B.
S.TURBO Lights up when Sound Turbo is activated. (P.10)
FM Lights up when FM is selected as the source.
TUNED Lights up when a station of sufficient signal strength is tuned in.
ST Lights up when FM stereo broadcast is received.
MONO Lights up when FM monaural reception mode is activated.
A.STBY • Lights up when Auto Standby is activated. (P.10)
• Flashes for about 3 minutes before Auto Standby turns off the unit. (P.10)
1/2/3 • Lights up when the Timer is set. (P.20)
• 1/2/3 icon flashes while the Timer is working.
SLEEP Lights up when the Sleep Timer is activated. (P.10)
Buttons Functions
NX-PN7[A].BOOK Page 7 Friday, July 4, 2008 4:11 PM

8
Using Headphones
Be sure to turn down the volume before connecting headphones.
• Connecting headphones will deactivate the speakers.
Remote Control
Operating on the Remote Control
Basic operations
Buttons Main functions
Turns on or off (standby) the power.
Right side
Stereo mini plug
Headphones (not supplied)
P.9
P.10
P.14
P.14, P.15
P.10
P.10
P.10
P.13, P.18, P.20
P.13, P.15, P.16
P.14, P.16, P.17 – 20
P.13, P.15, P.16,
P.18 – 20
P.10
P.18 – 20
NX-PN7[A].BOOK Page 8 Friday, July 4, 2008 4:11 PM
Other manuals for NX-PN7
2
Table of contents
Other JVC Speakers System manuals


Popular Speakers System manuals by other brands




Electro-Voice
Electro-Voice S-122 Specifications

Sven
Sven SPS-619 GOLD Operation manual

Pioneer
Pioneer CS-7070 instruction manual

EAW
EAW UB82e Technical specifications

Sondpex
Sondpex Active Speaker System and Digital Music... User manual and installation instructions

Marshall Amplification
Marshall Amplification AR-DM61-BT user manual