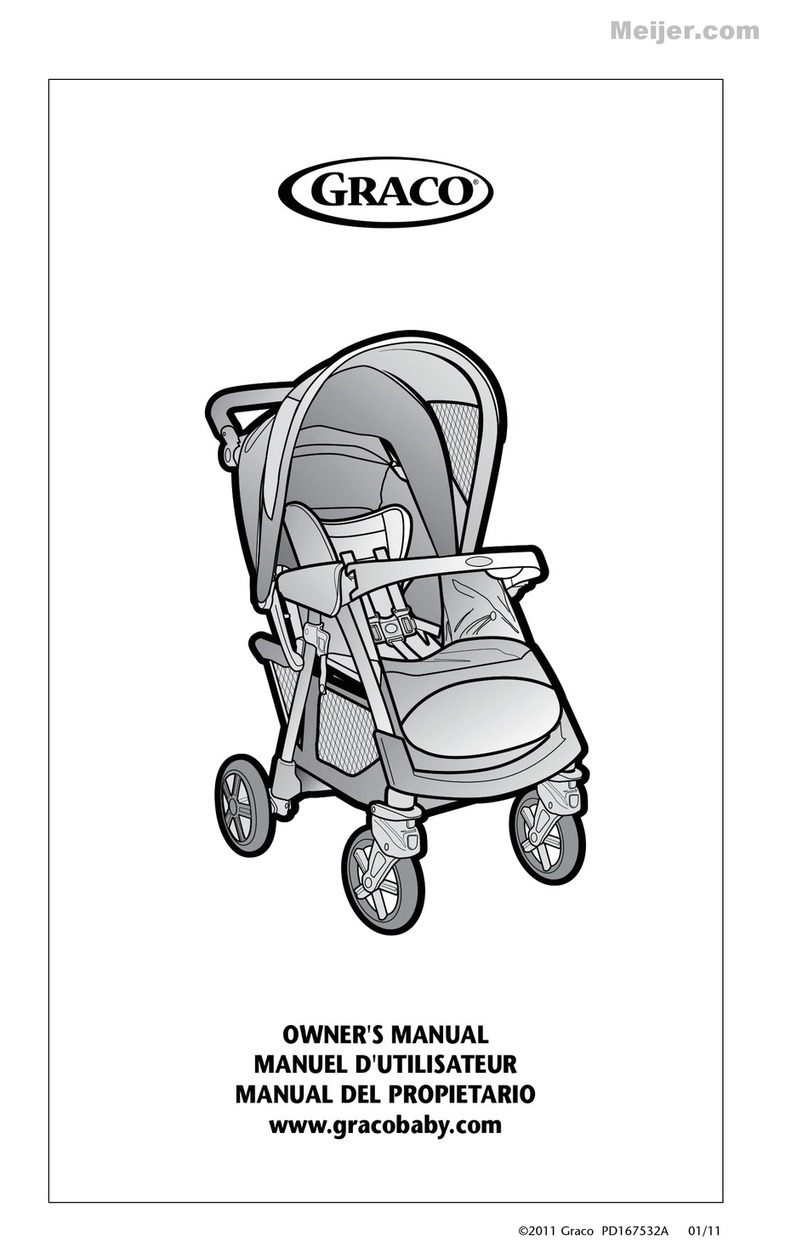
Jole mytrax pro User manual

mytrax™ pro
stroller
gemm™
0+ (0–13kg)
GB Instruction Manual
FR Manuel d'instructions
DE Bedienungsanleitung
IT Manuale di istruzioni
ES Manual de instrucciones
AR
NL Instructiehandleiding
PT Manual de instruções
PL Instrukcja obsługi
CZ Návod k obsluze
SK Návod na použitie
SL Navodila za uporabo
RU
DA Brugervejledning
HU Használati utasítás
RO Manual de instruciuni
EL
TR Kullanım Kılavuzu
HR Upute za uporabu
SE Bruksanvisning
NO Instruksjonsbok
FI Käyttöopas

11
FIGURE 1 ~ 3
3
2
1
5
FIGURE 6 - 11
FIGURE 1 ~ 3FIGURE 1 ~ 3FIGURE 1 - 5FIGURE 12 - 16FIGURE 12 - 16FIGURE 12 - 16FIGURE 1 ~ 3FIGURE 1 - 5
4
11
22
11
22
11
8
Stroller Assembly
IMPORTANT - READ CAREFULLY AND
KEEP FOR FUTURE REFERENCE.
11
10
9
6
22
11
7
11
22
22
12

FIGURE 1 ~ 3
FIGURE 18 ~ 22
14
Stroller Operation
17
FIGURE 12 - 17
20
18
112233
22
11
33
22
13
16
15
11
22
12
11
22
19
3
1
A
2
B
21
34

FIGURE 1 ~ 3
FIGURE 29 ~ 34
23
11
22
28
29
27
26
25
24
56
32
FIGURE 23- 28
34
33
31
30
11
11
22

FIGURE 1 ~ 3
FIGURE 41 ~ 45
FIGURE 35 ~ 40
Detach & Assemble Soft Goods
44 45
78
37
41
38 43
42
Accessories
(May not be included in purchase)
Accessories may be sold separately or may not be available depending on region.
35 36
39 11
22
40
11
22

FIGURE 1 ~ 3
FIGURE 52 ~ 57
FIGURE 46- 51
51
53
54 55
56 57
49
48
47
46
11
22
50
52
11
22
22
910

FIGURE 1 ~ 3
FIGURE 64
FIGURE 58- 63
58 59
60 61
62 63
11 12
Care and Maintenance
64 NOISENOISE

13 14
GB Welcome to Joie™
Congratulations on becoming part of the Joie family! We are so excited to be part of your journey
with your little one. While traveling with the Joie mytrax™ pro, you are using a high quality, fully
certified stroller, approved to European safety standards EN 1888-2:2018. This product is suitable
for children up to 22kg or 4 years whichever comes first. Please carefully read this manual and fol-
low each step to ensure a comfortable ride and best protection for your child.
IMPORTANT - READ CAREFULLY AND KEEP FOR FUTURE
REFERENCE.
Visit us at joiebaby.com to download manuals and see more exciting Joie products!
For warranty information, please visit our website at joiebaby.com
Emergency
In case of emergency or accident, it is most important to have your child taken care of with first aid and
medical treatment immediately.
13
5
4
1 Stroller Frame
2 Canopy
3 Front Wheels
4 Rear Wheels
5 Armbar
6 Canopy
7 Seat Pad
8 Armbar
9 Calf Support
10 Front Wheel
11 Swivel Lock
12 Storage Basket
13 Shoulder Harness
14 Cupholder
15 Handle
16 Window
17 Rear Wheel
18 Brake Lever
19 Storage Mount
20 Storage Latch
Parts List
Make sure all parts are available before assembly. If any part is missing, please contact local retailer.
No tools are required for assembly.
Accessories
(May not be included)
1 Rain cover (on certain models)
2 Adapter (on certain models)
Accessories may be sold separately or
may not be available depending on region.
1
2
19
20
17
15
16
18
8
6
7
9
10 11
12
13
14
2

15 16
WARNING
!Always use the restraint system.
!Ensure that all the locking devices are engaged before use.
!Do not let the child play with this product.
!Check that the pram body or car seat attachment devices
are correctly engaged before use.
!Adult assembly required.
!This product is suitable for children up to 22kg or 4 years
whichever comes first.
!To prevent a hazardous, unstable condition, do not place
more than 4.5kg in the storage basket.
!Never leave the child unattended.
!Use the stroller with only one child at a time. Never place
purses, shopping bags, parcels or accessory items on the
handle or canopy.
!Accessories which are not approved by the manufacturer
shall not be used.
!Only replacement parts supplied or recommended by the
manufacturer shall be used.
!To avoid injury ensure that the child is kept away when un-
folding and folding this product.
!This product is not suitable for running or skating.
!Pushchair designed to be used from birth shall recommend
the use of the most reclined position for new born babies.
!The parking device shall be engaged when placing and
removing the children.
!For car seats used in conjunction with a chassis, this vehicle
does not replace a cot or a bed. Should your child need to
sleep, then it should be placed in a suitable pram body, cot
or bed.
!Carry cot shall not be used, as soon as the child is able to
sit by himself, roll over and can push itself up on its hands
and knees. Maximum weight of the child: 9kg.
!No additional mattress shall be added unless recommended
by the manufacturer.
!Any load attached to the handle and/or on the back of the
backrest and/or on the sides of the vehicle will affect the
stability of the vehicle.
!To avoid burns, never put hot liquids in your cupholder.
!The maximum recommended weight in the cupholder is 1lbs
(0.5kg).
Stroller Assembly
Please read all the instructions in this manual before assembling and using this product.
Open Stroller
see images 1- 2
Separate storage latch from storage mount 1, and then lift the handle upwards 2, a “click” sound means the
stroller is open completely.
!Check that the stroller is completely latched before continuing to use.
Assemble & Detach Front Wheel
see images 3- 4
Assemble & Detach Rear Wheels
see images 5- 6
Assemble & Detach Armbar
see images 7- 9
Assemble Canopy
see images 10 - 11
Assemble & Detach Cupholder
see images 12 - 13
The completely assembled stroller is shown as 14
Stroller Operation
Adjust Backrest
see images 15 - 16
There are 4 recline angles for the backrest.
Recline Backrest
To recline the backrest, squeeze the recline handle on the back of the seat, pull down on the backrest. 15
Raise Backrest
To raise the backrest, push up. 16
!Make sure the recline is set properly for use.

17 18
Use Buckle
see images 17 - 18
Release Buckle
Press the center button to release the buckle. 17
Lock Buckle
Match the waist belt buckle with the shoulder buckle 18 - 1, and click into the center buckle. 18 - 2
A “click” sound means the buckle is locked completely. 18 - 3
!To avoid serious injury from falling or sliding out, always secure your child with harness.
!Make sure your child is snugly secured. The space between the child and the shoulder harness is about the
thickness of one hand.
!Do not cross the shoulder belts. This will cause pressure on a child’s neck.
Use Shoulder & Waist Harnesses
see images 19 - 22
!In order to protect your child from falling out, after your child is placed into the seat, check whether the
shoulder and waist harnesses are at proper height and length.
19 - 1 Shoulder harness anchor A
19 - 2 Shoulder harness anchor B
19 - 3 Slide adjuster
For larger child, use shoulder harness anchor A and the highest shoulder slots. For smaller child, use shoulder
harness anchor B and the lowest shoulder slots.
To adjust the position of the shoulder harness anchor, turn the anchor to be level with the side facing forward.
Thread it through the shoulder harness slot from back to front. 20 Rethread it through the slot that is closest to
child's shoulder height. 21
Use slide adjuster to change the harness length. 22 - 1
Press the button 22 - 2, while pulling the waist harness to proper length. 22 - 3
Adjust Calf Support
see image 23
The calf support has 2 positions.
To raise the calf support, push it upwards. A "click" sound means the calf is locked completely.
To lower calf support, press the adjustment buttons on both sides of the calf support 23 - 1, and rotate the calf
support downwards. 23 - 2
Use Front Swivel Lock
see image 24
Front wheel locked or unlocked status as 24
Tip It is recommended to use swivel locks on uneven surfaces.
Use Brake
see images 25 - 26
To lock the rear wheels, step down on the brake lever. 25
To unlock the rear wheels, step down the brake lever again. 26
Tip Always set the parking brake when stroller is not moving.
Use Canopy
see images 27 - 29
The canopy can be opened or folded, pull it toward front or back.
The canopy can be opened completely to protect your child from the sun uttermostly, just unzip the hook 27 ,
and then pull the canopy toward front.
For ventilation, flip up the top canopy window cover or the canopy rear panel. 28 29
Adjust Handle
see image 30
Use Storage Basket
see image 31
The maximum load of storage bag on the back of basket is 0.45kg. 31
Fold Stroller
see images 32 - 34
!Please fold the canopy before folding the stroller.
1. Press the folding button. 32
2. Pull the folding webbing upward, the frame will automatically fold backward. 33
3. The storage latch will automatically hook onto the storage mount, then the stroller is folded and locked
completely. The stroller can stand when folded. 34
Use Accessories
Accessories may be sold separately or may not be available depending on region.
Use with Joie Child restraint
see images 35 - 41
When using with Joie child restraint Gemm, i-Gemm 3 & i-Level Recline & i-Snug 2, please refer to the
following instructions.
!
Before using the infant child restraint, please make sure the backrest has been adjusted to the lowest
position and the infant child restraint has been fastened.
!
If you have any problems about using the infant child restraint, please refer to their own instruction manuals.
!Please don’t fold stroller when attaching the child restraint.

Table of contents
Languages:
Other Jole Stroller manuals