
Jimmy GT306 User manual
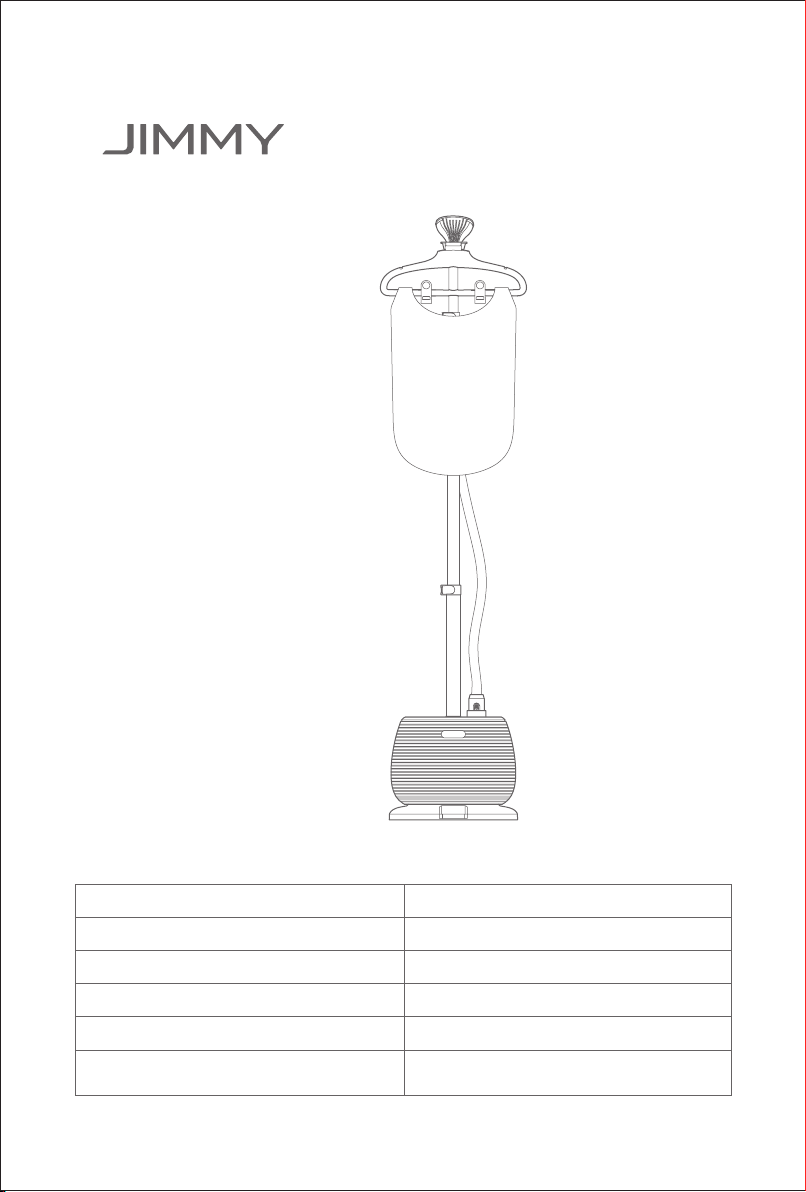
Instruction Manual Garment Steamer
Manuel utilisateur Machine suspendue
Benutzerhandbuch Heißluftdämpfer
Manuale d'uso Macchina appesa
Manual de Usuario Vapor de la ropa
Инструкция по применению Паровая гладильная машина для
вертикального отпаривания
GT306


1
Contents
English 1
русский язык 47
Español 38
Italiano 29
Deutsch 20
Français 1 1

2
Storage
Please empty the residual moisture in the machine when it is not used for a long time, and store
it in dry place, avoid direct sunlight or humid environment.
Use after Long Time Storage
Check if there is any deposit in the water tank before use. If there is any deposit, please clear
it. Check if the steam hose and the inlet and outlet are blocked. If there is any blockage, please
clear it. Check if the power cord is damaged, please do not disassemble the machine if it is
damaged. It needs to be repaired or replaced by professional of the local distributor or after sale
service agency.
Safety Device
Thermostat
The thermostat controls the steam generator to operate between defined temperatures,
eectively preventing the danger caused by excessive temperatures.
Thermal Fuse
When the thermostat is damaged or fails, it is protected by the thermal fuse. When the
temperature of the steam generator rises to a certain temperature, the thermal fuse cuts o the
machine power in time to prevent danger.
Note:
1.Care should be taken when using the appliance to prevent the risk of steam splashing.
2.When using various detachable accessories of this machine, please do it in the state without steam to avoid
being scalded by hot steam.
3.When installing, please follow the instruction to avoid being hurt.
4.The power plug should be unplugged during water injection and cleaning.
5.If the power cord is damaged, it must be replaced by a professional from the manufacturer, its maintenance
agency or similar department to avoid danger.

3
Product Assembly
Unpacking
Open the package, take out the foam pad , all accessories and machine from the package, take
o the plastic bag and save them for the purpose of future maintenance and repair.
Parts Name
Ironing Board
Water Tank
Front Cover
Foot Switch
Steam Nozzle and Handle
Clothes Hanger
Supporting Pole
Main Body
Base
Protective Glove
Packing List
Part Name Main Body Supporting Pole Steam Nozzle and
Handle Clothes Hanger
Quantity 1 1 1 1
Part Name Ironing Board Ironing Cushion Protective Glove User’s Manual
Quantity 1 1 1 1

4
Assembly
Assembly of the Supporting Pole
According to the marks in the figure, the
supporting pole can be inserted directly during
assembly (Figure 1). When the supporting pole
needs to be taken out, press the release button
of the supporting pole downward and pull up the
support pole to take out .(Figure 2)
Note:supporting pole release button is only used
when the supporting pole needs to be taken out.
Assembly of Supporting Pole
Open the latch, stretch the supporting pole up
to the longest, then close the latch and press
to tighten. Disassemble the supporting pole in
opposite way after use .(Figure 3)
Assembly of Clothes Hanger
Open the latch on the supporting pole, insert
the bottom side into the supporting pole with the
steam nozzle hanger in the back .(Figure 4)
Assembly of Steam Nozzle
Insert the flexible hose into the round hole of
the host until a “click ” sound is heard, then put
the steam nozzle on the steam nozzle hanger.
(Figure 5, 6)
Assembly of the Ironing Board
Install the pole latches to the ironing board, then
place the ironing cushion over the ironing board.
(Figure 7, 8)
Hang the ironing board on the clothes hanger
and fasten the ironing board on the supporting
pole with the latches. Disassemble the ironing
board in opposite sequense .(Figure 9)
1
5
7
9
3
4
2
6
8
Supporting Pole
Latch
Clothes Hanger
ironing cushion
Steam Nozzle Hanger Part
Pole Latch
Latch
Supporting Pole
Release Button

5
10
12
14
11
13
Water Tank
Indicator Light
Pour the residual water
from the round hole of
the host
Power Cord
Foot Switch
Water Tank Cover
Water Storage Sink
Use of Garment Steamer
Check before Use
Before use, check whether there is deposit in
the water tank. If there is deposit, please clear
it. Check if the steam hose and the inlet and
outlet are blocked. If there is any blockage,
please clear it.
Ausion of Water Tank
Take out the water tank, unscrew the cover
at the bottom of the tank, add water (in order
to extend the service life of the machine, it is
recommended to use pure water), then tighten
the tank cover and place the tank flat in the
host. (Figure 10, 11)
Connection of Power
Before inserting the plug into the power socket,
please confirm that the voltage is 230V and
keep the power plug and hand dry.
Use of Machine
Hang the clothes with the clothes hanger. After
the machine is connected with power, the power
indicator lights on, step on the foot switch, the steam indicator lights up and the machine starts
to work .(Figure 12)
After use, step on the foot switch to turn o the power, unplug the power supply, place the power
cord around the base.
In the process of use, in order to prevent the steam hose from being in the u-shaped bending
state, please keep the hose in the vertical upward state during use. If you hear the purr or
see the steam is not uent, please lift the hose in time and keep the hose upright, so that the
condensed water can return to secondary heating to produce steam.
After use, the machine should be cooled for at least 30 minutes. Disassemble the attachments,
turn the host over and pour out the residual water in the machine. Be careful not to scald your
hands. (Figure 13)
Use of Clothes Hanger
When ironing pants, the width of clips can be adjusted according to the width of the pants.
(Figure 14)

6
Cleaning and Maintenance
Clean the residual water between the water tank and the host to prevent scale.
When the steam amount is significantly less than before or steam flow stops shortly after
working, please remove the scale accumulated on the heater of the garment steamer. We
suggest that you remove the scale according to the following methods:
1.Turn o the garment steamer and unplug the power supply, take out the supporting pole and
remove it from the main machine;
2.When the garment steamer is cooled to room temperature, remove the water tank from the
main machine and drain the remaining water in the machine;
3. Mix white vinegar and water in 1:1 ratio (if scale is too much, please increase the proportion
of white vinegar as appropriate). If you have no white vinegar, you can use other detergent
which can remove scale;
4.Slowly pour the mixture into the water tank then put the water tank into the machine, the
mixture shalll not overow;
5.Soak for 1-2 hours at room temperature (please extend the soaking time if there is much
scale, but do not exceed 8 hours);
6.Pour the mixture out of the water storage sink and the round outlet on the machine.
7.Fill the water storage sink with water and pour it out. Repeat injection of clean water to wash,
until the scale and acid avour inside the machine is gone;
8. Reassemble the parts so that they can be used again.
Notes
Please read this instruction carefully before using this machine and keep it for future reference.
This product is only for indoor use, please do not put the machine on the table, the work table or
other high table surface to use, please put the machine on the level ground.
Please do not allow children or people with no independent behavior ability or lack of relevant
experience to use this product alone to avoid the risk.
When using this product, please use the power supply with 30mA leakage protection switch.
Be careful of condensed hot water to prevent scalding.
Do not add water after starting the power to prevent dry burning.
Do not add hot water to the water tank as this will cause the tank to deform.
Do not add cleaning agent or other solutions into the water tank. Do not pour perfume, vinegar,
starch, scale remover or other chemicals into the water tank.

7
Keep the machine upright when there’s water in the water tank. Do not dump or shake the
machine to prevent water from owing out of the machine.
When in use, please do not leave, do not let children or people with no independent behavior
ability touch the machine to avoid the risk.
Please do not pull out the steam hose during normal use to avoid splash of hot steam or water.
Please iron up and down vertically. Do not iron on the platform or work table, which will cause
drips from the steam nozzle.
Do not touch the heating parts or the steam nozzle, and pour the residual water carefully to
avoid scalding.
Do not bend the steam hose or block the steam nozzle, which may cause high pressure and
accidents.
Let the machine cool naturally after use. When not in use, please pull out the power plug.
When not in use, please unplug the power supply, place the power cord around the base.
Pay attention to the safety of plug and power supply. Do not pull out the plug by dragging.
When the machine leaks steam, please stop using it immediately and ask a professional for
maintenance.
This product must be cleaned and maintained after a period of use (one month or continuous
use of 10 boxes of water).
Please remove the power plug when repairing, cleaning.
In case of any damage to any part of the product, please inform the professional to repair it.
Incorrect repair may cause accident.
Please do not dismantle the machine without permission, which will lead to danger. If there is
any damage, please go to the maintenance department designated by the company or nd a
professional to repair it.
If the power cord is damaged, it should be replaced by a professional from the manufacturer, its
maintenance department or other after-sale departments to avoid danger.

8
Trouble Shooting
Please check the following issues before sending to designated maintenance departments.
Symptoms Possible Causes Solutions
No Steam ow,
indicator light is o
Whether power supply is connected Connect the power supply
Whether the switch is damaged
Ask a professional for maintenance
Whether thermal fuse is damaged
No steam flow, but
indicator light is on Steam generator burnt out Ask a professional for maintenance
Steam nozzle leaks
Whether steam nozzle is broken Replace the steam nozzle
Use the steam nozzle horizontally Please use the steam nozzle up and
down vertically
The connection of
steam hose leaks
Whether the sealing ring is aging Replace the sealing ring
Connection looseness Tightten connection of steam hose
Overow of water
tank Water tank is broken
Replace water tank
Water tank deforms
Whether hot water added
Whether other chemicals added
Steam ow is too
small
Whether the pipe is blocked with scale Remove scale with professional
detergent
Whether the voltage is too low Use the power supply with a
voltage regulator
Switch damage or heater damage Ask a professional for maintenance
Noise in steam
hose
Whether the steam hose is bent
Extend the steam hose and lift the
steam nozzle
Steam nozzle is below the horizontal line
during use
yellow substance in
the water tank The heater generates scale Clean the scale according to
chapter “Cleaning and Maintenance”
Other manuals for GT306
1
Table of contents
Languages:
Other Jimmy Steam Cleaner manuals


