IQaudIO PI-DAC+ User manual

IQaudIO
User Guide
This document covers the installation, software configuration and
usage of IQaudIO audio cards for the Raspberry Pi.!
If you would like to see additional information within this document please email us at
"#$!
%&'()%*!+,-,./)0!12-3'45!627!89:;<98$!
For those who simply need the /boot/config.txt
details —> Just jump to section 1

IQaudIO user instructions
Contents
1) Getting started
2) The NEW Pi-DAC+
3) The NEW Pi-DigiAMP+
4) The NEW Pi-DAC PRO
5) The Pi-AMP+
6) The Pi-Digi+
7) The Pi-DACZero / ZeroHeadphone
8) Connecting the Pi-DAC+ to your Raspberry Pi
9) Connecting the Pi-DigiAMP+ to your Raspberry Pi
10) Connecting the Pi-AMP+ to your Pi-DAC+
11) Building the Raspberry Pi and IQaudIO sound cards into your Pi-CASE+
12) Configuring Linux/Raspbian to include sound card support
13) Checking audio is working through the IQaudIO sound card
14) Advanced troubleshooting
15) Controlling the Pi-AMP+ or Pi-DigiAMP+’s Mute / Un-mute
16) Common Linux audio distribution configurations
17) Advanced hardware information
18) Adding a Rotary Encoder (Physical volume control)
19) Adding an IR (Remote Control) Sensor
20) Sonic_Pi and IQaudIO
21) Storing alsamixer settings
22) Using external USB devices
23) MPD based audio with volume control
24) Useful data (screw sizes / part numbers / wire gauge size etc.)
"#$! = ! !!!!! #:>*?.@#8<$!#
1) Getting Started
Thank you for choosing an IQaudIO sound card. Next you need to play music, but first you may need
to configure the Raspberry Pi’s and software package you want to use.
The IQaudIO product family.
The IQaudIO sound cards are all designed to work with the current Raspberry Pi, those that have a
40way male GPIO pin header. This includes the Pi3, Pi3B+, Pi-Zero etc. Some of our products are
full size (HAT) boards for the full size Raspberry Pi, and others are more suited to the Pi-Zero form
factor. We also have accessory boards that either act as accessories to our sound cards or can be
used standalone (such as the CosmicController).
A,>BC1D
A,>B,E,CFAD
A,>BC1!AG*
AH242!IG1CJ!'4)!H/')3H24/!
2(.3(.
K3/'L/M!2(.3(.
AH242!IG1CJ0!N'O'4?/)!'4)!!
H/')3H24/!2(.3(.
A,>B,E,D
A,>BC1P/M2D
A,>CFAD
*3.,?'O!IQ2RO,4LJ!'4)!KAB%S!
2(.3(.
AH242!IG1CJ!2(.3(.
K3/'L/M!2(.3(.!I'??/RR2M5!.2!.H/!
A,>BC1D!'4)!A,>BC1!AG*J
BC1P/M2!T/')3H24/R
12R-,?124.M2OO/M
UA%*!VW3'4)/M
T/')3H24/!2(.3(.!I'??/RR2M5!X2M!
.H/!A,>BC1P/M2J
YW+VB0!YWN(..24R0!G2.'M5!
V4?2)/M!Z!<#$[;:!*+VB!),R3O'5
B2(\O/!.H/!'??/RR!.2!.H/!A,]R!
R.'4)'M)!UA%*!3,4R
"#$! = ! !!!!! #:>*?.@#8<$!Y
You will find several audio applications with pre-configured Raspberry Pi SD Card images on
^^^_,`'(),2_?2-[)2^4O2')R . We also include a quickest images which will help you check that you
have the IQaudIO sound card installed correctly on your Raspberry Pi.
Each IQaudIO sound cards has a specific purpose / is designed for specific use cases. Select the
board that best integrates with your existing HiFi equipment. If you don’t have any existing equipment
then simply buy a set of speakers and use the Pi-DigiAMP+.
!"#$%&'()#*%
+,#%-.'/,0
1&/,(2$3(45)67
8#9#/:,%(4;157(
<-,#=,*0
>&?&3#9(2$3-$3
A,>BC1D
A,>BC1D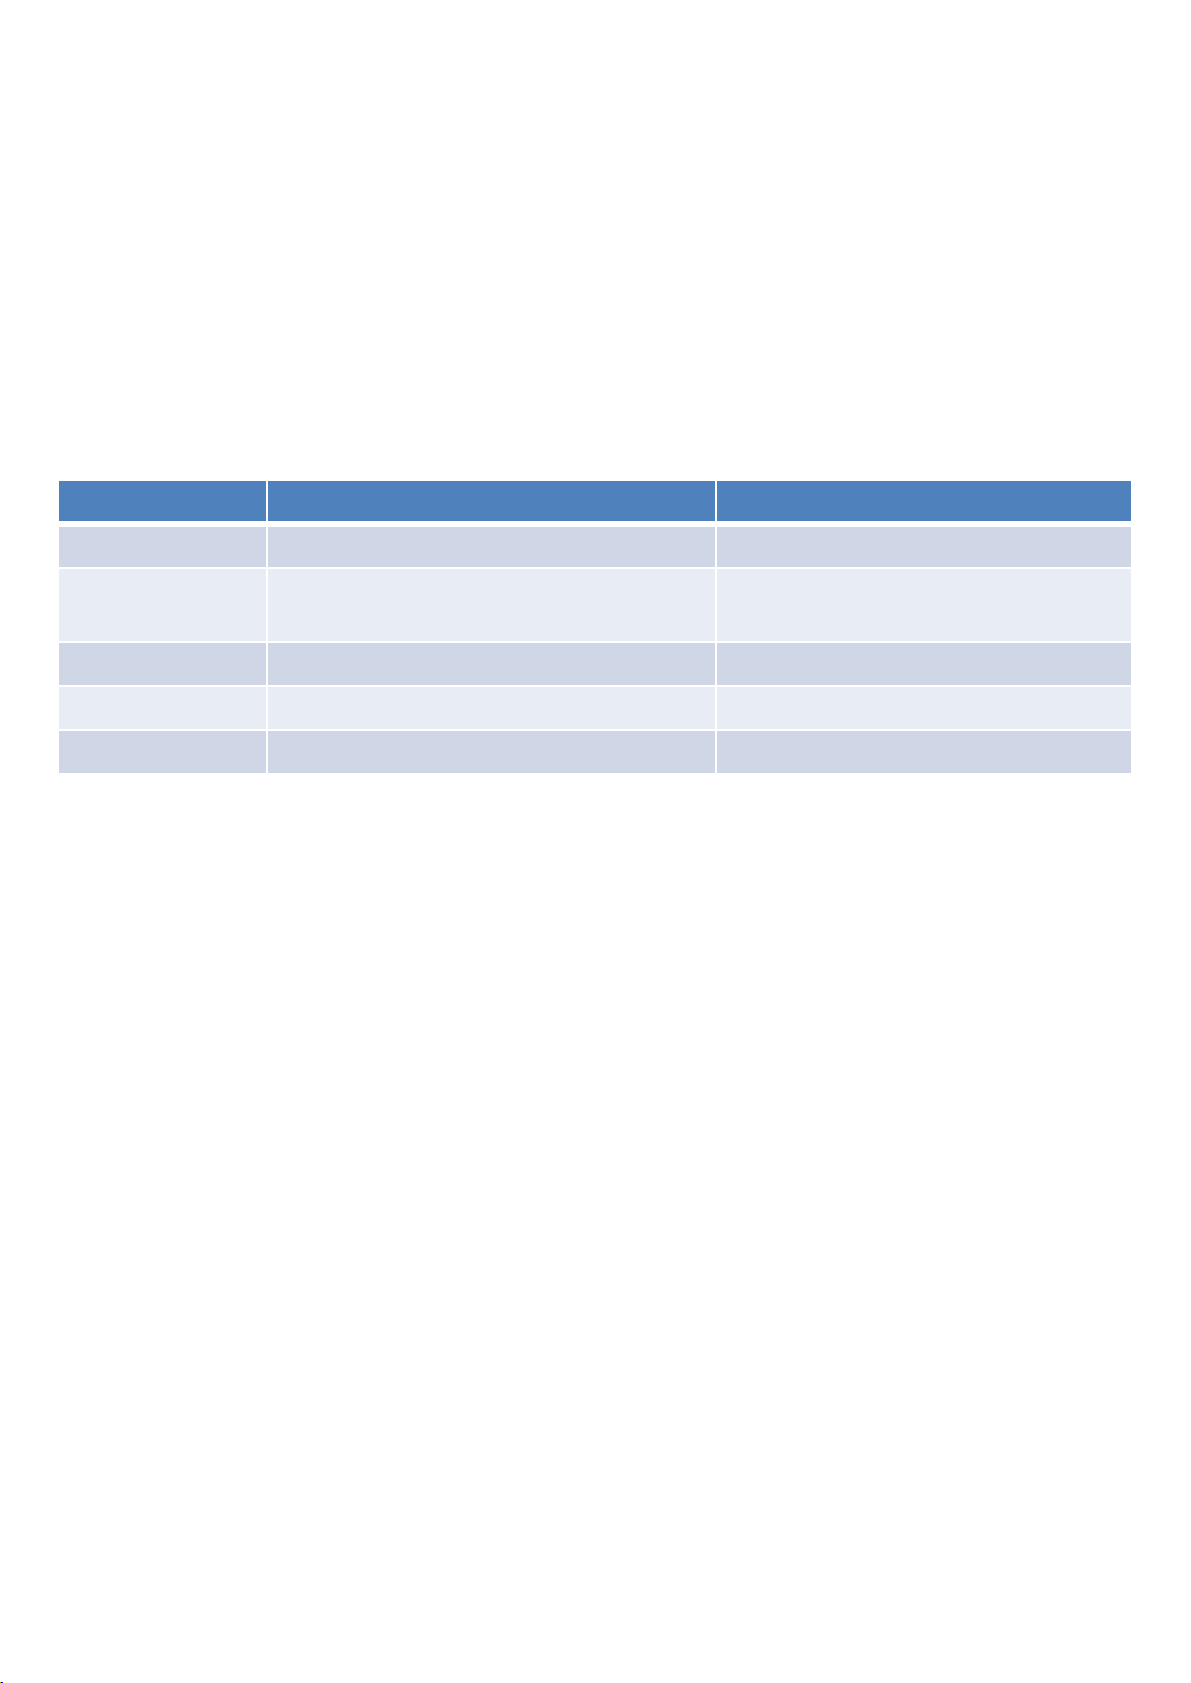
Enabling the IQaudIO sound card in Raspbian / example SD card images.
By default all our latest full size audio boards include a pre-programmed EEPROM. This allows the
Raspberry Pi operating system to auto detect and auto configure itself allowing the IQaudIO boards
to be plug and play.
If however you are using an older version of our board, or a Pi-Zero type board then you may have to
configure the Raspberry Pi operating system yourself. This is done by editing the Pi’s configuration
file (found at /boot/config.txt) and ensuring the correct device tree overlay is included. This is also
how you disable the Pi’s onboard audio if it exists.
We’ve included below the entries needed for the IQaudIO boards and also the quickest image that
can be downloaded from our website.
The following will help you check your sound card is working and it’s configured correctly.
Disabling the standard Raspberry Pi On-Board Audio
You may want to disable the Raspberry Pi’s on-board “low quality” audio card. This is done simply by
commenting out the dtparam=audio=on device tree parameter in your /boot/config.txt file by placing a
#at the start of the line, saving the file and rebooting
@).3'M'-a'(),2a24!
What’s Headless?
Many of the software packages used with the Raspberry Pi simply turn the Pi into a Headless end-
point. That is to say that it doesn't need to or expect a screen to be attached to the Pi’s HDMI socket.
So if there’s no screen how do you control it?
Well in some cases you don’t need to do anything with the Pi at all. Take the RoonLabs images,
these turn the Pi into a Roon Certified end-point. The Pi is then controlled form the RoonLabs PC/
Mac application which connects to and plays music through the IQaudIO sound card. No screen
needs to be attached to the Pi itself.
!"#$%!2()#*%
AB''3A:'/C&?D3E3
"$&:=3,03(&F?
A,>BC1D
).2"/MO'5a,`'(),2>)'?3O(R
%&b8b`(,?L./R.BC1bB,E,CFAbCFA_c,3
A,>B,E,CFAD
).2"/MO'5a,`'(),2>)'?3O(R0(4-(./b'-3!!
2M!
).2"/MO'5a,`'(),2>)'?3O(R0'(.2b-(./b'-3
%&b8b`(,?L./R.BC1bB,E,CFAbCFA_c,3
A,>BC1P/M2
).2"/MO'5a,`'(),2>)'?3O(R
%&b8b`(,?L./R.BC1bB,E,CFAbCFA_c,3
A,>BC1!AG*
).2"/MO'5a,`'(),2>)'?3O(R
%&b8b`(,?L./R.BC1bB,E,CFAbCFA_c,3
A,>B,E,D
).2"/MO'5a,`'(),2>),E,>^-$$8:>'(),2
%&b8b`(,?L./R.B,E,_c,3
"#$! = ! !!!!! #:>*?.@#8<$!d
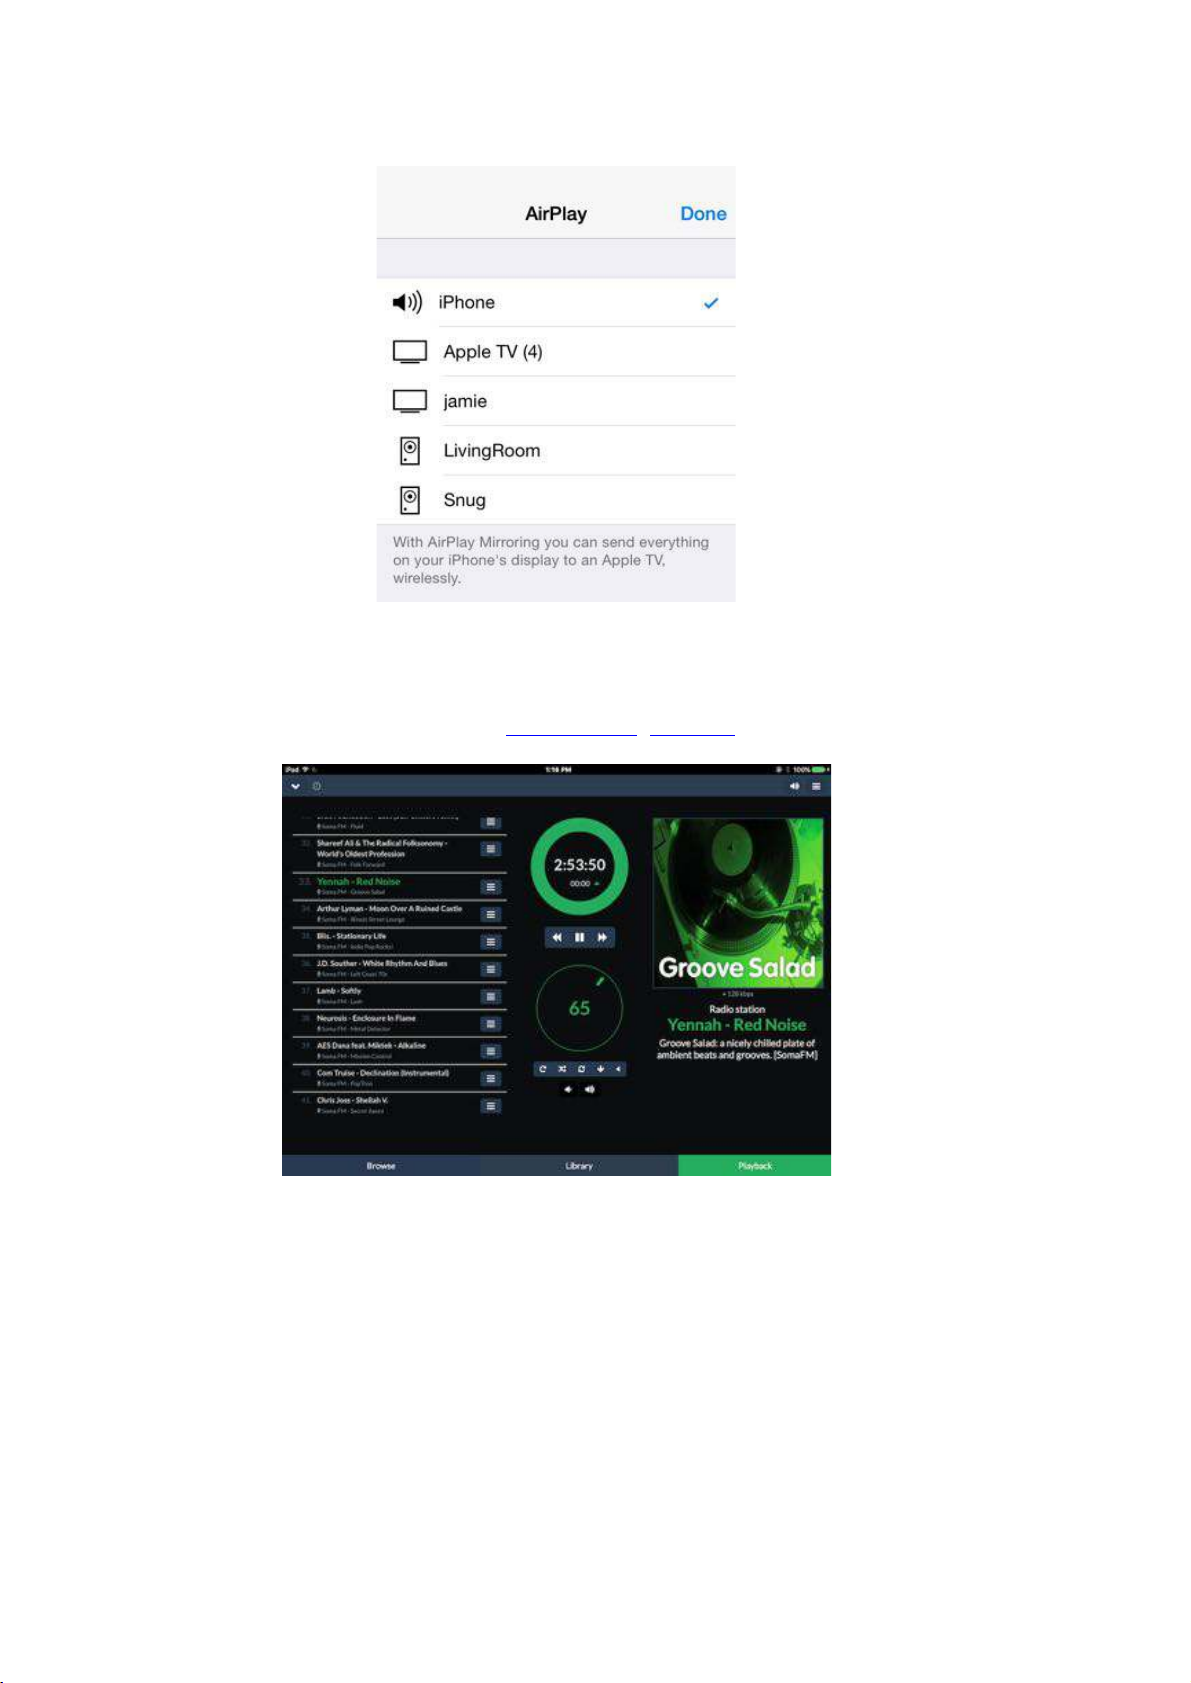
This is again similar with the Shairport-sync utility - it turns the Pi into a Apple Airport compatible
speaker, music and volume is then controlled from your iPad / iPhone, or iTunes. Below, LivingRoom
and Snug are both RaspberryPi running Shairport-sync.
Other “headless” applications install a web server onto the Pi, so to control it you simply open a
browser window on your PC / Mac / Tablet or similar and interact with the Pi based application
through a web page. Applications such as F22)/C(),2, e2O(-,2 and RuneAudio work this way.
"#$! = ! !!!!! #:>*?.@#8<$!;
How do I install software on the Pi?
The Raspberry Pi loads its software from the micro-SD card. Most audio applications assume they
are the only thing running on the Pi so most require a dedicated SD card. The applications are
normally distributed as a compressed .img file (likely a .zip or .gz file) and this .img file will need to be
written to the Pi’s SD card to allow the Pi to boot.
Can’t I just copy the .img file over to the Pi?
Err, no. Doing this will just store the .img file on the SD card. The Pi needs the SD card to be
formatted in a particular way to allow it to boot / start up and run. Don’t worry, there are several ways
to do this and some are VERY simple.
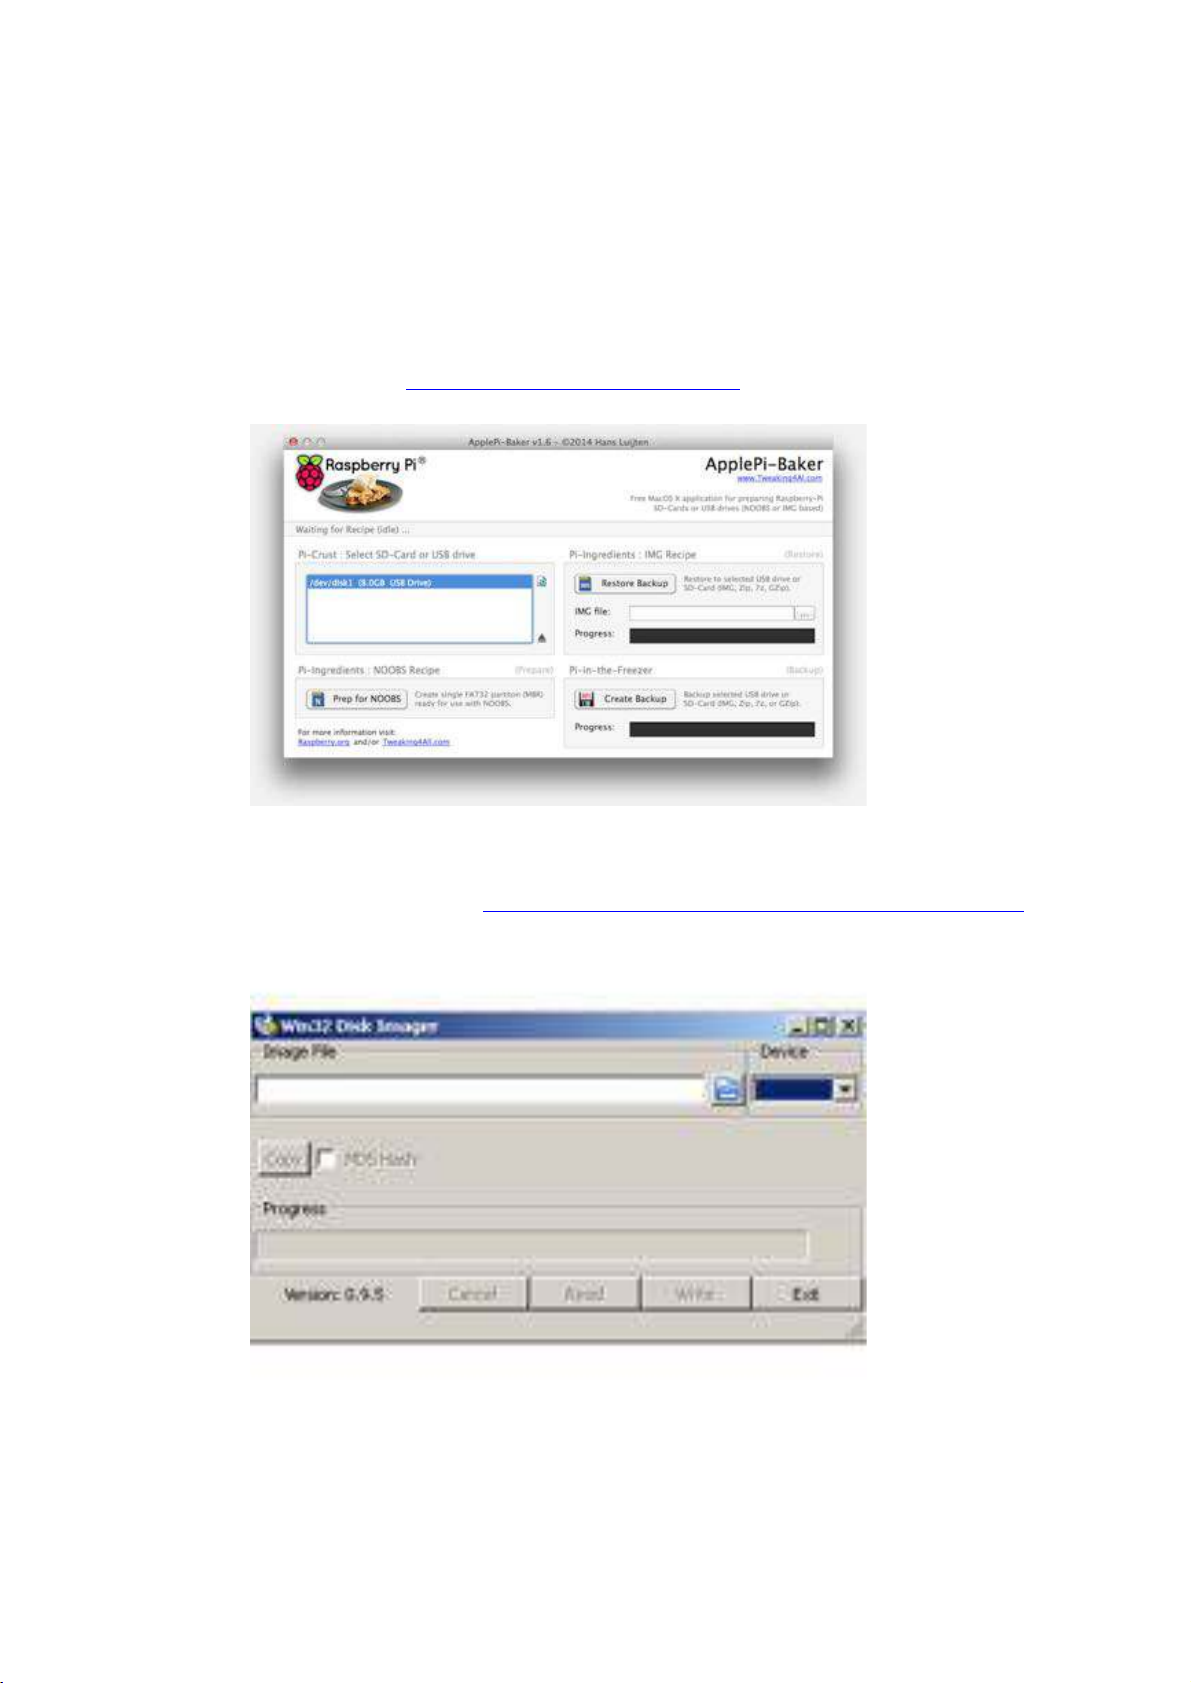
Got a Mac? Get ApplePi-Baker - H..3R7[[^^^_.^/'L,4E:'OO_?2-[
Use Windows? Use Win32DiskImager - H..3R7[[R2(M?/X2ME/_4/.[3M2f/?.R[^,4Y#),RL,-'E/M[
Top Tip: Buy a few extra micro SD cards, you’ll find it much easier to try things. Also, once you have a
working Pi SD card, back it up to your PC/Mac. It’s easier to re-write the SD card if things go wrong.!
"#$! = ! !!!!! #:>*?.@#8<$!g
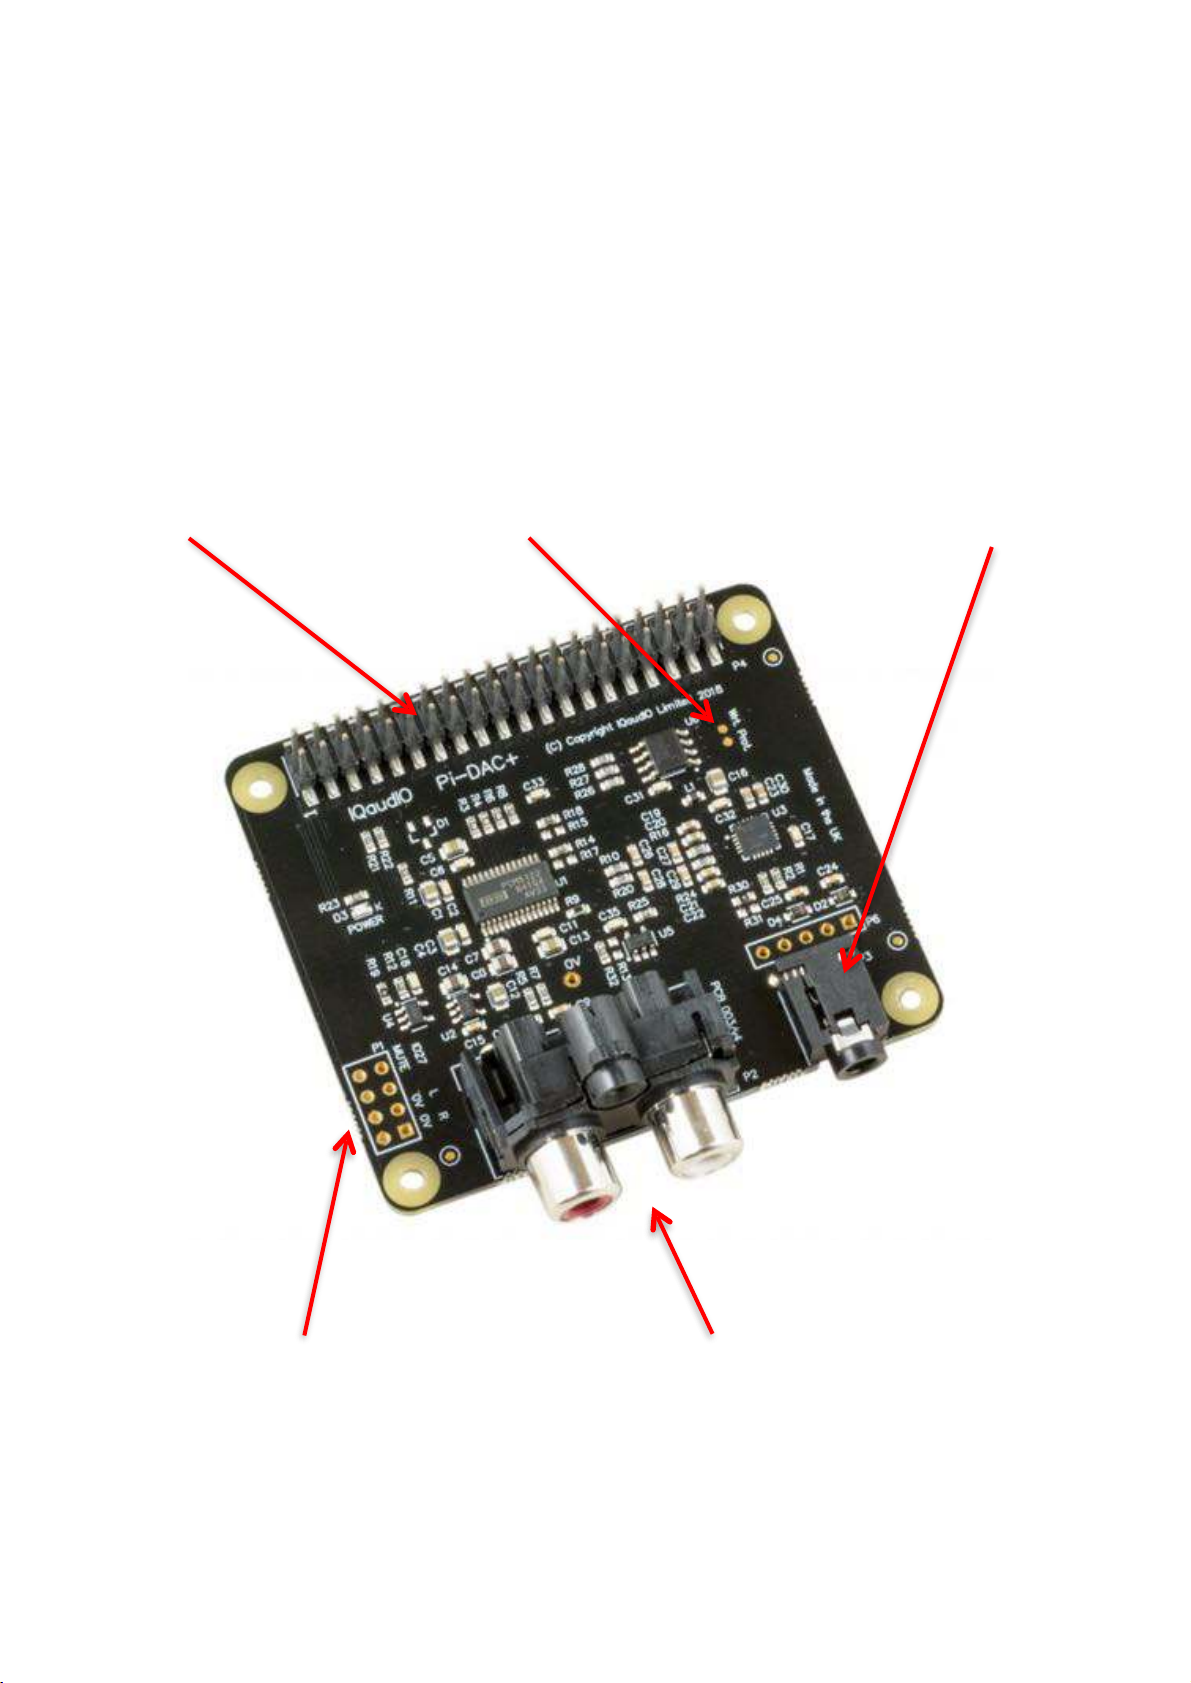
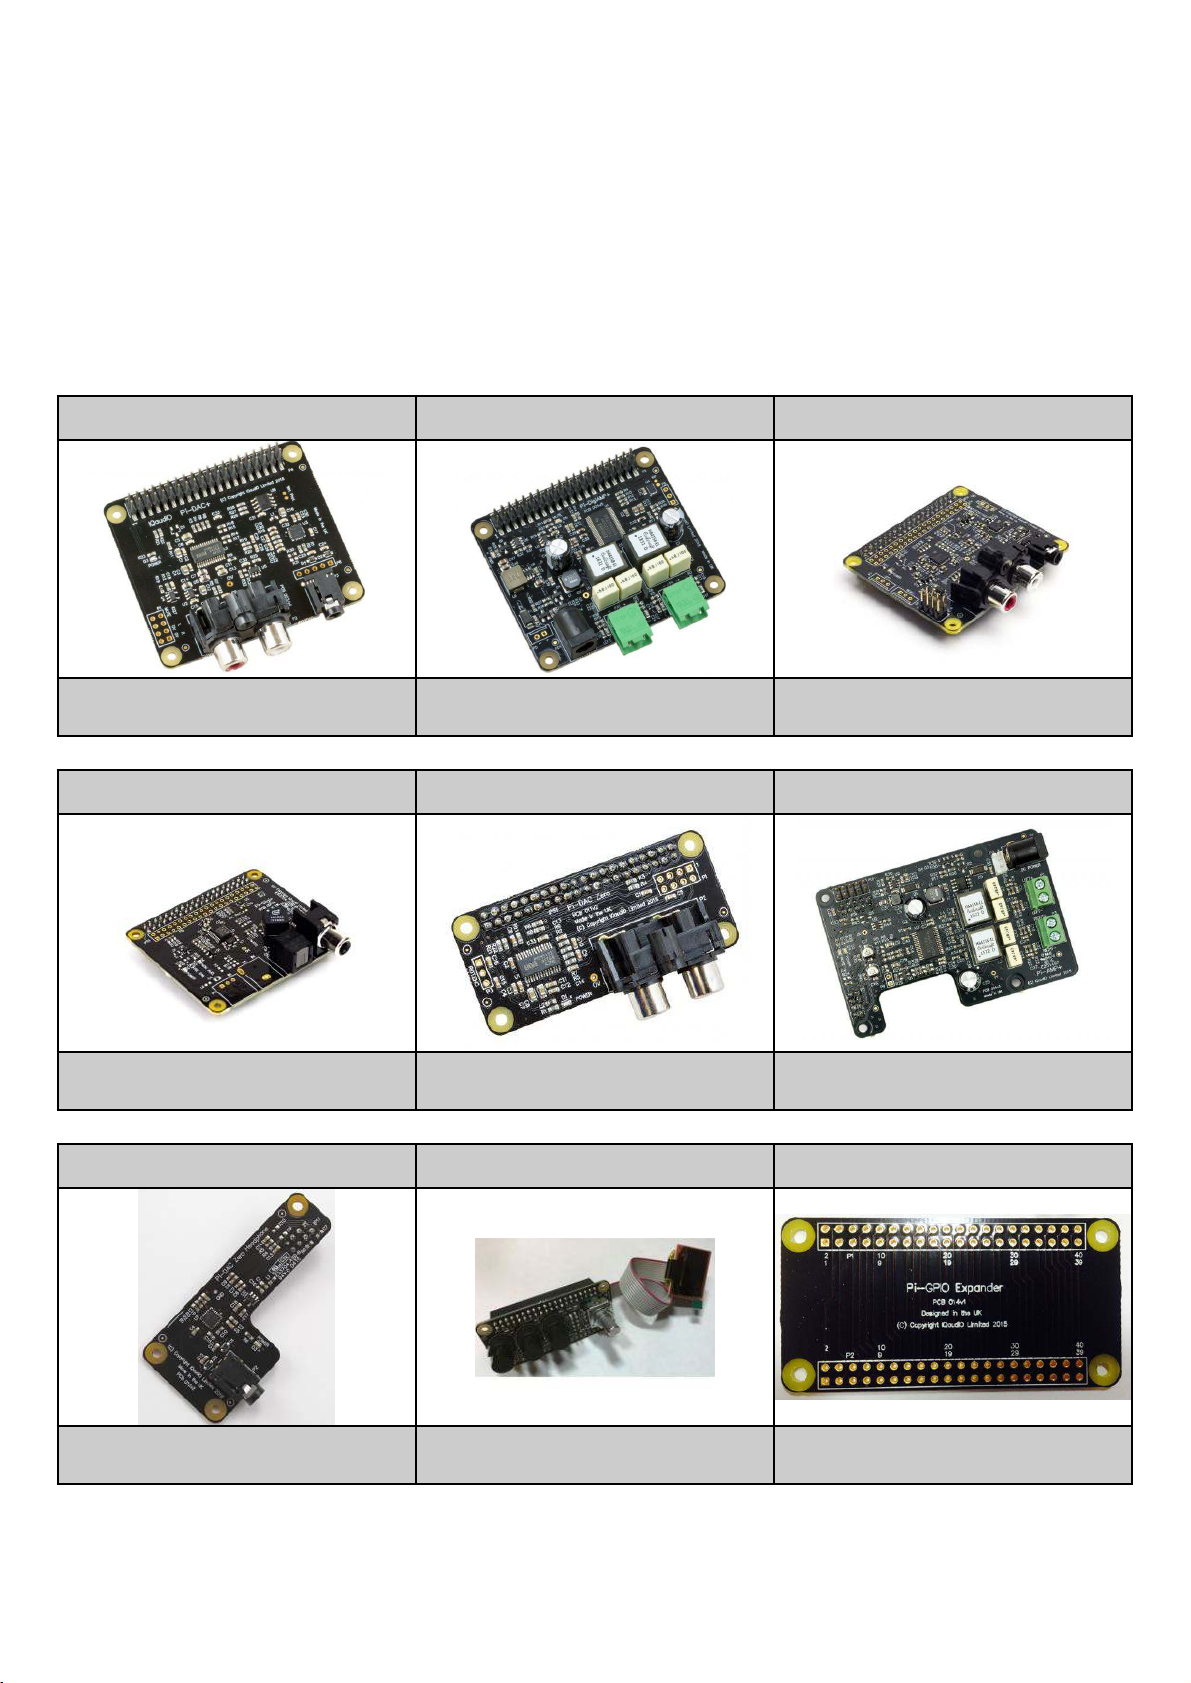
2) The NEW Pi-DAC+
The Pi-DAC+ is a fully HAT compliant add-on accessory for the Raspberry Pi A+/B+/Pi2/Rpi3/RPi3B
+.
The Pi-DAC+ takes the digital audio signals (I2S) from the Raspberry Pi and through the onboard
Texas Instruments PCM5122 DAC delivers variable output (hardware volume control) analog audio to
the Pi-DAC+’s Phono connectors. The PI-DAC+ also, via the Texas Instruments TPA6133A
headphone amp, supports the direct use of headphones via the Pi-DAC+’s 3.5mm audio jack.
The Pi-DAC+ can be connected to the Raspberry Pi’s 40way pin header without any additional
soldering.
Component selection and track layout have been in the forefront of our design to ensure noise
immunity and best possible audio playback with the Pi-DAC+.
Raspberry Pi GPIO header HAT EEPROM Write Enable Headphone Socket
Audio out (for Pi-AMP+) Phono Connectors
"#$! = ! !!!!! #:>*?.@#8<$!$

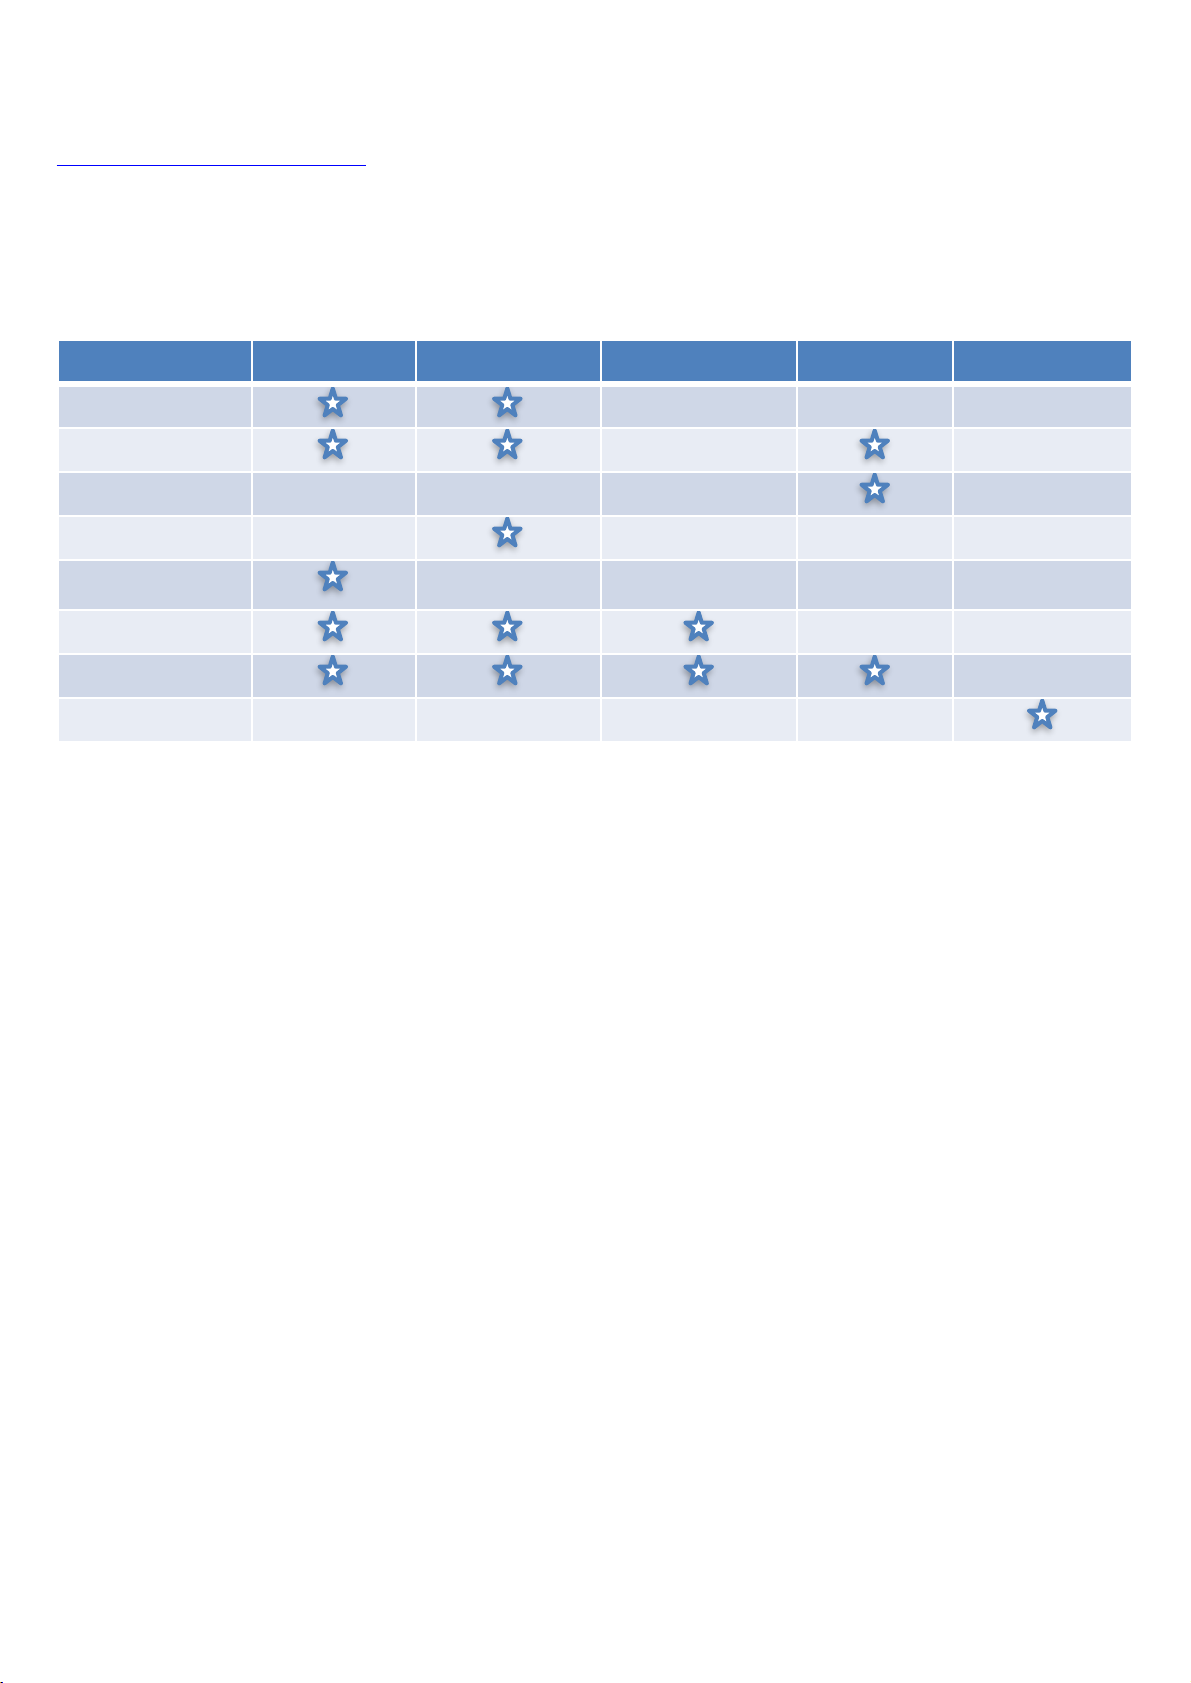
3) The New Pi-DigiAMP+
The Pi-DigiAMP+ is a fully HAT compliant add-on accessory for the Raspberry Pi.
The Pi-DigiAMP+ takes the digital audio signals (I2S) from the Raspberry Pi and through the onboard
Texas Instruments TAS5756M PowerDAC delivers direct connection to stereo speakers at up to
2x35w with variable output.
The Pi-DigiAMP+ can be connected to the Raspberry Pi A+/B+/RPi2 or RPi3’s 40way pin header
without any additional soldering. The Pi-DigiAMP+ requires a 12-24 volt power source to operate.
Power should be applied via the Pi-DigiAMP+’s standard barrel connector or can be applied via the
(no fit) two pin header provided.
The Pi-DigiAMP+, when powered, has been designed to provide power to the Raspberry Pi and Pi-
DigiAMP+ combination safely. You can continue to use your Pi devices without risk of damage. The
amplifier is by default muted at power on (mute LED lit). Mute state / LED is under software control
(Raspberry Pi GPIO22).
Power LED Mute LED Raspberry Pi GPIO Header HAT EEPROM Write Enable
!
!
!
! !
!!!
!!!!!Power In (12-24v) Speaker Terminals
"#$! = ! !!!!! #:>*?.@#8<$!9
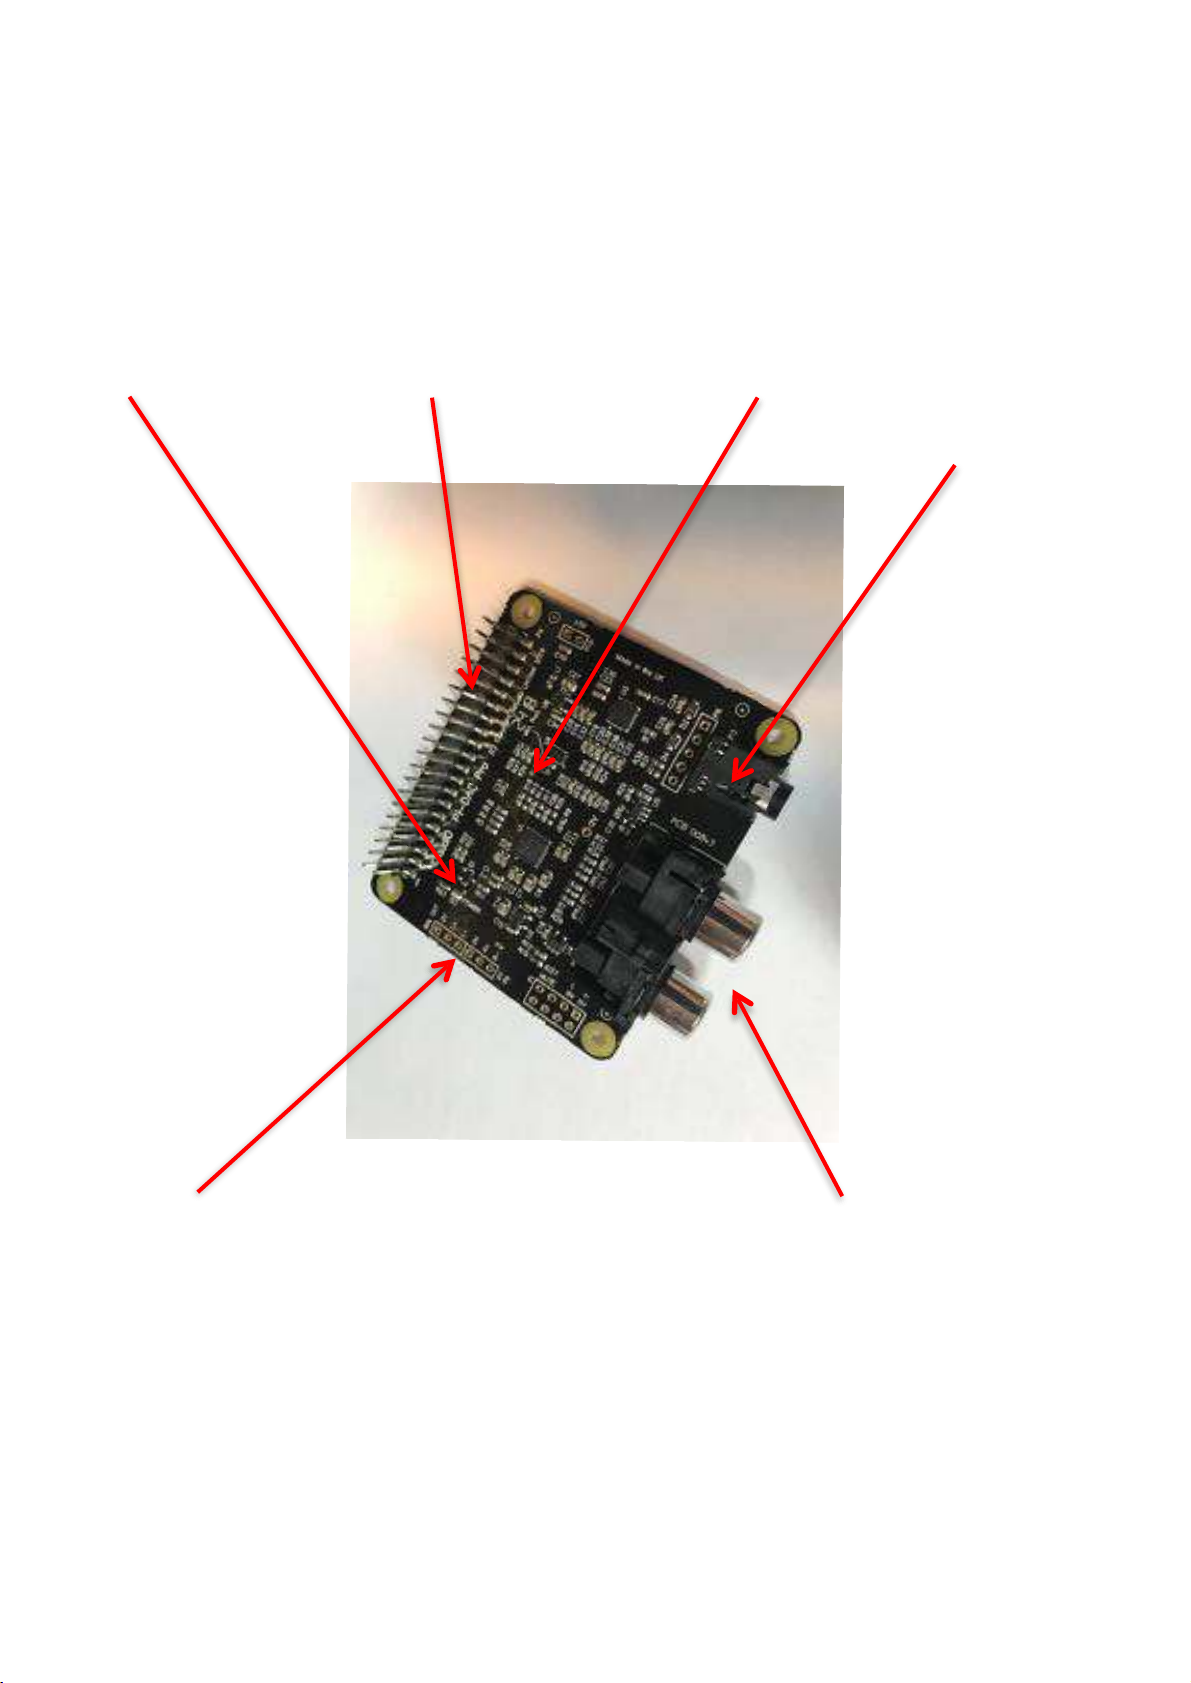
4) The NEW Pi-DAC PRO
The Pi-DAC PRO is a fully HAT compliant add-on accessory for the Raspberry Pi.
The Pi-DAC PRO users the Texas Instruments PCM5242 to deliver outstanding Signal to Noise
Ration and supports Balanced / Differential out in parallel to Phono / RCA line level output. It also
includes the IQaudIO Headphone amp.
The Pi-DAC PRO can be connected to the Raspberry Pi A+/B+/RPi2 or RPi3’s 40way pin header
without any additional soldering. The Pi-DAC PRO is powered from the Raspberry Pi.
Power LED Raspberry Pi GPIO Header HAT EEPROM Write Enable
Headphone socket
Differential out (LEFT and RIGHT) Phono / RCA out!
"#$! = ! !!!!! #:>*?.@#8<$!<8
Other manuals for PI-DAC+
1
This manual suits for next models
6
Table of contents
Other IQaudIO Sound Card manuals


