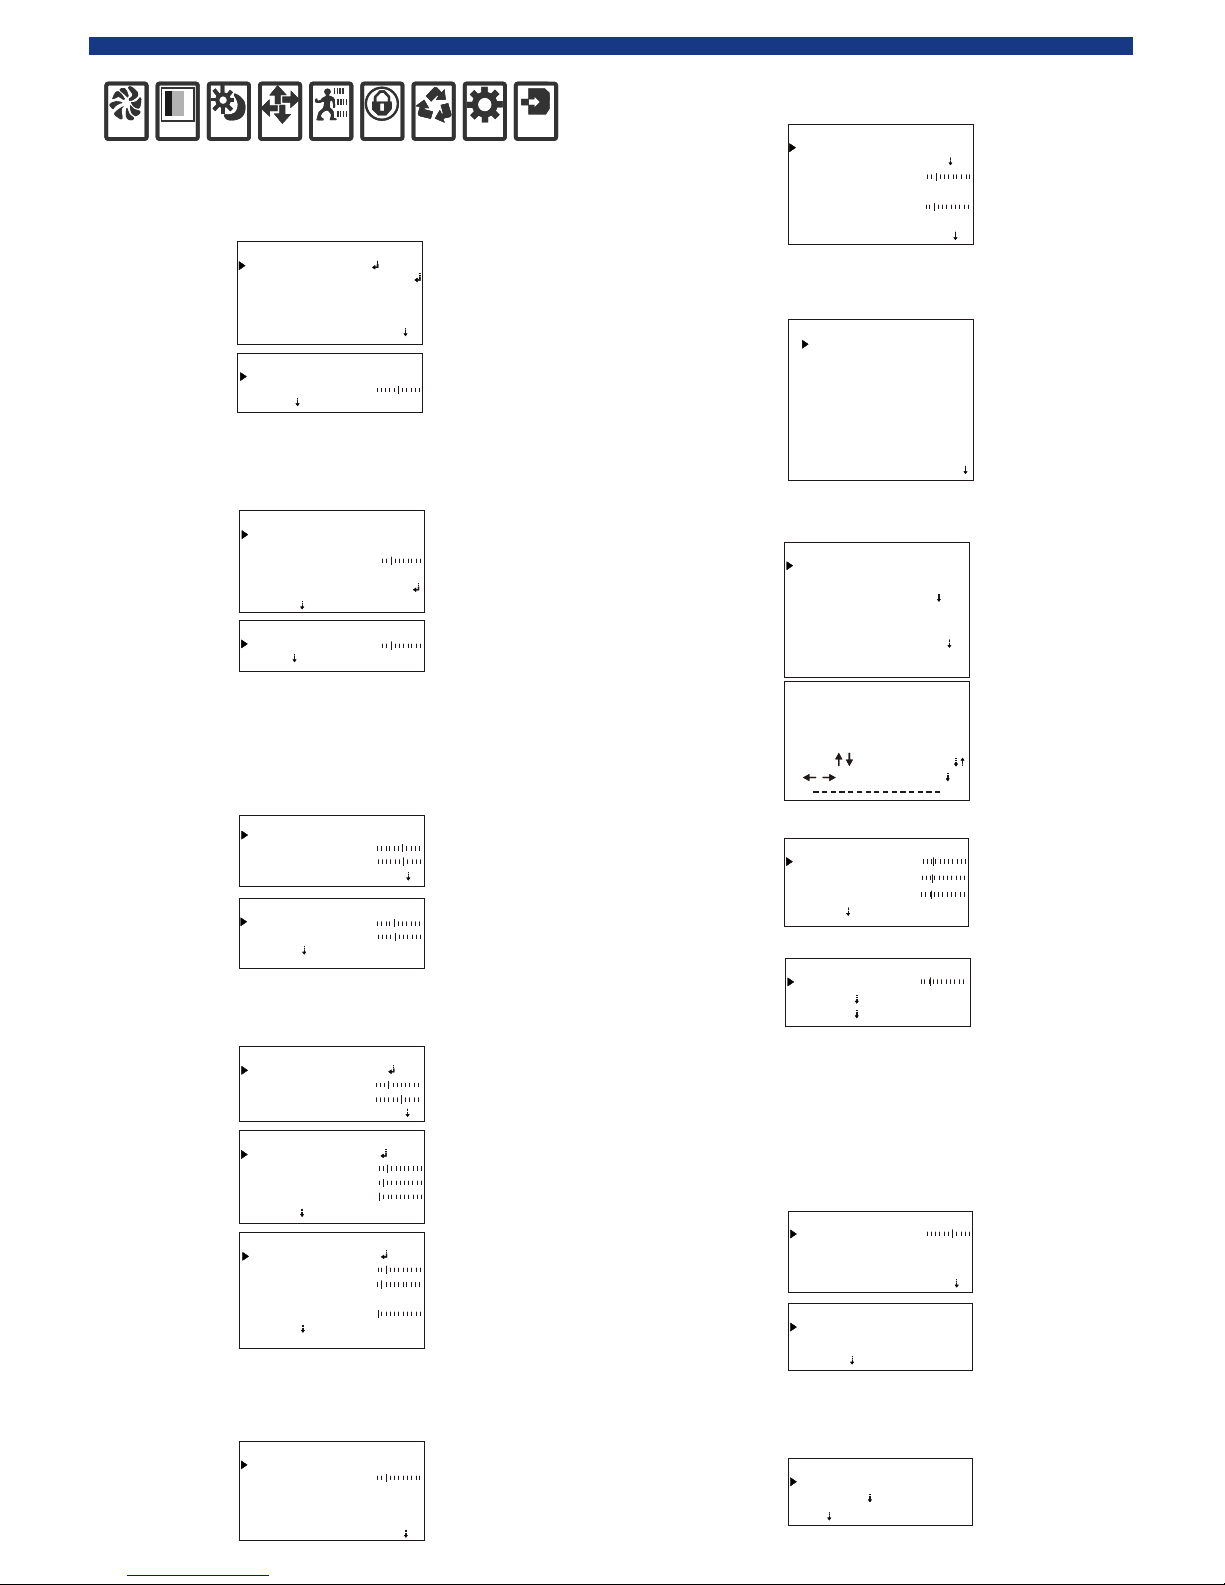
EN-U1-600-110923MENU OPERATION INSTRUCTIONSETUP:1. Press MENU button to display SETUP. Move the cursor to EXPOSURE. And move the cursor to LENS by UP and DOWN buttons and set lens by left and right button s: manual iris lens; DC drive iris lens. E.SHUTTER and BRIGHT can be set.
EXPOSURE:
1. Move the cursor to COLOR, and set WB MODE by left and right buttons: MANUAL; ATW; AWB; ATW LOCK. When MANUAL is selected, you can set color temperature.COLOR:DAY&NIGHT:1. Move the cursor to DAY&NIGHT, and set DAY&NIGHT by left and right buttons: AUTO; COLOR; WHITE; EXT. FUNCTION:1. Move the cursor to FUNCTION. Move the cursor to MIRROR by up and down buttons, and set MIRROR by left and right buttons: ON; OFF. Move the cursor to SHARPNESS, and set SHARPNESS range. Move the cursor to MONITOR, and set MODE type. Move to cursor GAMMA, and set GAMMA range. Move the cursor to LSC, and set it: ON; OFF. EXPWBD&NFUNCMOTPVMSETSYSEXITEXPOSUREHBLC/D-WDR AGC 3D-DNRSENSE-UPEXIT LENS LOWHIGH
ELC
OFFX4RETURNLENS-ELC BRIGHT E. SHUTTER RETURN AUTO 035 HLI MODE SET LEVEL GRAY MODE MASK SEL HBLC BLACK010ALL DAY RETURNMASK 12. Move the cursor to HBLC/D-WDR and set HBLC/D-WDR by left and right buttons: BLC; set BLC by left and right buttons : MANUAL; AUTO. Set AGC: OFF; LOW; MIDDLE; HIGH. Set HBLC by left and right buttons: ALL DAY; ON. When HBLC is ON, you can set SET LEVEL, GRAY MODE and MASK SEL. Set D-WDR by left and right buttons.D-WDR D-WDR LEVEL 010 RETURNCOLOR R-Y GAIN B-Y GAIN WB MODE 120120 EXITATWWB-MANUAL M. WB B RETURN M. WB R 064064DAY&NIGHT C_SUP EXIT D&N MODE 060050 A_SUP
AUTO
D&N-AUTO DAY>NIGHT DWELL TIME BURST 013019 NIGHT>DAY
OFF
RETURN 003EX-CDS DAY>NIGHT DWELL TIME BURST 100210 NIGHT>DAY
OFF
RETURN 003 SMART IR
AUTO
FUNCTION SHARPNESS MIRROR OFF018 LSC
OFF
EXIT
RETURN
MOTION:1. Move the cursor to MOTION, and set MOTION by left and right buttons: ON; OFF. When MOTION is on, you can set 1~4 AREA; SENSITI.; DISPLAY ICON; ALARM. MOTION AREA SEL MOTION AREA 1025 SENSITI.
OFF
DISPLAY
RETURN
HOLD TIME ALARM EXIT
ICON ON
008PRIVACY: PRIVACY MASK 2 MASK 1 MASK 3
OFF
MASK 4
RETURN
MASK 5 MASK 6 MASK 7 MASK 8 EXIT
OFF OFF OFF OFF OFF OFF OFF
SETUP:1. Move the cursor to SETUP. Move the cursor to TITLE by up and down buttons, and set TITLE by left and right buttons: ON; OFF. When TITLE is on, select different user titles. SETUP MANUAL DPC
TITLE
OFFAUTO AUTO DPC
OFF
OLPF
RETURN
OSD COLOR EXIT
850 BLUE
USER TITLECLRPOSRETABCDEFGHIJKLMNOPQR
S
TUVWXYZ0123456789!#$%&()*+,./<>?@[]^_=\_3. Move the cursor to AUTO DPC, and set AUTO DPC by left and right buttons: ON; OFF. AUTO DPC-AUTO DPC RUN DPC LEVEL RETURN
029
MANUAL DPC-MANUAL BLACK THR WHITE THR DPC LEVEL
168
RETURN
065
050
SYSTEM: 1. Move the cursor to SYSTEM. Move the cursor to CAMERA ID by up and down buttons and set CAMERA ID by left and right buttons. Move the cursor to COMMUNI., And set COMMUNI.: ON; OFF. When COMMUNI is on, you can select PROTOCOL and BAUDRATE. Move the cursor to LANGUAGE, and set it: CHINESE; ENGLISH. SYSTEM COMMUNI. CAMERA ID LANGUAGE
001
EXIT
OFF ENGLISH RETURN
COMMUNICATION BAUDRATE PROTOCOL RETURN
PELCO-D 9600
EXIT:1.Move the cursor to EXIT. Move the cursor to FACTORY SET by up and down buttons and set it: YES; NO. Moving the cursor SAVE&EXIT is to save the changes you have made and exit. Move the cursor to EXIT and exit the menu directly. EXIT SAVE&EXIT FACTORY SET EXIT
NO
1. Move the cursor to PRIVACY, and set MASK1~8 by left and right buttons: OFF; ON. When MASK 1~8 is on, you can set the privacy masks and color. 2.Move the cursor to MANUAL DPC, and set MANUAL DPC by left and right buttons: ON; OFF. 3. Move the cursor to AGC, and set AGC by left and right buttons: OFF; LOW; MIDDLE; HIGH. 4. Set 3D-DNR by left and right buttons: OFF; LOW; MIDDLE; HIGH.4.Move the cursor to OLPF, and set OLPF by left and right buttons: 650; 850.5.Move the cursor to MONITOR, and set MONITOR by left and right buttons: CRT; LCD.6.Move the cursor to GAMMA, and set GAMMA by left and right buttons: 0.45;0.6;1;other. RETURNMODE2 MONITOR GAMMA
0.45
RETURNEN-U1-600-110923MENU OPERATION INSTRUCTIONSETUP:1. Press MENU button to display SETUP. Move the cursor to EXPOSURE. And move the cursor to LENS by UP and DOWN buttons and set lens by left and right button s: manual iris lens; DC drive iris lens. E.SHUTTER and BRIGHT can be set.
EXPOSURE:
1. Move the cursor to COLOR, and set WB MODE by left and right buttons: MANUAL; ATW; AWB; ATW LOCK. When MANUAL is selected, you can set color temperature.COLOR:DAY&NIGHT:1. Move the cursor to DAY&NIGHT, and set DAY&NIGHT by left and right buttons: AUTO; COLOR; WHITE; EXT. FUNCTION:1. Move the cursor to FUNCTION. Move the cursor to MIRROR by up and down buttons, and set MIRROR by left and right buttons: ON; OFF. Move the cursor to SHARPNESS, and set SHARPNESS range. Move the cursor to MONITOR, and set MODE type. Move to cursor GAMMA, and set GAMMA range. Move the cursor to LSC, and set it: ON; OFF. EXPWBD&NFUNCMOTPVMSETSYSEXITEXPOSUREHBLC/D-WDR AGC 3D-DNRSENSE-UPEXIT LENS LOWHIGH
ELC
OFFX4RETURNLENS-ELC BRIGHT E. SHUTTER RETURN AUTO 035 HLI MODE SET LEVEL GRAY MODE MASK SEL HBLC BLACK010ALL DAY RETURNMASK 12. Move the cursor to HBLC/D-WDR and set HBLC/D-WDR by left and right buttons: BLC; set BLC by left and right buttons : MANUAL; AUTO. Set AGC: OFF; LOW; MIDDLE; HIGH. Set HBLC by left and right buttons: ALL DAY; ON. When HBLC is ON, you can set SET LEVEL, GRAY MODE and MASK SEL. Set D-WDR by left and right buttons.D-WDR D-WDR LEVEL 010 RETURNCOLOR R-Y GAIN B-Y GAIN WB MODE 120120 EXITATWWB-MANUAL M. WB B RETURN M. WB R 064064DAY&NIGHT C_SUP EXIT D&N MODE 060050 A_SUP
AUTO
D&N-AUTO DAY>NIGHT DWELL TIME BURST 013019 NIGHT>DAY
OFF
RETURN 003EX-CDS DAY>NIGHT DWELL TIME BURST 100210 NIGHT>DAY
OFF
RETURN 003 SMART IR
AUTO
FUNCTION SHARPNESS MIRROR OFF018 LSC
OFF
EXIT
RETURN
MOTION:1. Move the cursor to MOTION, and set MOTION by left and right buttons: ON; OFF. When MOTION is on, you can set 1~4 AREA; SENSITI.; DISPLAY ICON; ALARM. MOTION AREA SEL MOTION AREA 1025 SENSITI.
OFF
DISPLAY
RETURN
HOLD TIME ALARM EXIT
ICON ON
008PRIVACY: PRIVACY MASK 2 MASK 1 MASK 3
OFF
MASK 4
RETURN
MASK 5 MASK 6 MASK 7 MASK 8 EXIT
OFF OFF OFF OFF OFF OFF OFF
SETUP:1. Move the cursor to SETUP. Move the cursor to TITLE by up and down buttons, and set TITLE by left and right buttons: ON; OFF. When TITLE is on, select different user titles. SETUP MANUAL DPC
TITLE
OFFAUTO AUTO DPC
OFF
OLPF
RETURN
OSD COLOR EXIT
850 BLUE
USER TITLECLRPOSRETABCDEFGHIJKLMNOPQR
S
TUVWXYZ0123456789!#$%&()*+,./<>?@[]^_=\_3. Move the cursor to AUTO DPC, and set AUTO DPC by left and right buttons: ON; OFF. AUTO DPC-AUTO DPC RUN DPC LEVEL RETURN
029
MANUAL DPC-MANUAL BLACK THR WHITE THR DPC LEVEL
168
RETURN
065
050
SYSTEM: 1. Move the cursor to SYSTEM. Move the cursor to CAMERA ID by up and down buttons and set CAMERA ID by left and right buttons. Move the cursor to COMMUNI., And set COMMUNI.: ON; OFF. When COMMUNI is on, you can select PROTOCOL and BAUDRATE. Move the cursor to LANGUAGE, and set it: CHINESE; ENGLISH. SYSTEM COMMUNI. CAMERA ID LANGUAGE
001
EXIT
OFF ENGLISH RETURN
COMMUNICATION BAUDRATE PROTOCOL RETURN
PELCO-D 9600
EXIT:1.Move the cursor to EXIT. Move the cursor to FACTORY SET by up and down buttons and set it: YES; NO. Moving the cursor SAVE&EXIT is to save the changes you have made and exit. Move the cursor to EXIT and exit the menu directly. EXIT SAVE&EXIT FACTORY SET EXIT
NO
1. Move the cursor to PRIVACY, and set MASK1~8 by left and right buttons: OFF; ON. When MASK 1~8 is on, you can set the privacy masks and color. 2.Move the cursor to MANUAL DPC, and set MANUAL DPC by left and right buttons: ON; OFF. 3. Move the cursor to AGC, and set AGC by left and right buttons: OFF; LOW; MIDDLE; HIGH. 4. Set 3D-DNR by left and right buttons: OFF; LOW; MIDDLE; HIGH.4.Move the cursor to OLPF, and set OLPF by left and right buttons: 650; 850.5.Move the cursor to MONITOR, and set MONITOR by left and right buttons: CRT; LCD.6.Move the cursor to GAMMA, and set GAMMA by left and right buttons: 0.45;0.6;1;other. RETURNMODE2 MONITOR GAMMA
0.45
RETURN