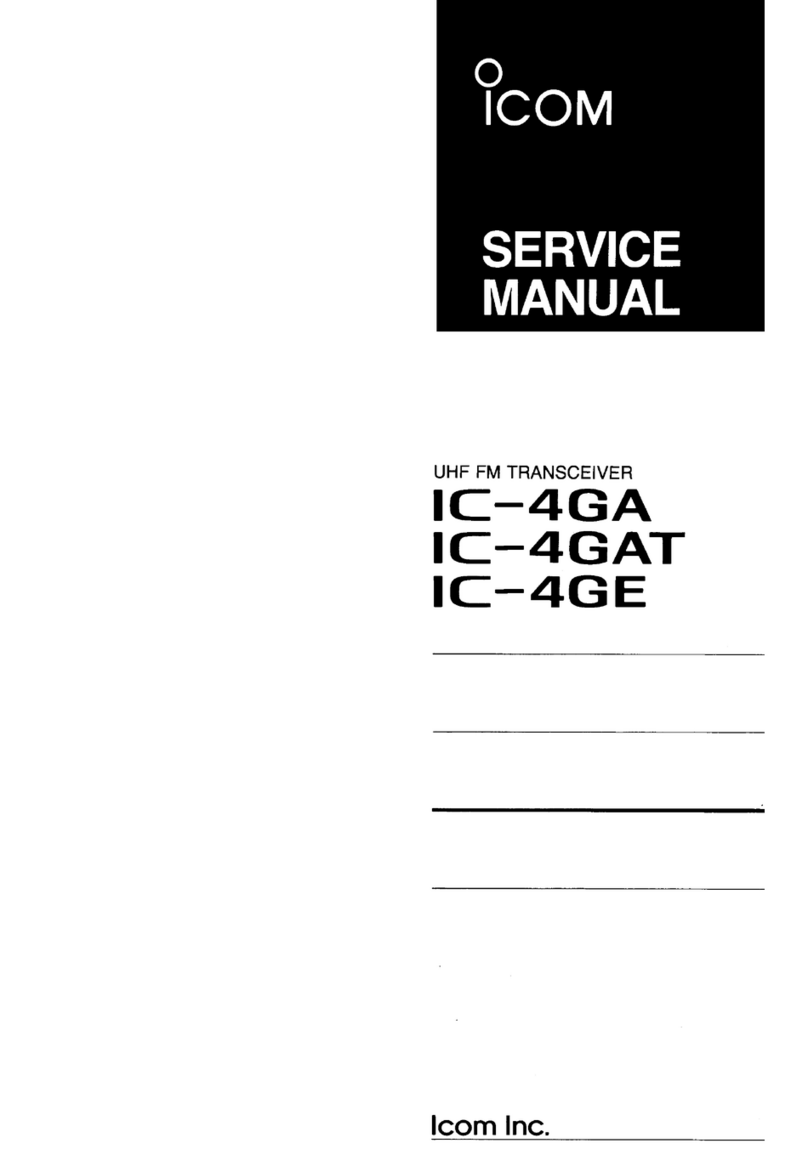
Icom ID-E880 User manual

This device complies with Part 15 of the FCC Rules. Operation is
subject to the following two conditions: (1) this device may not cause
harmful interference, and (2) this device must accept any interference
received, including interference that may cause undesired operation.
WARNING: MODIFICATION OF THIS DEVICE TO RECEIVE CEL-
LULAR RADIOTELEPHONE SERVICE SIGNALS IS PROHIBITED
UNDER FCC RULES AND FEDERAL LAW.
INSTRUCTION MANUAL
ID-E880
VHF/UHF DIGITAL TRANSCEIVER

i
FOREWORD
Thank you for purchasing this fine Icom product. The
ID-E880 VHF/UHF DIGITAL TRANSCEIVER is designed with
Icom’s superior technology and craftsmanship combining’s superior technology and craftsmanship combinings superior technology and craftsmanship combining
traditional analog technologies with the new digital
technology, Digital Smart Technologies for Amateur Radio
(D-STAR), for a balanced package.
With proper care, this product should provide you with years
of trouble-free operation. We want to take a couple of mo-We want to take a couple of mo-
ments of your time to thank you for making your ID-E880
your radio of choice, and hope you agree with Icom’s phi-
losophy of “technology first.” Many hours of research and
development went into the design of your ID-E880.
EXPLICIT DEFINITIONS
WORD DEFINITION
RWARNING! Personal injury, fire hazard or electric
shock may occur.
CAUTION Equipment damage may occur.
NOTE Recommended for optimum use. No risk
of personal injury, fire or electric shock.
FEATURES
MDV mode (digital voice + low-speed data
communication) operation-ready
– Text message and call sign exchange
– Transmitting position data with a third-party
GPS receiver
MDR (D-STAR Repeater) mode and repeater
list allow you to operate a D-STAR repeater
simply
MSwitchable VHF and UHF transceiver
M50 W—high transmit output power
MDetachable controller for flexible installa-
tion
MLarge tuning dial and band switch button
IMPORTANT
READ ALL INSTRUCTIONS carefully and completely
before using the transceiver.
SAVE THIS INSTRUCTION MANUAL— This
instruction manual contains important operating instructions
for the ID-E880.

ii
R WARNING RF EXPOSURE! This device emits Radio
Frequency (RF) energy. Extreme caution should be observed when
operating this device. If you have any questions regarding RF ex-
posure and safety standards please refer to the Federal Communi-
cations Commission Office of Engineering and Technology’s report
on Evaluating Compliance with FCC Guidelines for Human Radio
frequency Electromagnetic Fields (OET Bulletin 65).
R WARNING! NEVER connect the transceiver to an AC out-
let. This may pose a fire hazard or result in an electric shock.
R WARNING! NEVER operate the transceiver while driving
a vehicle. Safe driving requires your full attention—anything less may
result in an accident.
R WARNING! NEVER cut the DC power cable between the
DC plug and fuse holder. If an incorrect connection is made after cut-
ting, the transceiver may be damaged.
NEVER connect the transceiver to a power source of more than
16 V DC. This will damage the transceiver.
NEVER connect the transceiver to a power source using reverse
polarity. This will damage the transceiver.
NEVER expose the transceiver to rain, snow or any liquids. The
transceiver may be damaged.
NEVER operate or touch the transceiver with wet hands. This may
result in an electric shock or damage the transceiver.
NEVER place the transceiver where normal operation of the ve-
hicle may be hindered or where it could cause bodily injury.
NEVER let objects impede the operation of the cooling fan on the
rear panel.
DO NOT
push the PTT unless you actually intend to transmit.
DO NOT allow children to play with any radio equipment contain-
ing a transmitter.
During mobile operation, DO NOT operate the transceiver without
running the vehicle’s engine. When the transceiver’s power is ON and
your vehicle’s engine is OFF, the vehicle’s battery will soon become
exhausted.
DO NOT use or place the transceiver in direct sunlight or in areas
with temperatures below –10°C or above +60°C.
BE CAREFUL! The transceiver will become hot when operat-
ing it continuously for long periods.
DO NOT set the transceiver in a place without adequate ventila-
tion. Heat dissipation may be affected, and the transceiver may be
damaged.
DO NOT use harsh solvents such as benzene or alcohol to clean
the radio, because they can damage the transceiver's surfaces.
USE Icom microphones only (supplied or optional). Other manufac-
turers’ microphones have different pin assignments and may damage
the transceiver if attached.
PRECAUTIONS

iii
The following accessories are supplied with the transceiver.
qDC power cable (3 m†) ....................................................1
wSeparation cable (3.4 m†) ................................................1
eMicrophone (HM-133) ......................................................1
rFuse (20 A) ......................................................................1
tMicrophone hanger...........................................................1
yMounting screws, nuts and washers .......................... 1 set
uMobile mounting bracket ..................................................1
iRemote controller bracket ................................................1
†Approx.
q
tr
iu
y
we
SUPPLIED ACCESSORIES
Icom, Icom Inc. and the Icom logo are registered trademarks of
Icom Incorporated (Japan) in the United States, the United King-
dom, Germany, France, Spain, Russia and/or other countries.
Microsoft, Windows and Windows Vista are registered trademarks
of Microsoft Corporation in the United States and/or other coun-
tries.
All other products or brands are registered trademarks or
trademarks of their respective holders.

iv
1
2
3
4
5
6
7
8
9
10
11
12
13
14
15
16
17
18
19
FOREWORD ····················································································· i
EXPLICIT DEFINITIONS··································································· i
FEATURES························································································ i
IMPORTANT······················································································ i
PRECAUTIONS················································································ ii
SUPPLIED ACCESSORIES···························································· iii
TABLE OF CONTENTS ······························································iv–vi
QUICK REFERENCE GUIDE ····················································· I–XI
NInstallation·················································································I
NYour first contact··································································· VIII
NRepeater operation································································· X
NProgramming memory channels············································ XI
1 PANEL DESCRIPTION ························································· 1–10
NMain unit ··················································································1
NFront panel···············································································2
NFunction display·······································································4
NMicrophone (HM-133)······························································7
NMicrophone keypad ·································································8
NOptional microphone (HM-154) ·············································10
2 BASIC OPERATION ···························································11–21
NPreparation ············································································11
NUsing the tuning dial ······························································14
NUsing the []/[] keys ··························································14
NUsing the keypad ···································································15
NTuning step selection ·····························································15
NLock functions········································································16
NReceiving···············································································17
NTransmitting············································································17
NSelecting output power ··························································18
NOperating mode selection······················································18
NSquelch attenuator·································································19
NMonitor function ·····································································20
NAudio mute function ·······························································20
NOne-touch PTT function·························································21
3 REPEATER OPERATION ···················································22–27
NGeneral ··············································································22
NAccessing a repeater·····························································23
NSubaudible tones (Encoder function)·····································25
NFrequency offset ····································································27
4 DV MODE PROGRAMMING···············································28–41
NAbout the D-STAR system ·····················································28
NCall sign programming···························································30
NRepeater list ··········································································34
NRepeater list programming ····················································35
NChanging a repeater list·························································40
NClearing a repeater list ··························································41
5 DV MODE OPERATION······················································42–72
NDigital mode operation···························································42
NCurrent call sign setting ·························································42
NReceiving a D-STAR repeater················································43
NReceived call sign··································································44
NCopying the call sign······························································46
NDR (D-STAR Repeater) mode operation ·······························48
NCalling CQ ·············································································50
NCalling a specific station ························································52
TABLE OF CONTENTS

v
NSimplex operation in the VFO················································56
NRepeater operation in the VFO ··············································58
NMessage operation ································································64
NAutomatic reply function ························································66
NEMR communication······························································67
NBreak-in communication ························································68
NLow-speed data communication············································70
NOther function in the DV mode···············································72
6 GPS/GPS-A OPERATION ·················································· 73–86
NGPS operation ·······································································73
NGPS-A operation····································································86
7 MEMORY/CALL CHANNELS············································· 87–99
NGeneral description································································87
NSelecting a memory channel ·················································88
NSelecting a call channel·························································89
NMemory channel programming··············································90
NMemory bank setting ·····························································92
NMemory bank selection··························································93
NProgramming memory/bank/scan name································94
NSelecting memory/bank name indication·······························95
NCopying memory/call contents···············································96
NMemory clearing ····································································98
NErasing/transferring bank contents ········································99
8 SCAN OPERATION ························································ 100–110
NScan types··········································································· 100
NFull/band/programmed scan ···············································102
NScan edges programming····················································103
NMemory scan ······································································105
NMemory bank scan ······························································106
NSkip channel/frequency setting············································108
NScan resume condition ························································109
9 PRIORITY WATCH··························································111–115
NPriority watch types ·····························································111
NPriority watch operation ·······················································112
10 MENU SCREEN OPERATION········································116–141
NGeneral ············································································116
NMENU screen indication and arrangement··························118
NItems list ············································································119
NDUP.T mode items ·······························································121
NSCAN mode items ······························································123
NSET mode — FUNC items···················································127
NSET mode — DISP items ····················································130
NSET mode — SOUNDS items ·············································132
NDV SET mode items ····························································134
NGPS mode items··································································138
11 DTMF MEMORY ENCODER ··········································142–145
NProgramming a DTMF tone sequence·································142
NTransmitting a DTMF tone sequence ···································143
TABLE OF CONTENTS

vi
NDTMF speed········································································145
NClearing a DTMF memory ···················································145
12 TONE SQUELCH AND POCKET BEEP ························146–152
NTone/DTCS squelch (beep) operation··································146
NDTCS polarity setting ··························································149
NTone scan·············································································150
NDigital squelch ·····································································151
13 OTHER FUNCTIONS ······················································153–161
NMicrophone keys··································································153
NAll reset················································································154
NPartial reset··········································································154
NData cloning·········································································155
NAuto power OFF···································································157
NTime-out timer······································································157
NPacket operation ··································································157
14 MAINTENANCE······························································162–163
NTroubleshooting····································································162
NFuse replacement································································163
15 SPECIFICATIONS···························································164–165
16 OPTIONS ················································································166
17 CE ·················································································167–168
INDEX ·················································································169–175
TABLE OF CONTENTS 1
2
3
4
5
6
7
8
9
10
11
12
13
14
15
16
17
18
19

I
QUICK REFERENCE GUIDE
NInstallation
D Precaution — magnets
R CAUTION
Magnets are used for the controller’s attachment to a metal
object.
NEVER attach the controller on the main unit’s top cover,
particularly around the internal speaker grill. It may cause the
contents of the CPU and memory device to be deleted.
NEVER put the controller near a clock, television set (CRT
type), magnetic compass or any magnetic/IC cards, credit
cards, etc. The magnets may cause the products to malfunc-
tion or may erase the contents of magnetic storage devices.
Please note that the controller may detach and fall with im-
pact or vibration.
D Installation methods
• Single body installation
Transceiver
• The supplied mounting bracket can be used for the main
unit installation.

II
QUICK REFERENCE GUIDE
QUICK REFERENCE
• Remote installation
Main unit
Controller
• The supplied remote controller bracket and separation cable
can be used for installation.
• Optional OPC-440 MICROPHONE CABLE (5.0 m) and OPC-
647 (2.5 m) are available to extend the microphone cable.
• Optional OPC-441 SPEAKER CABLE (5.0 m) is available to
extend the speaker cable.
D Location
Select a location which can support the weight of the trans-
ceiver and does not interfere with driving. We recommend the
locations shown in the diagram below.
NEVER place the transceiver or remote controller where
normal operation of the vehicle may be hindered or where it
could cause bodily injury.
NEVER place the transceiver or remote controller where air
bag deployment may be obstructed.
DO NOT place the transceiver or remote controller where hot
or cold air blows directly onto it.
DO NOT place the transceiver or remote controller in direct
sunlight.
Controller
Main unit
Main unit
Main unit

D Using the mounting bracket
qDrill 4 holes where the mounting bracket is to be installed.
• Approx. 5.5–6 mm when using nuts; approx. 2–3 mm when using
self-tapping screws.
wInsert the supplied screws, nuts and washers through the
mounting bracket and tighten.
eAdjust the angle for your suitable position.
Nut
Spring washer
When using self-tapping
screws
Flat washer
Mounting nut
Mounting
bracket
25°
IMPORTANT!
Detailed installation notes for Icom mobile transceivers
to be fitted into vehicles are available. Contact your Icom
dealer or distributor.
D Microphone connection
A microphone connector is available on the main unit front
panel. Connect the supplied microphone connector as illus-
trated below.
Transceiver Microphone
III
QUICK REFERENCE GUIDE
This manual suits for next models
1
Table of contents
Other Icom Transceiver manuals