
Hydor MIXO User manual

Digital Feeder
User’s Guide

Assembly
D
E
CBA
g 1
TIME
FEED
BATTERY
FISH KEY
Display symbols:

g 2
g 3

4
g 4
g 6
g 5

5
g 8
g 9
g 7

Contents
English pag 7
Deutsch pag 9
Française pag 11
Español pag 13
Italiano pag 15
Portuguese pag. 17
Nederlandse pag 19
Danske pag 21
Polska pag 23
Руссо pag 25
Czechoslovakian pag 27
Türk pag 29
Israeli pag 31

7
English
Digital feeder
DIGITAL FEEDER is an automatic aquarium food feeder with electronic timer
control.
Description
A. cover
B. Feeding spout and control
C. Food compartment
D. Motor
E. Battery cover
Timer setting
Attention:Timer has to be reset every time the batteries are removed or replaced.
Removecover(E)and inserttwo batteries taking care toplace them with the correct polarity.
Press the SET key to start setting the actual time. Display TIME will ash during this ope-
ration -g. 2-.
Set hours and minutes by pressing the HR and MIN keys.
Press SET once again to memorise. The TIME symbol disappears and FEED will start ashing
to indicate that you can enter the rst feeding time setting.
Set the time by pressing HR and MIN and press SET to memorise and pass to the second
feeding time setting. The second FEED will light up. Press HR and MIN until you reach the
time you wish for the second feeding and memorise by pressing SET.
The display will now show the current feeding time and two FEED - FEED indicating DIGITAL
FEEDER has been programmed for two feeding cycles a day -g. 3-.
DIGITAL FEEDER will automatically leave the programming mode 30 seconds after the last
key has been touched
Number of daily feeds
It is possible to omit one or both of the programmed feeding cycles at any time.
Press the SET key until the FEED corresponding to the feeding cycle you want to exclude
begins to ash.
Press FISH to cancel the food symbol in front of the mouth of the sh -g.4-. Follow the same
procedure to omit also the other feeding cycle.
To leave the programming mode press SET or wait 30 seconds for automatic exit.
To restart the function on hold press SET until the FEED symbol ashes and press FISH once
again so that the food in front of the sh’s mouth reappears.
Exit from programming function as explained above.
Manual feeding
Manual feeding can be carried out at any time. Simply press FISH once.
Batteries
One week before the batteries are totally discharged the symbol BATTERY will appear on the
display to indicate that they need to be replaced.
Remember to reprogram DIGITAL FEEDER after replacing the batteries.
Installation
Whilst DIGITAL FEEDER has been specially designed for use in aquariums it is recommended
to place the unit in a position with air circulation to prevent moisture entering the food
compartment.
Release the food compartment (C) by rolling and pulling outwards.
Take o food cover (A) and ll the compartment -g. 5/6-: do not pack the food too tightly
in the compartment.
Close the food compartment and insert it into position until locking tab clicks into place.
Make sure the positioning marks coincide -g. 7-.
Place DIGITAL FEEDER on the aquarium hood with the food outlet positioned over the fee-
ding hole in the hood, nally x with the adhesive tape supplied.
The hole should be at least 40 x 40 mm. If necessary, enlarge the existing hole or cut one
possibly on the side opposite the lter ensuring that the hole is not over the light tubes or

8English
other accessories which could cause problems when feeding.
Whenever necessary, it is possible to connect DIGITAL FEEDER to an air-pump as shown in
g. 8 to ventilate the food.
A special internal system stops the air output automatically during the feeding, thus avoi-
ding the risk of too large a quantity of food being fed into the tank.
Adjusting the quantity of food
Feed as much food as your sh can eat in about 5 minutes.To control the feed quantity, just
press FISH and adjust by moving control B -g. 9- on the feeding outlet until you obtain
the required dosage.
The automatic feeder is suitable for dry feed such as ake food and
granulates. Do not use for live or frozen food!
To guarantee best distribution of ake food it is advisable to remove the small pre-cut
triangle on the blue regulation -g. 10- (Attention, the triangle, once removed can not be
replaced).
Maintenance
Clean the compartment and feed outlet regularly to avoid growth of moulds, etc.
In case of complete discharge of the batteries clean the seats and contacts in the battery
chamber very carefully to avoid possible corrosion.
Guarantee
This device is guaranteed for a period of 24 months from the day of purchase, against defects
in material or manufacturing defects. Our guarantee does not apply to claims the cause of
which is due to installation and operation faults, lack of maintenance, misuse of the ap-
pliance, eects of frost, furring and lime deposits or amateur attempts at repair work. The
consumable materials and the parts subjected to wear and tear, that must be periodically
replaced for normal maintenance of the device, are not included in our guarantee.
The certicate of guarantee must be completed by the retailer and is to be sent with the
appliancein case ofreturn,together with the purchasereceiptrecordingthedayof purchase.
European union disposal information
This symbol means that according to local laws and regulations your product
should be disposed of separately from household waste. When this product
reaches its end of life, take it to a collection point designated by local authorities.
Some collection points accept products for free. The separate collection and
recycling of your product at the time of disposal will help conserve natural
resources and ensure that it is recycled in a manner that protects human health
and the environment.

9
Deutsch
Digital feeder
DIGITAL FEEDER ist ein Fütterungsautomat für Aquarien mit elektronischer
Zeitkontrolle.
Verzeichnis der teile
A. deckel
B. Dosierbarer Futterauswurf
C. Futterbehälter
D. Motorgehäuse
E. Batterieabdeckung
Einstellung des timers zeiteinstellung
Achtung: bei jeder Entfernung der Batterien aus ihrem Gehäuse (Z.B. wegen Batteriewe-
chsels) muß der Timer neu eingestellt werden!
Entfernen Sie die Batterie-abdeckung E und setzen Sie die Batterien ein; achten Sie dabei
auf die richtige Polarität.
Drücken Sie dieTaste SET, Symbol TIME leuchtet auf -Bild. 2-.
Durch Drücken derTaste HR und MIN stellen Sie die aktuelle Uhrzeit ein.
Speichern Sie diese durch Drücken derTaste SET.
Nun ist die Uhr zeitrichtig eingestellt, Symbol TIME schaltet ab, und Symbol FEED leuchtet
auf.
Der Timer ist bereit zur Programmierung der ersten Fütterungszeit -Bild. 2-.
Stellen Sie die erste Fütterungszeit mit HR und MIN ein und drücken Sie die SET - Taste.
Symbol FEED erlischt, und Symbol FEED leuchtet auf.
Stellen Sie nun die zweite Fütterungszeit mit HR und MIN ein und drücken Sie die SET-Taste.
Auf dem Display sehen Sie nun die aktuelle Zeit und die Symbole FEED und FEED beleuchtet.
Das zeigt an, daß der Automat auf die richtige Uhrzeit eingestellt und für zwei Fütte-
rungszeiten jeTag programmiert ist -Bild. 3-.
Achtung:DIGITALFEEDER verlässt 30 Sekundennach Ihrem letztenTastendruckdieProgram-
mierphase und beginnt die Funktionsphase.
Änderung der program-mierten fütterungszeiten
Sie können jederzeit einen oder beide der programmierten Füt-terungstermine übergehen.
Hiezu drücken Sie dieTaste SET, bis das Symbol jenes Fütterungstermins (Symbol FEED oder
FEED) aueuchtet, den Sie auslassen möchten.
NundrückenSie dieTasteFISH, und das Futtersymbolvordem Maul des betreendenFisches
verschwindet -Bild. 4-.
Wiederholen Sie diesen Vorgang, wenn Sie auch den zweiten Fütterungstermin übergehen
möchten.Wenn Sie nun SET drücken oder 30 Sekunden warten, haben Sie diesen Program-
miervorgang beendet.
Um zur ursprünglichen Program-mierung zurückzukehren, drücken Sie SET, bis die Fi-
schsymbole (FEED oder FEED) erscheinen.
Dann drücken Sie die Taste FISH, und das Futtersymbol vor dem Fischmaul erscheint. 30
Sekunden warten, und die ursprüngliche Programmierung ist wieder aktiviert.
Händische fütterung
Sie ist jederzeit möglich und kann durchgeführt werden, sobald Sie einmal die Taste FISH
gedrückt haben.
Leere batterien
Etwa eine Woche vor dem Batterien Versagen leuchtet das Symbol BATTERY auf und zeigt
an, daß die Batterien auszuwechseln sind. Vergessen Sie nicht nach dem Batteriewechsel
DIGITAL FEEDER neu zu programmieren!
Installation
DIGITAL FEEDER ist speziell für Aquarien entwickelt worden. Es empehlt sich, DIGITAL
FEEDER an einer Stelle des Aquariums mit guter Luftzirkulation anzubringen, damit die
aus dem Aquarium aufsteigende Luft-feuchtigkeit möglichst nicht in den Futterbehälter
gelangen kann.

10 Deutsch
Den Futterbehälter C drehen und nach außen abziehen, den Deckel A abnehmen und das
Futter in den Behälter einfüllen -Bild 5/6-. Das Futter locker lassen, nicht pressen! Schließen
Sie den Behälter und schieben Sie ihn in seinen Sitz zurück, bis er mit einem “Klick”hörbar
einrastet. Achten Sie darauf, daß die Markierungen übereinstimmen -Bild. 7-
Plazieren Sie DIGITAL FEEDER so auf der Abdeckung Ihres Aquariums, daß der Futterauswurf
genau über dem vorgesehenen Futterloch liegt.
Sie können den Futterautomat auch mit dem mitgelieferten Klebestreifen befestigen.
Das Futterloch muß mindestens 40x40 mm groß sein.
Vergrößern Sie nötigenfalls das bestehende Futterloch oder bringen Sie ein neues an, mögli-
chst weit weg von der Filteranlage Ihres Aquariums und nicht über Leuchtröhren etc., damit
Probleme beim Füttern vermieden werden.
Es ist auch möglich, “DIGITAL FEEDER”mit einer Luftpumpe zu verbinden, damit das Futter
immer gut belüftet bleibt -Bild 8-. Ein Innensystem unterbricht diese Ventilation während
derFütterungsphasen,damit nicht eine zugroßeFuttermengeins Aquarium gelangen kann.
Einstellung der futtermenge
Die richtige Futtermenge ist jene, die ein Fisch innerhalb von etwa fünf Minuten zu sich
nehmen kann. Drücken Sie die Taste FISH. Berurteilen Sie die austretende Futtermenge. Sie
können diese Menge am Futterauswurf B vergrößern oder verkleinern -Bild. 9-.
Der Futterautomat eignet sich im Besonderen für Flocken- oder Granulatfutter. Es ist kein
lebendiges oder tiefgekühltes Futter einzusetzen.
Um eine perfekte Verteilung des Flockenfutters zu gewährleisten, wird empfohlen die
vorgewschnittene Ecke des blauen Hahns abzutrennen -Bild. 10-. (Achtung, denn die Ab-
trennung ist nicht rückgängig zu machen:die Ecke kann nicht mehr an ihren ursprünglichen
Ort befestigt werden.)
Wartung
DIGITAL FEEDER braucht keine besondere Wartung. Es empehlt sich aber, den Futter-
behälter und den Futterauswurf regelmäßig zu reinigen, um in diesem Bereich die Bildung
gefährlicher und giftiger Keime zu verhindern.
Falls sich die Batterien vollständig entladen haben, müssen die Batteriekammer und alle
Kontakte darin von allen Spuren eventuell ausgetretener Säure sorgfältig gereinigt werden.
Garantiebedingungen
Für dieses Gerät gilt eine Garantie von 24 Monaten abVerkaufsdatum für fehlerhaftes Mate-
rial und Fabrikationsfehler. Nicht unter den Garantienschutz fallen Beanstandungen, deren
Ursachen auf Einbau-und Bedienungsfehler sowie mangelnde Pege, Frostein-
wirkung, Kalkablagerungen oder unsachgemäße Reparatur-
versuche zurückführen sind.
Ebenfalls von der Garantie ausgeschlossen sind Filtermedien und Verschleißmaterial, die in
gewissenAbständen zur normalen Pege und Reinigung des Gerätes ausgewechselt werden
müssen. Das beanstandete Gerät muss mit der vom Händler ausgefüllten Garantiebescheini-
gung und dem entsprechenden Kassenbon (oder Rechnung) eingeschickt werden.
Europäische union information zur entsorgung
Dieses Symbol weist darauf hin, dass dieses Produkt entsprechend den
geltenden gesetzlichen Vorschriften und getrennt vom Hausmüll entsorgt
werden muss. Geben Sie dieses Produkt zur Entsorgung bei einer oziellen
Sammelstelle ab. Bei einigen Sammelstellen können Produkte zur Entsorgung
unentgeltlich abgegeben werden. Durch getrenntes Sammeln und Recycling
werden die Rohsto-Reserven geschont, und es ist sichergestellt, dass beim
Recycling des Produkts alle Bestimmungen zum Schutz von Gesundheit und
Umwelt eingehalten werden.
Other manuals for MIXO
1
Table of contents
Languages:
Other Hydor Aquarium manuals

Hydor
Hydor Pico Filter User manual

Hydor
Hydor AUTOMATIC FEEDER User manual
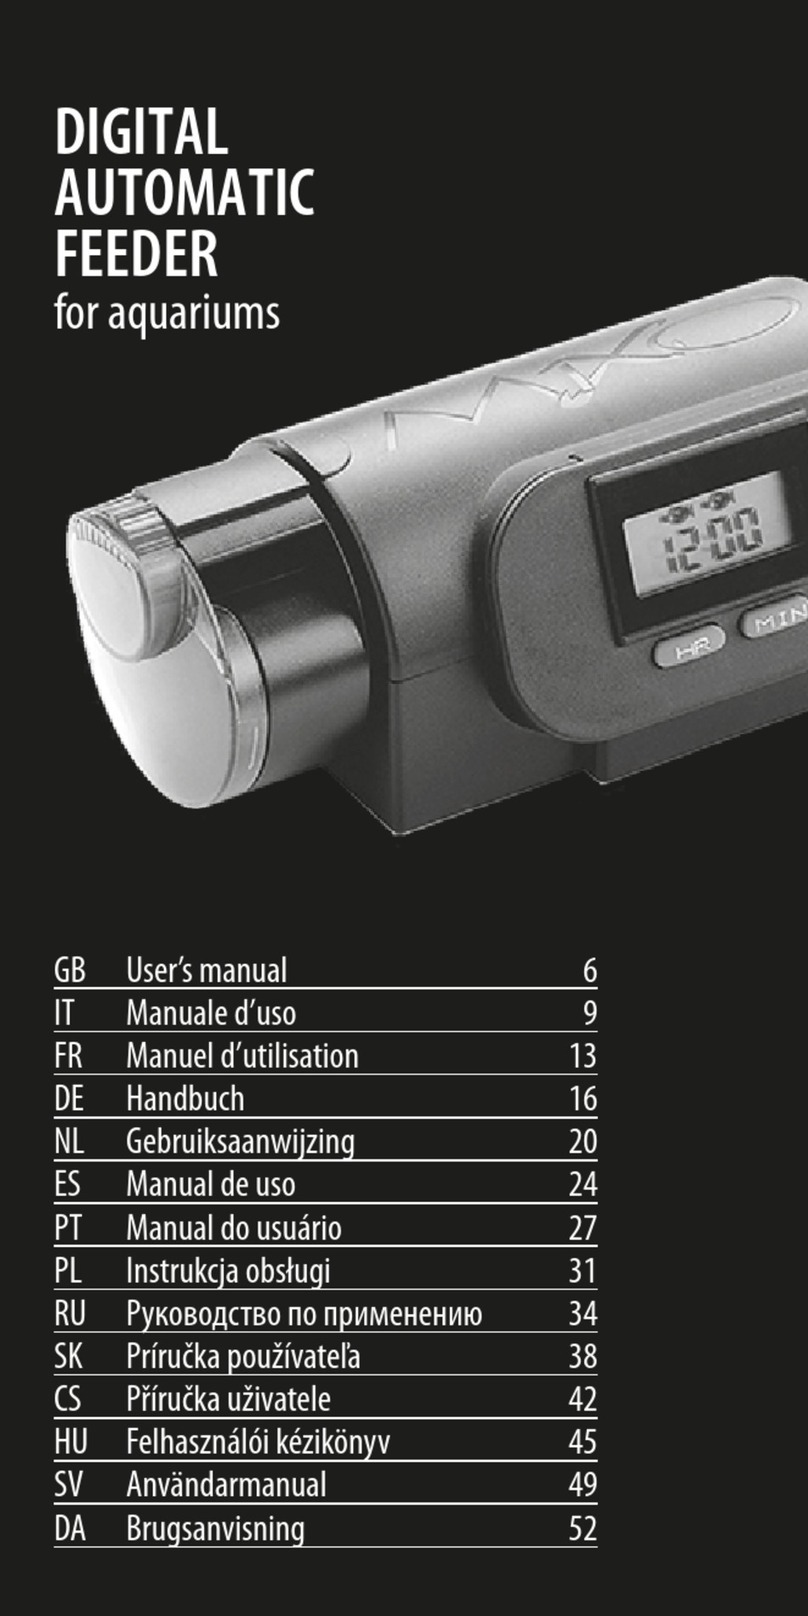
Hydor
Hydor MIXO User manual
Hydor
Hydor EKOMIXO User manual

Hydor
Hydor HYDROKABLE User manual
Hydor
Hydor CAPRI 60 LED User manual

Hydor
Hydor Prime 10 User manual

Hydor
Hydor KORALIA Magnum 5 User manual

Hydor
Hydor Professional 150 User manual

Hydor
Hydor AQAMAI LR User manual
Popular Aquarium manuals by other brands


Royal Exclusiv
Royal Exclusiv Bubble King DeLuxe 300 datasheet

Sera
Sera Marin Precision Biotop LED Cube 130 Instructions for installation and use

Commodity Axis
Commodity Axis ViaAqua Titanium Heater manual

Sander
Sander Ozonizer P 2000 Instructions for use

Hagen
Hagen HALF MOON instructions

CPR
CPR CS150 manual