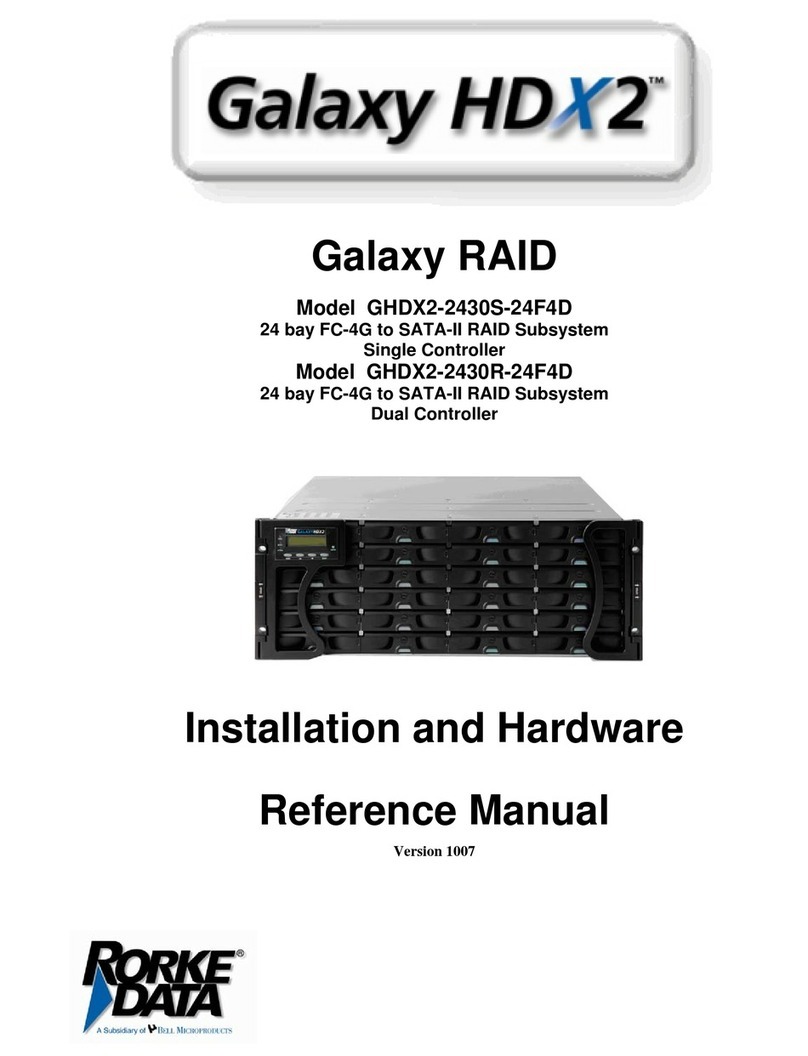
Hama 53321 User manual

USB 3.0 Express Card
NOTEBOOK
00053321

2
dBedienungsanleitung
Packungsinhalt:
• USB 3.0 ExpressCard mit 2x Anschlüssen
• Treiber CD-ROM
• Diese gedruckte Installationsanleitung
Wichtige Hinweise zur Stromversorgung
Der Anschluss eines externen Netzteiles ermöglicht es,
angeschlossenen USB Geräten mit Strom zu versorgen.
So lassen sich auch Geräte ohne eigene Stromversorgung
mit der ExpressCard zu betreiben.
Bitte beachten Sie:
Nur Schaltnetzteile mit folgenden Spezikationen zu
verwenden (wir empfehlen Hama Artikel Nr. 46600):
• Spannung 5V DC, Belastbarkeit abhängig vom
angeschlossenen Gerät.
• Polarität: außen Minus (-) und innen Plus (+)
Vorsicht!: Bei Missachtung kann es zu Beschädigung am
Notebook/Laptop, ExpressCard oder an dem angeschlos-
senen Gerät kommen. Die Firma Hama GmbH & Co KG
haftet in keinen Fall für solche Beschädigung, die durch
Missachtung dieses Hinweises entstanden sind.
Softwareinstallation:
Installation unter Windows Vista und Windows 7
Bevor Sie die ExpressCard in Ihr Notebook einstecken,
müssen Sie den dazu benötigten Treiber von der CD-ROM
zuerst installieren.
Legen Sie dazu die beiliegende Treiber CD in das Lauf-
werk Ihres Notebooks ein. Kurz danach startet das Hama
Installationsprogramm automatisch. Sollte das Programm
nicht starten, so klicken Sie doppelt mit der rechten
Maustaste auf die Datei autorun.exe im Hauptverzeichnis
der Treiber CD.
Wählen Sie die passende Sprache aus.
Klicken Sie auf Treiberinstallation.
Hinweis:
Möchten Sie die Bedienungsanleitung in elektronischer
Form lesen, klicken Sie auf Anleitung anzeigen. Beachten
Sie, dass zum Anzeigen der Anleitung ein installierter
Adobe Acrobat Reader benötigt wird. Falls dieses Pro-
gramm nicht installiert ist, klicken Sie auf Acrobat Reader,
um die Software von CD zu installieren. Klicken Sie auf
Treiber-Download um zu überprüfen, ob neue Treiber
für das Produkt vorhanden sind. Um zur Sprachauswahl
zurückkehren, wählen Sie Zurück.
Nachdem die Installation gestartet wurde, erscheint
unter Umständen die in Windows Vista / 7 integrierte
Benutzerkontensteuerung und fordert Sie auf, Ihre
Zustimmung zur Installation des Treibers zu geben.
Klicken Sie auf die Schaltäche Fortsetzen bzw. bei
Windows 7 auf Ja.
Klicken Sie auf Weiter.

3
Akzeptieren Sie die Bedingungen der Lizenzvereinbarung,
indem Sie die Option „Ich bin mit den Bedingungen der
Lizenzvereinbarung einverstanden“ auswählen, und
anschließend auf Weiter klicken.
Klicken Sie auf Weiter.
Klicken Sie auf Installieren.
Die Installation ist erfolgreich beendet.
Klicken Sie abschließend auf Fertig stellen.
Stecken Sie nun die USB 3.0 ExpressCard in das Notebook
vorsichtig ein, daraufhin erkennt Windows das neue Gerät
und installiert den dazugehörigen Treiber.
Ob die ExpressCard ordnungsgemäß installiert wurde,
können Sie unter Start (Windows Logo) -> Systemsteu-
erung -> System und Wartung -> Geräte-Manager nach-
sehen. Unter Umständen werden Sie von der Windows
Benutzerkontensteuerung aufgefordert, dieser Aktion
zuzustimmen. Klicken Sie deshalb auf die Schaltäche ->
Fortsetzen. Folgende Einträge müssen ohne gelbe Ausru-
fezeichen vorhanden sein.
USB-Controller
• Renesas Electronics USB 3.0 Host Controller
• Renesas Electronics USB 3.0 Root Hub
Installation unter Windows XP mit Service Pack 3
Vorraussetzung:
Stellen Sie sicher, das Ihr Benutzerkonto unter Windows
XP über Administratorenrechte verfügt, ansonsten schei-
tert die Treiberinstallation. Weiterhin ist ein installiertes
Service Pack 3 von Microsoft Vorraussetzung für die
Installation und Betrieb der ExpressCard.
Bevor Sie die ExpressCard in Ihr Notebook einstecken,
müssen Sie zuerst den dazu benötigten Treiber von der
CD-ROM installieren.
Legen Sie dazu die beiliegende Treiber CD in das Lauf-
werk Ihres Notebooks ein. Kurz danach startet das Hama
Installationsprogramm automatisch. Sollte das Programm
nicht starten, so klicken Sie doppelt mit der rechten
Maustaste auf die Datei autorun.exe im Hauptverzeichnis
der Treiber CD.
Wählen Sie die passende Sprache aus.

4
Klicken Sie auf Treiberinstallation.
Hinweis:
Möchten Sie die Bedienungsanleitung in elektronischer
Form lesen, klicken Sie auf Anleitung anzeigen. Beachten
Sie, dass zum Anzeigen der Anleitung ein installierter
Adobe Acrobat Reader benötigt wird. Falls dieses Pro-
gramm nicht installiert ist, klicken Sie auf Acrobat Reader,
um die Software von CD zu installieren. Klicken Sie auf
Treiber-Download um zu überprüfen, ob neue Treiber
für das Produkt vorhanden sind. Um zur Sprachauswahl
zurückkehren, wählen Sie Zurück.
Klicken Sie auf Weiter.
Akzeptieren Sie die Bedingungen der Lizenzvereinbarung,
indem Sie die Option „Ich bin mit den Bedingungen der
Lizenzvereinbarung einverstanden“ auswählen, und
anschließend auf Weiter klicken.
Klicken Sie auf Weiter.
Klicken Sie auf Installieren.
Die Installation ist erfolgreich beendet. Klicken Sie
abschließend auf Fertig stellen.
Suchen Sie einen freien ExpressCard Anschluss an Ihrem
Notebook und stecken die USB 3.0 ExpressCard in das
Notebook vorsichtig ein. Daraufhin erkennt Windows das
neue Gerät und bindet den installierten Treiber in das
System ein.
Ob die ExpressCard ordnungsgemäß installiert wurde,
können Sie unter Start -> Systemsteuerung -> Leistung
und Wartung -> System -> Hardware -> Geräte-Manager
nachsehen. Dort müssen folgende Einträge ohne gelbes
Ausrufezeichen vorhanden sein.

5
USB-Controller
• Renesas Electronics USB 3.0 Host Controller
• Renesas Electronics USB 3.0 Root Hub
Sicherheitshinweise:
Bitte verwenden Sie das Produkt weder in der Nähe von
Heizungen noch in staubiger oder feuchter Umgebung.
Supportinformationen:
Bei defekten Produkten wenden Sie sich bitte an Ihren
Händler oder der Hama Produktberatung:
Support Hotline – Hama Produktberatung:
(deutsch/englischsprachig)
Tel. +49 (0) 90 91 / 502 – 115
Fax. +49 (0) 90 91 / 502 – 272
e-mail: mailto:[email protected]
Produktinformationen oder neue Treiber nden Sie im
Internet unter www.hama.com

6
gOperating Instruction
Package contents
• USB 3.0 ExpressCard with 2 ports
• Driver CD-ROM
• These printed installation instructions
Important instructions regarding the power supply
Connecting an external power supply unit allows you to
provide connected USB devices with power. This means
that devices without their own power supply can also be
operated using the ExpressCard.
Please note:
Use only switching power supply units with the following
specications (we recommend Hama item no. 46600):
• Voltage DC 5 V, capacity depends on the device that is
connected.
• Polarity: outer negative (-) and inner positive (+)
Caution: Failure to observe this warning may cause
damage to the laptop, ExpressCard or the connected
device. Hama GmbH & Co KG accepts no liability for
damage that arises from a failure to observe these
instructions.
Software installation
Installation on Windows Vista and Windows 7
You must install the driver from the accompanying
CD-ROM before you plug the ExpressCard into your
laptop.
To do so, place the enclosed driver CD into your laptop’s
drive. The Hama installation program starts automatically
after a few moments. If the program does not start, use
the right mouse button to double click autorun.exe in the
main directory of the driver CD.
Select the appropriate language.
Click on Install Driver.
If you want to read the operating instructions in electronic
form, click Display Instructions. Please note that you must
have Adobe Acrobat Reader installed on your computer
to display the instructions. If this program has not been
installed, click Acrobat Reader to install the software
from the CD. Click Download driver to check to see if new
drivers for the product are available. Click Back to return
to language selection.
After installation has started, User Account Control,
which is integrated in Windows Vista/Windows 7, may ask
you whether you want to install the driver. Click Continue,
or, on Windows 7, click Yes.
Click Next.

7
Accept the terms and conditions of the license
agreement by selecting “I accept the terms of the
license agreement” and then click “Next” to continue.
Click Next.
Click Install.
Installation has been completed successfully.
Then click Finish.
Now plug the USB 3.0 ExpressCard carefully into the
laptop. Windows will automatically detect it and install
the associated driver.
You can verify whether the ExpressCard was installed
successfully by checking under Start (Windows Logo)
-> Control Panel -> System and Maintenance -> Device
Manager. In some circumstances, you may be asked by
Windows User Account Control to allow this action.
Click Continue. The following entries must appear without
a yellow exclamation mark.
Universal Serial Bus controllers
• Renesas Electronics USB 3.0 Host Controller
• Renesas Electronics USB Root Hub
Installation on Windows XP with Service Pack 3
Requirements:
Ensure that your user account has administration
privileges for Windows XP, otherwise the driver
installation will not be successful. In addition, Service
Pack 3 from Microsoft must also be installed on your
computer in order to install and operate the ExpressCard.
You must rst install the driver from the accompanying
CD-ROM before you plug the ExpressCard into your
laptop.
To do so, place the enclosed driver CD into your laptop’s
drive. The Hama installation program starts automatically
after a few moments. If the program does not start, use
the right mouse button to double-lick autorun.exe in the
main directory of the driver CD.
Select the appropriate language.

8
Click on Install Driver.
If you want to read the operating instructions in electronic
form, click Display Instructions. Please note that you must
have Adobe Acrobat Reader installed on your computer
to display the instructions. If this program has not been
installed, click Acrobat Reader to install the software
from the CD. Click Download driver to check to see if new
drivers for the product are available. Click Back to return
to language selection.
Click Next.
Accept the terms and conditions of the license
agreement by selecting “I accept the terms of the
license agreement” and then click “Next” to continue.
Click Next.
Click Install.
Installation has been completed successfully.
Then click Finish.
Find an ExpressCard connection on your laptop that is not
being used and carefully insert the USB 3.0 ExpressCard
into the laptop. Windows detects the new device and
incorporates the driver that was installed into the system.
You can check whether the ExpressCard was installed
properly under Start -> Control Panel -> Performance and
Maintenance -> System -> Hardware -> Device Manager.
The following must appear without a yellow exclamation
mark.

9
Universal Serial Bus controllers
• Renesas Electronics USB 3.0 Host Controller
• Renesas Electronics USB Root Hub
Safety instructions:
Keep this device away from heaters and radiators and
free of dust or moisture when operating.
Support information:
Contact your dealer or Hama Product Consulting if you
have a faulty product:
Support Hotline – Hama Product Consulting: (Languages:
German and English)
Tel.: +49 (0) 90 91 / 502 – 115
Fax: +49 (0) 90 91 / 502 – 272
E-mail: mailto:[email protected]
Product information and new drivers can found on the
Internet at www.hama.com

10
fMode d‘emploi
Contenu de l‘emballage :
• ExpressCard USB 3.0 avec 2 ports
• Pilote sur CD-ROM
• Un exemplaire de la présente notice d’installation
Remarques importantes concernant l’alimentation en
électricité :
La connexion d’un bloc secteur externe vous permet
d’alimenter en électricité des appareils USB connectés.
Il est ainsi possible d’utiliser des appareils sans
alimentation propre sur la carte ExpressCard.
Attention :
Utilisez uniquement des blocs commutateur secteur
répondant aux spécications suivantes
(nous conseillons l’utilisation du bloc Hama, réf. 46600) :
• Tension 5 V CC, la charge admissible dépend de
l‘appareil connecté.
• Polarité : pôle négatif (-) à l’extérieur et pôle positif (+)
à l’intérieur.
Attention ! Le non-respect des indications mentionnées
ci-dessus est susceptible de détériorer votre ordinateur
portable, la carte ExpressCard ou l’appareil connecté.
L’entreprise Hama GmbH & Co KG ne peut être tenue
responsable en cas de détériorations provoquées par le
non-respect de ces consignes.
Installation du logiciel :
Installation sous Windows Vista et Windows 7
Veuillez commencer par installer le pilote fourni sur CD
avant d’insérer l‘ExpressCard dans votre ordinateur
portable.
Insérez donc le CD pilote fourni dans le lecteur de votre
ordinateur. Le programme d’installation automatique de
Hama démarre peu après. Dans le cas où le programme
ne démarrerait pas automatiquement, double-cliquez
avec le bouton droit de votre souris sur le chier
autorun.exe dans le répertoire principal du CD.
Sélectionnez la langue désirée.
Cliquez sur Installer du pilote.
Cliquez sur Afficher le mode d‘emploi dans le cas où vous
désirez lire la version numérique des instructions.
Le programme Adobe Acrobat Reader doit être installé
sur votre ordinateur an de pouvoir consulter le chier.
Si tel n‘est pas encore le cas, cliquez sur Acrobat Reader
an d‘installer le logiciel à partir du CD. Cliquez sur
Téléchargement de pilotes an de consulter la dernière
version du pilote. Sélectionnez Retour an de retourner à
la fenêtre de sélection de la langue.
Au début de l‘installation, il est possible que le contrôle
du compte utilisateur de Windows Vista / 7 vous demande
l’autorisation de continuer la procédure d’installation du
pilote. Cliquez sur le bouton Continuer l’installation ou sur
Oui dans Windows 7.
Cliquez sur Suivant.
This manual suits for next models
1
Table of contents
Languages:
Other Hama Computer Hardware manuals

Hama
Hama 62769 User manual

Hama
Hama 39731 User manual

Hama
Hama 00053327 User manual

Hama
Hama 39746 User manual

Hama
Hama 00062783 User manual

Hama
Hama 00053158 User manual

Hama
Hama 53326 User manual

Hama
Hama FireWire Combo User manual

Hama
Hama USB 2.0 / Fire Wire Combo User manual

Hama
Hama SATA PCI 2-Way Raid Controller Manual
Popular Computer Hardware manuals by other brands

EMC2
EMC2 VNX Series Hardware Information Guide

Panasonic
Panasonic DV0PM20105 Operation manual

Mitsubishi Electric
Mitsubishi Electric Q81BD-J61BT11 user manual

Gigabyte
Gigabyte B660M DS3H AX DDR4 user manual
Raidon
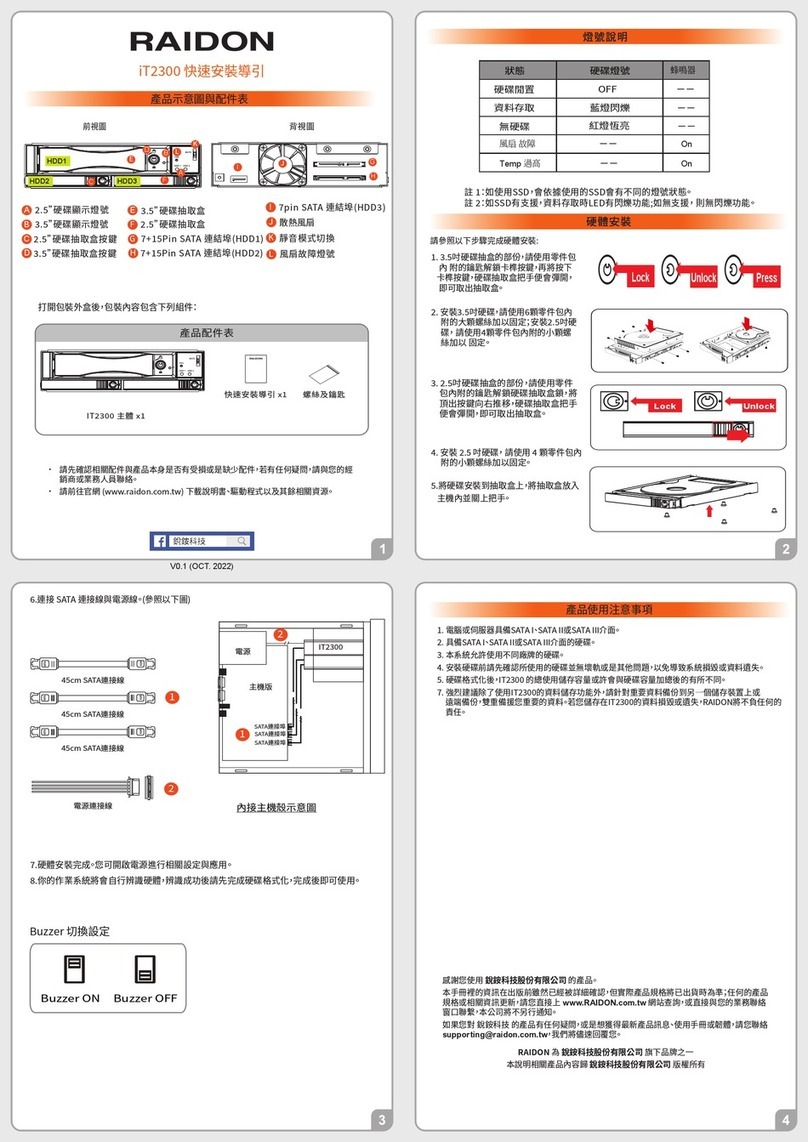
Raidon iT2300 Quick installation guide

National Instruments
National Instruments PXI-8186 user manual