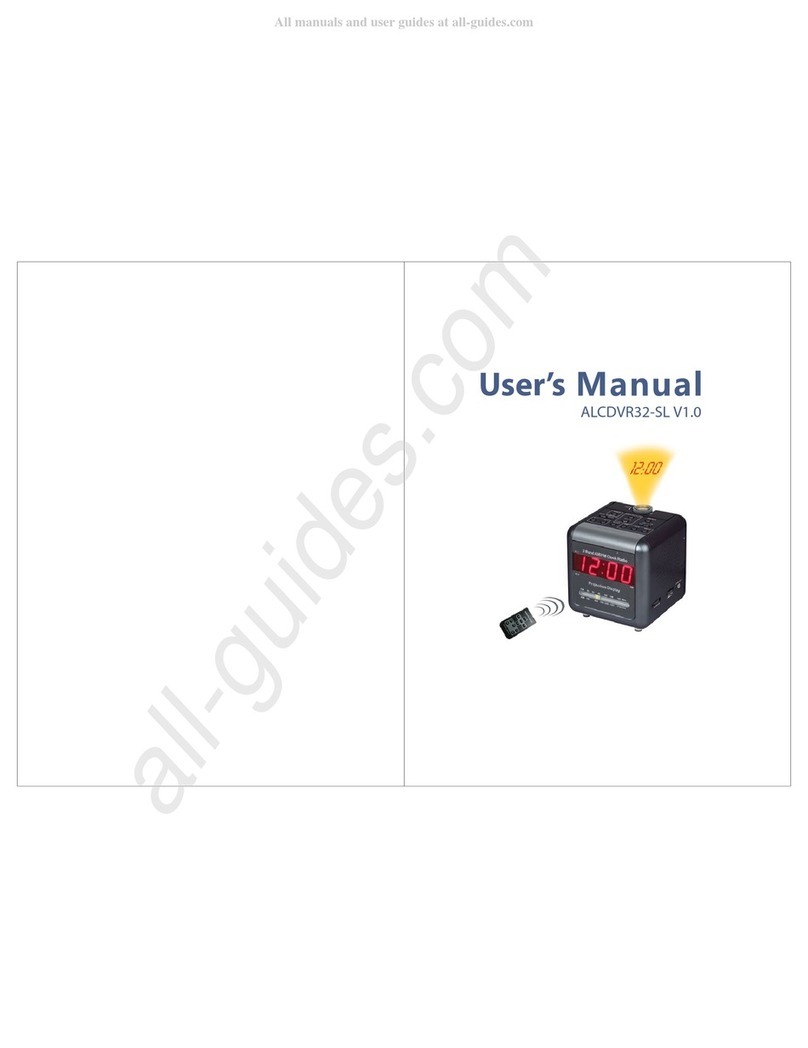
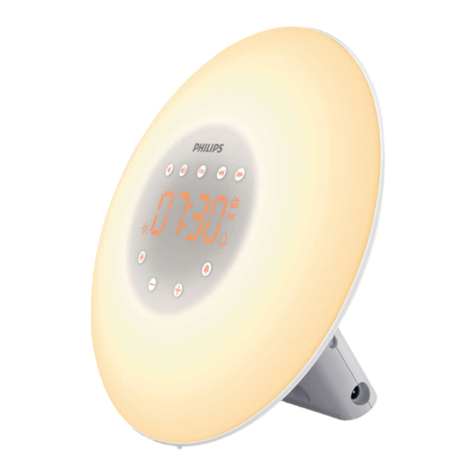
Hama The Cube User manual

00176910
00176911
00176912
Mobile Speaker
RadioControlled AlarmClock “Cube”
Funkwecker
I
NL
GR
PL
H
CZ
RUS
I
D
PL
F
CZ
E
SK
RO
RUS
GB
Operating Instructions
Bedienungsanleitung
Mode d‘emploi
Instrucciones de uso
Руководство по эксплуатации
Istruzioni per l‘uso
Gebruiksaanwijzing
Οδηγίες χρήσης
Instrukcja obsługi
Használati útmutató
ALARM
SNOOZE / LIGHT
MODE + / RCC
- / °C/ °F
14:06
DIE
21.5
C
1
1-
DATE
DAY TEMP
MONTH

12:26
14-
MON
21.4
C
11
AM
DST
DATE
DAYTEMP
MONTH
1
2
34
5
7
6
ALARM MODE
SNOOZE /LIGHT
+/RCC -/°C/°F
8
910
11
12
13

2
1. Controls and display
1. Time
2. Date
3. Day
4. Temperature
5. DCF radio signal
6. DST – summer time
7. Alarm symbol
8. ALARM button
= sets the alarm/activates and
deactivates the alarm clock
9. MODE button
= settings/conrms the setting
10. +/RCC button
= activates and deactivates
manual radio signal reception/
switches between 12 and
24-hour format/increases the
current setting
11. -/°C/°F button
= decreases the current setting/
switches between °C and °F
12. SNOOZE/LIGHT button
= activates the backlight/
interrupts the alarm for
approximately 10 minutes
13. Battery compartment
GOperating instruction
2. Package Contents
•Cube radio-controlled alarm clock,
•2 x AAA batteries
•These operating instructions
3. Safety Notes
•Do not use the product in areas where the use of electronic devices is
not permitted.
•Only connect the product to a socket that has been approved for the device.
The socket must be installed close to the product and easily accessible.
•Do not attempt to service or repair the product yourself. Leave any and all
service work to qualied experts.
•Do not modify the product in any way. Doing so voids the warranty.

3
Warning – Batteries
•Only use batteries (or rechargeable batteries) that match the specied type.
•Do not mix old and new batteries or batteries of a different type or make.
•When inserting batteries, note the correct polarity (+ and - markings)
and insert the batteries accordingly. Failure to do so could result in the
batteries leaking or exploding.
•Do not overcharge batteries.
•Do not short circuit the batteries/rechargeable batteries and keep them
away from uncoated metal objects.
4. Getting started
4.1 Inserting the batteries
Open the battery compartment (13), remove the contact breaker and then
close the battery compartment (13).
4.2. Replacing the batteries
•Open the battery compartment (13), remove and properly dispose of the
dead batteries and insert two new AAA batteries with the correct polarity.
Replace the battery compartment (13) cover.
5. Operation
5.1 Automatic date/time setting using the DCF signal
•Once you have inserted the battery, the display is switched on, an acoustic
signal sounds and the alarm clock automatically starts searching for a DCF
signal. During the search, the radio symbol ashes.

4
•
Once radio signal receiving is successful, the displayshowsthe symbol
“radio tower“continuously.no ashing. This process can take 7to 5minutes.
•When the wireless signal is received, the date and time are automatically set.
Display Searching for the DCF signal
Display ashing Active
Display steady Successful - signal reception
Not displayed Inactive – no signal reception
Note – Time settings
•If, during initial setup of the device, no DCF radio signal is received within
the rst few minutes, the search is aborted. The radio icon (6) will go out.
•If there are reception problems, we recommend leaving the clock to sit
overnight, since interference is generally less at night.
•In the meantime, you can start a manual search for the DCF radio signal at
another location or you can manually set the time and date.
•The clock automatically continues to search for the DCF signal on a daily
basis (at 1 am and 5 am). If the signal is received successfully, the manually
set time and date are overwritten.
Press and hold the +/RCC button (10) for approx. 3 seconds to start a manual
search for the DCF radio signal.

5
Note – Manual search
•The manual search is automatically aborted after 7 minutes.
•Using the RCC button (10) frequently will drain the battery. We recommend
only using this function to seek out an optimal location for the device.
Note – DCF signal
•When not in use, the DCF signal can be switched off by pressing and
holding the +/RCC button (10) for approximately 3 seconds.
Note – Summer time
•The clock automatically switches to summer time. DST (6) appears on the
display as long as summer time is activated.
5.2 Manually setting the date/time
•Press and hold the MODE button (9) for approximately 3 seconds until the
hours display begins to ash.
•Set the following information in the order listed:
•Time zone (+12/-12), Hours, Minutes, Year, Month, Day, Language
•To select the individual values, press the +/RCC button (10) or the -/°C/°F
button (11), and conrm each selection by pressing the MODE button (9).
•Press the MODE button (9) immediately to adopt the set value displayed
and skip ahead.
•If you do not make an entry for 20 seconds, you automatically exit the
setting mode.

6
Note – Day of the week
•For the weekday display (3), you can choose from the following languages:
German (GER), English (ENG), Italian (ITA), Spanish (ESP), Dutch (NET),
Danish (DAN) and French (FRE).
Note – Time zone
•The DCF signal can be received over long distances, but always transmits
the current Central European Time in Germany. Make sure you account for
the time difference in countries in other time zones.
•If you are in Moscow, the time is 3 hours later than in Germany. This means
that you should set +3 for the time zone. The clock then sets the time
automatically to 3 hours ahead after receiving the DCF signal or according
to the manually set time.
Selecting 12 or 24-hour format
•Press the +/RCC button (10) to switch between the 12 and 24-hour
formats.
Backlight
•Press the SNOOZE/LIGHT button (12) to light up the display for
approximately 10 seconds.
5.3 Alarm clock
Setting the alarm time
•Press the ALARM button (8) to go to alarm mode.
•Press and hold the ALARM button (8) to set the alarm time for the alarm
displayed. The hours display begins to ash.

7
•Press the +/RCC button (10) or the -/°C/°F button (11) to select the hour
for the alarm time, and conrm your selection by pressing the ALARM
button (8). The minutes display begins to ash.
•Repeat the process to set the minutes for the alarm time.
•Press the ALARM button (8) repeatedly to go back to the time display.
•If you do not make an entry for 20 seconds, the device automatically exits
the settings mode and the settings you made are saved.
Activating/deactivating the alarm clock
•Press the Alarm button (8) repeatedly to activate/deactivate the alarm time.
•If the alarm is activated, the corresponding symbol is displayed.
Stopping the alarm clock/snooze function
•If the alarm is triggered, an alarm signal will sound for 2 minutes. The
frequency of the alarm signal increases the longer the alarm continues.
•Press the ALARM button (8) to stop the alarm.
Note – Snooze function
•While the alarm signal is sounding, press the SNOOZE/LIGHT button (12)
to activate the snooze function.
begins to ash on the display. The alarm signal will be stopped for 10
minutes, after which it will sound again.
5.4. Temperature indicator
•Press the -/°C/°F button (11) to choose between °C and °F for the
temperature display.

8
6. Care and Maintenance
•Only clean this product with a slightly damp, lint-free cloth and do not use
aggressive cleaning agents.
•Make sure that water does not get into the product.
7. Warranty Disclaimer
Hama GmbH & Co KG assumes no liability and provides no warranty for
damage resulting from improper installation/mounting, improper use of the
product or from failure to observe the operating instructions and/or safety
notes.
8. Service and Support
Please contact Hama Product Consulting if you have any questions about
this product.
Hotline: +49 9091 502-115 (German/English) www.hama.com
9. Technical Data
“Cube” radio-controlled alarm clock
Power supply 2 x AAA batteries
Frequency 77.5 kHz
Temperature measuring range 0°C – +50°C
32°F – 122°F

9
10. Recycling Information
Note on environmental protection:
After the implementation of the European Directive 2012/19/EU
and 2006/66/EU in the national legal system, the following
applies: Electric and electronic devices as well as batteries must
not be disposed of with household waste. Consumers are obliged
by law to return electrical and electronic devices as well as
batteries at the end of their service lives to the public collecting points set up
for this purpose or point of sale. Details to this are dened by the national law
of the respective country. This symbol on the product, the instruction manual
or the package indicates that a product is subject to these regulations. By
recycling, reusing the materials or other forms of utilising old devices/
batteries, you are making an important contribution to protecting our
environment.
11. Declaration of Conformity
Hereby, Hama GmbH & Co KG declares that the radio equipment
type [00176910, 00176911, 00176912] is in compliance with
Directive 2014/53/EU. The full text of the EU declaration of
conformity is available at the following internet address:
www.hama.com-> 00176910, 00176911, 00176912-> Downloads.
Other manuals for The Cube
2
This manual suits for next models
3
Table of contents
Languages:
Other Hama Alarm Clock manuals