GUS GGW User manual
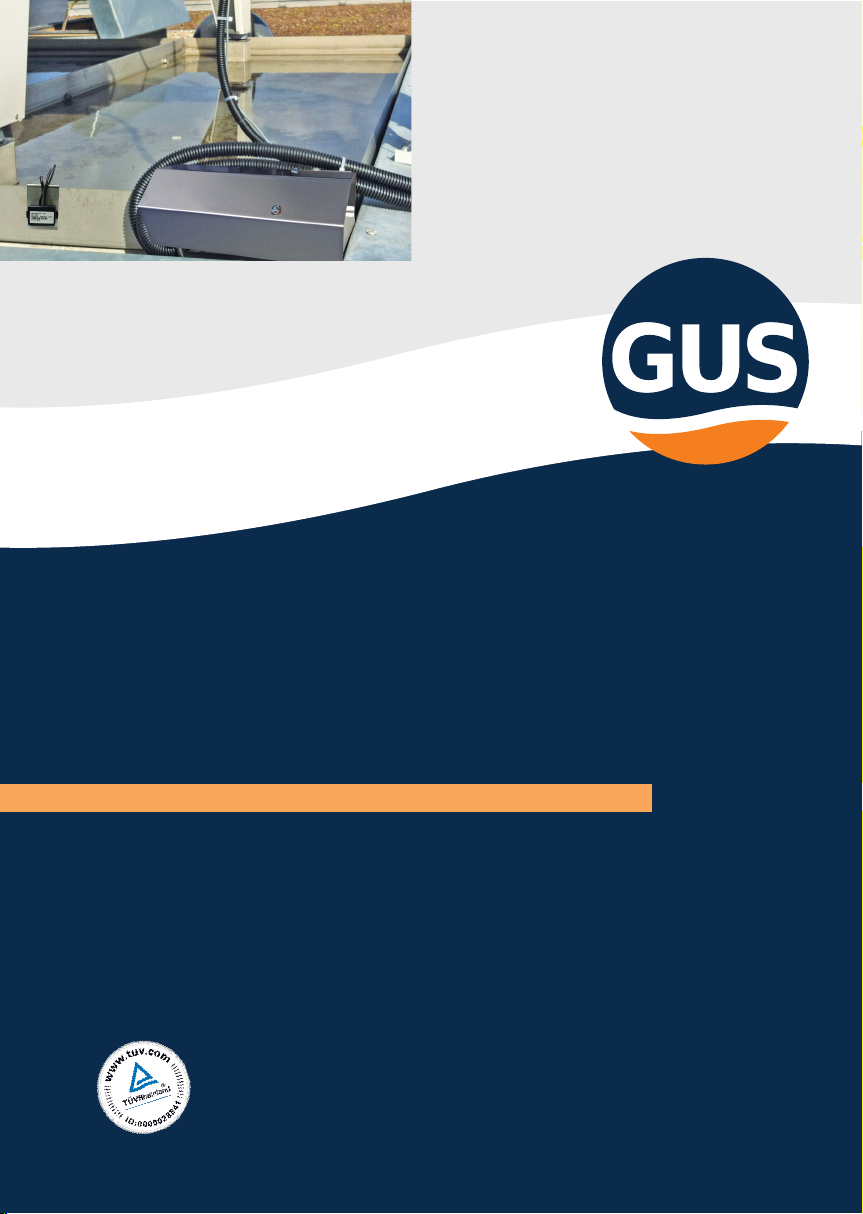
Gewässer
Umwelt
Schutz
GmbH
Assembly instructions
T
h
e
q
u
a
l
i
f
c
a
t
i
o
n
o
f
t
h
e
s
y
s
t
e
m
h
a
s
b
e
e
n
p
r
o
v
e
n
b
y
T
Ü
V
R
h
e
i
n
l
a
n
d
.
GGW / AGW Glycol protector
Ölprotektor.de
2
Always study this assembly instruction
manual before installation and initial ope-
ration. This assembly instruction manual is
part of the protector and should be stored
close to the device.
We reserve the right to amend this document.
Any liabiliy for errors and misprints of this document
is excluded. October 2019
Content
3 Product overview
4 Notes on safety
6 Contents of delivery - GGW / AGW Glycol protector
7 Assembly instructions for - GGW / AGW Gylcol protector
14 Circuit diagram of GGW / AGW Glycol protector switch box/control module
15 Connection plan
16 Service & maintenance, warning notices and leakages
Foreword
3
GGW / AGW Glycol protector - Assembly instructions
Product overview
Special sizes:
• GGW / AGW Glycol protector, according to your requirements
Accessory options:
• Leaf protection grating
• Heating kit with heating mats and heating thermostat 2.0
(Heating requirements) for operation of heat pump
• Sensor for second circuit
• Platform to be set up in GGW / AGWGlycol protector
• Fault indicating module (via SMS, Fax oder E-Mail)
Material: GGW Glycol protector stainless 1.4301 in 1,5 mm or
AGW Glycol protector aluminum AlMg3
Process: welding according DIN EN ISO 9606-1

Ölprotektor.de
4
Please note:
• Keep this manual in close proximity to the unit.
• Setup and assembly of GGW / AGW Gylcol protector and compoments
tobecarriedoutbyqualiedprofessionalsonly.
• Setup, connection and operation of GGW Gylcol protector and compo-
nents to be operated for its intended purpose according to this instruc-
tion as well as in accordance with local rules and regulations.
• The condensation pan must be earthed.
• Alterationsandmodicationstoourproductanditscomponentsare
prohibited and can lead to failure or malfunction.
• Do not operate GGW / AGW Gycol protector and components in areas
withahighriskofdamage.Speciedminimumclearancesaretobe
observed.
• Safe operation of Protector and components can only be guaranteed
for properly assembled devices and use as intended by the manu-
• facturer.Safetysystemsmaynotbemodiedorbypassed.
• Do not operate damaged or faulty GGW / AGW Glycol protectors or
components.
• Protectorsandcomponentsrequireaminimumclearancetoamm-
• able, explosives, combustibles, aggressive substances or environ-
ments. Assembly, repair and service only to be carried out by autho-
• risedqualiedprofessionals.Visualinspectionandcleaningmaybe
carried out by operator.
• Appropriate measures to be taken to avert danger to individuals while
assembling, repairing, servicing or cleaning GGW / AGW Gycol protec-
tor.
Notes on safety
Always read the manual before initial ope-
ration. It contains vital and important tips
and references to avert danger to peop-
le as well as equipment. Disregarding the
operating manual can lead to endanger-
ment of individuals, the environment and
damage to the unit. We reject liability for
neglectful operation.
5
GGW / AGW Glycol protector - Assembly instructions
Disposal and packaging
All products are carefully packaged to
withstand transport damage. Please
recycle all packaging material according to
your countries waste management guide-
lines.
Warranty
Warranty conditions are outlined in our
„Allgemeine Geschäfts- und Lieferbe-
dingungen“ (General terms and condi-
tions). Please contact your local Distribu-
tor.
Description
The handling of material endangering wa-
ter resources is regulated in the Federal
water act and the German „Anlagenver-
ordnung“(AwSV). Our GGW Glycol protec-
tor is manufactured from high grade stain-
less steel or AGW Glycol protector out of
aluminum fullll these compliance with
those regulations.
In the event of leakage, escaping oil and
glycol (water hazard class one till three, ac-
cording to legal requirements) will be pre-
vented from escaping to the surrounding
environment.
Recycling
GGW / AGW Glycol protector with its integ-
rated oil separator is designed to withstand
the most extreme precipitation events ever
recorded in Germany. It will safely drain the
liquids away withouth spilling, thereby pre-
ventingoverow.
Ölprotektor.de
6
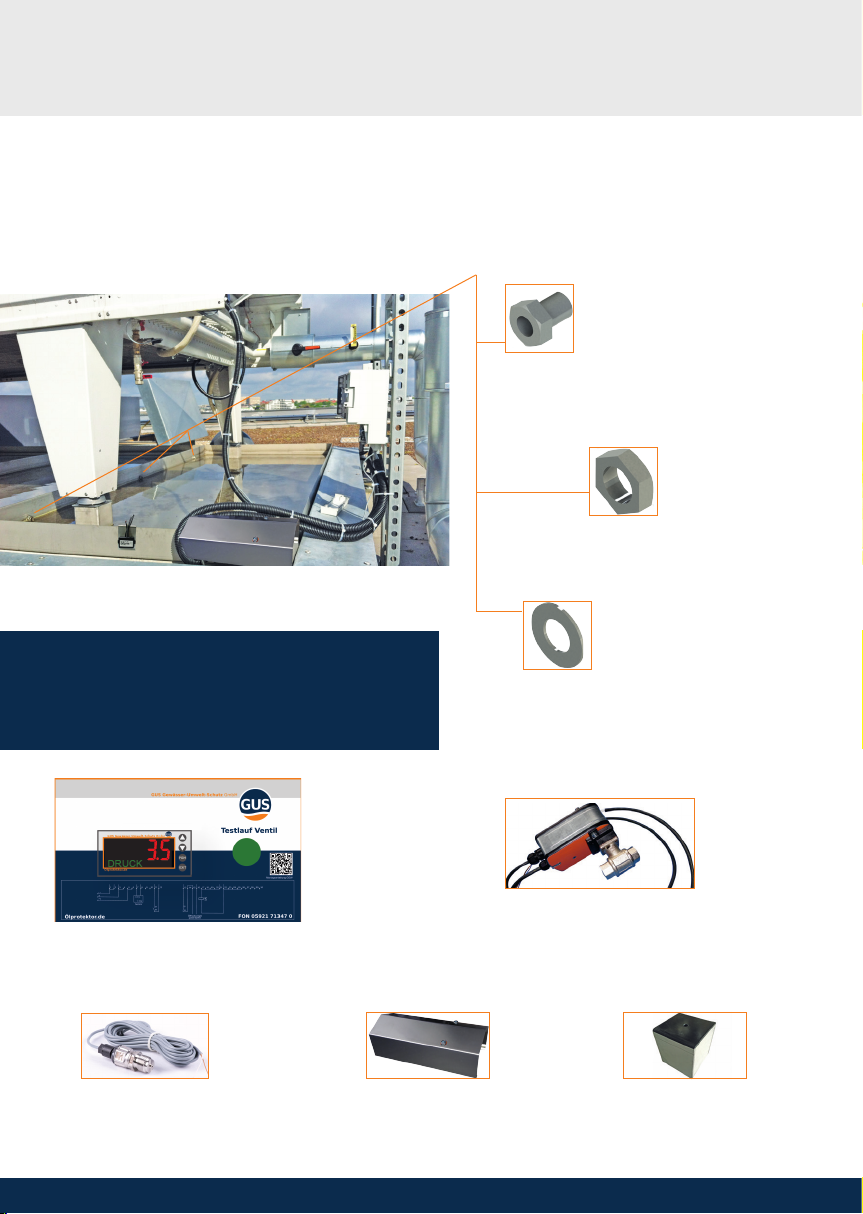
Contents of delivery GGW / AGW Glycol protector
connecting screws ½",
3 per connection level
screw nut ½“,
3 per connection level
washer,
6 per connection level
1 pressure sensor ½"
(incl. 5 m cable)
1 switch box (control module)
1 safety valve with actuator
1 protective cover platforms,
either standard
or made to
your requirements
Note:
Check delivery for completeness
Assembly parts for pan according to drawing

7
GGW / AGW Glycol protector - Assembly instructions
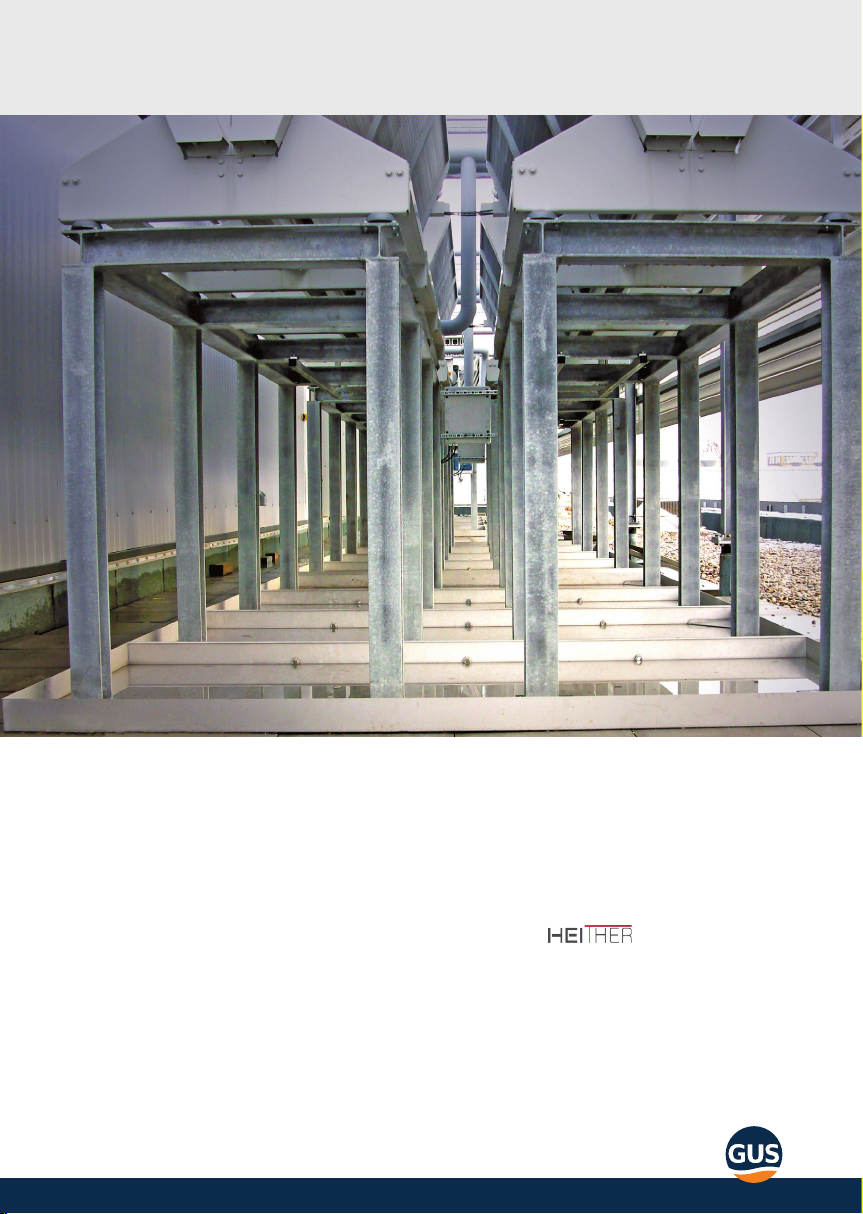
Installation instruction GGW / AGW Glycol protector
When choosing the appropriate size make
sure all water hazarduous components can
bettedwithintheGGW/AGWGlycolpro-
tector. Make sure the oil separator is not
covered by the unit and rain water can re-
ach the pan.
Ensure a supporting structure able to sup-
port the weight of the 1.5 mm stainless
steel device without deformation.
Note:
Installation to be carried out
by 2 personnel. More com-
plicated structures will be
accompanied by a drawing.
Make sure to align pan pro-
perly,restingrmlyonthe
supporting structure.
Alignment
The supporting structure is to be aligned
horizontally using a spirit level to ensure
proper operation. Clean all surfaces before
levelling.

Ölprotektor.de
8
Alignrstpartofpanverticallywithouter
edge of supporting structure. Assembling
the pans is illustrated in drawings. Note
position of separators.
Placesecondpartofpanintorstpartas
per drawing. Follow the same procedure
with remaining parts. Make sure not to
bend material.
upended side
Assembly

9
GGW / AGW Glycol protector - Assembly instructions
Connecting
Connect all parts with connecting screws.
Use loctite to secure threads. Place washer
onto thread and put screw through drilled
hole.
Put second washer onto protruding thread.
Add more loctite and tighten screw nut
by hand. Use same routine for remaining
screws.
Use appropriate tool to tighten screws,
achieving a watertight connection.
Note:
Make sure pan is resting
rmlyonsupporting
structure and oberserve
drying time of loctite.
Ölprotektor.de
10
Platform
Apply an oil and water repellant sealing
compound to the underside of the plat-
form (e.g. Silicone). Position platform in
protector.
Observe drawing. Seal exterior of plat-
form with oil and water repellent material
(e.g. Silicone)
silicone seam
Hinweis:
If the pan is accidently damaged when
drilling, perform a pressure test for 24
hours to ensure leak tightness.
Make sure to connect the device with
the platform and the separator to the
supporting structure. Be aware that per-
foration can lead to leakage problems.
We recommend a construction surroun-
ding the pan. If you have to drill make
sure to seal the hole properly. We can
provide information on dierent fas-
tening methods.
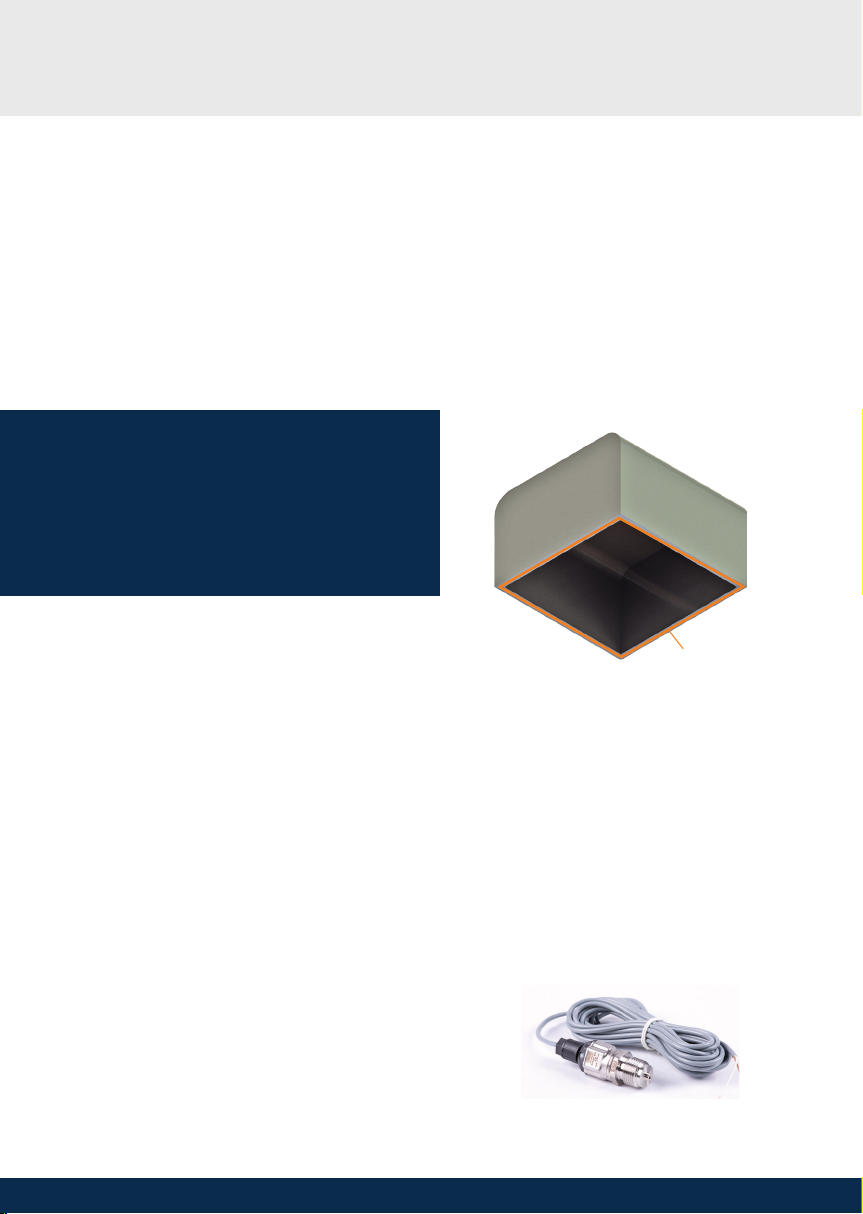
Fastening
Pressure sensor test port
The cold water circuit needs to have a ½"
internal threaded connection for the pres-
sure sensor. Make sure the test port can
be isolated from the circuit so you can
replace the pressure sensor without ha-
ving to drain the system. incl. 5 m cable
Other manuals for GGW
1
This manual suits for next models
1
Table of contents
Other GUS Safety Equipment manuals

Popular Safety Equipment manuals by other brands

Innova
Innova Xtirpa Instruction and safety manual

bolle SAFETY
bolle SAFETY B810 quick start guide

SHENZHEN FANHAI SANJIANG ELECTRONICS
SHENZHEN FANHAI SANJIANG ELECTRONICS A9060T instruction manual

Hiltron security
Hiltron security POWER8E Installation and use manual

Hatco
Hatco B-950P installation guide

Sitec
Sitec TX MATIC operating manual


