
GLOBAL Export Import RD8504C User manual

1
RD8504C
H.264 LAN DVR
User Manual
Version 1.0.1

2
Preventive and Cautionary Tips
Before connecting and operating your DVR, please be advised of the following tips:
• Ensure unit is installed in a well-ventilated, dust-free environment.
• Unit is designed for indoor use only.
• Keep all liquids away from the DVR.
• Ensure environmental conditions meet factory specifications.
• Ensure unit is properly secured to a rack or shelf. Major shocks or jolts to the unit as a result
of dropping it may cause damage to the sensitive electronics within the unit.
• Power down the unit before connecting and disconnecting accessories and peripherals.

3
TABLE OF CONTENTS
1PRODUCTION 6
1.1. Product Key Features 6
1.2. Operating Your DVR 8
1.3.Rear Panel Diagram 11
2GETTING STARTED 12
3LIVE VIEW 14
3.1. Watching a Live View 14
3.1.1. Understanding Live Preview Icons 14
3.1.2. Operating the Live Preview 14
3.1.3. Using the Mouse in Live Preview 15
3.1.4. Using Digital Zoom 15
3.2. Configuring Live Preview Displays 16
4RECORD SETTINGS 17
4.1. Initializing Record Settings 17
4.2. Scheduling a Recording 18
4.3. Starting a Manual Recording 20
5PLAYBACK 21
5.1. Understanding the Playback Interface 21
5.2. Playing Back 21
6BACKUP 23
7ALARM SETTINGS 25
7.1 Configuring Alarms 25
7.1.1 Setting up Motion Detection 25
7.1.2 Setting up Sensor Alarms 26
7.1.3 Triggering Alarm Outputs Manually 29
7.1.4 Detecting Video Loss 30
7.1.5 Detecting Video Tampering 31
7.2 Set up Exception 32
7.2.1 Setting Exception 32
7.2.2 Understanding Exception Trigger Options 33

4
8NETWORK SETTINGS 34
8.1 Configuring Basic Settings 34
8.1.1 Static 34
8.1.2 DHCP 34
8.1.3 PPPoE 35
8.2 Configuring Advanced Settings 35
8.2.1 DDNS 35
8.2.2 NTP 36
8.2.3 E-mail Settings 37
8.2.4 FTP Settings 38
8.2.5 IP Filter 39
8.2.6 UPNP 40
9PTZ CONTROLS 41
9.1 Navigating PTZ Menus 41
9.2 Configuring PTZ Settings 41
9.3 Setting PTZ Presets, Patrols & Patterns 42
9.3.1 Understanding PTZ Controls 42
9.3.2 Customizing Presets 43
9.3.3 Customizing Patrols 43
9.3.4 Customizing Patterns 45
10 CAMERA MANAGEMENT 47
10.1 Configuring OSD Settings 47
10.2 Setting up Privacy Mask 47
10.3 Adjusting Display Settings 48
11 HDD MANAGEMENT 50
11.1 Managing HDDs 50
11.2 Configuring HDD Alarms 51
12 DVR MANAGEMENT 52
12.1Configuring System Settings 52
12.1.1 Configuring General Settings 52
12.1.2 Configuring Advanced Settings 53
12.2Managing User Accounts 53
12.2.1 Adding a New User 53
12.2.2 Deleting a User 56
12.2.3 Modifying a User 56
12.3Managing System 57
12.3.1 Importing & Exporting Configuration 57
12.3.2 Updating System Firmware 57
12.3.3 Restoring Default Settings 58
12.3.4 Viewing System Information 58

5
12.3.5 Viewing System Logs 59
13 REMOTE SURVEILLANCE 61
13.1. Setup ActiveX Plug-In 61
13.2. Remote Live View 63
13.3. Remote Playback 64
13.4. Setup 65
14 APPENDIX 66
14.1. Glossary 66
14.2. FAQ 67

6
1 PRODUCTION
Thank you for your purchase of 5400C series Digital Video Recorder (DVR). To get the most out
of your DVR, please read through this User Manual thoroughly. The 5400C series DVR is a new
generation product. Built on an embedded platform and combining the latest in advanced H.264
video encoding and decoding technologies, the 5400C series DVR contains the perfect
combination of rock-solid reliability and high performance.
1.1.Product Key Features
Compression
Support PAL/NTSC video input.
Adopt H.264 video compression standard.
Each analog channel supports dual stream. Main stream supports D1/CIF resolution and
sub stream supports CIF/QCIF resolution.
Video encoding parameters of each channel can be set separately, including resolution,
frame rate, bit rate, image quality.
Supports both composite stream and video only stream. Audio and video streams are strictly
simultaneous.
Monitoring
Support VGA and CVBS video output.
High definition VGA display support up to 1280*1024.
Supports 1/4/9 screen live view.
Support live view group switch, manual switch and automatic cycle, the interval of automatic
cycle can be adjusted.
Supports digital zoom on live view.
Supports motion detection, view tampering alert and video loss alert.
Supports privacy mask.
Supports PTZ preset, patrol and pattern.

7
HDD Management
Supports 1 SATA HDD up to 2TB capacity.
Supports S.M.A.R.T. technology.
Use pre-allocating hard disk management technology, and no disk fragments.
Recording and Playback
Supports cycle and non-cycle recording mode.
Supports multiple recording types, including manual, continuous, alarm, motion, motion or
alarm and motion & alarm recording, etc.
Supports 8 recording time periods with separate recording types.
Supports Pre-record and Post-record time for alarm and motion detection, and pre-record
time for schedule and manual recording.
Supports video data search and playback by channel number, recording type, time, event,
etc.
Supports pause, rewind, play fast, play slow, skip forward, and skip backward when layback,
locating in progress bar by dragging the mouse.
Backup
Supports USB device and network backup.
Alarm and Exception
Supports alarm in/out arming schedule setting.
Supports various alarm input such as hard disk full, network break, IP conflicted and hard
disk error.
Supports various alarm response such as camera recording, relay alarm out, on screen
warning, audible warning, send email, etc.
Network
Supports 10/100 adaptive network interface.
Supports TCP/IP protocols, PPPoE, DHCP, DNS, DDNS, NTP, UPnP etc.
Supports remote search, playback and download video files.
Supports remote configuration.
Supports remote manual recording
Supports remote manual alarm output control.
Supports image capturing.

8
Supports remote PTZ control.
Others
Supports front panel, mouse, IR control operation.
Supports multi-level user management, each user can have individual DVR access rights.
Powerful DVR log, including operation, alarm, information and exception log.
Supports remote manual alarm output control.
1.2.Operating Your DVR
There are numerous ways to navigate and operate your DVR. You may use the Front Panel
Controls, the included IR (Infra-Red) Remote, a Mouse and the Soft Keyboard.
Using the Front Panel Controls
The controls on the front panel include:
1. Power Button: Powers DVR on/off.
2. MENU/OKEXIT Button: In preview mode, user press the MENU/OK button will enter the
main menu (after successful login): In the main menu mode, user press the MENU/OK button
will confirm the selection.
3. DIRECTION Buttons & ESC: The DIRECTION buttons are used to navigate between
different fields and items in menus. In Preview mode, these buttons can be used to cycle
through channels. ESC button is used to exit the menu.
4. IR Receiver: Receiver for IR remote.
5. Status Indicators: Status indicators for different features of the DVR.
POWER: POWER indicator turn on when DVR is power on.
REC: REC indicator turns on when DVR is recording.
ALARM: ALARM indicator turns on when a sensor alarm is detected.

9
Using remote control
To use the remote control:
1. STANDBY: Press to turn standby mode
ON/OFF.
2. Playback controls:
: Increase rewind speed 2X, 4X, 8X;
: Press to start playback;
: Press to increase fast-forward speed 2X,
4X, 8X;
: Press to slow-down playback by 1/2,
1/4, 1/8;
: Press to pause, then press again to
play single frame;
3. MENU: Opens the main menu.
4. Navigation/OK:
: Move cursor in menus up;
: Move cursor in menus right;
: Move cursor in menus left;
: Move cursor in menus down;
OK: In menus, press to confirm selections;
5. Mode: Press to switch between quad and
split-screen displays.
6. Number/Channel buttons: While in menus,
press buttons 0~9 to enter values; during live
viewing, press to view channels in full-screen.
7. ALARM: Clear alarm output.
8. SWITCH: Switch video output.
9. RECORD: Press to start manual recording.
10. STOP: Press to stop manual recording.
11. +/ - : In menus, press to adjust values.
12. PTZ: Press to open the PTZ control window.
13. EXIT: Close menu windows.
14. MUTE: Turn on / off audio output.
15. LOGIN / LOCK: If password has been enabled in the setup menu, press to open the user
password login screen.
10
Using a USB Mouse
A regular 3-button (Left/Right/Scroll-wheel) USB mouse can also be used with this DVR.
To use a USB mouse:
1. Plug USB mouse into one of the USB ports on the front panel of the DVR.
2. The mouse should automatically be detected. If in a rare case that the mouse is not
detected, please refer to the recommended device list from your provider.
The buttons on the mouse corresponds to:
1. Left Button:
Single-Click: Select a component of a menu, such as a button or an input field. This is
similar to pressing the ENTER button on the remote/front panel controls.
Double-Click: Switch between single screen and multi-screen mode in Preview/
Playback mode.
Click and Drag: Clicking and dragging the Left mouse button can be used to control the
digital zoom area. It can also be used to setup the alarm areas.
2. Right Button:
Single-Click: Shows pop-up menu.
3. Scroll-Wheel:
Scroll Up: In Menu mode, it will move the selection to the previous item.
Scroll Down: In Menu mode, it will move the selection to the next item.
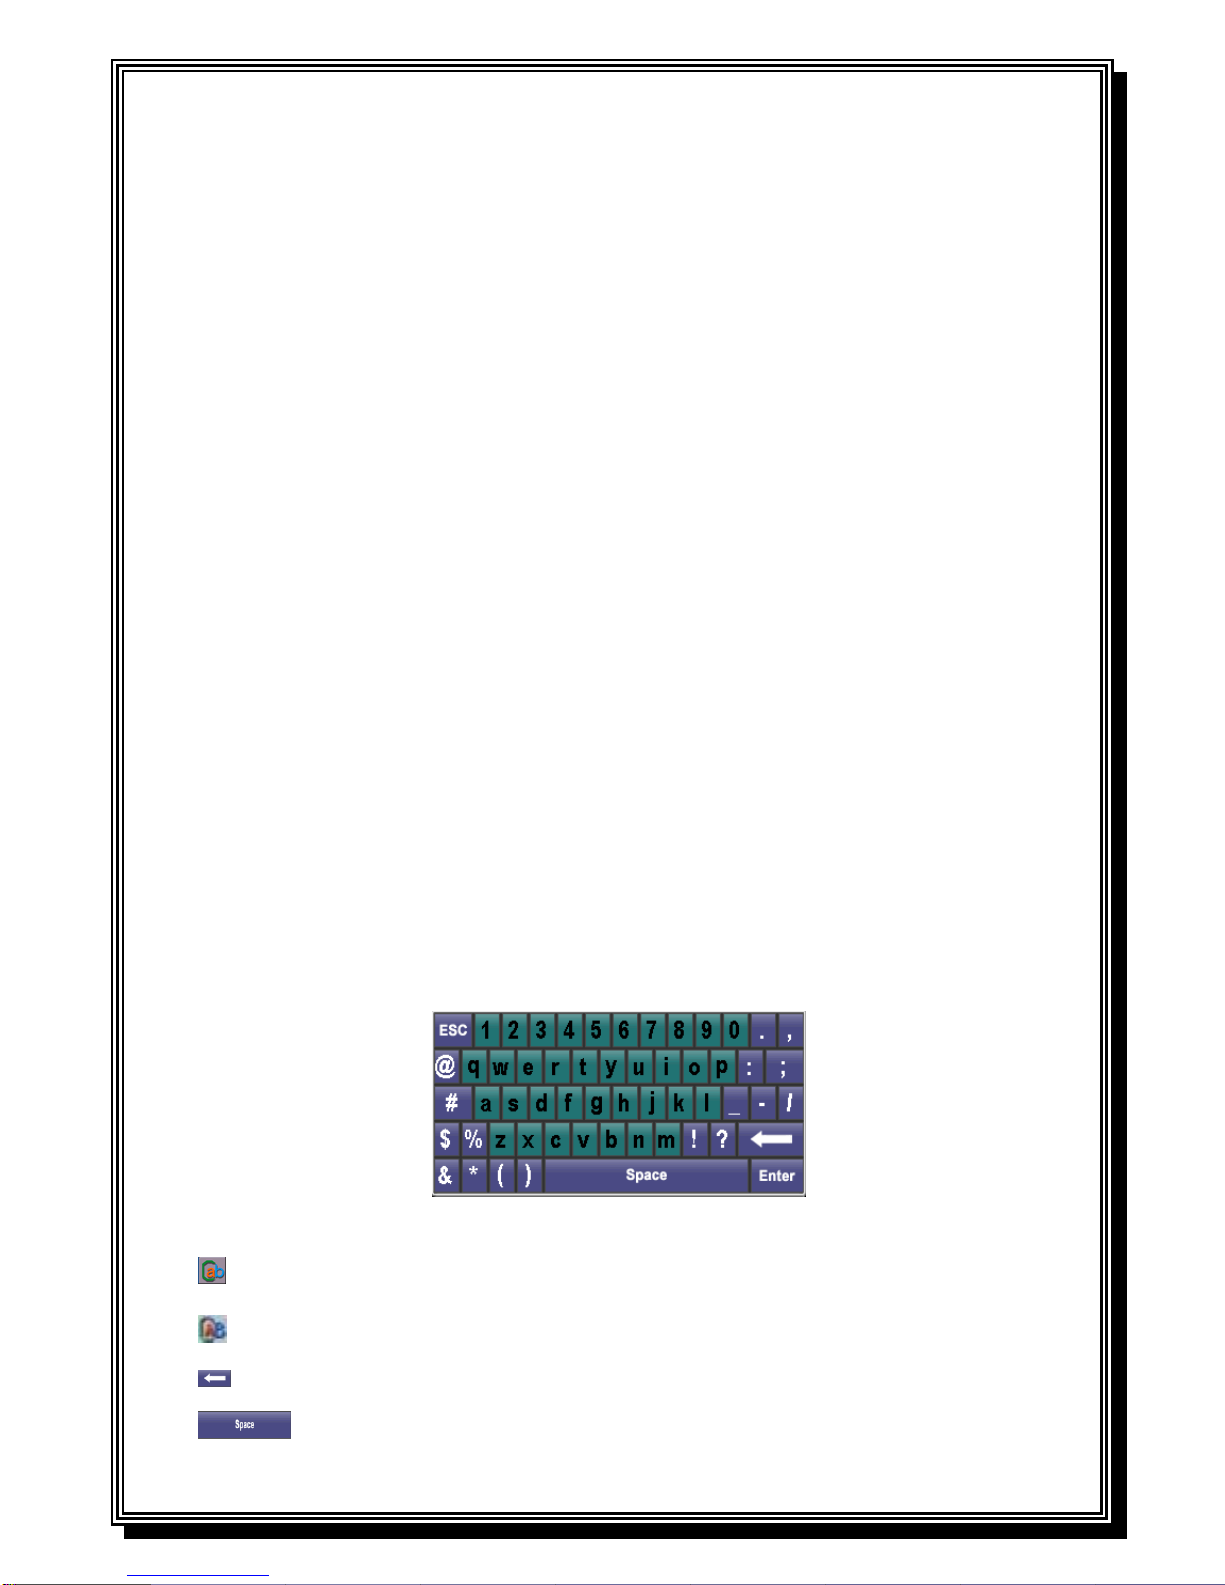
Using the Soft Keyboard
When a mouse is used to perform task on the DVR, clicking on a text input field will bring up the
Soft Keyboard.
The buttons on the soft keyboard represents:
Lowercase: Designates lowercase input is being used.
Uppercase: Designates uppercase input is being used.
Backspace: Delete the character in front of the cursor.
Space: Input spaces between letters.
Table of contents
Other GLOBAL Export Import DVR manuals


