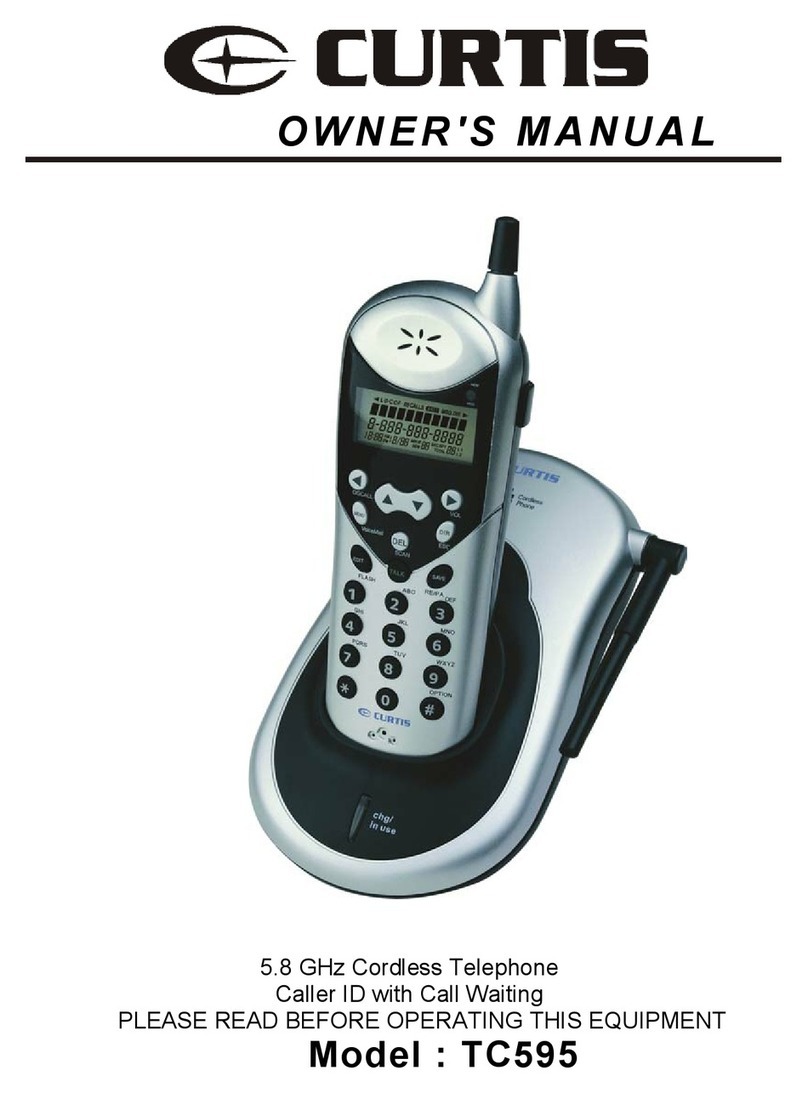
GE 26730 User manual

We bring good things to life.
26730
25-Channel
Caller ID with Call Waiting
Cordless Telephone
User’s Guide

2
FCC REGISTRATION INFORMATION
Your telephone equipment is registered with the Federal Communications Commission and is in compliance
with parts 15 and 68, FCC Rules and Regulations.
1Notification to the Local Telephone Company
On the bottom of this equipment is a label indicating, among other information, the FCC Registration
number and Ringer Equivalence Number (REN) for the equipment. You must, upon request, provide this
information to your telephone company.
The REN is useful in determining the number of devices you may connect to your telephone line and still
have all of these devices ring when your telephone number is called. In most (but not all) areas, the sum of
the RENs of all devices connected to one line should not exceed 5. To be certain of thenumber of devices
you may connect to your line as determined by the REN, you should contact your local telephone company.
Notes
• This equipment may not be used on coin service provided by the telephone company.
• Party lines are subject to state tariffs, and therefore, you may not be able to use your own telephone
equipment if you are on a party line. Check with your local telephone company.
• Notice must be given to the telephone company upon permanent disconnection of your telephone from
your line.
2Rights of the Telephone Company
Should your equipment cause trouble on your line which may harm the telephone network, the telephone
company shall, where practicable, notify you that temporary discontinuance of service may be required.
Where prior notice is not practicable and the circumstances warrant such action, the telephone company
may temporarily discontinue service immediately. In case of such temporary discontinuance, the telephone
company must: (1) promptly notify you of such temporary discontinuance; (2) afford you the opportunity
to correct the situation; and (3) inform you of your right to bring a complaint to the Commission pursuant
to procedures set forth in Subpart E of Part 68, FCC Rules and Regulations.
The telephone company may make changes in its communications facilities, equipment, operations of
procedures where such action is required in the operation of its business and not inconsistent with FCC
Rules and Regulations. If these changes are expected to affect the use or performance of your telephone
equipment, the telephone company must give you adequate notice, in writing, to allow you to maintain
uninterrupted service.
INTERFERENCE INFORMATION
This device complies with Part 15 of the FCC Rules. Operation is subject to the following two conditions: (1)
This device may not cause harmful interference; and (2) This device must accept any interference received,
including interference that may cause undesired operation.
This equipment has been tested and found to comply with the limits for a Class B digital device, pursuant to
Part 15 of the FCC Rules. These limits are designed to provide reasonable protection against harmful
interference in a residential installation.
This equipment generates, uses, and can radiate radio frequency energy and, if not installed and used in
accordance with the instructions, may cause harmful interference to radio communications. However, there is
no guarantee that interference will not occur in a particular installation.
If this equipment does cause harmful interference to radio or television reception, which can be determined
by turning the equipment off and on, the user is encouraged to try to correct the interference by one or more
of the following measures:
• Reorient or relocate the receiving antenna (that is, the antenna for radio or television that is “receiving” the
interference).
• Reorient or relocate and increase the separation between the telecommunications equipment and
receiving antenna.
• Connect the telecommunications equipment into an outlet on a circuit different from that to which the
receiving antenna is connected.
• Consult the dealer or an experienced radio/TV technician for help.
If these measures do not eliminate the interference, please consult your dealer or an experienced radio/
television technician for additional suggestions. Also, the Federal Communications Commission has
prepared a helpful booklet, “How To Identify and Resolve Radio/TV Interference Problems.” This booklet
is available from the U.S. Government Printing Office, Washington, D.C. 20402. Please specify stock
number 004-000-00345-4 when ordering copies.
HEARING AID COMPATIBILITY
This telephone system meets FCC standards for Hearing Aid Compatiblility.
FCC NUMBER IS LOCATED ON THE CABINET BOTTOM
REN NUMBER IS LOCATED ON THE CABINET BOTTOM

3
WARNING:
TO PREVENT FIRE
OR ELECTRICAL SHOCK HAZARD,
DO NOT EXPOSE THIS PRODUCT
TO RAIN OR MOISTURE.
SEE MARKING ON BOTTOM / BACK OF PRODUCT
CAUTION
RISK OF ELECTRIC SHOCK
DO NOT OPEN
THE EXCLAMATION
POINT WITHIN THE
TRIANGLE IS A
WARNING SIGN
ALERTING YOU OF
IMPORTANT
INSTRUCTIONS
ACCOMPANYING
THE PRODUCT.
THE LIGHTNING
FLASH AND ARROW-
HEAD WITHIN THE
TRIANGLE IS A
WARNING SIGN
ALERTING YOU OF
"DANGEROUS
VOLTAGE" INSIDE
THE PRODUCT.
CAUTION: TO REDUCE THE
RISK OF ELECTRIC SHOCK,
DO NOT REMOVE COVER
(OR BACK). NO USER-
SERVICEABLE PARTS IN-
SIDE. REFER SERVICING
TO QUALIFIED SERVICE
PERSONNEL.
TABLE OF CONTENTS
FCC REGISTRATION INFORMATION ........... 2
INTERFERENCE INFORMATION ................... 2
HEARING AID COMPATIBILITY .................. 2
INTRODUCTION ..................................... 4
INSTALLATION AND SETUP ...................... 5
MODULAR JACK REQUIREMENTS ......... 5
DIGITAL SECURITY SYSTEM................. 5
DESKTOP INSTALLATION...................... 6
WALL MOUNT INSTALLATION .............. 7
TELEPHONE OPERATION ......................... 9
RECEIVING ACALL ............................ 9
MAKING ACALL ............................... 9
REDIAL ............................................ 9
FLASH BUTTON ................................ 9
CHANNEL BUTTON ............................ 9
TEMPORARY TONE .......................... 10
FINDING THE HANDSET..................... 10
RINGER SWITCH.............................. 11
TONE/PULSE DIALING ...................... 11
TONE ........................................ 11
PULSE ....................................... 11
VOLUME ........................................ 11
VOICE MESSAGING ......................... 12
CALLER ID FEATURES .......................... 13
CALLER ID WITH CALL WAITING ........ 13
RECEIVING AND STORING CALLS ........ 13
REVIEWING MESSAGES .................... 14
DELETING RECORDS ........................ 15
DELETING THE CURRENT RECORD ... 15
DELETING ALL RECORDS............... 15
DIALING ACALLER ID
NUMBER .................................... 15
CHANGING THE NUMBER FORMAT ...... 16
THE MEMORY FEATURE ....................... 17
STORING ANUMBER IN MEMORY ...... 17
CHANGING ASTORED NUMBER ......... 18
DIALING ASTORED NUMBER............. 19
USING CALL BACK .......................... 19
CHAIN DIALING FROM MEMORY......... 20
INSERTING APAUSE
IN THE DIALING SEQUENCE............ 21
REVIEWING AND DELETING STORED
NUMBERS .................................. 21
CHANGING THE BATTERY ...................... 22
BATTERY SAFETY PRECAUTIONS ........ 23
GENERAL PRODUCT CARE .................... 23
MESSAGE INDICATORS ......................... 24
HANDSET SIGNALS ............................. 24
TROUBLESHOOTING TIPS ...................... 25
CAUSES OF POOR RECEPTION ............... 27
SERVICE ............................................ 28
ACCESSORY ORDER FORM ................... 29
INDEX ............................................... 31
LIMITED WARRANTY ............................ 32

4
INTRODUCTION
Your Caller ID phone stores and displays specific information, provided by
your local telephone company, to subscribers of Caller ID or similar caller
identification services. You must subscribe to one of these services in
order to use this unit.
Your Caller ID phone enables you to:
• Identify callers before you answer the phone.
• View the time and date of each incoming call.
• Record up to 40 Caller ID messages sequentially.
• Know who called while you were away.
To get the most from your new phone, we suggest that you take a few
minutes right now to read through this user's guide.
IMPORTANT: Because cordless phones operate on electricity, you should
have at least one phone in your home that isn’t cordless, in case the power in
your home goes out.
REMINDER: This product requires a subscription to Caller ID service from
your telephone company. Check for name service availability.

5
INSTALLATION AND SETUP
Make sure your package includes the items shown here.
Base Handset
AC power supply
Telephone line cord
Short telephone
line cord
MODULAR JACK REQUIREMENTS
You need an RJ11 type modular jack, which is the most
common type of phone jack and might look like the one
pictured here. If you don’t have a modular jack, call your local
phone company to find out how to get one installed.
INSTALLATION NOTE: Some cordless telephones operate at frequencies that
may cause interference to nearby TVs and VCRs. To minimize or prevent such
interference, the base of the cordless telephone should not be placed near or on
top of a TV or VCR. If such interference continues, move the cordless telephone
farther away from the TV or VCR.
PAGE/
FIND
CHARGE/
IN USE
wall mount bracket
123
ABC DEF
5
46
JKL
GHI MNO
8
79
PQRS WXYZ
TUV
0
TONE OPER
PHONE
#
TALK
REDIAL
CALL BACK
VOLUME
DELETE
CHANNEL FORMAT MEMORY FLASH
OFF ON
RINGER
DIGITAL SECURITY SYSTEM
Your cordless phone uses a digital security system to provide protection against
false ringing, unauthorized access, and charges to your phone line.
When you place the handset in the base, the unit verifies its security code. After a
power outage or battery replacement, you should place the handset in the base for
about 20 seconds to reset the code.

6
DESKTOP INSTALLATION
CAUTION: Use only the Thomson 5-2455 (black)/ 5-2454 (white)
power supply that came with this unit. Using other adapters may damage
the unit.
1. Place the handset in the base.
2. Set the RINGER switch on the handset to ON.
3. Raise the base antenna.
4. Plug the power supply cord into the base and then into an AC outlet.
The CHARGE/IN USE light comes on indicating that the battery is
charging.
Allow the phone to charge for 12 hours before using the first
time. If you don't charge the phone properly (for 12 hours)
when you first set up the phone, perfomance of the battery will
be compromised.
5. After charging, connect the telephone cord to the phone and then to the
wall jack.
1
4
3
5
NOTE: For
desktop charging
only, the handset
is able to charge
facing up or
down.
NOTE : The phone automatically defaults to touch-tone dialing. To change to
pulse (rotary) dialing, see “Tone/Pulse Dialing. If you don’t know which type
of service you have, check with the phone company.
2

7
WALL MOUNT INSTALLATION
Because it is necessary to charge
the handset for 12 hours prior to
connecting the phone for use the
first time, it is better to leave the
unit on a flat surface during initial
charge before attempting to hang it
on the wall.
1. Place the handset in the base.
2. Connect the power supply
adapter into the base and then
an AC outlet.
Allow the phone to charge
for 12 hours before using the
first time. If you don't
charge the phone properly
(for 12 hours) when you first
set up the phone,
perfomance of the battery
will be compromised.
The CHARGE/IN USE light
comes on indicating that the
battery is charging.
3. Set the RINGER switch on the
handset to ON.
4. After charging, plug the short
phone line cord into the phone
jack on the back of the unit and
then to the wall jack.
5. Attach the wall mount bracket by
inserting the two tabs at the top
and then snapping the tab at the
bottom into place.
1
2
5
CAUTION: Use only the Thomson
5-2455 (black)/ 5-2454 (white)
power supply that came with this
unit. Using other adapters may
damage the unit.
4
3

8
NOTE : The phone automatically
defaults to touch-tone dialing. To
change to pulse (rotary) dialing, see
“Tone/Pulse Dialing. If you don’t
know which type of service you
have, check with the phone
company.
6. Slip the mounting holes over the
wall plate posts and slide the
unit down firmly into place. (Wall
plate not included.)
6

9
TELEPHONE OPERATION
RECEIVING ACALL
1. Check the display to see who is
calling.
2. Press the TALK button.
MAKING ACALL
To make a call, press the TALK
button before you dial and press it
again to hang up.
REDIAL
Press the REDIAL button to redial
the last number you dialed.
FLASH BUTTON
Use the FLASH button to activate
custom calling services such as call
waiting or call transfer, which
are available through your local
phone company.
TIP: Don’t use the TALK button to
activate custom calling services such
as call waiting, or you’ll hang up
the phone.
CHANNEL BUTTON
While talking, you might need to
manually change the channel in
order to get rid of static. Press and
release the CHANNEL button to
advance to the next clear channel.
123
ABC DEF
5
46
JKL
GHI MNO
8
79
PQRS WXYZ
TUV
0
TONE OPER
PHONE
#
TALK
REDIAL
CALL BACK
VOLUME
DELETE
CHANNEL FORMAT MEMORY FLASH
OFF ON
RINGER
CHANNEL
button FLASH
button
TALK
button
REDIAL
button

10
TEMPORARY TONE
This feature enables Pulse (rotary)
service phone users to access
touch-tone services offered by
banks, credit card companies, etc.,
by pressing the TONE button to
temporarily make the phone touch-
tone compatible. To get information
about your bank account, for
example, you would:
1. Call the bank’s information line.
2. Press the TONE button (*) after
your call is answered.
3. Follow the voice instructions to
complete your transaction.
4. Hang up when finished. The
phone returns to Pulse (rotary)
service.
FINDING THE HANDSET
This feature helps to locate a
misplaced handset.
Press and hold the PAGE/FIND
button on the base. The handset
beeps continuously for about 2
minutes or until you press any
button on the handset.
PAGE/
FIND
CHARGE/
IN USE
PAGE/FIND
button
123
ABC DEF
5
46
JKL
GHI MNO
8
79
PQRS WXYZ
TUV
0
TONE OPER
PHONE
#
TALK
REDIAL
CALL BACK
VOLUME
DELETE
CHANNEL FORMAT MEMORY FLASH
OFF ON
RINGER
TONE
button
Other manuals for 26730
1
This manual suits for next models
1
Table of contents
Languages:
Other GE Cordless Telephone manuals