Freedom9 freeView Pro C80H User manual

freeView Pro C80H
8-port 1U Rack Mount HD KVM with 15” LCD
Screen
USER’S MANUAL
P/N: KDW-08HA
Rev 1.1

Copyright and Trademark Information
This document contains proprietary information that is protected by copyright. All rights
reserved. No part of this document may be photocopied, reproduced, or translated into another
language without express prior to written consent of freedom9 inc.
© Copyright 2005, freeView Pro and the freedom9 company logo are trademarks or registered
trademarks of freedom9 inc. All rights reserved. Windows is a trademark or registered
trademark of Microsoft Corporation. Macintosh is a trademark or registered trademark of Apple
Computer, Inc. Other trademarks or registered trademarks are the property of their respective
holders.

freeView Pro C80H User’s Manual
TABLE OF CONTENTS
1GENERAL INFORMATION..................................................................................................................3
1.1 OVERVIEW.....................................................................................................................................3
1.2 SAFETY INSTRUCTIONS...................................................................................................................3
1.3 PACKAGE CONTENTS......................................................................................................................3
1.4 PRODUCT SPECIFICATION...............................................................................................................4
1.5 HARDWARE REQUIREMENTS...........................................................................................................4
1.6 MOUNTING THE UNIT.......................................................................................................................5
2SPECIFICATIONS................................................................................................................................9
2.1 LCD SPECIFICATIONS.....................................................................................................................9
2.2 FACTORY PRESET TIMING...............................................................................................................9
2.3 PANEL CONTROLS AND MENU OPTIONS...........................................................................................9
3INSTALLATION..................................................................................................................................13
3.1 INSTALLING THE VIDEO CARD AND VIDEO DRIVER ..........................................................................13
3.2 CONFIGURING THE DISPLAY SETTINGS ..........................................................................................13
3.3 CONNECTING THE DRAWER ..........................................................................................................13
3.4 DAISY CHAIN YOUR SWITCH .........................................................................................................14
3.5 TURNING ON THE DRAWER...........................................................................................................15
3.6 INCREASING THE RANGE OF THE MONITOR ....................................................................................15
3.7 TESTING THE DRAWER .................................................................................................................16
4OPERATION ......................................................................................................................................17
4.1 LOGGING INTO THE CONSOLE .......................................................................................................17
4.2 HOT KEYS ...................................................................................................................................17
4.3 OSD OPERATION.........................................................................................................................18
5TROUBLESHOOTING.......................................................................................................................20
6CERTIFICATIONS..............................................................................................................................22
1

2
LIST OF FIGURES
Figure 1-1: Unit Diagrams.............................................................................................................................5
Figure 1-2: Mounting Kit................................................................................................................................6
Figure 1-3: L-bracket Placement...................................................................................................................6
Figure 1-4: Metal Brace Placement ..............................................................................................................7
Figure 1-5: Washer Installation.....................................................................................................................7
Figure 1-6: Screwing Down Metal Brace ......................................................................................................8
Figure 1-7: Front Mounting Bracket..............................................................................................................8
Figure 2-1: Panel Controls Located to the Left of the LCD Screen ..............................................................9
Figure 3-1: freeView Pro C80H Rear Panel................................................................................................13
Figure 3-2: Daisy-chaining KVMs ...............................................................................................................15
Figure 4-1: Hot Key Command List.............................................................................................................17
Figure 4-2: OSD Screen – Bank Number and Active Computer.................................................................18
Figure 4-3: OSD Screen – Settings and Commands..................................................................................18

freeView Pro C80H User’s Manual
1 General Information
1.1 Overview
The freeView Pro C80H is an ideal solution for network administrators with multiple servers and
platforms. The 15-inch TFT LCD color display and ultra-low-profile compact industrial keyboard
and touchpad provide a user-friendly and reliable console for network administrators. All these
functions are integrated in a slim 19-inch compact 1U space.
The built-in KVM switch of the freeView Pro C80H enables easy accessibility to 8
servers/platforms and supports PS/2 keyboard, PS/2 mouse, and DB15 VGA with 8 DB15
connectors. By cascading multiple switches, you can connect up to 512 computers or servers.
The KVM Console drawers provide superior picture quality and state-of-the-art features
mounted in an industrial grade, rack mount drawer. The drawer forms a rugged enclosure that
protects the monitor from industrial hazards and permits easy access to monitor controls.
The KVM Console Active Matrix TFT LCD screen provides flicker-free color images at optimal
resolutions. The KVM Console is intelligent, microprocessor-based, and has an ergonomically
designed display.
The KVM Console screen employs the latest in active matrix thin film transistor (TFT)
technology, providing crisp screen images and wide viewing angles. Unlike CRT monitors, LCD
monitors are inherently immune to the magnetic fields commonly found on the factory floor or
communications centers. LCDs are also typically brighter than conventional CRT technology,
making them ideal for the high ambient lighting conditions found in many of today's factory
environments. In addition, on-screen menus allow for display adjustments. Also, the monitors'
Plug-n-Play features support Windows 95/98, NT and XP, while a universal power supply
ensures global compatibility.
1.2 Safety Instructions
To prevent the equipment from overheating, DO NOT COVER THE OPENING IN THE REAR
OF THE DEVICE.
If one of the following situations arises, the equipment should be checked by service personnel.
•The power cord or plug is damaged.
•Liquid has leaked into the equipment.
•The equipment has been exposed to excessive moisture.
•The equipment has not worked well or you can not get it work according to the User’s
Manual.
•The equipment has been dropped and damaged.
•If the equipment has obvious signs of breakage.
1.3 Package Contents
The complete freeView Pro C80H package consists of:
Equipment Qty
1U 19” rack mount console 1
Rear mounting kit (2 x L-brackets, 2 x Metal Brace, 6 x Washer, 6 x Screw) 1
3

4
1.8m PS/2 HD KVM cable (PS/2 mouse and keyboard, DB15 VGA) 2
1m PS/2 KVM cascading cable (PS/2 mouse and keyboard, DB15 VGA) 1
Power cord 1
User manual CD 1
Check to make sure the unit was not damaged in shipping. If you encounter a problem, please
contact your dealer.
Read this manual thoroughly, and follow the installation and operation procedures carefully to
prevent any damage to the product and/or any of the devices connected to it.
1.4 Product Specification
Standard Meets EIARS-310C 1U 19” rack mount standard.
(H x W x D) 44 x 440 x 492 (mm)
LCD Panel 15” /17” Active-Matrix TFT LCD
Hardness Glass for LCD 2 x 249 x 333 (mm)
Maximum Resolution 1024 x 768
Pixel Pitch 0.297 mm
Input Signal Format RGB Analog Video
Display Control Auto Tune, Brightness, Contrast, Color, Quality, Position, Language,
Recall
Keyboard PS/2, 83 keys (US version) or 84 keys (International version)
Pointing Device Touchpad
Gross Weight 17 kg
Certification CE, FCC
1.5 Hardware Requirements
Computers
Your PC must have a VGA, SVGA, or Multisync video card and video driver already installed for
the monitor. If you need to install a video card or a video driver, refer to your computer
documentation for instructions.
• Your Macintosh will require a “Mac adapter” for video.
• Your computer must have a standard 6-pin mini-DIN (PS/2 style), mouse port
• Your computer must have a standard 6-pin mini-DIN (PS/2 style) keyboard port
For optimum signal integrity and to reduce cable clutter, the device uses high density cables.
High density cables have a DB15 connector on one end to connect to the KVM switch, and
keyboard, mouse, and monitor connectors on the other end to connect to the server. Ask your
dealer for a list of available cables or visit us online at http://www.freedom9.com.

freeView Pro C80H User’s Manual
Figure 1-1: Unit Diagrams
1.6 Mounting the unit
The unit is designed for standard 750mm cabinets. You can find the mounting kit in the carton.
Familiarize yourself with all of the pieces before installation.
5

6
Figure 1-2: Mounting Kit
Mounting the KVM Console
1. Place the L-bracket on the side of the unit surrounding the three screw sockets with the
bracket facing outwards. The groove down the center of the L-bracket should face outwards.
Figure 1-3: L-bracket Placement
freeView Pro C80H User’s Manual
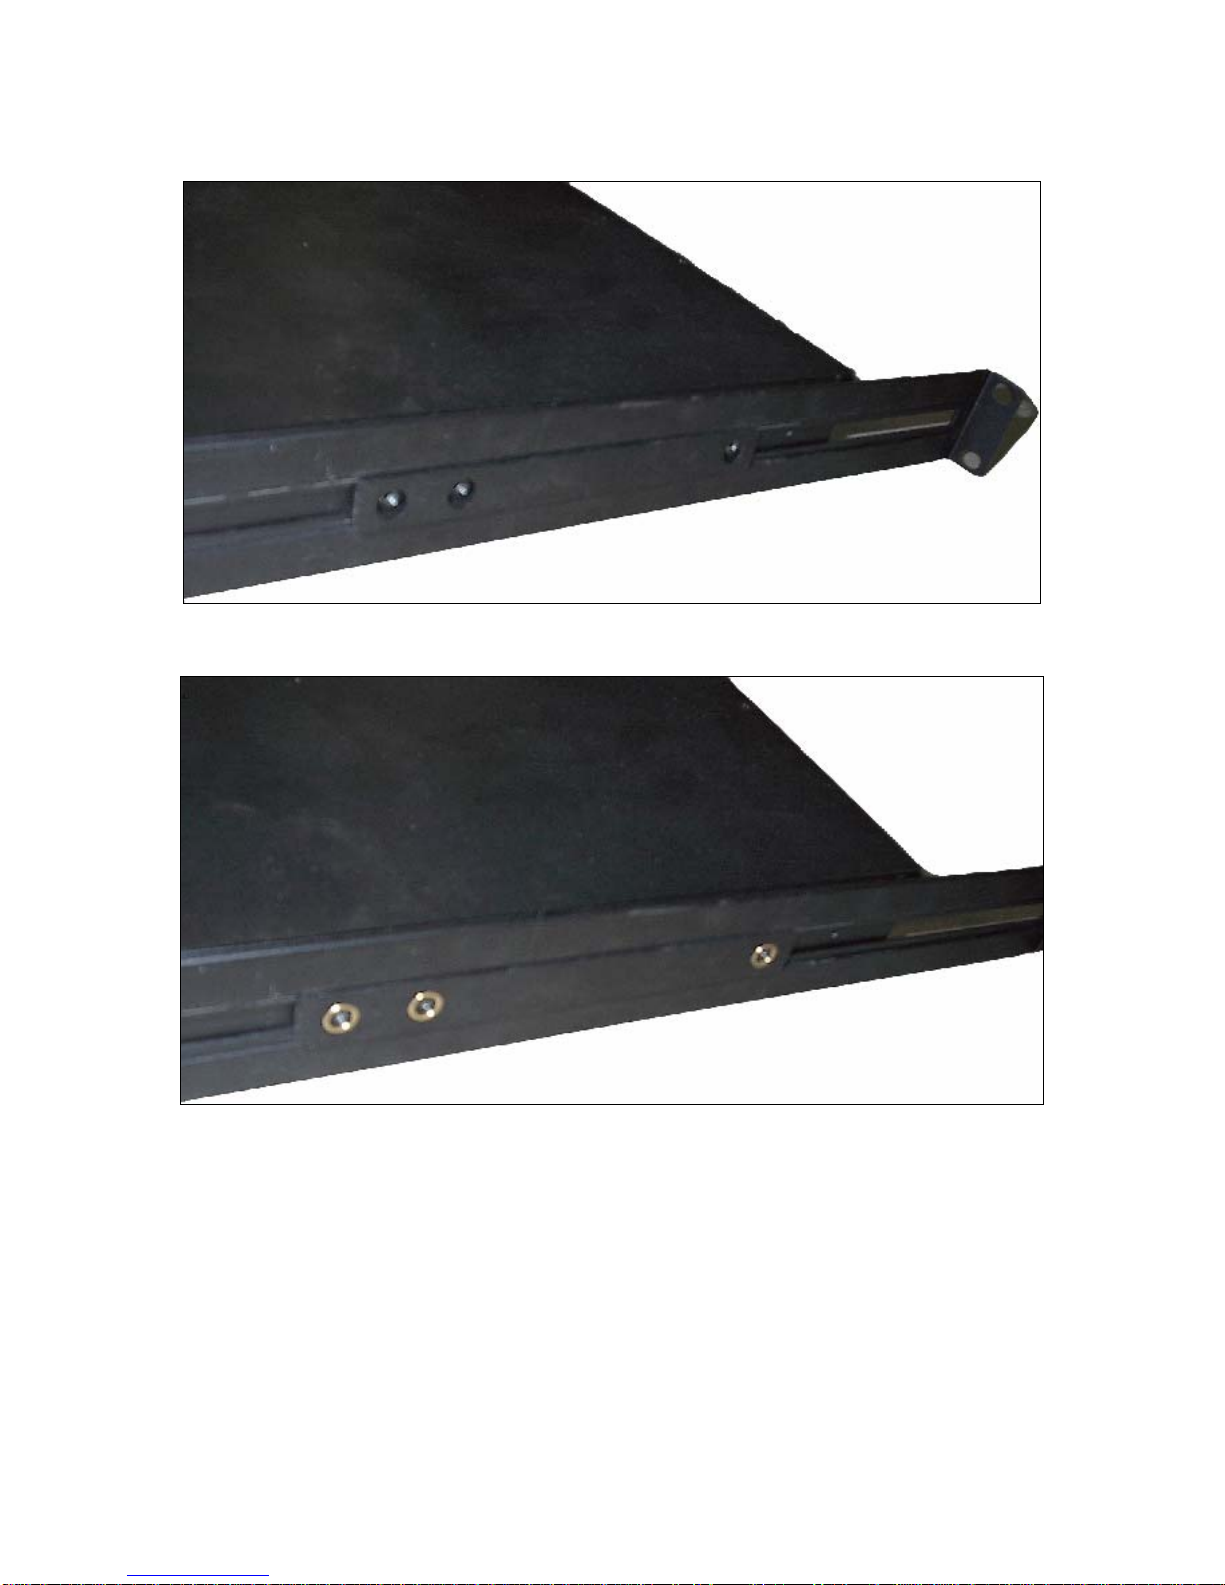
2. Place the metal brace over the three screw sockets next to the L-bracket.
Figure 1-4: Metal Brace Placement
3. Place the washers around the screw sockets and in the metal brace.
Figure 1-5: Washer Installation
7

8
4. Screw the screws into the screw sockets. Note: Ensure the screws are not completely
tightened. You should be able to slide the L-bracket freely. If necessary, loosen the screws
until the L-bracket slides easily.
Figure 1-6: Screwing Down Metal Brace
5. When mounting the unit into the rack, unscrew the locks at the front of the unit and slide the
mounting ears backwards. Attach the mounting bracket to the rack, leaving the screw lock
free. Once mounted, slide the unit back into place and lock the screw locks by turning them
clockwise. If more space is needed after the keyboard and monitor have been pulled out,
you can unlock the screw locks and pull the entire unit out further. See Section 3.6 for
further details.
Screw Lock
Mounting Bracket
Figure 1-7: Front Mounting Bracket
Other manuals for freeView Pro C80H
2
Table of contents
Other Freedom9 LCD Drawer manuals


Popular LCD Drawer manuals by other brands

Acnodes
Acnodes KD 8228 user manual

Ameriwood
Ameriwood 9524328PCOM manual

Kesseböhmer
Kesseböhmer TANDEM solo Mounting instructions

Crystal Image Technologies
Crystal Image Technologies RMD-151-A Series user manual

APW Wyott
APW Wyott Ease Extreme HDX-1-120 Installation and operating instructions

NTI
NTI RACKMUX-V17-N Installation and operation manual


GRASS
GRASS DWD XP manual

StarTech.com
StarTech.com DuraView RACKCONS1701 instruction manual

Fisher & Paykel
Fisher & Paykel IZONA CoolDrawer RB36S installation instructions

Synergy Global Technology
Synergy Global Technology LCD1U17-44 user manual

Fujitsu
Fujitsu RC25 user manual

Acnodes
Acnodes RK 1000B installation guide