
Ferm PRM1020P User manual

WWW.FERM.COM
Original instructions 04
EN
PRM1020P

2
Fig. A
8
7
6
1
5
2
4
3

3
Fig. B
Fig. C
Fig. D1 Fig. D2
11
9
10 9 12 11 14 13

4
EN
TRIMMER
PRM1020P
Thank you for buying this Ferm product.
By doing so you now have an excellent product,
delivered by one of Europe’s leading suppliers.
All products delivered to you by Ferm are
manufactured according to the highest standards
of performance and safety. As part of our
philosophy we also provide an excellent customer
service, backed by our comprehensive Warranty.
We hope you will enjoy using this product for
many years to come.
For your own safety and for the safety of
others, please read these instructions
carefully before using this appliance. It
will help you understand your product
more easily and avoid unnecessary risks.
Keep this instruction manual in a safe
place for future use.
Introduction
The trimmer has been designed for routing of
wood and wood products. Check the machine,
for loose parts and accessories from transport
damage.
Contents
1. Machine specifications
2. Safety instructions
3. Assembly
4. Operation
5. Maintenance
1. MACHINE SPECIFICATIONS
Technical specifications
Voltage 220-240 V~
Frequency 50 Hz
Power input 550 W
No load speed 35.000/min
Weight 1.6 kg
- using the tool for different applications, or with
different or poorly maintainted accessories,
may significantly increase the exposure level
- the times when the tool is switched off or when
it is running but not actually doing the job, may
significantly reduce the exposure level
Protect yourself against the effects of vibration by
maintaining the tool and its accessories, keeping
your hands warm, and organizing your work
patterns
Product description
1. On/off switch
2. Handle
3. Base plate
4. Accessory nut
5. Depth scale
6. Collet nut
7. Spindle
8. Clamping knob
9. Parallel guide
10.Edge guide
11.Template guide
12.Chip deflector
13.10mm wrench
14.17mm wrench
2. SAFETY INSTRUCTIONS
The following symbols are used in these
instructions for use:
Read the instructions carefully.
Danger of life and risk of injury as well as
risk of damage to the machine in case of
non-adherence to the safety instructions
in these instructions of use.
Danger of electric shock.
Remove the plug from the mains socket.
Variable speed control.
Wear ear and eye protection.
Wear a dust mask.
Wear protection gloves.
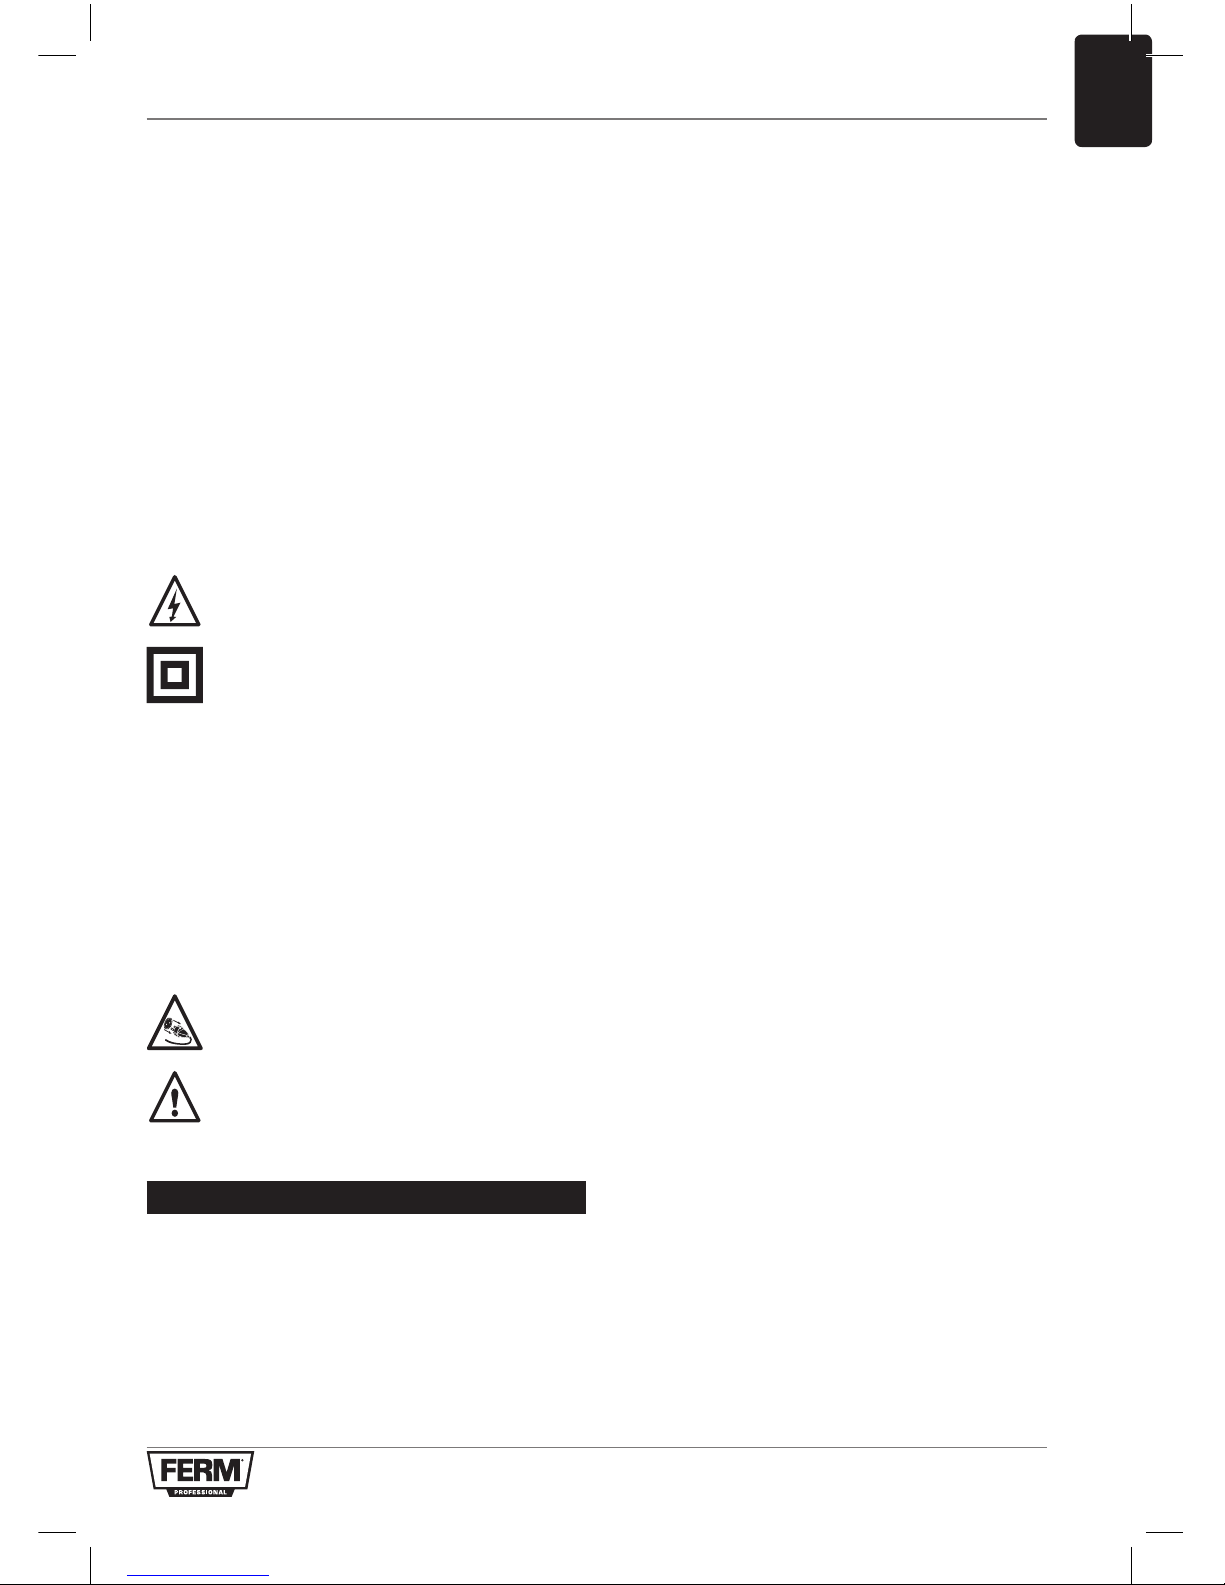
5
EN
Additional safety instructions
• Pleasecheckworkpiecesforanyobstructions
on the surface of the material, such as
protruding nails etc., to protect the trimmer
head.
• Waituntilthetrimmerhascometoacomplete
stop before removing any blocked or routed
material around the cutter. Use a long stick for
this and never your finger.
• Pleasekeepyourhandsawayfromtherouting
surface.
• Immediatelyswitchoffthetoolifitstarts
producing any unusual noise or starts vibrating
excessively.
• Pleasecheckthatallpartsaresecure,tools
are removed etc. before operation.
Always check that the power supply
corresponds to the voltage on the rating
plate.
Your machine is double insulated,
therefore no earthwire is required.
• Immediatelythrowawayoldcablesorplugs
whentheyhavebeenreplacedbynewones.It
is dangerous to insert the plug of a loose cable
in the wall outlet.
• Onlyuseanapprovedextensioncablesuitable
for the power input of the machine. The
minimum conductor size is 1.5 mm2. When
using a cable reel always unwind the reel
completely.
Prior to mounting an accessory always
unplug the tool.
Wait until the machine has come to a
complete standstill and the cutter has
cooled down before replacing a cutter.
3. ASSEMBLY
Router Bit Selection
Depending on processing and application, router
bits are available in the most different designs and
qualities:
Router bits made of high speed steel (HSS) are
suitable for working with soft materials, e. g. soft
wood and plastic.
Carbide tipped router bits (HM) are particularly
suitable for hard and abrasive materials, e. g. hard
wood and aluminium.
Mounting and removing cutters
Fig. C
Only use cutters with a shaft diameter which
corresponds with the size of the collet. Only use
cutters which are suited for the maximum speed
of the machine. The cutter diameter should not
exceed the maximum diameter.
Never tighten the collet nut, if there is no router bit
in the collet; the collet may be damaged.
• Lockthespindle(7)byholdingitwiththesmall
spanner.
• Openthecolletnut(6)usingthebigspanner.
• Placethecuttershaftinthecollet.
• Tightenthecolletnutsothatthecutteris
locked properly.
• Openthecolletnut(6)whenyouwantto
replace a cutter.
Adjusting the parallel guide
Fig. D1
The parallel guide is a useful tool for precision
routing at a fixed distance from the edge of the
workpiece or another ridge. This tool can also be
used to trim circles.
• Placethedesiredcutterinthetool.
• Slidetheparallelguide(9)intotheaccessory
holder.
Mounting the template guide
Fig. D2
The template guide is a handy aid for cutting a
pattern when the template guide is mounted, you
can easily run it along a pre-cut template to cut
the material beneath in the same shape.
• Mountthetemplateguide(11)onthetrimmer
by removing the bottom plate and mounting
the template guide between the trimmer base
plate and the bottom plate.

6
EN
4. OPERATION
Switching on and off
Fig. A
• SwitchthemachineonbyflippingtheOn/Off
switch (1) to “I”.
• ToswitchthemachineofffliptheOn/Offswitch
(1) to “O”.
Usage tips
• Afterswitchingthemachineon,makesurethe
machine reaches full speed before using it on
the workpiece.
• Clamptheworkpieceandmakesurethat
the workpiece cannot slide from under the
machine during the cutting activities.
• Holdthemachinefirmlyandmoveitevenly
over the workpiece. Do not force the machine.
• Onlyusecutterswhichdonotshowanysigns
of wear. Worn cutters have a negative effect on
the efficiency of the machine.
• Alwaysswitchoffthemachinefirstbefore
removing the plug from the wall socket.
Height setting of the trimmer column
Fig. A
• Theclampingknob(8)isusedtosettheheight
of the trimmer.
• Thecurrentheightcanbereadoffonthescale
(5).
5. MAINTENANCE
Make sure that the machine is not live
when carrying out maintenance work on
the motor.
These machines have been designed to operate
over a long period of time with a minimum of
maintenance. Continuous satisfactory operation
depends upon proper machine care and regular
cleaning.
Cleaning
Regularly clean the machine housing with a
soft cloth, preferably after each use. Keep the
ventilationslotsfreefromdustanddirt.Ifthedirt
does not come off use a soft cloth moistened with
soapy water. Never use solvents such as petrol,
alcohol, ammonia water, etc. These solvents may
damage the plastic parts.
Troubleshooting
Please find some potential causes and solutions
to possible failure.
1 The operating switch is switched on, but
the motor is not working
• Theelectriccircuitisbroken
• Havetheelectriccircuitrepaired
• Wiresinthemainsplugorinthesocketare
loose
• Havesocketandplugcheckedorrepaired
• Theswitchisfaulty
• Havetheswitchrepaired
2 Router runs slowly
• Bluntordamagedcutter
• Re-sharpenorreplacecutter
• Variablespeedsetlow
• Increasevariablespeed
• Motorisoverloaded
• Reducepushingforceonrouter
3 Excessive vibration
• Bentcuttershank
• Replacecutter
4 Sparks inside the housing
• Carbonbrushesareworn
• Replacethecarbonbrushes
Faults
Should a fault occur, e.g. after wear of a part,
please contact the adress on the warranty card.
Includedyoufindanexplodedviewshowingthe
parts that can be ordered.

7
EN
ENVIRONMENT
Inordertopreventthemachinefromdamage
during transport, it is delivered in a sturdy
packaging. Most of the packaging materials
can be recycled. Take these materials to the
appropriate recycling locations.
Faulty and/or discarded electrical or
electronic apparatus have to be collected
at the appropriate recycling locations.
Only for EC countries
Do not dispose of power tools into domestic
waste. According to the European Guideline
2012/19/EU for Waste Electrical and Electronic
Equipment and its implementation into national
right, power tools that are no longer usable must
be collected separately and disposed of in an
environmentally friendly way.
WARRANTY
The guarantee conditions can be found on the
separately enclosed guarantee card.
The product and the user manual are subject to
change. Specifications can be changed without
further notice.

8

9

10
Spare parts list
PRM1020P
No. Description Position
480472 Tapping screw 1
480473 Housing 2
480474 Ruler 3
480475 Waved washer 4
480476 Bottom rotor bearing 6002 5
480477 Rotor 6
480478 Insulationwasher 7
480479 Flat washer 8
480480 Top rotor bearing 607RS 9
480481 Bearing sleeve 10
480482 Tapping screw 11
480483 Brush cover set (2pcs) 12
480484 Carbon brush set (2pcs) 13
480485 Carbon brush holder set (2pcs) 14
480486 Stator 15
480487 Tension spring 16
480488 Center cover 17
480489 Cable clamp 18
480490 Tapping screw 19
480491 Washer 20
480492 Tapping screw 21
480493 Cable sheath 22
480494 Cable 23
480495 Rear cover 24
480496 Label 25
480497 Switch 26
480498 Transparant cover 27
480499 Guide 28
480500 Guide screw 29
480501 Screw 30
480502 Snap gauge 31
480503 Knob 32
480504 Screw 33
480505 Guide pulley 34
480506 Sliding knob 35
480507 Sliding block 36
480508 Base plate 37
480509 Hex nut 38
480510 Collet 39
480511 Screw 40
480512 Splinter guard 41
Other Ferm Power Tools manuals


