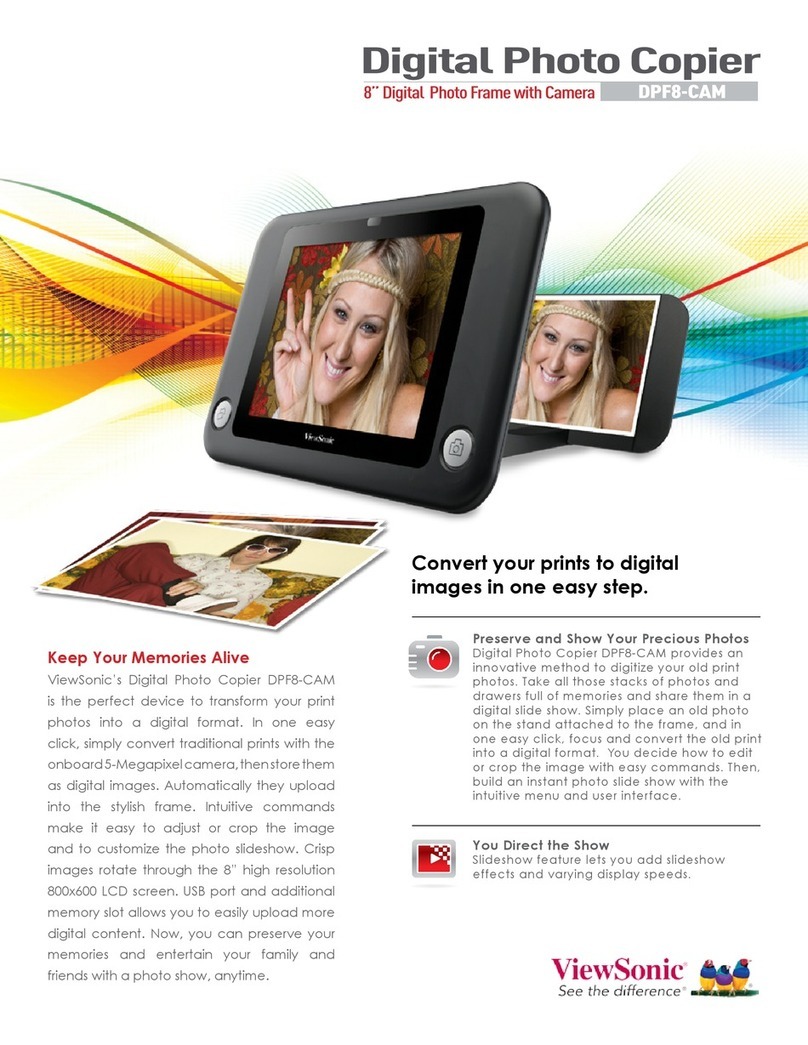
Faminode Smart 10 User manual

USER MANUAL
Faminode Smart 10 Digital Photo Frame
V1.1

01 - 19English
20 - 38Deutsch
39 - 57Español
58 - 76Français
77 - 95Italiano
96 - 114
日本語

CONTENTS
What’s in the Box
Frame Overview
Getting Started
Using the Ourphoto App
Binding Your Frame
Uploading Photos and Videos
Deleting Photos and Videos
Settings Menu
FAQ
Contact Us
1
1
3
4
5
9
13
13
16
18
01
EN

WHAT’S IN THE BOX
FRAME OVERVIEW
Faminode Smart 10 Digital
Photo Frame
Power Adapter with
Power Cable
Stand USB Cable User Manual
USER MANUAL
FaminodeSmart 10 Digital Photo Frame
1
2
02
EN

1
2
3
4
10" IPS Touch Screen
PIR Motion Sensor
Magnetic Suction
Reset
5
6
7
8
Micro USB Port
USB Port
DC Power Port
Memory Card Slot
46
7
8
5
3
03
EN

GETTING STARTED
1. Installing the Frame Stand
Attach the frame stand to the back of the frame. The frame stand is magnetic so
that you can easily install the frame in the correct position according to the magnet
design. You can place the digital photo frame horizontally or vertically. It is highly
recommended to place the photo frame horizontally during the first set up.
2. Connecting to Power
Connect the power cable to your frame and plug the power adapter into a wall
outlet. The photo frame will automatically power up.
04
EN

3. Initial Settings
There are several initial settings (Wifi, Device Info, Sleep Schedule, etc.) when you
enter the system for the first time.
4. Connecting to Wifi
You can connect to Wifi during the initial settings or under the Wifi setting. Select
the Wifi network you would like to connect to and enter the correct password if
required. If your Wifi network is not on the list, restart the router or move your
frame closer to your router, wait for seconds and check it again.
Note:
① The photo frame supports 2.4GHz Wifi networks only.
② A private Wifi network is highly recommended.
5. Frame ID
The photo frame will be activated when connecting it to Wifi for the first time. You
can find the photo frame's unique Frame ID number on the photo frame: go to
Settings →Device Info. The Frame ID number is required for binding your frame via
the app or email.
USING THE OURPHOTO APP
1. Downloading the OurPhoto App
Please download and install the OurPhoto app on your mobile device by searching
OurPhoto on the App Store or Google Play.
2. Creating an OurPhoto Account and Log in
① Open the OurPhoto app, select Sign Up and fill in all the required information (if
you already have an account, please log in directly).
② Click the right arrow icon to verify the email address you provided. A verification
code will be sent to your email address.
05
EN

③ Collect and fill in the verification code, then click Submit to complete the account
registration.
3. Inviting Friends to Download the App and Log in
Your friends and family can also send pictures or videos to your photo frame via
the app. They’ll need to download and install the OurPhoto app, create an account,
log in to their account, and bind your frame (Please refer to "Inviting Others to Bind
Your Frame via the App" below).
BINDING YOUR FRAME
1. Binding Your Frame via the App
The following instructions are only applicable to the frame owner or the user who is
the first to bind the frame.
①Log in to the OurPhoto app.
②Select Devices.
③Click the "+" next to My Devices.
OUR PHOTO
Username
Password
LOGIN
Forgot Password? Sign Up
Username
Password
Verify password
Email
Veruft Code
Submit
Log In Sign Up
06
EN

⑧ Confirm the binding request on your frame. Go to Settings →User Management
→ Pending User Requests, click Accept.
Note: Please make sure that you turn on the "Accept New Users" to receive
the binding request.
④Enter the Frame ID.
Note: Frame ID is a 6-digit series number which can be found on your frame.
Go to Settings →Device Info.
⑤Create a device name for your frame.
Note: We recommend you to name your frame after the Frame ID for easy
identification, for example, if the Frame ID is 123456, please name your frame
Frame123456.
⑥Create a unique email address for your frame.
Note: We recommend you to create the address with the Frame ID for easy
identification, for example, if the Frame ID is 123456, please create an email
⑦Then click Bind.
My Devices
Bound Devices
Back Devices
Device name frame123456
Device Email frame123456@ourphoto.cn
Frame ID 123456
Bind
Devices Devices Bind
Devices Messages
Video
Photo
Media
07
EN

⑨ If the binding succeeds, this account will appear under the Users, and it will be
the main account of your frame.
Settings
Device Info Accept new users
Users
User Management
PC Control
Wi-Fi
Album Settings
System Settings
About
Pending User Requests
User 1 Refuse Accept
2. Inviting Others to Bind Your Frame via the App
The following instructions are only applicable to the non-frame owner to bind the
frame. And binding requires the frame owner to operate and confirm on the frame.
Here is what your friends should do:
①Download and install the OurPhoto app.
②Create a new OurPhoto account and log in. Go to Devices → Bound Devices,
and then click "+".
③Enter the frame ID number of your frame.
Note: Frame ID is a 6-digit series number which can be found on your frame.
Go to Settings →Device Info. Please send this Frame ID to your friends.
④Create a device name for the frame.
Note: We recommend your friends to name the frame after the Frame ID for
easy identification, for example, if your Frame ID is 123456, please name the
frame Frame123456.
⑤Then click Bind.
Note: The above screenshot is for reference, please update to the latest firmware
version.
08
EN
Other manuals for Smart 10
1
Table of contents
Languages:
Other Faminode Digital Photo Frame manuals