The DSP7000 Family Operating Manual
Page 6 The DSP7000 Family Operating Manual Manual Release 1.1
2000 Eventide Inc.
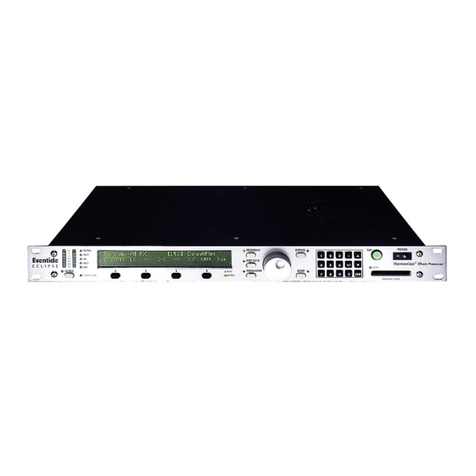
E) The display The display tells you what’s going on. The
top line displays the currently running
program and the display area you’re
working in. The bottom line is dedicated
to the four SOFT KEYS directly below the display. The middle section of the display
changes depending on what you’re doing!
→See Understanding the Display and SOFT KEYS on page 13.
F) CURSOR keys Press these keys to move the cursor on the display.
→See Using the Cursor Keys, the SELECT Key, the NUMERIC KEYPAD, and the KNOB on page 15.
G) PROGRAM Press this key briefly to access program functions such as loading, saving, deleting,
etc.
→See Program Load, Save, Delete, Etc. on page 53.
Press and hold this key for one second to access the Setup Storage area where “setup
configurations”are loaded and saved.
→
See Storing and Loading Setups on page 62.
H) PARAMETER Press this key briefly to access parameters for the program that is running.
Press and hold this key for one second to access the Patch Editor.
→See the separate Programmer’s Manual for Patch Editor information.
J) SELECT Press this key briefly to select something highlighted by the cursor.
Press and hold this key for one second to set up a remote control for whatever pa-
rameter is highlighted on the display.
→See Remote Controlling Parameters on page 50.
→To change the “one second hold time,” alter the “key hold” parameter on the [misc] menu page in
the SETUP area (you may have to press the SETUP key several times to find it).
K) The KNOB Spin the KNOB to change the value of whatever parameter is highlighted.
→See Using the Cursor Keys, the SELECT Key, the NUMERIC KEYPAD, and the KNOB on page 15.
L) The NUMERIC KEYPAD
Use the numbers, decimal point, and minus sign to enter numeric values or to enter
numeric text in a text field. Use the CXL key to “cancel” the last entered digit (like a
backspace key on a computer). Use the INC/DEC keys to increment or decrement a parame-
ter’s value. Use the ENT key after you’ve entered a numeric value.
→See Using the Cursor Keys, the SELECT Key, the NUMERIC KEYPAD, and the KNOB on page 15.
M) BUSY LED If a Memory Card is in place, this LED illuminates when data is being written to the
card. Don’t remove the Memory Card if this LED is lit! If no Memory Card is in
place, this illuminates when data is present at the MIDI In port or at the serial port.
Use the latter feature to troubleshoot communication problems between the
DSP7000 and the rest of the world.