Essilor PRO-E 600 User manual

User Manual

CONTENTS
INTRODUCTION 5
I. FIRST STEPS WIT PRO-E 600 7
1. Descriptive diagrams 8
2. Using the edger 10
a. Turning on the edger 10
b. Switching off the edger 10
c. Using the touch screen and keypads 11
d. Edging screen 12
II. EDGING A LENS 15
1. Edger working environment 16
a. Menu screen 16
b. Calling up a shape 18
c. Lens set-up and feeling 19
2. Perform a Beveling 21
a. Automatic beveling 21
b. Legend screen for customized bevels 23
c. Customized beveling 24
d. Modifying the bevel curve 26
e. Modifying the bevel curve at a particular point 27
f. Displacing the bevel curve 28
3. igh-base beveling 28
a. Captioned screens 29
b. igh-base beveling 31
4. Perform a Step bevel 36
a. Install the step bevel tool 37
b. Captioned screens 41
c. Perform a Step bevel 42
5. Grooving 48
a. Automatic grooving 49
b. Customized groove legend screen 50
c. Customized grooving 51
d. Modifying the groove curve 53
e. Modifying a point in the groove curve 54
f. Displacement of the groove curve 55
6. Produce a Flat-edge finish 56
7. Do a mixed job 57
a. Legend screens 57
b. Configuring the mixed finish 59
8. Perform a Drilled job 61
a. Automatic drilling 62
b. Legend screen for customized drilling 63
c. Customized drilling 64
9. Perform a Polishing 65
10. Chamfering 66
USER MANUAL> CONTENTS

11. Perform a Retouching 67
III. CONFIGURING T E EDGER 69
1. Configure the edger 70
a. Time, date and language 70
b. Connections 71
c. Screensaver 72
2. Adjusting the precision of the edger 72
a. Adjusting the diameter of the finished lenses 72
b. Adjusting the position of the bevel and groove 73
c. Adjusting the diameter of drill-holes 74
d. Adjusting the chamfer 75
e. Adjusting the groove 76
f. Adjust the position of high-base bevel 77
g. Adjust the position of the step bevel 78
IV. MAINTENANCE & SERVICING 81
1. Carrying out the autotests 82
2. Calibrating the touch screen 83
3. Consulting the preventive maintenance screen of the “small tools” modul 84
4. Changing or cleaning the edger tools 86
a. Changing or cleaning the drill bit 87
b. Changing or cleaning the mill bit 91
c. Changing the Step bevel wheel 94
d. Changing the chamfering wheel 97
5. Statistics and technical log 100
a. Edger cycles 100
b. Technical log and errors 101
6. Maintaining and cleaning the edger 102
a. Precautions required 102
b. Clean the door, the “small tools” module and the wheels 103
c. Dressing the wheels 104
TEC NICAL DATA 107
1. Edger 108
2. Environment 109
GENERAL INFORMATION 111
1. Symbols 112
2. Modifications 112
3. Declaration of conformity 113
4. Copyright 113
5. Materials and products 113
6. Safety instructions: 113
7. Electromagnetic waves 114
GLOSSARY 115
USER MANUAL> CONTENTS

INTRODUCTION
To take full advantage of the functions on you Pro-E 600 edger, we encourage you to consult the entire
manual.
You need to have at least memory version: V 1.0.0
USER MANUAL> INTRODUCTION
5
Pro-E 600 > v1 -02.17

I. FIRST STEPS WIT PRO-E 600

This chapter contains all the information relating to the first use of the edger:
•Description of the edger (F p.8)
•Using the device (F p.10)
1. DESCRIPTIVE DIAGRAMS
This section consists of descriptions and lists of accessories.
1. USB plug
2. Trough
3. Screen
4. ON/OFF button
5. Cycle start button
6. Barco e rea er
7. Screen tilt buttons
8. Fans
9. Manufacturer plate
10. Main switch
Connectors
Pro-E 600 > v1 -02.17
8
USER MANUAL> I. FIRST STEPS WIT PRO-E 600

1. Power socket
2. Solenoi valve socket
3. Pump socket (tank + pump) / Solenoi valve socket (town)
Accessories
Stylus
Posiblock removal pliers
Triangular key
White dressing stone for finishing wheel
Square dressing stone for polishing wheel
Transport wedges to be kept
Accessory box
- Usage :
•22 mm posiblock holder
•18 x 14 mm posiblock holder
•22 mm stop
•18 x 14 mm stop
•Mill/drill bit replacement tool (blocking key)
•Ø 1.0 mm drill bit (quantity 2, including one mounted on the module)
•Ø 0.8 mm drill bit
•Ø 1.5 mm edging mill bit (quantity 2, including one mounted on the module)
•Ø 20 mm grooving wheel (mounted on the module)
•Chamfering wheel (mounted on the module)
•Step bevel wheel
- Maintenance
•Blocking key for tool changes (drill bit/mill bit)
•Adjustable wrench for tool changes (drill bit/mill bit)
•Accessory for Step bevel wheel assembly/dismantling
•Adjustable wrench for tool changes (drill bit, mill bit, chamfering wheel)
O tions
•Open or closed circuit spraying kit
•Milling chip recovery tray
•Posiblock holder and “Weco” posiblock stop” accessory kit
•M’Eye Sign Box
Connection accessories
•220 V power cable
•RJ45 cable for the tracer-edger connection
•Essibox connection cable
•Wastewater evacuation pipe with attachment ring
•2 connectors to clip onto two internal water pipes and connect to the rinsing kit
USER MANUAL> I. FIRST STEPS WIT PRO-E 600
9
Pro-E 600 > v1 -02.17
2. USING T E EDGER
In this section, you will find all the information concerning the following:
•Turning on (F p.10) andoff (F p.10) the edger,
•the use of the touch screen and the keyboards (F p.11),
•the description of the work screens of the edger (F p.12).
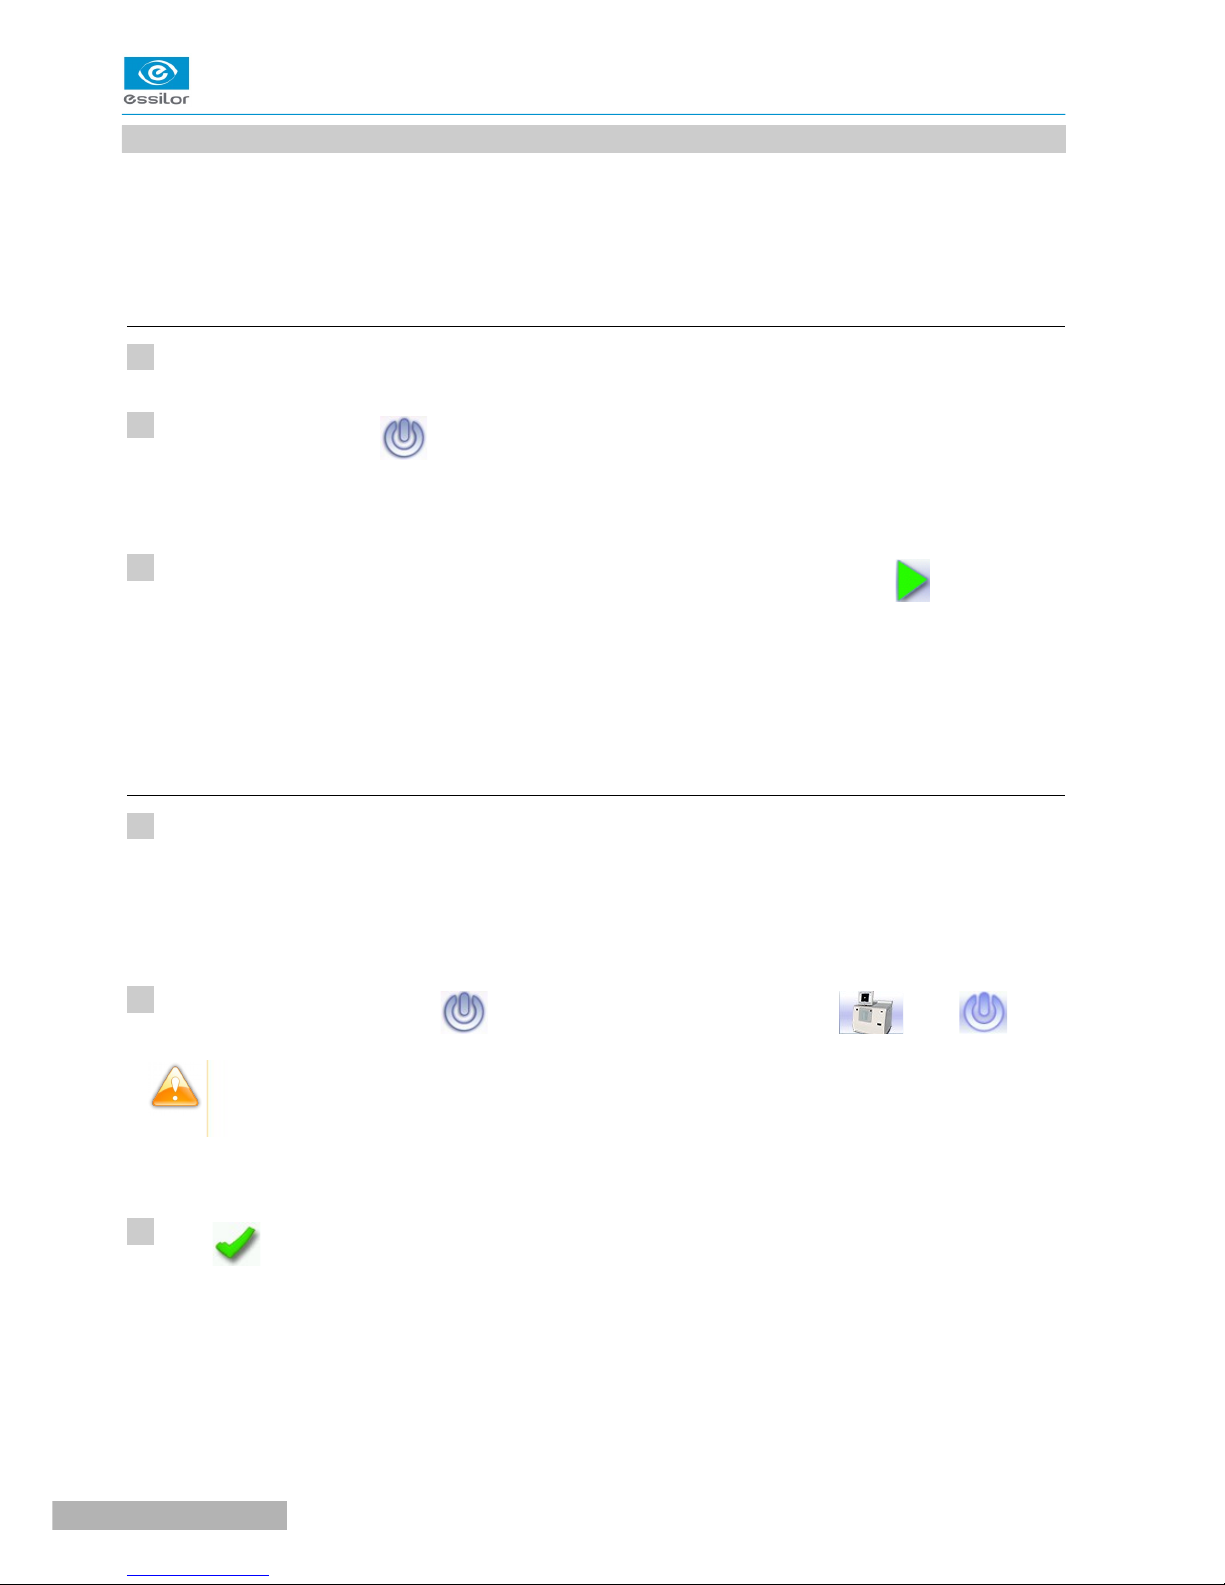
a. Turning on the edger
Press the main switch, located behind the edger on the left, to power it up.
Press the ON/OFF button located under the touch screen.
The edger will initialise.
On the edger screen, press on the “cycle start” button on the front surface or on the icon to end the
initialization phase.
A beep indicates that the initialisation was successful.
The edger is ready for use when the initial screen is displayed.
b. Switching off the edger
Before switching off the edger:
•Check that there is no glass in the trough
•Check that the lens clamp shafts are loosened and that the trough door is open
•Select the edging screen
Briefly press the ON/OFF button located under the touch screen or press , then .
Do not press the ON/OFF button for several seconds. This would result in a shut-down of the
machine and a warningmessage would be displayed at the next switch-on.
A confirmation message is displayed on the screen.
Press to confirm.
The edger will switch off.
>
>
>
>
1
2
3
1
2
3
Pro-E 600 > v1 -02.17
10
USER MANUAL> I. FIRST STEPS WIT PRO-E 600

Extended eriod of non-use
For a prolonged period of non-use (a few days), it is preferable to turn off the edger using the main
switch.
It must be powered off at least once a week.
c. Using the touch screen and key ads
Using the touch screen
Use the stylus supplied with the machine to use with the touch screen.
You can also touch the screen with your finger.
•If the screen is not sensitive enough to finger pressure, press lightly with a fingernail.
•If the response area does not correspond to the position of the key, you need to calibrate the touch
screen. For further information, refer to the section Maintenance and servicing > Check and calibrate
> Calibrate the touch screen (F p.83).
•Never press hard on the screen as this could break it.
•Never press on the screen with sharp objects such as pens, scissors, clamps, etc.
•Screen breakage is not covered by the guarantee.
On the screen, press the icon buttons to access the desired menus and job functions .
Using the key ads
When you need to enter or modify data, two types of keypads are automatically displayed, according to the
information to be entered.
•The numeric keypad is displayed for entering values.
•Reset the fields
•Go back
•Confirm
•Cancel and go back to the work screen
•The alphanumeric keypad is displayed to save or search for jobs.
USER MANUAL> I. FIRST STEPS WIT PRO-E 600
11
Pro-E 600 > v1 -02.17

•Job ID
•Job reference (alphanumeric characters)
•Job list&
•Collection list (when the edger is connected to a Essilor range tracer)
d. Edging screen
1. Work screen in icator
2. Tool wear in icators
3. Settings
Pro-E 600 > v1 -02.17
12
USER MANUAL> I. FIRST STEPS WIT PRO-E 600
Table of contents
Other Essilor Medical Equipment manuals

Essilor
Essilor AKR 750 User manual

Essilor
Essilor CS550 User manual

Essilor
Essilor PSL classic User manual

Essilor
Essilor ALM 700 User manual

Essilor
Essilor SL 350 User manual

Essilor
Essilor WAM700 User manual

Essilor
Essilor CORNEA 550 User manual

Essilor
Essilor AKR 550 User manual

Essilor
Essilor CS pola 600 User manual

Essilor
Essilor MYOPIA EXPERT 700 User manual


