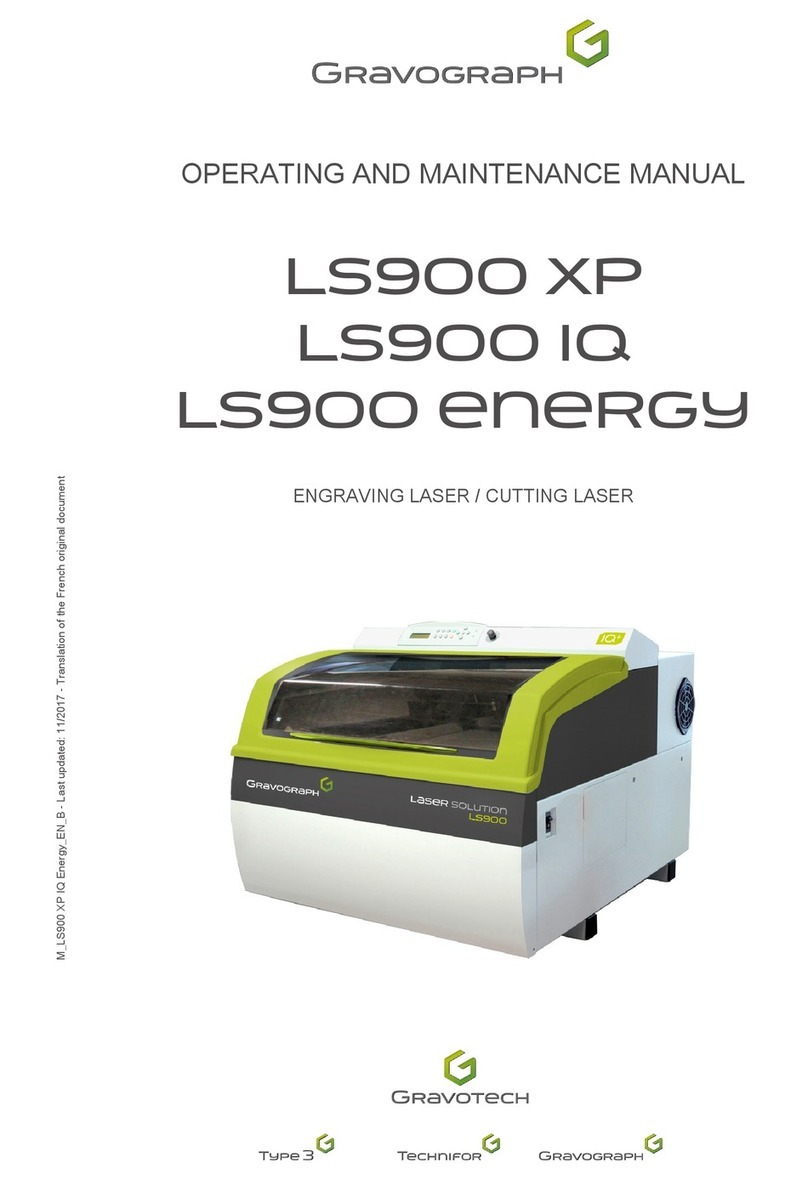
EK-Team VE 600 User manual

©
Page 1 of 25
Operating Instructions
Release: June 13, 2013
EK Vario Engraver VE 600
full size (A3) / half size (A4)

Page 2 of 25
1. Introduction...................................................................................................3
2. Scope of Supply ...........................................................................................4
3. Product Overview .........................................................................................6
4. Taking into Operation....................................................................................7
5. Operation ....................................................................................................11
6. Cleaning and Care .....................................................................................16
7. Accessories ................................................................................................17
8. Fault Rectification .......................................................................................19
9. Technical Data ...........................................................................................20
10. Packing Instructions for the VE 600 ........................................................21
11. Safety Instructions ...................................................................................22
12. Contact Information ..................................................................................25
Operating Instructions
Content
EK Vario Engraver VE 600
full size (A3) / half size (A4)

Page 3 of 25
1. Introduction:
By buying the VE 600 you have acquired a flexible engraving device which will enable
you to engrave materials made from plastics, aluminum, brass and special steel,
easily and rapidly.
●Tough device structure made of aluminum profiles
●Action area dimensions 220 mm x 305 mm
●Easy exchange of fixing plates for different engraving materials
●Engraving materials in thickness of up to 2.5 mm can be worked.
Special solutions up to a height of 10 mm are also possible
●Universal voltage supply of 100-240V AC
●PC interfaces: USB connection 2.0
●Command language: HPGL
●Material fixing by means of vacuum fixing plate or adhesive mat (option)
●Firmware update for VE 600 possible by means of PC connection, and therefore via
the Internet
●Vacuum cleaner connection for suction removal of engraving chips
●Engraving depth indicator

Page 4 of 25
2. Scope of Supply for the VE 600 Engraver
When you take delivery of the engraver, please check that the consignment is
complete. Please keep the outer packing, so that the device can be transported safely
when it comes to servicing.
The scope of supply consists of the following components:
1. Vario Engraver VE 600
2. Mains power cable 3. USB data cable
4. Operating Instructions 5. Engraving spindle with
engraving needle, .5 mm, 15°

Page 5 of 25
Scope of Supply for the VE 600 engraver
6. Connection cable for engraving spindle 7. Suction hose for engraving unit
8. Connection cable for vacuum cleaner 9. Stand tube
10. Clamp for hose and engraving
spindle cable

Page 6 of 25
3. Product Overview
1) Engraving surface
2) Connection for engraving spindle
3) Connection for vacuum cleaner
4) On/Off switch
5) Fuse
6) Mains connection
7) USB connection
8) Operating panel/keypad
9) Engraving arm
10) Contact surface for zero setting of the engraving needle
11) Retaining pins for support plates
12) Engraving head
13) Engraving depth indicator
14) Mounting for cable and hose stand
2
45 6
11
Segment 1 Segment 2
11
98
12
7
1
3
10
14
13

Page 7 of 25
4. Taking the Vario Engraver VE 600 into operation
4.1 Setting up the engraver
The engraver is best set up a dry area, as free of dust as possible. Do not expose the
device to direct sunlight. Make sure that the connections are accessible at all times.
Set the VE 600 up in such a way that it stands securely and firmly on the surface
used.
Ensure that the engraving arm can move freely and is not blocked by any objects.
4.2 Connection
Connect the device by means of the mains power cable provided to a socket which
has been installed in the regulation manner. The VE 600 has a variable input AC
voltage of 100-240V~ 50-60Hz. The mains cable is exchangeable and can be adapted
to various different countries with different mains plugs.
The mains power connection is located on the
top left-hand side of the VE 600, which is where
you insert the mains cable provided.
Next to are the connections for the
vacuum cleaner and the engraving spindle.
Located at the connection point, as well as the On/Off switch, is
also the miniature fuse (4A).
Next, connect the device by means of the
USB data cable provided.
The connection point is located on the top
right-hand side of the VE 600.

Page 8 of 25
4.3 Insert the engraving spindle into the engraving head
As shown in the illustration, place the engraving spindle into the
engraving head and clamp the spindle tight with the quick-action
tightener. The engraving spindle is already fitted with an
engraving needle.
Note: Make sure the connection of the engraving spindle is
pointing towards the lever.
Caution:
Please read and take note of the safety instructions
for operation
4.4 Fitting the cable and hose stand
Insert the aluminum tube into the mounting.
Insert the clamping element for the engraving cable and the suction
hose into the aluminum tube.
4.5 Connections at the engraving head
Place the engraving head by hand (the engraver must be switched off)
into the bottom right-hand corner.
Connect the engraving spindle cable to the spindle and
tighten the screw connection of the plug to hand tightness. Now, as
shown in the illustration, lay the cable in a loose loop and clamp it
into the clamping element of the stand. Connect the other end of
the cable to the VE 600 and likewise tighten the screw connection
to hand tightness. Now plug the suction hose onto the engraving
head and lay the hose, like the cable, in a loose loop, then clamp
the hose into the clamping element of the stand.
4.6 Vacuum cleaner connection
You have the option of using the VC 500 vacuum cleaner, which is part of the product
range, or a conventional commercial vacuum cleaner for the suction clearance of the
engraving chips.
Caution:
Under no circumstances should you work without vacuum cleaning, since
otherwise the chips will cause serious dirt contamination of the engraver

Page 9 of 25
The EK-TEAM VC 500 vacuum cleaner is characterized by its
low noise development, and can be used in sustained
operation.
Note: If you use a conventional commercial vacuum
cleaner, take care to ensure that it is not overloaded by
excessively long operation.
4.7 Connection of the VC 500 vacuum cleaners
If possible, place the vacuum cleaner on the left
next to the engraver.
Now connect the vacuum cleaner connection
cable provided with the engraver to the
vacuum cleaner and the engraver, and tighten the screw
connections to hand tightness.
Next, remove the stopper on the vacuum cleaner and insert
the vacuum cleaner hose into the vacuum cleaner.
Note: During the engraving process the vacuum cleaner
switches on automatically and switches off again when the
process has ended.
4.8 Changing the vacuum cleaner filter
Conventional commercial vacuum cleaner bags are used for the
vacuum cleaner. Replacement bags can be obtained from us or via
a retail outlet.
To change the vacuum cleaner bag, actuate the catch on the
vacuum cleaner. The cover with the suction hose and vacuum
cleaner bag will open.
Before taking the bag out of its mounting, you must take off the
suction hose. To do this, rotate the hose and draw it outwards at
the same time. Re-installation takes place in the reverse order.
4.9 Replacing or cleaning the motor filter
Once you have opened the cover as described above, you can
remove the motor protection filter. To do this, you must reach
into the chamber for the vacuum cleaner bag and take out the
motor filter. It is sufficient to clean this filter from time to time.
Replacement filters can be obtained from EK-TEAM.

Page 10 of 25
4.10 Connecting a conventional commercial vacuum cleaner
If you want to use a conventional commercial vacuum cleaner, you need appropriate
adaptations, a switchbox for adapting the electrical arrangement
and a suction hose adapter. These can be optionally obtained
from us.
Plug the switch box provided into a socket installed in the
regulation manner.
Now connect the vacuum cleaner connection
cable supplied with the engraver to the switch
box and to the VE 600 and tighten the screw
connections to hand tightness.
Connect the suction hose fitted to
the VE 600 to the adapter
provided, and plug the hand
piece of the vacuum cleaner into
the rubber sleeve.
Plug the mains cable of the vacuum cleaner into the socket of
the switch box and turn the vacuum cleaner on.
Note: During the engraving process the vacuum cleaner
switches on automatically and switches off again when the process has ended.
Table of contents