DMT 630MA User manual

USER GUIDE
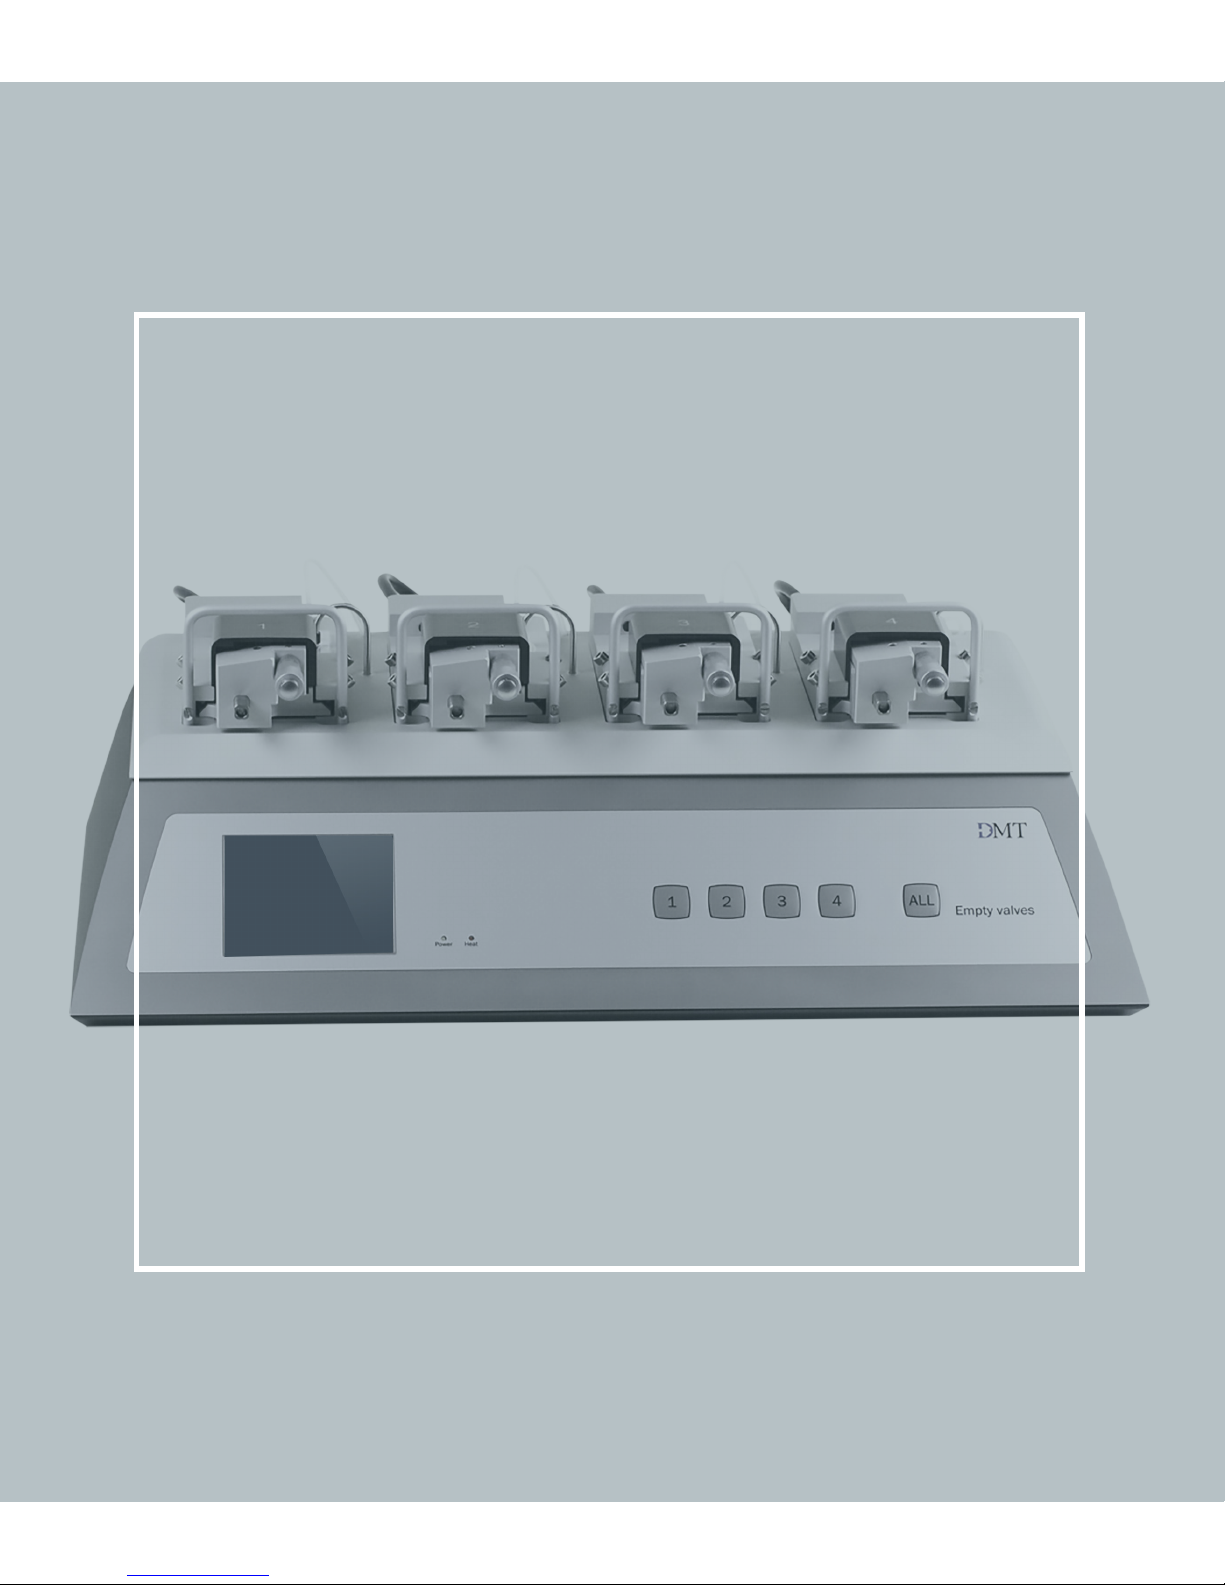
MYOGRAPH SYSTEM - 630MA
AUTOMATED MULTI WIRE
MYOGRAPH SYSTEM

CONTENTS
CHAPTER 1 - WIRE MYOGRAPH OVERVIEW 4
CHAPTER 2 - THE MULTI WIRE MYOGRAPH UNIT 5
2.1 Changing and adjusting the mounting supports 5
2.2 Calibration of the force transducer 8
CHAPTER 3 - EXPERIMENTAL SET-UP 9
3.1 Mounting protocol for small arteries 9
3.2 Mounting protocol for larger arteries 15
3.3 Normalization 17
3.4 Standard start 24
3.5 Endothelium function 25
3.6 In vitro experiment 1: Noradrenaline contractile response 26
3.7 In vitro experiment 2: Acetylcholine relaxation curve 28
CHAPTER 4 - CLEANING AND MAINTENANCE 30
4.1 Cleaning the 630MA Myograph system 30
4.2 Maintenance of the force transducer 32
4.3 Maintenance of the linear slides 36
APPENDIX 1 - BUFFER RECIPES 37
Physiological Saline Solution (PSS) 37
High potassium Physiological Saline Solution (KPSS) 39
APPENDIX 2 - NORMALIZATION THEORY 40
Mathematical calculations 40
APPENDIX 3 - READING A MILLIMETRE MICROMETER 42

4
CHAPTER 1 - WIRE MYOGRAPH OVERVIEW
Figure 1.1 Wire Myograph with close-up of chamber
Micropositioner
Allen screws for ne
alignment of the
myograph jaws
Connection to Myo-Interface
Force transducer pin
Supports
Myograph jaw connected to force transducer
Myograph jaw connected to micropositioner
Figure 2.3 Chamber cover
For drug application
Temperature probe
Funnel

5
CHAPTER 2 - THE MULTI WIRE MYOGRAPH UNIT
2.1 CHANGING AND ADJUSTING THE MOUNTING SUPPORTS
NOTE: The transducers are fragile and sensitive to mechanical strain. Be very careful
when changing or adjusting the mounting supports!
Each chamber can accommodate mounting
supports for either small vessels (>30µm) or
larger segments (>500µm). Because the mounting
supports can be changed easily, experiments can
be performed with dierent vessels of varying
internal diameter. Continuous use and repeated
greasing of the transducer pin holes will cause
some misalignment of the mounting supports.
The mounting supports, therefore, whether
they are the jaws for wires or the pins, will need
occasional adjustments.
Changing and adjustment of the supports is
performed using the following step-by-step
procedure.
2.1.1 CHANGING THE MOUNTING SUPPORTS (FIGURE 2.1)
1. Use the micrometer to separate the supports
as far apart as possible.
2. Use the small screwdriver provided to gently
loosen screw D on the support attached on the
transducer side using the small screwdriver.
Screw D is the screw on the transducer-side
support closest to the transducer.
3. Gently pull the support away from the
transducer pin.
4. Loosen screw B on the micrometer side with
the appropriate tting allen key.
5. Pull the support away. Note: Number the
supports with the chamber number they
were removed from using some kind of
permanent marker. Store the supports in
the provided plastic case. Numbering the
supports will save time when the sup ports
are changed again, limiting the amount of
adjustments needed after each change.

6
A B D C
2.1.2 COARSE ADJUSTING THE JAWS FOR SMALL VESSELS (FIGURE 2.1)
1. Loosen screw A to move the micrometer-side
jaw toward or away from the micrometer.
2. Loosen screw B to move transducer-side jaw
toward or away from the transducer.
3. Loosen screw C to vertically alight the
transducer-side jaw. Screw C is the screw on
the transducer-side support that is furthest
away from the transducer.
NOTE: Number the supports with the number of the chamber they were removed from
using some kind of permanent marker. Store the supports in the provided plastic case.
Numbering the supports will save time when the supports are changed again, limiting
the amount of adjustments needed after each change.
Figure 2.1 Illustration of the screws for changing supports and coarse adjustment of the jaws
Micrometer
Transducer house

7
Figure 2.3 - Illustrations of properly aligned jaws (depicted on the far left) and incorrectly aligned jaws
(depicted in the middle and far right).
Jaws from top view
Jaws from side view
2.1.3 FINE-ADJUSTING THE JAWS FOR SMALL VESSELS (FIGURE 2.2 AND FIGURE 2.3)
1. TighteningScrew“D”willmovethemicrometer
side jaw downward and to the left.
2. Tightening both screws “D” and “B” will move
the micrometer side jaw straight down
3. Tightening both screws “C” and “A” will move
the micrometer side jaw straight up.
Figure 2.2 Fine adjustments of the jaws in the Wire Myograph chamber
A B
C D

8
Figure 2.4 - Fine adjustments of the pins in the Myograph chamber
Pins from top view
Figure 2.5 - Illustrations of properly aligned pins (depicted on the far left) and incorrectly
aligned pins (depicted in the middle and far right).
2.1.4 FINE-ADJUSTING THE PINS FOR LARGER VESSELS (FIGURE 2.4 AND FIGURE 2.5)
1. Loosen screw A to move the micrometer-side
arm holder sideways.
2. Loosen screw B to move the micrometer-side
pin toward or away from the transducer
3. Loosen screw C to align the transducer-side
pin horizontally.
4. Loosen screws D and E to align the heights of
the pins vertically.
Micrometer
Transducer house
A B
C D
2.2 CALIBRATION OF THE FORCE TRANSDUCER
As a part of the general maintenance of the Wire
Myograph, DMT recommends that the Wire
Myograph is force calibrated at least once a
month. The Wire Myograph should also be force
calibrated every time the interface has been
moved. Although lab benches are all supposedly
perfectly horizontal, small dierences in lab bench
pitch can aect the calibration of the system. The
Wire Myograph should also be calibrated if the
system has been idle for longer than a month. A
step-by-step procedure is explained in chapter 3
in Multi Myograph System User Manual.
Pins from side view

9
CHAPTER 3 - EXPERIMENTAL SET-UP
This chapter contains experimental set-up for the
Wire Myograph. For dissection of a vessel, please
see Procedures for investigations of small vessels
using a small vessel Myograph by M.J. Mulvany.
3.1 MOUNTING PROTOCOL FOR SMALL ARTERIES
The procedure involves attaching the mounting
wires to jaws which are in turn mounted on the
force transducer. This force transducer is capable
of measuring with a sensitivity of about 0.01 mN
(1 mg), but can be damaged if the applied force
exceeds about 1600 mN (160 g). Therefore, care
must be taken to avoid pressing the jaws too hard
together. A movement of ~20 µm after they have
touched is sucient to hold the wires clamped.
3.1.1 MOUNTING STEP ONE
• Cut lengths of 40 μm wire ~2.2 cm long.
Mount one wire on left-hand jaw of the Wire
Myograph as follows.
• Holding wire at far end, place center of wire
between jaws and screw jaws together so
that the wire is clamped (gure 3.1 A).
• Bend the far end of the wire towards the left,
and wrap it around under xing screw, so the
wire is wound clockwise: tightening the screw
will then tighten the wire. This procedure
should result in the wire being clamped
between the jaws and with near end of wire
pointing towards operator (gure 3.1 B-C).
• Fill the Wire Myograph chamber with PSS
(at room temperature). See appendix 1 for
example of buer recipes.
WARNING: Do NOT close the jaws
too hard against each other.
Figure 3.1 A, B and C Mounting step 1
A B C

10
3.1.2 MOUNTING STEP TWO
• Using forceps to hold the handle segment,
transfer excised vessel from Petri dish to the
Wire Myograph chamber. Hold the vessel as
close to the proximal end as possible and try
to mount the vessel onto the wire.
• If the lumen is shut, try one of the following
possibilities:
1. Use the wire to gently push the lumen
open (blood streaming out is a good sign)
2. Hold excised vessel about 3 mm from
the cut end with one set of forceps and
use the other forceps to squeeze the blood
remaining in lumen out through the cut
end.
• Pull the proximal end of the excised vessel
segment along the wire such that the vessel
segment acts as its own feeder to be feed
into the wire into the vessel (gure 3.2 A-C).
Be careful not to stretch the vessel segment
if the end of the wire catches the vessel wall.
Figure 3.2 A, B and C Mounting step 2
A B C
Table of contents
Other DMT Medical Equipment manuals


