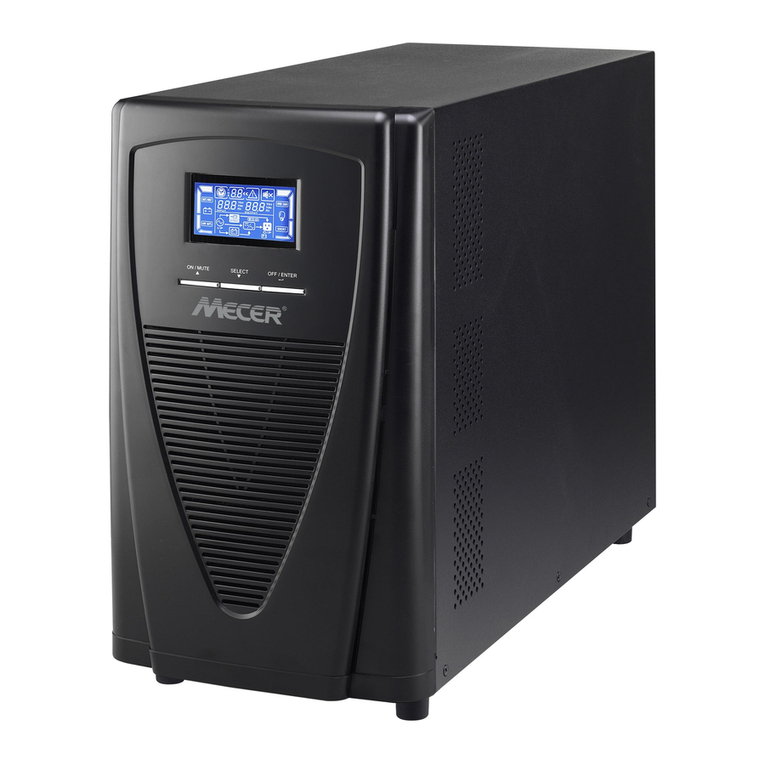
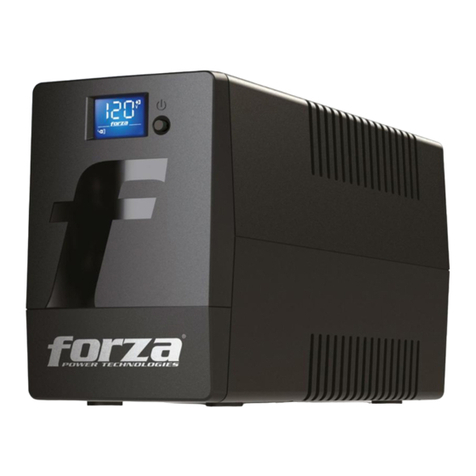
Ditek DTK-UPS1000R+ User manual

DTK-UPS1000R+/DTK-UPS1500R+
DTK-UPS2000R+/DTK-UPS3000R+ Online UPS
USER MANUAL
Uninterruptible Power Supply System
Version: 1.0
INT-100209-001 Rev 1

Table of Contents
1. Important Safety Warning ................................................................................... 1
1-1. Transportation.................................................................................................... 1
1-2. Preparation ........................................................................................................ 1
1-3. Installation......................................................................................................... 1
1-4. Operation........................................................................................................... 2
1-5. Maintenance, service and faults........................................................................... 2
2. Installation and setup .......................................................................................... 5
2-1. Rear panel view.................................................................................................. 5
2-2. Operating principle ............................................................................................. 6
2-3. Install the UPS ................................................................................................... 6
2-4. Setup the UPS.................................................................................................... 7
2-5. Battery Replacement ........................................................................................ 10
2-6. Battery Kit Assembly......................................................................................... 12
3. Operations .......................................................................................................... 14
3-1. Button operation .............................................................................................. 14
3-2. LCD Panel ........................................................................................................ 14
3-3. Audible Alarm................................................................................................... 16
3-4. LCD display wordings index............................................................................... 16
3-5. UPS Setting...................................................................................................... 17
3-6. Operating Mode Description .............................................................................. 21
3-7. Faults Reference Code....................................................................................... 22
3-8. Warning indicator ............................................................................................. 22
4. Troubleshooting..................................................................................................23
5. Storage and Maintenance................................................................................... 24
6. Specifications .....................................................................................................25

1
1. Important Safety Warning
SAVE THESE INSTRUCTIONS - This manual contains important instructions that should be
followed during installation and maintenance of the UPS and batteries
Please comply with all warnings and operating instructions in this manual strictly. Do not
operate this unit before reading through all safety information and operating instructions
carefully
1-1. Transportation
Please transport the UPS system only in the original package to protect against shock
and impact.
1-2. Preparation
Condensation may occur if the UPS system is moved directly from cold to warm
environment. The UPS system must be absolutely dry before being installed. Please
allow at least two hours for the UPS system to acclimate the environment.
Do not install the UPS system near water or in moist environments.
Do not install the UPS system where it would be exposed to direct sunlight or near
heater.
Do not block ventilation holes in the UPS housing.
1-3. Installation
Do not connect appliances or devices which would overload the UPS system (e.g.
laser printers) to the UPS output sockets.
Place cables in such a way that no one can step on or trip over them.
Do not connect domestic appliances such as hair dryers to UPS output sockets.
The UPS can be operated by any individuals with no previous experience.
Connect the UPS system only to an earthed shockproof outlet which must be easily
accessible and close to the UPS system.
Please use only VDE-tested, CE-marked (or UL-marked for 100/110/115/120/125 VAC
models) mains cable (e.g. the mains cable of your computer) to connect the UPS
system to the building wiring outlet (shockproof outlet).
Please use only VDE-tested, CE-marked (or UL-marked for 100/110/115/120/125 VAC
models) power cables to connect the loads to the UPS system.
When installing the equipment, it should ensure that the sum of the leakage current
of the UPS and the connected devices does not exceed 3.5mA.
Temperature Rating - Units are considered acceptable for use in a maximum ambient
of 40°C (104°F).
For Pluggable Equipment - The socket-outlet shall be installed near the equipment
and shall be easily accessible.
CAUTION: The unit is heavy. Lifting the unit requires a minimum of two people.
Batteries with minimum case flame rating V-2 are intended for use in a computer
room as defined in the Standard for the Protection of Information Technology
Equipment, ANSI/NFAP 75. Batteries with case flame rating HB are not intended for
use in a computer room. (US installations only.)

2
1-4. Operation
Do not disconnect the mains cable on the UPS system or the building wiring outlet
(shockproof socket outlet) during operations since this would cancel the protective
earthing of the UPS system and of all connected loads.
The UPS system features its own, internal current source (batteries). The UPS output
sockets or output terminals block may be electrically live even if the UPS system is not
connected to the building wiring outlet.
In order to fully disconnect the UPS system, first press the OFF/Enter button to
disconnect the mains.
Prevent no fluids or other foreign objects from inside of the UPS system.
The EPO and USB circuits are an IEC 60950-1 safety extra low voltage (SELV) circuit.
This circuit must be separated from any hazardous voltage circuits by reinforced
insulation.
1-5. Maintenance, service and faults
The UPS system operates with hazardous voltages. Repairs may be carried out only
by qualified maintenance personnel.
Caution - risk of electric shock. Even after the unit is disconnected from the mains
(building wiring outlet), components inside the UPS system are still connected to the
battery and electrically live and dangerous.
Before carrying out any kind of service and/or maintenance, disconnect the batteries
and verify that no current is present and no hazardous voltage exists in the terminals
of high capability capacitor such as BUS-capacitors.
To avoid electrical shock, turn off the unit and unplug it form the AC power source
before servicing the battery
Only persons are adequately familiar with batteries and with the required
precautionary measures may replace batteries and supervise operations.
Unauthorized persons must be kept well away from the batteries.
Caution - risk of electric shock. The battery circuit is not isolated from the input
voltage. Hazardous voltages may occur between the battery terminals and the
ground. Before touching, please verify that no voltage is present!
Caution - Do not dispose of batteries in a fire. The batteries may explode.
Caution - Do not open or mutilate batteries. Released electrolyte is harmful to the
skin and eyes. It may be toxic.
A battery can may cause a risk of electrical shock and high short-circuit current. The
following precautions should be observed when working on batteries:
a) Remove watches, rings, or other metal objects.
b) Use tools with insulated handles.
c) Wear rubber gloves and boots.
d) Do not lay tools or metal parts on top of batteries.
e) Disconnect charging source prior to connecting or disconnecting battery terminals.
f) Determine if battery is inadvertently grounded. If inadvertently grounded, remove
source from ground. Contact with any part of a grounded battery can result in
electrical shock. The likelihood of such shock can be reduced if such grounds are
removed during installation and maintenance.

3
When changing batteries, install the same number and same type of batteries or
battery packs.
Manufacture
Type
Battery Case
Flame Rating
Rating
HITACHI CHEMICAL
ENERGY TECHNOLOGY CO
LTD (MH14533)
GP 1272
HB
12 V, 7.2 Ah
GP 1272 F2
HB
12 V, 7.2 Ah
GP 1272 FR
V-0
12 V, 7.2 Ah
GP 1272 F2FR
V-0
12 V, 7.2 Ah
UPS 12360 7
HB
12 V, 7 Ah
UPS 12360 7 FR
V-0
12 V, 7 Ah
UPS 12460
HB
12 V, 9.0 Ah
UPS 12460 FR
V-0
12 V, 9.0 Ah
HR 1234W
HB
12 V, 8.5 Ah
HR 1234W FR
V-0
12 V, 8.5 Ah
UPS 12580
HB
12 V, 9.4 Ah
UPS 12580 FR
V-0
12 V, 9.4 Ah
TAIWAN YUASA BATTERY
CO LTD (MH28947)
NPW36-12
HB
12 V, 7.0 Ah
NPW36-12FR
V-0
12 V, 7.0 Ah
UXW360-12
HB
12 V, 7.0 Ah
UXW360-12FR
V-0
12 V, 7.0 Ah
UXW460-12
HB
12 V, 8.0 Ah
UXW460-12FR
V-0
12 V, 8.0 Ah
NPW45-12
HB
12 V, 7.5 Ah
NPW45-12FR
V-0
12 V, 7.5 Ah
UXW580-12
HB
12 V, 9.0 Ah
UXW580-12 FR
V-0
12 V, 9.0 Ah
NPX-35
HB
12 V, 8.0 Ah
NPX-35 FR
V-0
12 V, 8.0 Ah
KUNG LONG BATTERIES
INDUSTRIAL CO
LTD(MH16982)
WPS580
HB
12 V, 9.0 Ah
WPS580V0
V-0
12 V, 9.0 Ah
WP7-12(28W)
HB
12 V, 7.0 Ah
WP7-12(28W)V0
V-0
12 V, 7.0 Ah
WP1234W
HB
12 V, 8.5 Ah
WP1234WV0
V-0
12 V, 8.5 Ah
WPS7-12
HB
12 V, 7.0 Ah
WPS7-12V0
V-0
12 V, 7.0 Ah
WPS8-12
HB
12 V, 8.0 Ah
WPS8-12V0
V-0
12 V, 8.0 Ah
SHIMASTU ELECTRONIC
TECHNOLOGY LTD
(MH28269)
NP7-12
V-0
12 V, 7.0 Ah
NP9.0-12
V-0
12 V, 9.0 Ah
FUJIAN MINHUA POWER
SOURCE CO LTD (MH47104)
MS7-12
V-0
12 V, 7.0 Ah
MS9-12
V-0
12 V, 9.0 Ah
SHENZHEN CENTER POWER
TECHNOLOGY CO LTD
(MH25860)
CP1270
HB
12 V, 7.0 Ah
CP1290
HB
12 V, 9.0 Ah
LEOCH BATTERY SHENZHEN
CORP (MH26866)
DJW12-7.0
HB
12 V, 7.0 Ah
DJW12-9.0
HB
12 V, 9.0 Ah
DJW12-10
HB
12 V, 10.0 Ah
SHENZHEN RITAR POWER
RT1270
HB
12 V, 7.0 Ah

4
CO LTD (MH28539)
RT1290
HB
12 V, 9.0 Ah
Please replace the fuse only with the same type and amperage in order to avoid fire
hazards.
Do not dismantle the UPS system.
NOTE: This equipment has been tested and found to comply with the limits for a
Class A digital device, pursuant to part 15 of the FCC Rules. These limits are designed
to provide reasonable protection against harmful interference when the equipment is
operated in a commercial environment. This equipment generates, uses, and can
radiate radio frequency energy and, if not installed and used in accordance with the
instruction manual, may cause harmful interference to radio communications.
Operation of this equipment in a residential area is likely to cause harmful interference
in which case the user will be required to correct the interference at his own expense.
WARNING: Changes or modifications not expressly approved by the party
responsible for compliance could void the user's authority to operate the equipment.

5
2. Installation and setup
NOTE: Before installation, please inspect the unit. Be sure that nothing inside the package is
damaged. Please keep the original package in a safe place for future use.
2-1. Rear panel view
DTK-UPS1000R+/DTK-UPS1500R+ DTK-UPS2000R+
DTK-UPS3000R+
1. Programmable outlets: connect to non-critical loads.
2. Output receptacles: connect to mission-critical loads.
3. AC input
4. Network/Fax/Modem surge protection
5. USB communication port
6. RS-232 communication port
7. SNMP intelligent slot
8. Emergency power off function connector (EPO)
9. External battery connection
10.Output circuit breaker

6
2-2. Operating principle
The operating principle of the UPS is shown as below
EMI/RFI
Filters
Battery
Charger Battery
DC-to-DC
Converter
Inverter
Rectifier
/PFC
Input Output
The UPS is composed of mains input,
EMI/RFI filters, rectifier/PFC,
inverter, battery charger, DC-to-DC
converter, battery, dynamic bypass and
UPS output.
Dynamic
Bypass
The UPS is composed of mains input, EMI/RFI filters, rectifier/PFC, inverter, battery charger,
DC-to-DC converter, battery, dynamic bypass and UPS output.
2-3. Install the UPS
This UPS can be either displayed on the desk or mounted in the 19” rack chassis. Please choose
proper installation to position this UPS.
Rack-mount Installation
Step 1 Step 2
UPS Tower Installation
Step 1
Step 2
Step 3

7
Tower Installation with battery pack
Step 1
Step 2
2-4. Setup the UPS
Before installing the UPS, please read below to select proper location to install UPS.
1. UPS should be placed on the flat and clean surface. Place it in an area away from vibration,
dust, humidity, high temperature, flammable liquids, gases, corrosive and conductive
contaminants. Install the UPS indoors in a clean environment, where it is away from
window and door. Maintain minimum clearance of 100mm in the bottom of the UPS to
avoid dust and high temperature.
2. It’s required to maintain maximum altitude of 3000m to keep UPS normal operation at full
load UPS.
3. Place UPS:
It’s equipped with fan for cooling. Therefore, place the UPS in a well-ventilated area. It’s
required to maintain minimum clearance of 100mm in the front of the UPS and 300mm in the
back and two sides of the UPS for heat dissipation and easy-maintenance.
Step 1: External battery connection
For safety consideration, the RT UPS is shipped out from factory without connecting battery
wires. Before connecting to external batteries, it’s required to have the internal battery wire
disconnected. Follow the below steps to make external battery connection.
1. Turn off UPS and remove power plug from the mains.
2. Remove front panel and disconnect internal battery wire. (only available for RT models with
internal battery wire connected)

8
3. Remove the cover of the external battery connector by using a
screwdriver.
4. Plug the battery cable into the external battery connector of the UPS
and the battery pack(s).
Note: If you have multiple battery packs available, connect them serially. An example is
shown in the diagram below (connecting the second battery connector of the first
battery pack to the first battery connector of the second battery pack).
5. Stabilize the connector to the UPS and the battery pack(s) by fixing screws as shown below
diagram.
6. Connect internal battery connector and put the front panel back to the unit.
UPS
Battery
pack #1
Battery
pack #2
This manual suits for next models
3
Table of contents
Other Ditek UPS manuals