DIGEN DGU8T45Y450SA2 User manual

1
English
Car Smart Audio System OWNER’S MANUAL Smart Audio
Please read this manual carefully before operating your set and retain it for future reference.
Designs and specications are subect to change ithout prior notice.
Please visit the Ssangyong Motor online Webpage for the detail information about the Smart Audio system.
- Smart Audio manual donload ebsite address http.smotor.com
User Manual
Manuel de l’utilisateur
Manual del usuario
Manuale dell’utente
Gebruikershandleiding
Bedienungsanleitung
Ver 1.0
Kullanm Klavuu

2
English
Smart Audio Detailed Manual donload URL
http.smotor.com
Safety Precautions 3
· · · · · · · · · · · · · · · · · · · · · · · · · · · · · · · · · · · · · · · · · · · · · · · · · ·
Key Product Information 4
· · · · · · · · · · · ·· · · · · · · · · · · · · · · · · · · · · · · · · · · · · · · ·
Key Product Features 5
· · · · · · · · · · · · · · · · · · · · · · · · · · · · · · · · · · · · · · · · · · · · ·
Component Names and Functions 6
· · · · · · · · · · · · · · · · · · · · · · · · · · · · · · ·
Steering Wheel Controller 8
· · · · · · · · · · · · · · · · · · · ·· · · · · · · · · · · · · · · · · · · · · ·
System Settings 10
· · · · · · · · · · · · · · · · · · · · · · · · · · · · · · · · · · · · · · · · · · ·· · · · · · · ·
Selecting Mode 11
· · · · · · · · · · · · · · · · · · · · · · · · · · · · · · · · · · · · · · · · · · · · · · · · · · · · ·
AVM (Around Vie Monitor 14
· · · · · · · · · · · · · · · · · · · · · · · · · · · · · · ·· · · · · · · ·
Restrictions on Features for Safety Measures 13
· · · · · · · · · ·· · · · · · · ·
Rear Detection Camera 15
· · · · · · · · · · · · · · · · · · · · · · · · · · · · · · · · · · ·· · · · · · · ·
Product Specications 16
· · · · · · · · · · · · · · · · · · · · · · · · · · · · · · · · · · · ·· · · · · · · ·
Basic Operation 9
· · · · · · · · · · · · · · · · · · · · · · · · · · · · · · · · · · · · · · · · · · · · · · · · · · · · ·
Contents
Smart Audio Manual

3
English
Safety Precautions
- To reduce the risk of re or electric shock do not epose this product to rain or
moisture.
- Users should not directly disassemble the device for repair purposes.
- When you must operate the device hile the vehicle is in motion pay close atten-
tion to upcoming road conditions and practice safe driving.
- Parking under direct sunlight for prolonged periods of time can produce high
temperatures inside your car. In such instances open the indos to loer the
temperature prior to product use.
- This product is designed to operate using a DC 14V negative-ground battery
system. The preset memory is cleared to the default factory state hen the poer connector
or battery is disconnected.
- Ecessively high volume level can interfere ith driving. Maintain the volume level
lo enough to be aare of road and trac conditions.
- When requiring complicated operations please operate only hen the vehicle is in
parked state.
- Do not epose the product including speakers and amps to ater or ecessive
moisture. Such eposure may cause electrical shocks or res.
- To reduce the risk of re electric shock and unnecessary interference use only
included components and accessories.
The product is designed for DC 14V negative-ground vehicle use only.
Do not use a non-standard poer supply.
Do not use gasoline thinner benene organic solvent etc. to clean the unit.
Be cautious not to spill ater or introduce foreign obects into the device.
Safety Precautions
Safety Cautions
Safety Warnings
Cautions upon Use
Caution!
Warning!
When Driving
When Parked
Power Supply Information

4
English
Key Product Information
Key Product Information
iPod
iPod is the registered trademark of Apple Inc.
Apple CarPlay
Apple CarPlay is the registered trademark of Apple Inc.
Bluetooth
The Bluetooth ord mark and logos are registered trademarks oned by Bluetooth SIG Inc. and any use of such marks is under license. A Bluetooth
enabled mobile phone is required to use Bluetooth ireless technology.
DivX
This product is a DivX certied product that has passed stringent DivX video play tests. As a DivX-certied product this product can play premium D
DivX videos.
DivX DivX Certied and associated logos are trademarks of DivX and LLC and are used under license.
The are protected by at least one of the folloing U.S. patents 29563 460668 51510 51924
Dolby
Manufactured under license from Dolby Laboratories. Dolby and double-D symbol are trademarks of Dolby Laboratories.
5
English
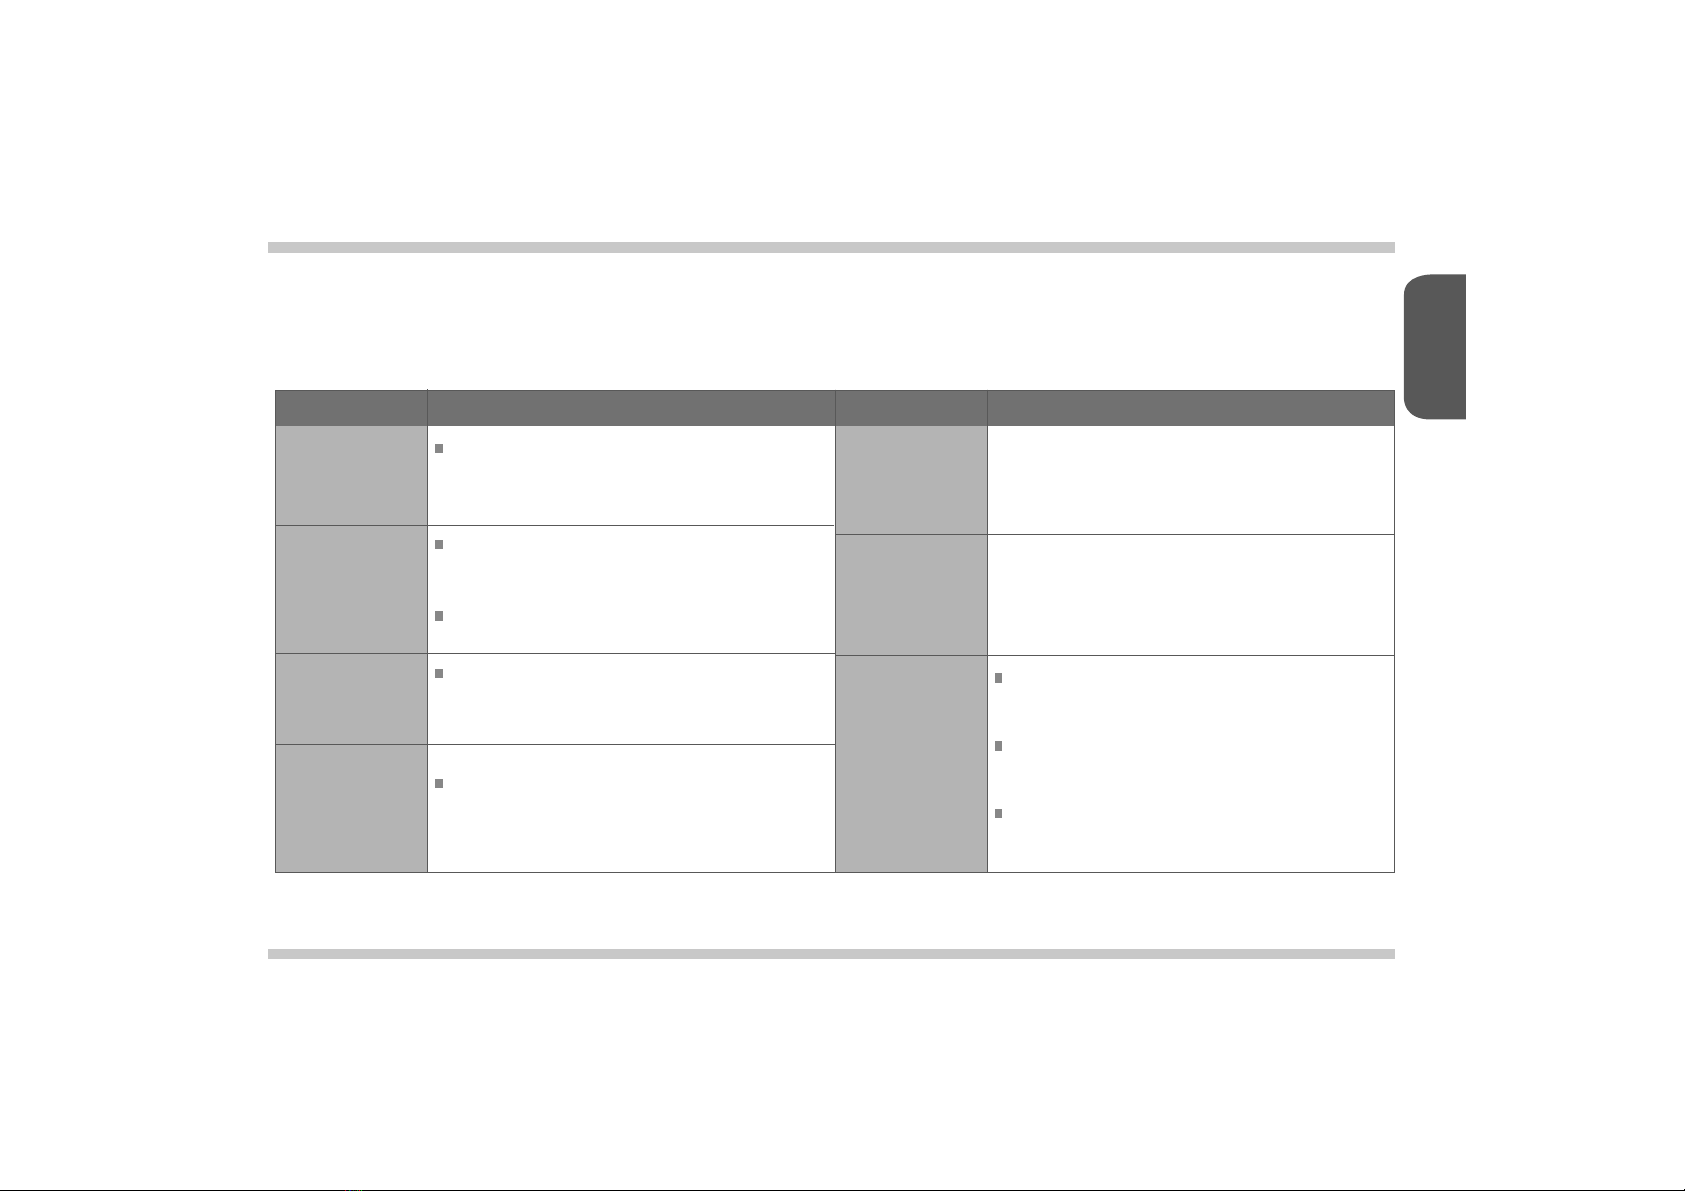
Feature
Display
Media
Bluetooth
Android Auto
Miscellaneous
Radio
Apple CarPlay
Feature Description Description
Wide LCD Display
Provides high quality video and music simultaneously through
the 8-inch ide screen display ith added convenience through
the touchscreen display
Digital Tuner Feature
Digital Tuner supports memory of 12 broadcast stations for
each FM1 FM2 AM and DAB(EU only mode.
RDS Services
Provides AF REG TATP PT features among RDS Services.
Media Auto Search Feature
Automatically identies media les including video audio and
photos saved in the USB and SD card and displays as lists for
convenience.
Bluetooth Connection Feature
Provides ands-Free feature that enables drivers to make
ireless calls hile driving as ell as music enoyment through
Audio Streaming.
Digital Screen Control Features
Easy control of screen brightness through the touch screen
for convenient vieing.
Rear Detection Camera
Shos the vehicle rear side hen positioning the gear in
reverse.
Around Vie Monitor - Optional
Allos you to see the front rear left and right sides through the four
cameras installed ithin the vehicle.
With Apple CarPlay you can make phone calls echange tet
messages use the map listen to music and use Siri features.
With Android Auto you can use Google map phone voice recognition
and music features.
Key Product Features

6
English
Button Description
Front View
RADIO
SETUP
1. In any mode press and hold to display the Settings screen.
2. In the RadioAudioVideoBluetooth Phone mode press to
display the corresponding settings screen.
Component Names and Functions
1
2
3
4
5
POWERVOL
1. Used to turn the poer ONOFF or control the volume.
2. Press and hold (over 1.5 seconds to turn the poer OFF.
3. Press shortly to turn the AV ONOFF.
4. Turn leftright to control volume. (volume control range 045
1. Operates Radio mode.
2. Each press of the key ill change the mode in order of FM1-
FM2AMDAB(EU only mode.
MODE
1. Moves to main mode screen.
2. In main mode screen press and hold(over 1.5 seconds to
operate the most recent AV mode.
PONE
1. It is possible to enter Bluetooth mode from any mode.
2. In Bleutooth Phone Mode shortly press to display the Call istory. Press
again to call the most recently dialed number.
3. While on a call shortly press to convert beteen andsfree and Private.
4. Press and hold to call the most recently dialed number.
5. While receiving an incoming call press and hold to reect the call.
During a call press and hold to end the call.
1
2 3 4 5

English
Rear View Smart Audio 42P CONNECTOR
Smart Audio
PIN NO.
A1
A9
A5
A13
A2
A10
A6
A14
A3
A11
A
A15
A1
A4
A12
A8
A16
A18
PIN NO.
B1
B9
B5
B13
B19
B2
B10
B6
B14
B20
B3
B11
B
B15
B21
B1
B23
B4
B12
B8
B16
B22
B18
B24
SPEC
REAR L C OUT
REVERSE IN
REAR OUT GND
REAR R C- OUT
FRONT L C OUT
REAR L C- OUT
REAR CAM POWER
REAR OUT VIDEO GND
FRONT R C OUT
FRONT L C- OUT
ALT IN
REAR OUT VIDEO OUT
ILL- IN
REAR R C OUT
FRONT R C- OUT
ILL IN
DOOR UNLOCK
ANT POWER
SPEC
NC MM CAN
AUX GND
NC SPDIF OUT -
NC MM CAN L
NC AUX VGND
LOW CAN (CLUSTER
MIC
NC SPDIF OUT
LOW CAN L(CLUSTER
E-CALL MUTE
AVM ON OFF SW
ACC B IN
NC AUX CVBS IN
AVM ON OFF SW GND
AUX L IN
ST GND
MIC GND
ST REMOCON IN
BATT B IN
AUX R IN
SPEED
MIC-
SPDIF GND
PGND
12 3 5
4
1 Radio Antenna ack
2 GPS Antenna ack
3 USB Port
4 DAB Connector (EU Only
5 IO Connector (42 pin
- To plug the radio antenna cable
- To plug the GPS antenna cable
- To connect a USB connector for USB function
- To connect a DAB antenna cable

8
English
Button Description
Steering Wheel Controller
Operates Bluetooth andsfree mode
In Apply CarPlay mode
- operates Siri.
In Android Auto mode
- operates Google Voice.
Steering Wheel Controller
1
4
5
6
During a Bluetooth andsfree call press and hold to end the call.
When not on a call press to turn Mute ONOFF.
Adusts the volume.
While playing
- press updon to move the previousnet le.
In Radio mode
- press updon to move the previousnet preset
- press and hold updon to move the previousnet broadcast frequency.
In any mode
- Each press of the key ill change the mode in order of Radio
Media Bluetooth Music iPod My Music mode.
In Radio mode
- Press and hold to change the radio mode in order of FM1 FM2
AM DAB(EU only mode.
In Media mode
- Press and hold to change the mode in order of MusicVideoImage mode.
2
1
2 3
4
5
6
3

9
English
Basic Operation
Starting the System
Turning the System O
NOTICE
1.
1.
2. 3.Set the ignition key to ON or
ACC.
- Resetting the system ill restore all eisting settings and congurations back to their default states. This is to ensure device stability.
Press and hold (over 1.5 seconds the POWERVOL button to turn the poer o. When the system poer is turned o the nal operating mode is
saved. When the ignition is turned on again the system ill automatically turn on the most recently operated mode.
oever if the nal mode as Bluetooth audio then the mode prior to Bluetooth ill operate.
The Ssangyong Motors logo is
displayed and the system ill
boot.
Once booting is complete the most
recent mode ill operate. (Default
mode is Radio FM1
Resetting the System Settings
1.
2.
1.
Press the RADIO and SETUP
button simultaneously.
The system ill turn o and
reboot.
Press and hold (over 1.5
seconds the SETUP button to
convert to Smart Audio Settings
screen.

10
English
System Settings
System Settings
1. From the system hard keys press
and hold the SETUP button.
2. In the Settings screen select
the desired settings mode.
Language Settings
1. Used to set language. After
selecting the desired language
press the button at the upper
right side. The system ill auto-
matically restart.
Radio Settings
1. Used to set region RDS PT
Seek settings.
Screen Settings System Settings
1. 1.Used to set the illumination ratio
screen o and other display
settings. Press the button at
the upper right side to initialie
the settings.
Used to check system information
and ResetUpgrade the system.
Clock Settings Sound Settings
1. 1.Used to set the time. Press the
button at the upper right side
to initialie the settings.
Used to set sound faderbalance
EQ and other sound settings.
Press the button at the
upper right side to initialie the
settings.
Table of contents
Languages:


